
Thanks,
Yes, there is a bit of rust. I will start to tackle it once I get it stripped. More plating today. The plating is not as exciting as it was a few months ago.
Only 136 pieces to do today. Yellow Chromate, Blue Chromate and Black.


Thanks,
Yes, there is a bit of rust. I will start to tackle it once I get it stripped. More plating today. The plating is not as exciting as it was a few months ago.
Only 136 pieces to do today. Yellow Chromate, Blue Chromate and Black.
OK, so it was more like 150 pieces. Not as fun as it was at the beginning.
Spent the day plating the door parts. It's very time consuming but will admit is is gratifying.
Plated some yellow, black and blue chromate. It is nice to be able to knock out the parts when you want. I have all the door hardware plated and did some Cerakote painting on the regulators.
They were just easier to paint than to try to plate. Satin Mag. Looks nice. I know, it's inside the door. Going to do the best I can.
Seem all I do is plate. I will get to the RUST at some point. I am working my way front to rear. Restoring as I remove.
I think I will have a better understanding of my car when I try to put it all back together.
By the time I get to the engine I will have it ready to go back together. I hope.!!
![Name: IMG_3545[1].jpg
Views: 405
Size: 128.1 KB](https://www.early911sregistry.org/forums/attachment.php?s=02f1b30fb9d176e9166a3f623f221b67&attachmentid=547563&d=1616286887)
My brake bushings finally arrived. Not much to post here but can close out the brake pedal assembly. Might be for nothing as I may end up swapping out the Sporto anyway at some point.
![Name: IMG_3580[1].jpg
Views: 383
Size: 85.2 KB](https://www.early911sregistry.org/forums/attachment.php?s=02f1b30fb9d176e9166a3f623f221b67&attachmentid=547944&d=1616716926)
That's a great looking pedal assembly. Well done.
-Doug
2022 Carrera 4S Oslo Blue
1977 Martini Edition 924
1989 Lancia Delta Integrale 16V
Thank You. It was pretty easy.
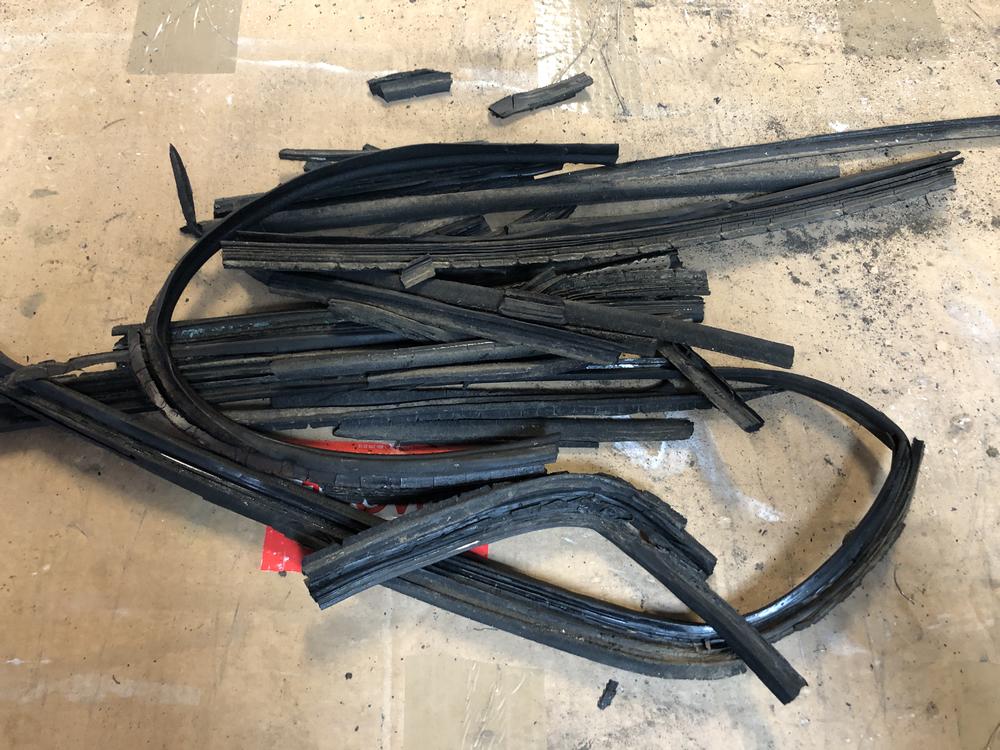
Removed the windshield today, and cleaned some more parts.
Check out the rubber windshield seal.
Just broke apart.
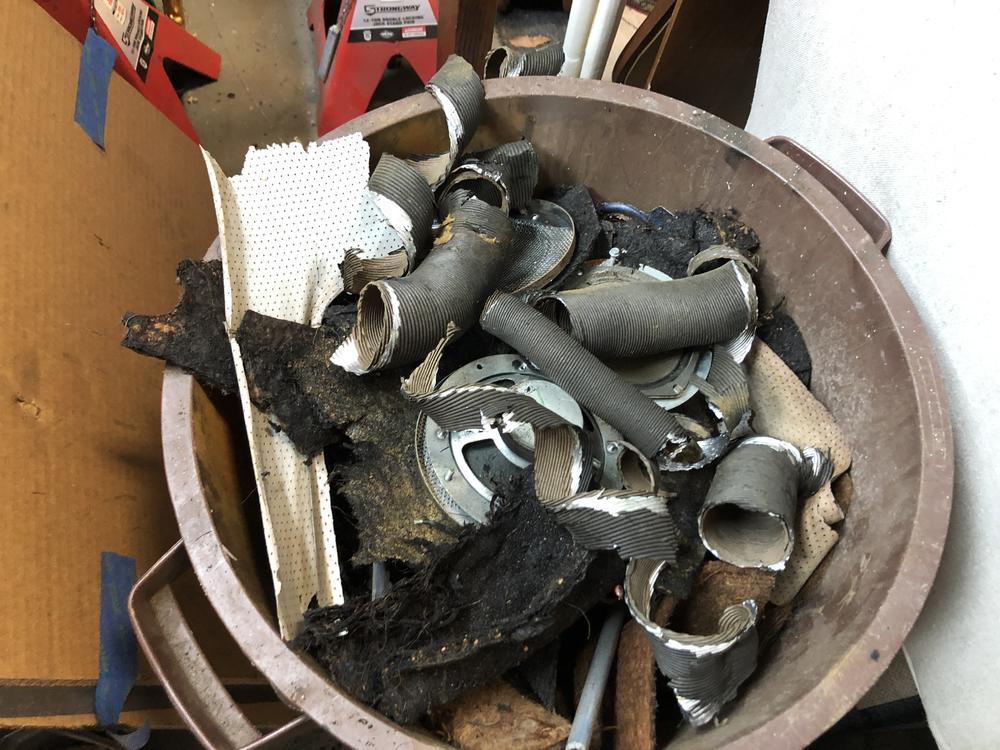
Started getting it ready for a dip. Lots of rust just about everywhere. Hopefully there will be something left after it is dipped. Looks like a 5-6 week turnaround on the dipping. Looking to have it ready by the end of April
![Name: IMG_3738[1].jpg
Views: 242
Size: 147.3 KB](https://www.early911sregistry.org/forums/attachment.php?s=02f1b30fb9d176e9166a3f623f221b67&attachmentid=548433&d=1617243654)
Back in 2013 my metal man saw a car like yours and said it will be a 20K job to fix the floors and seat pans etc. Get ready to spend $$$. That was John Esposito he is expensive but knows how to fix the car right the first time.
- Chris-Early S Registry#205
- '70 911S Tangerine
- '68 911L Euro Ossi Blue
IT would probably closer to $100K to pay someone to do the metal work required to bring this back at this point. Therefore, that is not an option.
I have placed 2 orders from Restoration Design thus far: New- rear seat pans, floor pan, foot area, suspension pan, front fender rear mount wings, lower door sills, inner and outer rockers, headlight tubes and mounts, jack mounts, hood seal strip, and 2 rust free doors from CA. This was under $4K
I will be doing the metal work myself. Looking forward to having a rust free slate to work with after dipping.
Yes, it will be a ton of hours and careful measuring to get it back. Most likely build a frame bench to make sure it is as close to factory as I can get it.
Once on the bench, if it is way off due to a prior accident, I might have to get it to a Celette bench prior to metal work. If it is not too bad, I will straighten it myself and move onward.
Just a quick update. Taking this car apart is taking a bit longer than I had anticipated. I have the front wire harness and fuse panel free and labeled.
The doors are removed and are in poor shape. There is a ton of body filler on each door. Saving them would require re-skinning and a lot of rust work. Quality skins are not cheap. It will be more cost effective to get some rust free doors and move on.
I found a set that will be arriving shortly form California. Much better.
All the seals are dry rotted and basically crumble. Put those on my shopping list.
I tried to polish the anodized aluminum frames- Dang, that surface is hard. Not sure hot to get the oxidation off and restore them. Ideas?
All the glass is out and in good shape. I found more rust on the rear seat bulkhead and parcel shelf. NICE!!! More $$$ for metal.
Next is to remove the gauges- kind of tight in there to get at the back of the oil pressure gauge. I need smaller hands.
I did manage to powder coat my door arm rests. They are now ready for leather work. I plan on doing some of the small stuff while my car is at the strippers in North Carolina. They said it would take 4-5 days to fully strip and coat with rust inhibitor.
Plus they would need it for 5-6 weeks to work into their schedule as they so mostly large industrial parts now.
I'm shooting for the 2nd weekend in May to drop off. That way it will be ready for pick up when my school is on summer break.
Take out the tach, then reach thru that hole and get the combo gauge, then reach thru that hole and get the fuel gauge.
Early S Registry member #90
R Gruppe member #138
Fort Worth Tx.
 Posting Permissions

 Reply With Quote