I could just hear you guys begging for another step by step.
Time to show the inner workings of the famous (and my favorite) S-Caliper. Over the next few weeks we'll splay out MarkS's S-Calipers. The au(to)topsy should prove benificial for those who want to tackle the task of restoring a pair of these cool calipers.
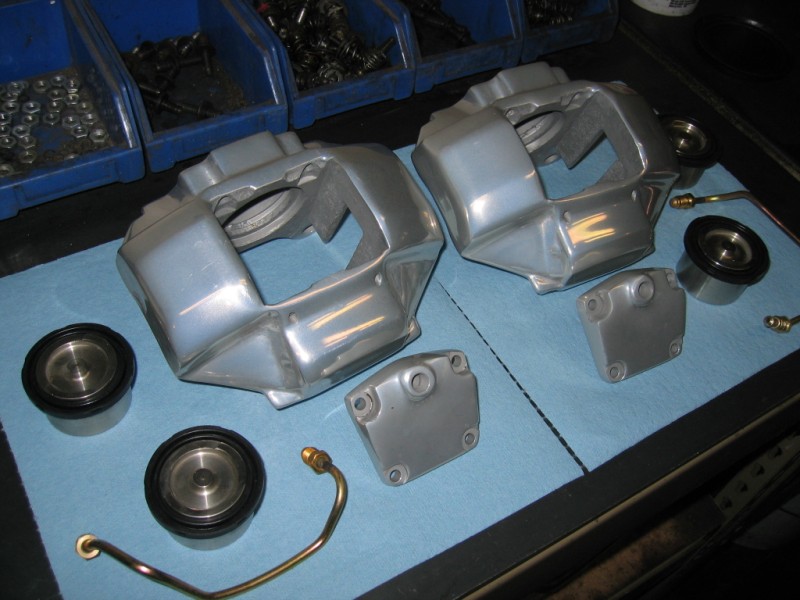
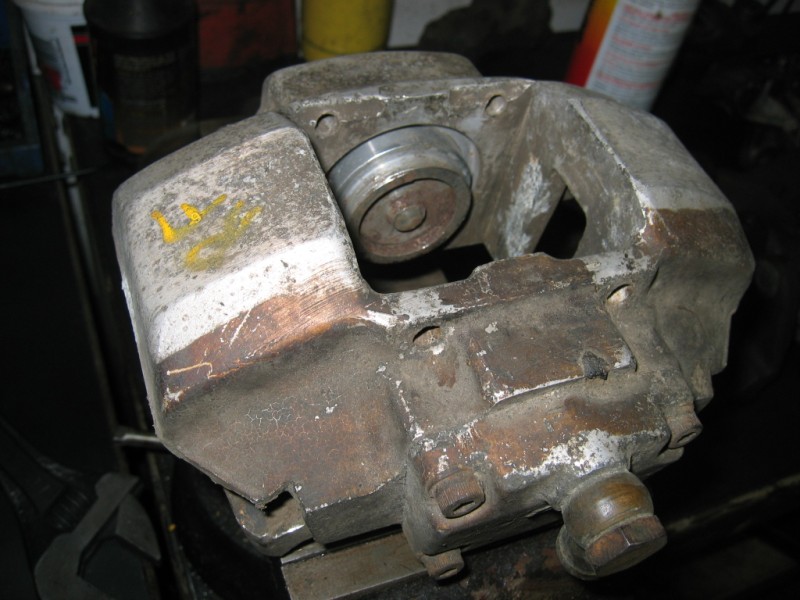
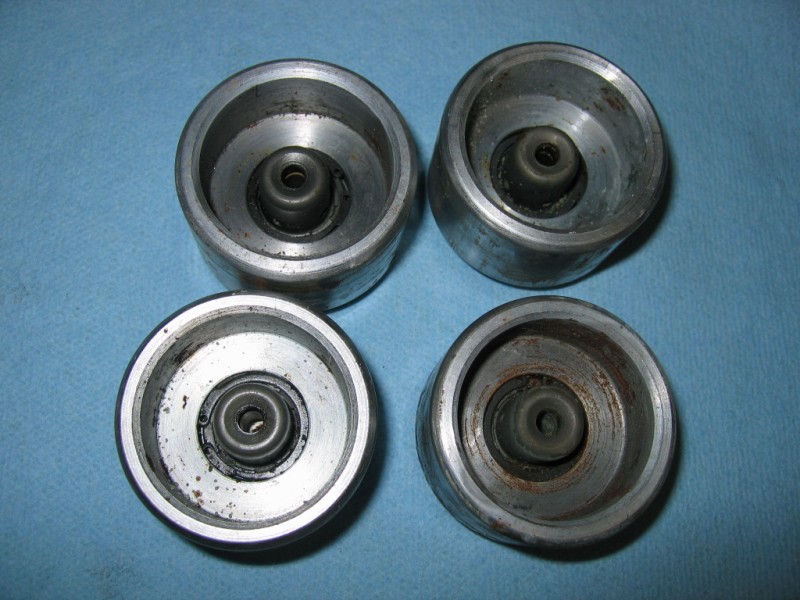
The subject:
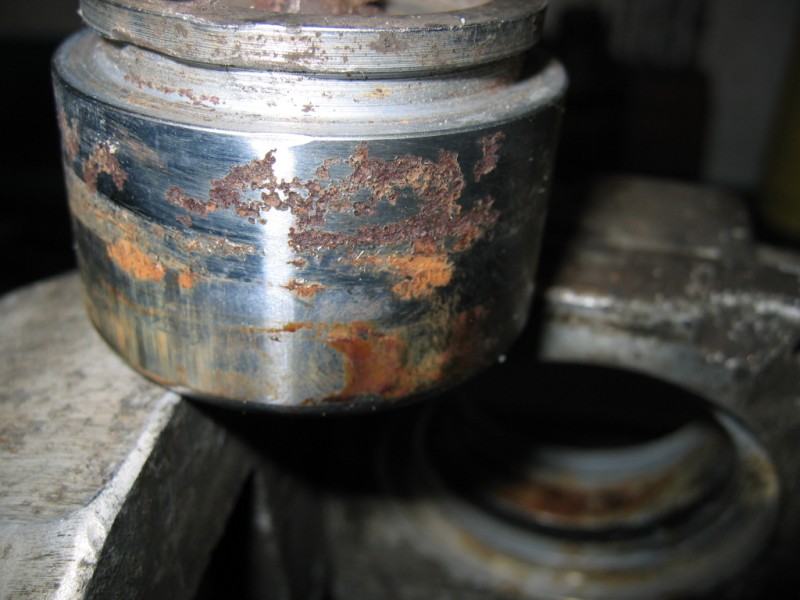
One pair of pretty grundgy old S-Calipers. These are the correct old variety that I've coined the "Bat-Wing" style. These are correct for 911's up to mid-1972 as far as I can tell. After that, Porsche switched to what I call the "Bull-Nose" style S-Caliper.
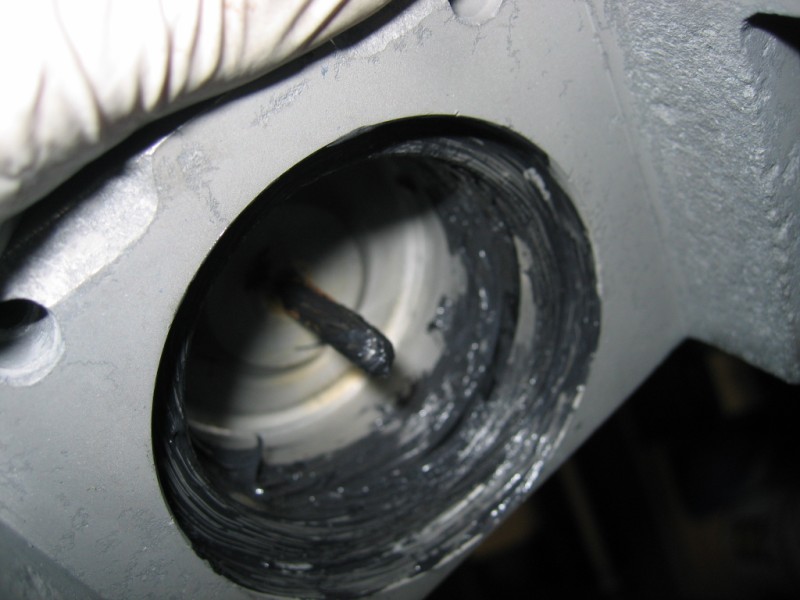
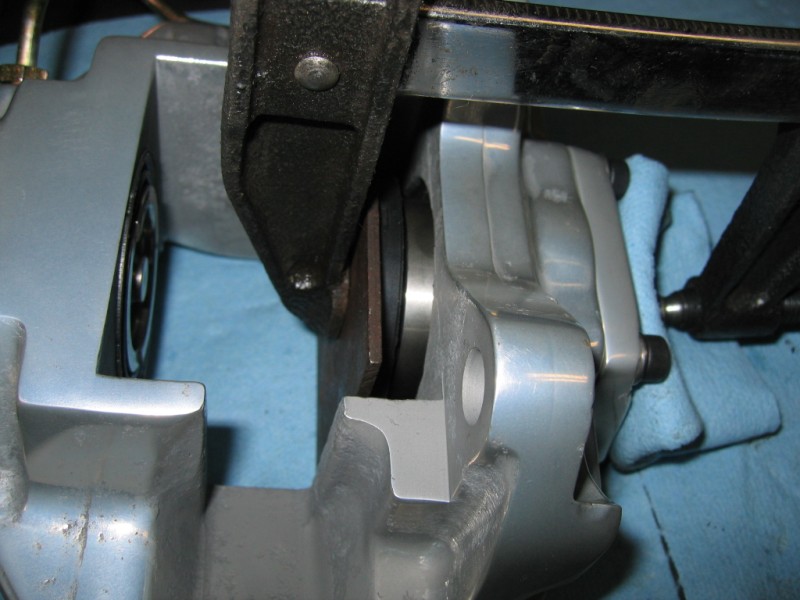
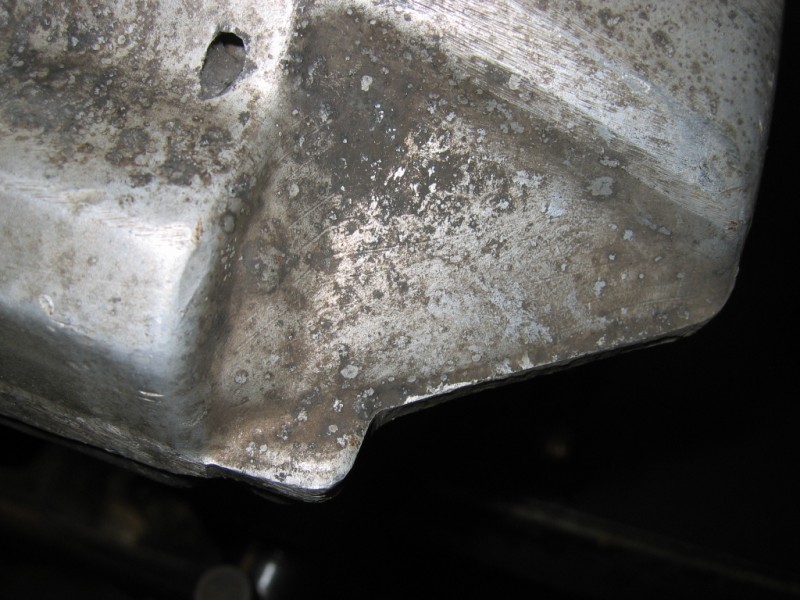
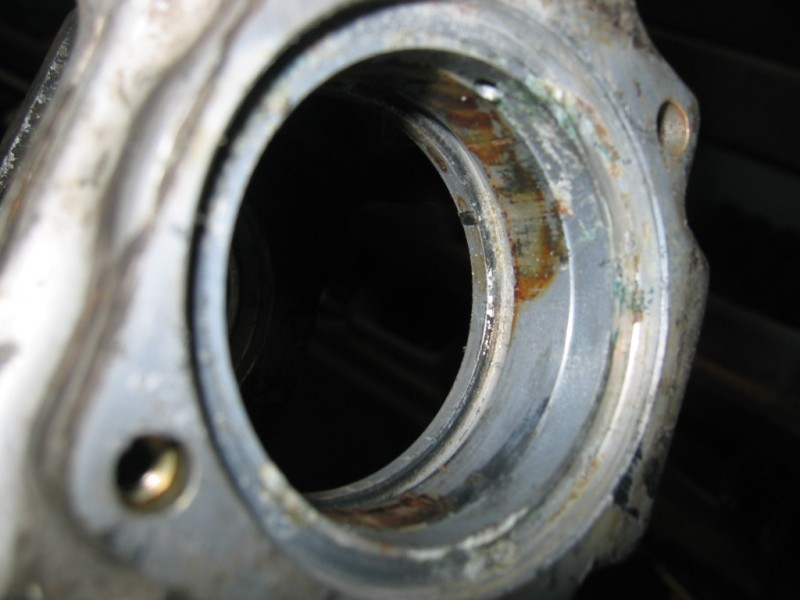
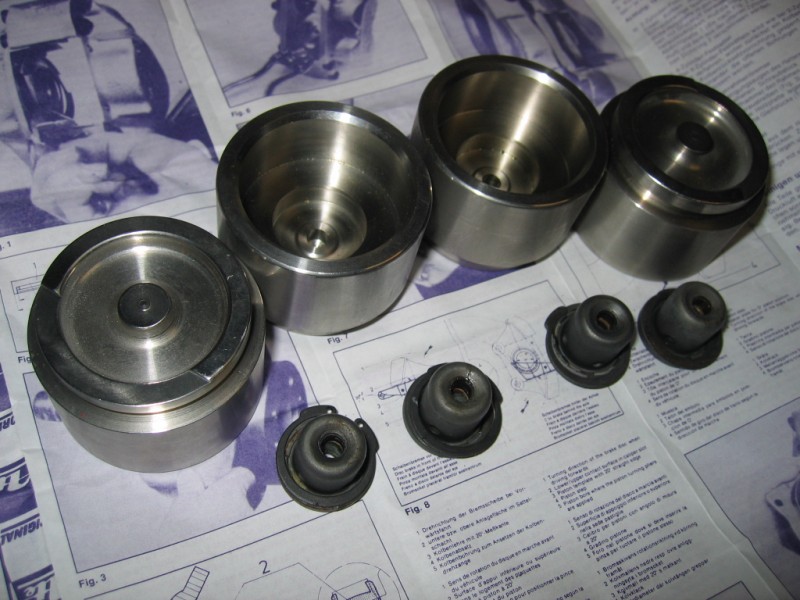
What's the difference? Basically the nose and the finish treatment. What I call the "nose" is the part you can see extending into your open wheel. The early calipers have little wings in the casting as follows:
These are also finished in clear anodizing while the later calipers are finished in a Dow Dichromate finish which gives them that classic greenish/goldish tint.
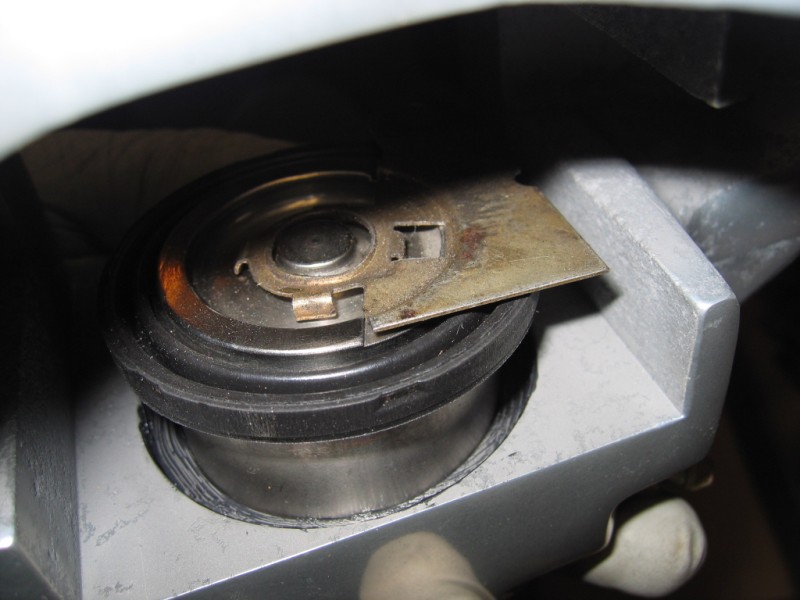
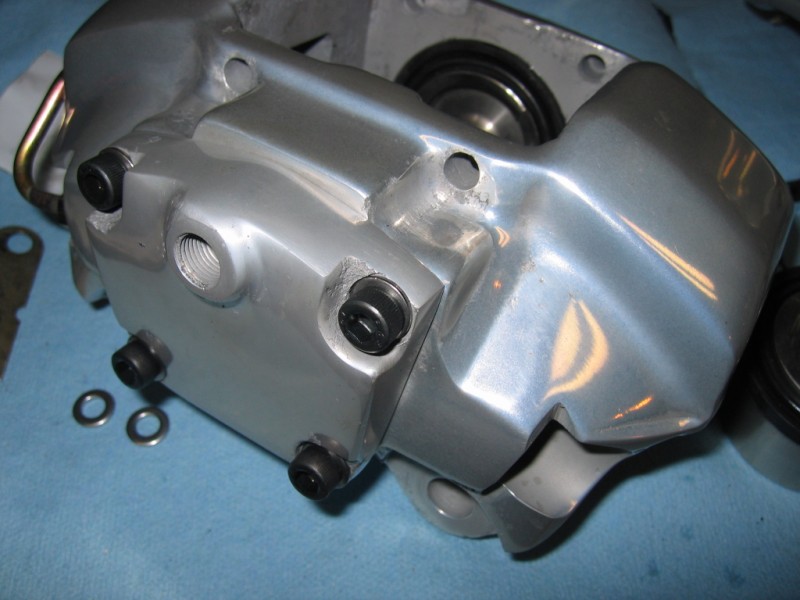
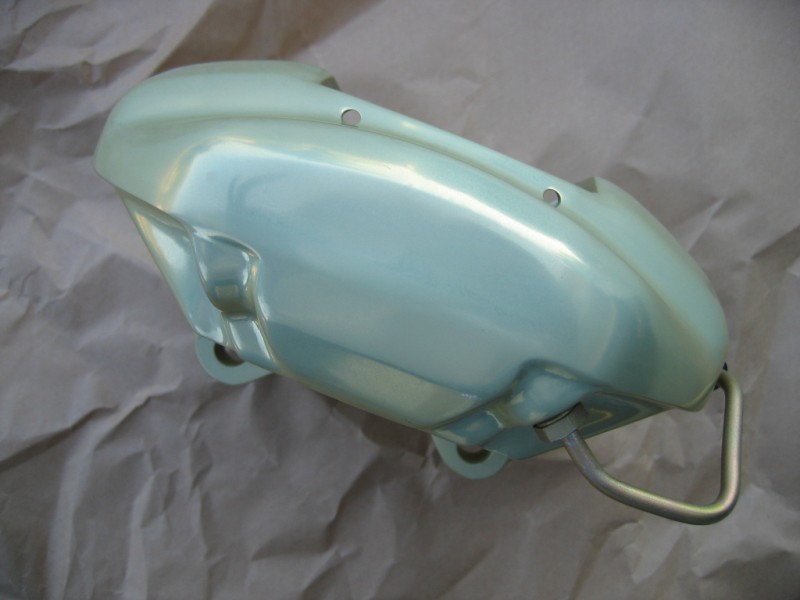
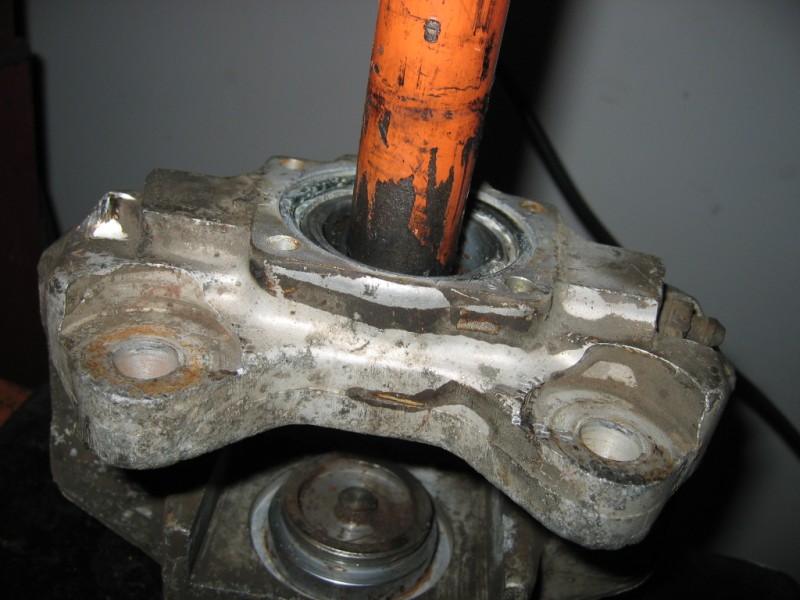
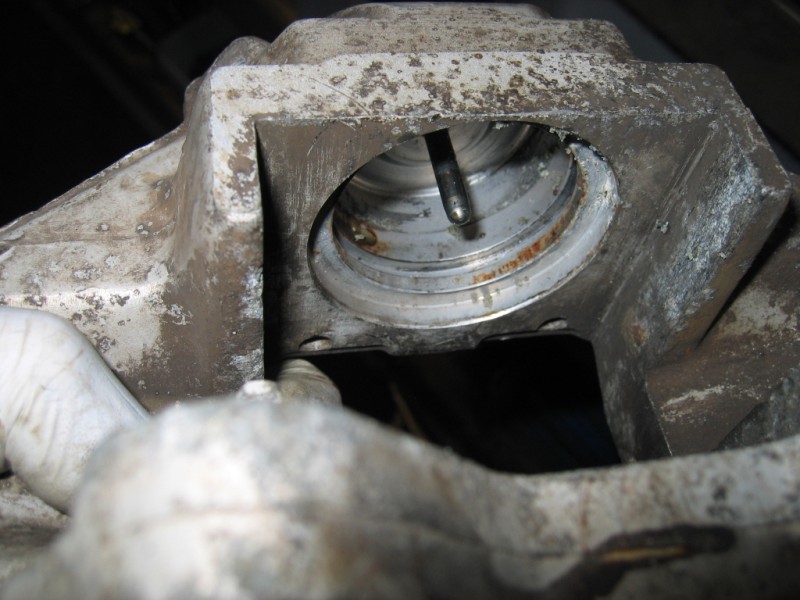
The later S-Calipers have a rounded nose section as seen in this crappy picture (sorry):
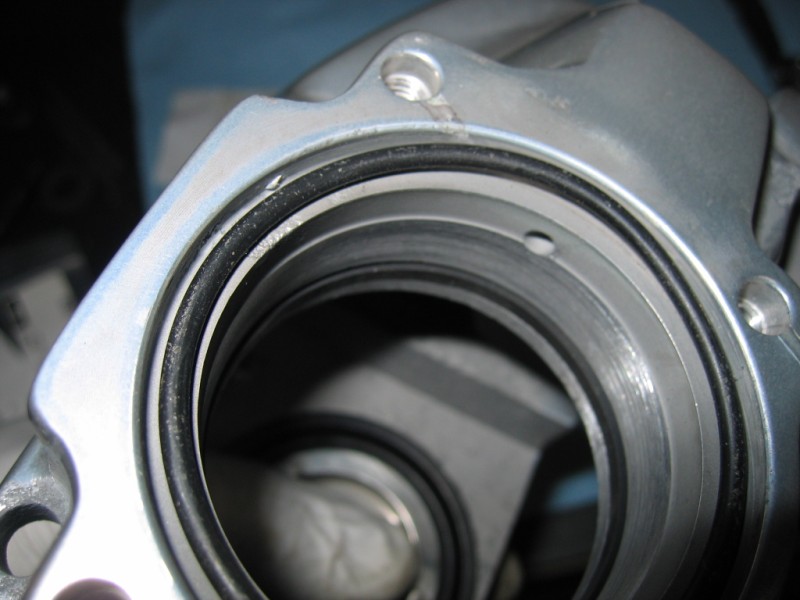
OK... here's a better picture of a late model dichromate S-Caliper:
Now that we've gone through all the formal introductions let's get back to ripping apart Mark's calipers.
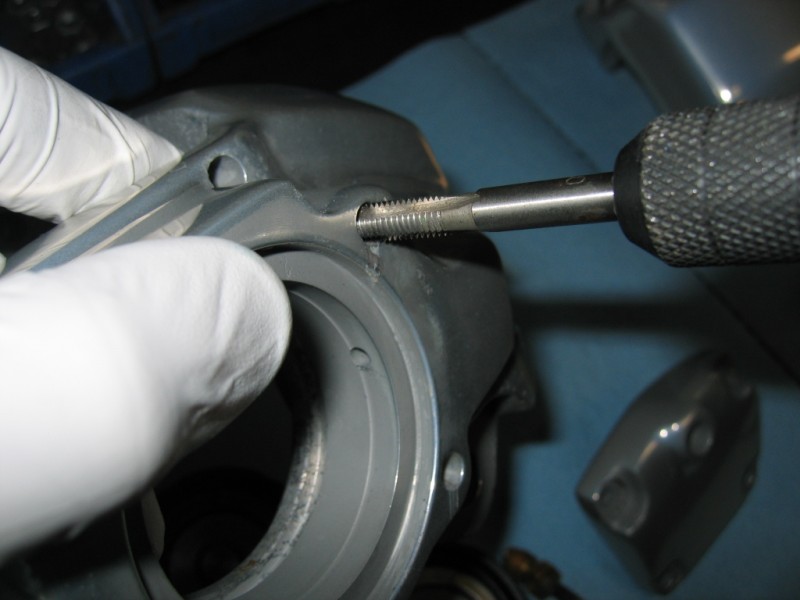
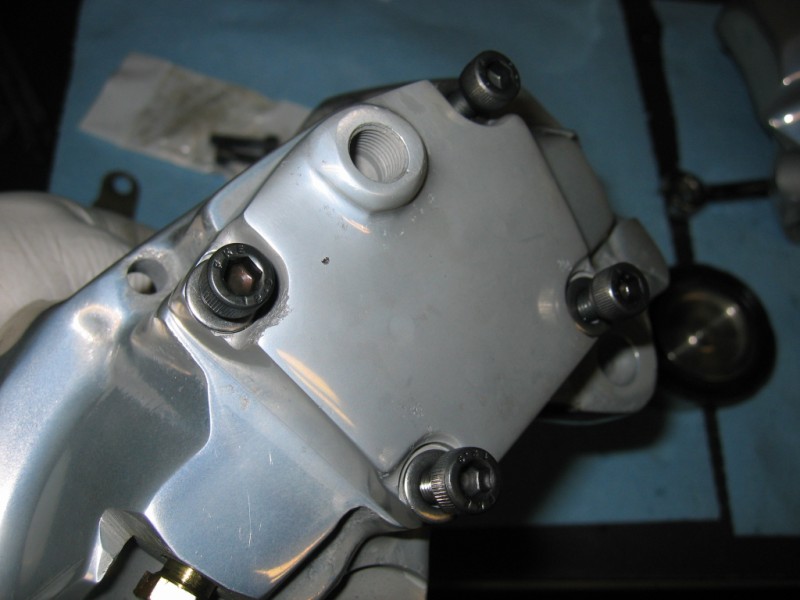
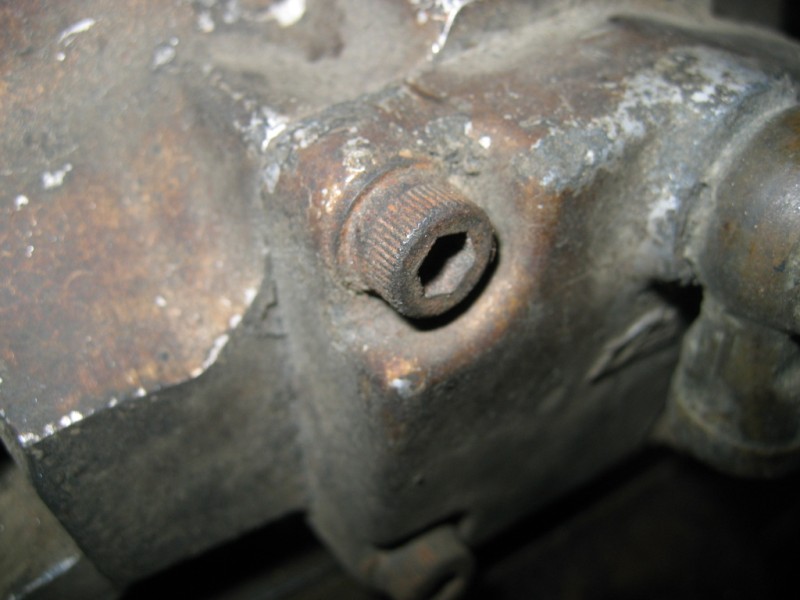
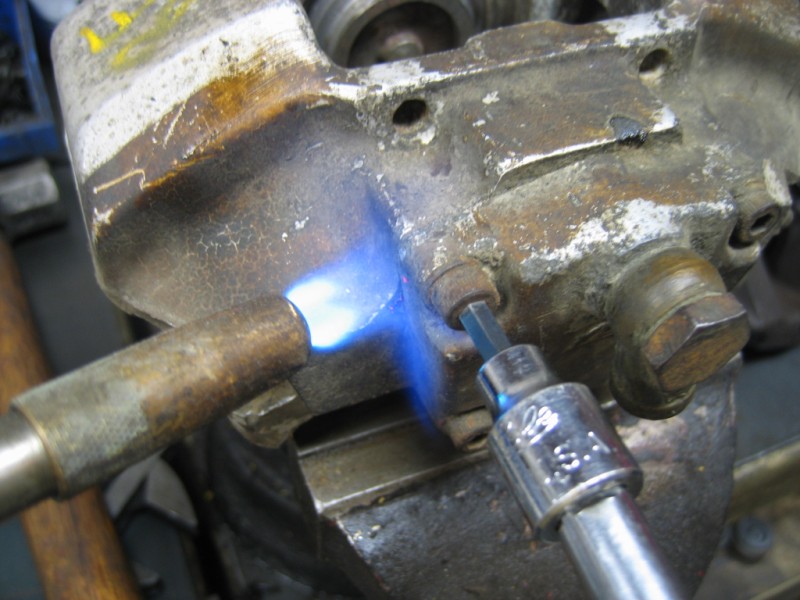
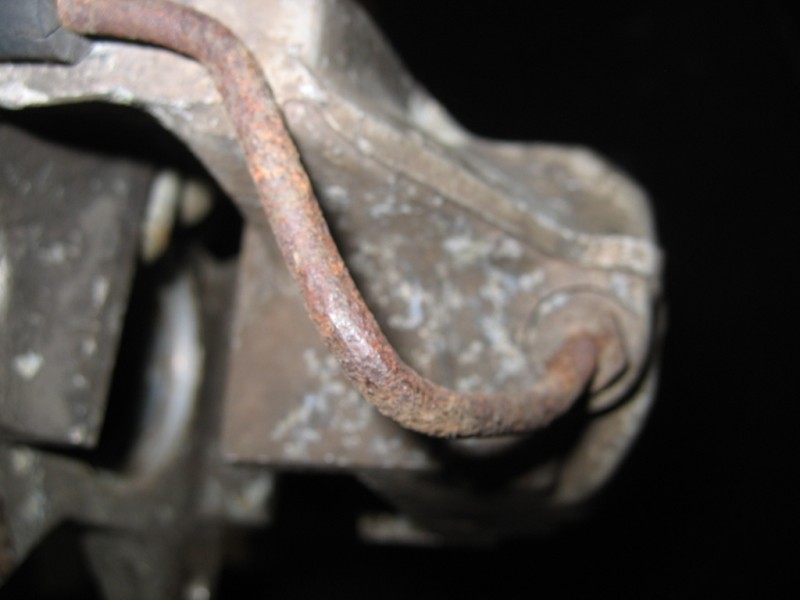
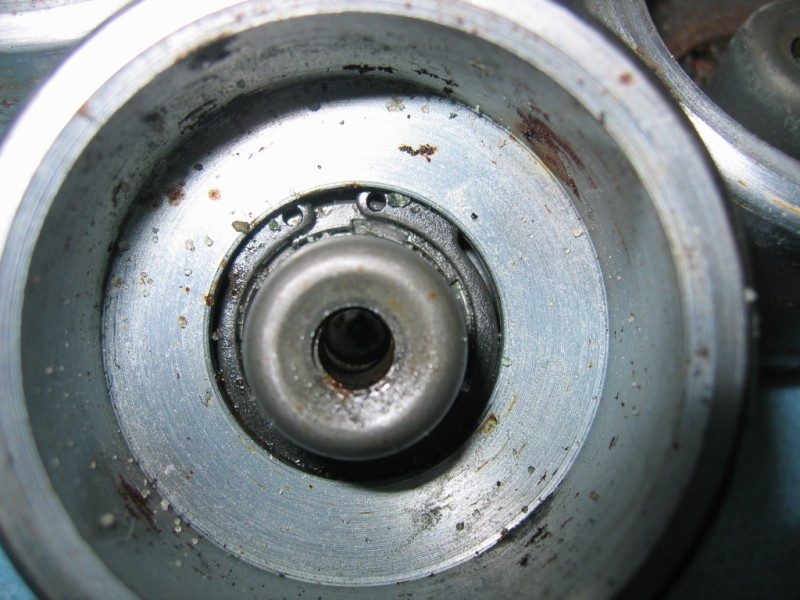
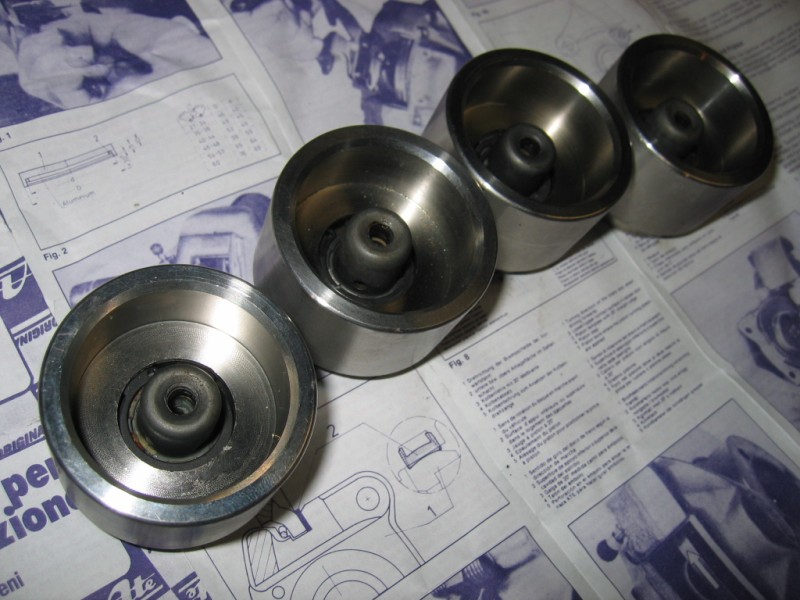
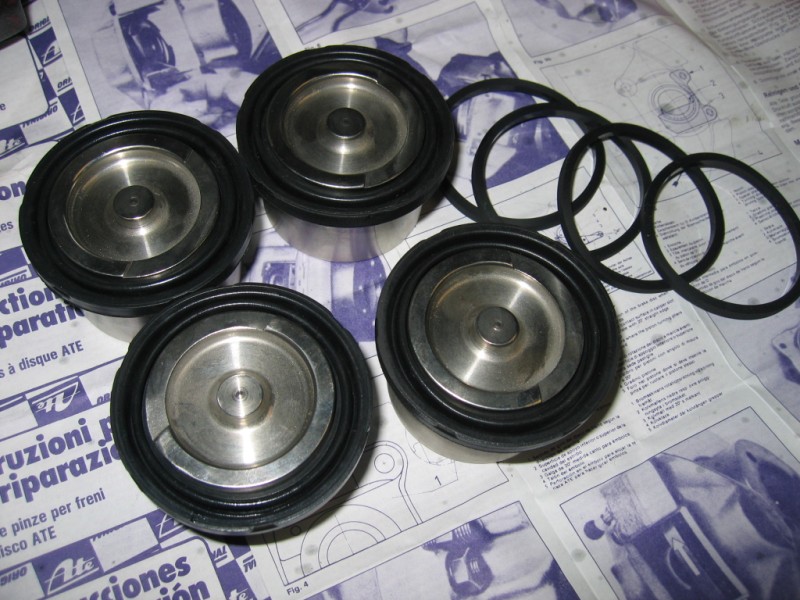
The first order of the day is to get them apart. The pictures miss a step because it's best to take the banjo fitting off straight away. Next we dig into the fluid inlet covers. These are secured with (4) 5mm hex caps. Not a great bolt size when faced with years of dissimilar metal fusion:
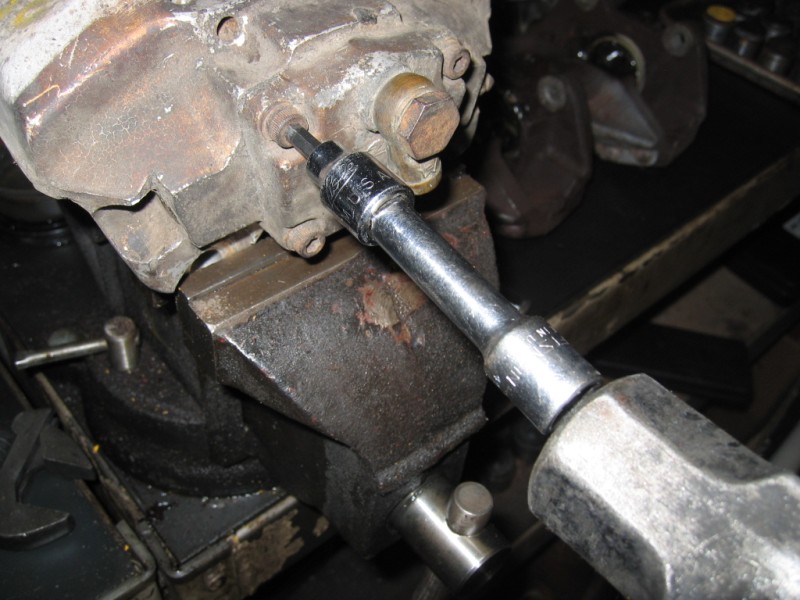
This is why I recommend tapping the 5mm key into the head with a hammer to ensure a solid seat...:
...and, our good friend Mr. MAPP torch:
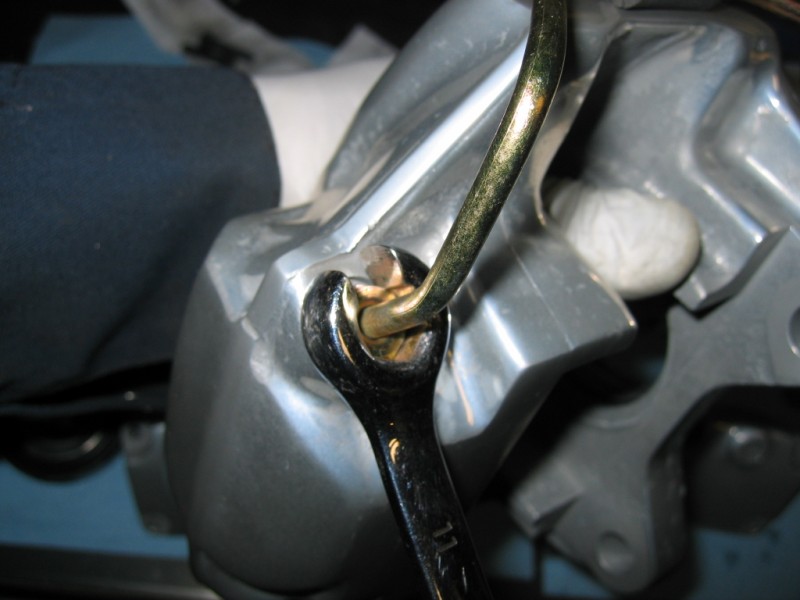
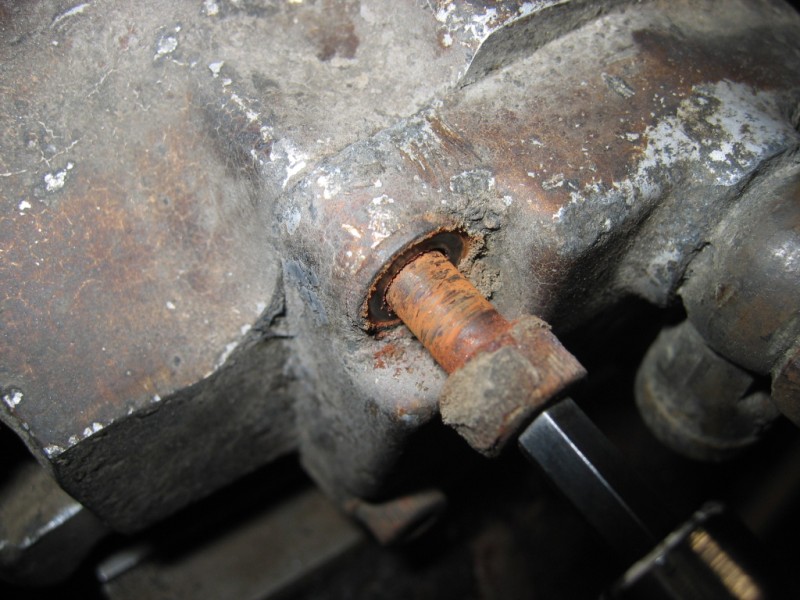
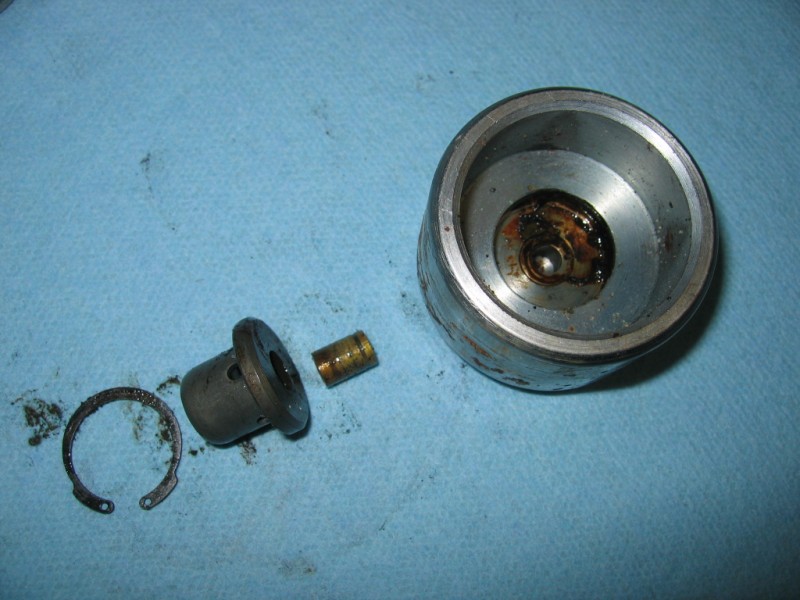
It's best to heat the housing on the caliper where the bolt goes in. The heat will help snap the bond that has been built up between steel and aluminum over nearly 40 years. Even then, we had to perform major surgery on one of Mark's bolts. Massive amounts of heat and impact wrenches still couldn't budge one of the fasteners. This requires a delicate procedure of literally cutting the head off right at the washer, then pulling the inlet cover off and using Vise Grips (factory of course) to remove the remainder of the fastener from the caliper body and yes, we've gotten some in that have been snapped off in the aluminum... fun.
And, out comes the fastener:


 Reply With Quote
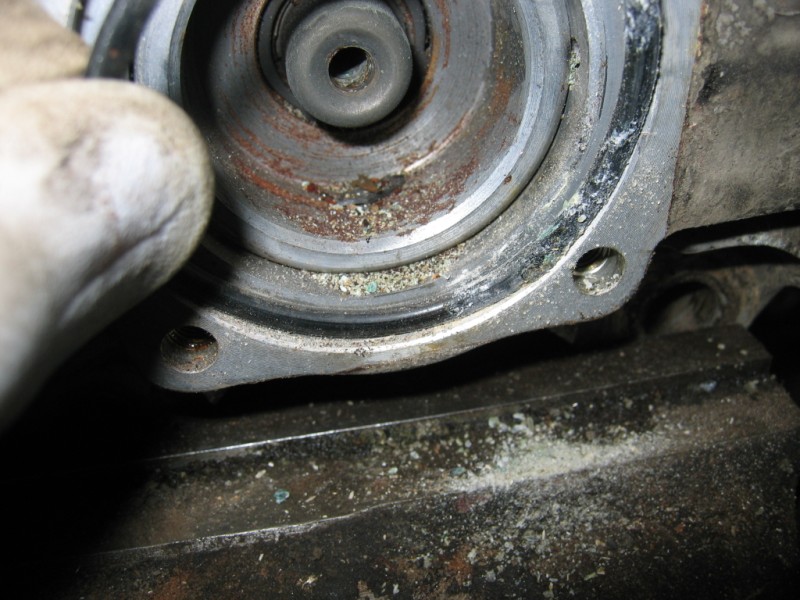


 ). They are a pain to bend but, I imagine it can be done. I tried to get a local brake specialty shop to do one years ago and they declined sighting legal issues. I have turned left ones into right ones before.