
Only saw this thread now, where it says Cm 2311 should be 2341 cc. Obviously a typo.
My 72 S is only slightly later than yours xxxxxx0614


Only saw this thread now, where it says Cm 2311 should be 2341 cc. Obviously a typo.
My 72 S is only slightly later than yours xxxxxx0614
another interesting fact. You should understand as a typographical error that a wrong number is ordered next to it but not a few. Given this I wonder. Was this displayed document filled out by a person? Or is it a report that launches the porsche database without any input from people ..?Originally Posted by majordad

regarding the vehicle! do you have any post open here? I will be delighted to see photos! I have found few vehicles close to mine. Bad search on my part!
Baudett // https://www.instagram.com/Baudett_canarias/
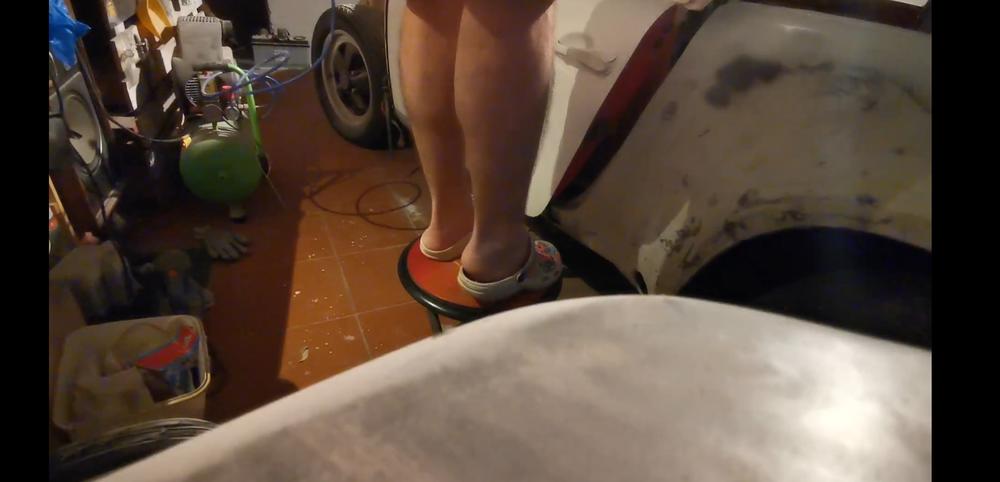
I have managed to configure the gun to fire wet ... I added more solvent and this time it worked correctly apart, it gave me the impression that the compressor performed better per shot! I can assume that by throwing out more product more stretched I have led to the perception that it works more. By the way, adding more thinner despite my thinking also lasts less mixing! I also understand that being more liquid the mixture flowed better hence I will run out sooner. In theory, I was going to use half a kilo of background but I think I'll be pretty short. What do you recommend? From my point of view I prefer to give good layers of this product to give more protection but I do not know if thickening this layer with several coats is a suitable method.
Baudett // https://www.instagram.com/Baudett_canarias/
rather than putting a lot on the entire car and then shaping the car out of that. i prefer to put on a good heavy coat and then shape/sand until the higher flaws show.. then i asses weather the higher flaws need to be metal worked/bumped with hammer and dolly or adjacent area needs extra filling. This method takes more time but it tends to produce a truer shape of the car. Do not worry about needing thickness to protect. The paint job is what protects the car metal.
The process you indicate is the one I want to follow. Until now I was working as follows: I gave a base coat and sand to remove the "orange peel" since if I put the bottom on top of it without sanding it, it would make me orange peel. Therefore I sanded and went back to throwing bottom. Until I give it another coat of background I will not sand. And I will only sand when everything is well anchored and I have plenty of material to work with sandpaper! One question and I know it depends a lot on the thickness. But, once the rigging is done well. What sandpaper would you start with? 220? and then the rest to the water? What size of block is advisable to make the door? Salds
when I try to learn, I try to learn from the "I consider" the best at this ...
https://www.instagram.com/carrejuan81/?hl=es
the flare is not finished! And I'm also testing "a botch" ... I learned it from "pepe el a thousand professions" you can look it up on youtube (I also go to that level of knowledge) and to cover small pores, he recommends using the high thickness filler without solvent to cover it ! It's a small pore and I didn't want to be messing with the spatulas. What do you think of this method?
I also have a problem with the framing of the pilot's door! As you can see at the top of the door! It's higher than the flare! So, I thought about closing the door and putting putty! Starting from the door so that it takes the right shape! Then I'll break the putty (that's my theory to fix this) any other theory? I would understand that the door is off square but according to my inexperienced eye on this, I think that if it is square and the unevenness is the fault of the blow on the flare! But I'm scared trying to level that with putty! Have to add enough putty to hide the shape! When I can I will put images closer to that point!
**I also have an extensive text explaining how I could fix the flare but that's for another post ... I can't give it the right way !! Quite complicated according to my knowledge. I will try later! Like everything! But seeing the car from the front, I can't make the two flares look the same. I thought at one point that it was due to the oil gate but you see it so many times that you don't even know what you see!
I definitely have to improve the lighting in the place. Any ideas? Central spotlights or better in the corners? I have quite nice ceiling beams! And I don't know what to do with them. If anyone has ideas ...
things have changed since then ... But the ceiling remains the same xD!
+*the other side of the vehicle is without undercoat!
Last edited by _gonbau; 01-26-2021 at 03:02 AM.
Baudett // https://www.instagram.com/Baudett_canarias/
I have not read all, but are you block sanding with the door handle on?
Yes.!!!!!!!Yesterday I was inspecting the place to remove it and I saw the two screws but I also saw that the entire lock had to be removed. So I decided to try it that way ... Let's see how it looks
Baudett // https://www.instagram.com/Baudett_canarias/
Remove. Handle. Now.
My father contacted porsche at the beginning of the year. About 5 days ago they asked us for more information about the consultation. DNI, vehicle documents, certificate etc! It should be noted that the query was made to porsche Germany and as always, porsche madrid norte responds, this, was the one who asked us for all the documentation and when I say all is all. I had never made a message with so much documentation linking the car and my father since I am interested in knowing why they want my father's ID among other information. Several days have passed since the message and several weeks since the first consultation. I have not gotten Porsche Germany to tell me anything but I am interested to know what Porsche Spain will say. With this I want to transmit. Once I have this answer. This last answer will be what it says is the vehicle. I'll park the topic. But I would like to have this last consultation with porsche, and to know what they say .. Despite what I have seen in my car. Definitely. That if this time porsche says that my vehicle is a 1969 targa with off-road wheels and missile launchers, there is no doubt about that, and there will be the vehicle, that's what the porsche is for! And for that they know what they make!
For my part and I hope for the people here! Let's follow the road of restoration without weighing the model of the vehicle ... I say this because I am already advanced in the restoration and I do not care (once I have seen what I have seen of the car) what they say The porsche ... Some foreros , etc...
I hope I was clear on this !!! Salds to All
**
In communications with porsche españa, before, the person who sent the message is identified. In current communications ... There is no name, only provenance.
Last edited by _gonbau; 07-09-2023 at 09:23 AM.
Baudett // https://www.instagram.com/Baudett_canarias/
apart from the two inside door screws. Do you have to withdraw something else? I see "plastics" that may be weak and I don't want them to split!
Baudett // https://www.instagram.com/Baudett_canarias/
 Posting Permissions

 Reply With Quote