At least now you can check the seat belt mount on the passenger long. It's often compromised.


At least now you can check the seat belt mount on the passenger long. It's often compromised.
A part isn't purchased until paid.
The 9 Store LLC.
For sure..and it needed to be done!
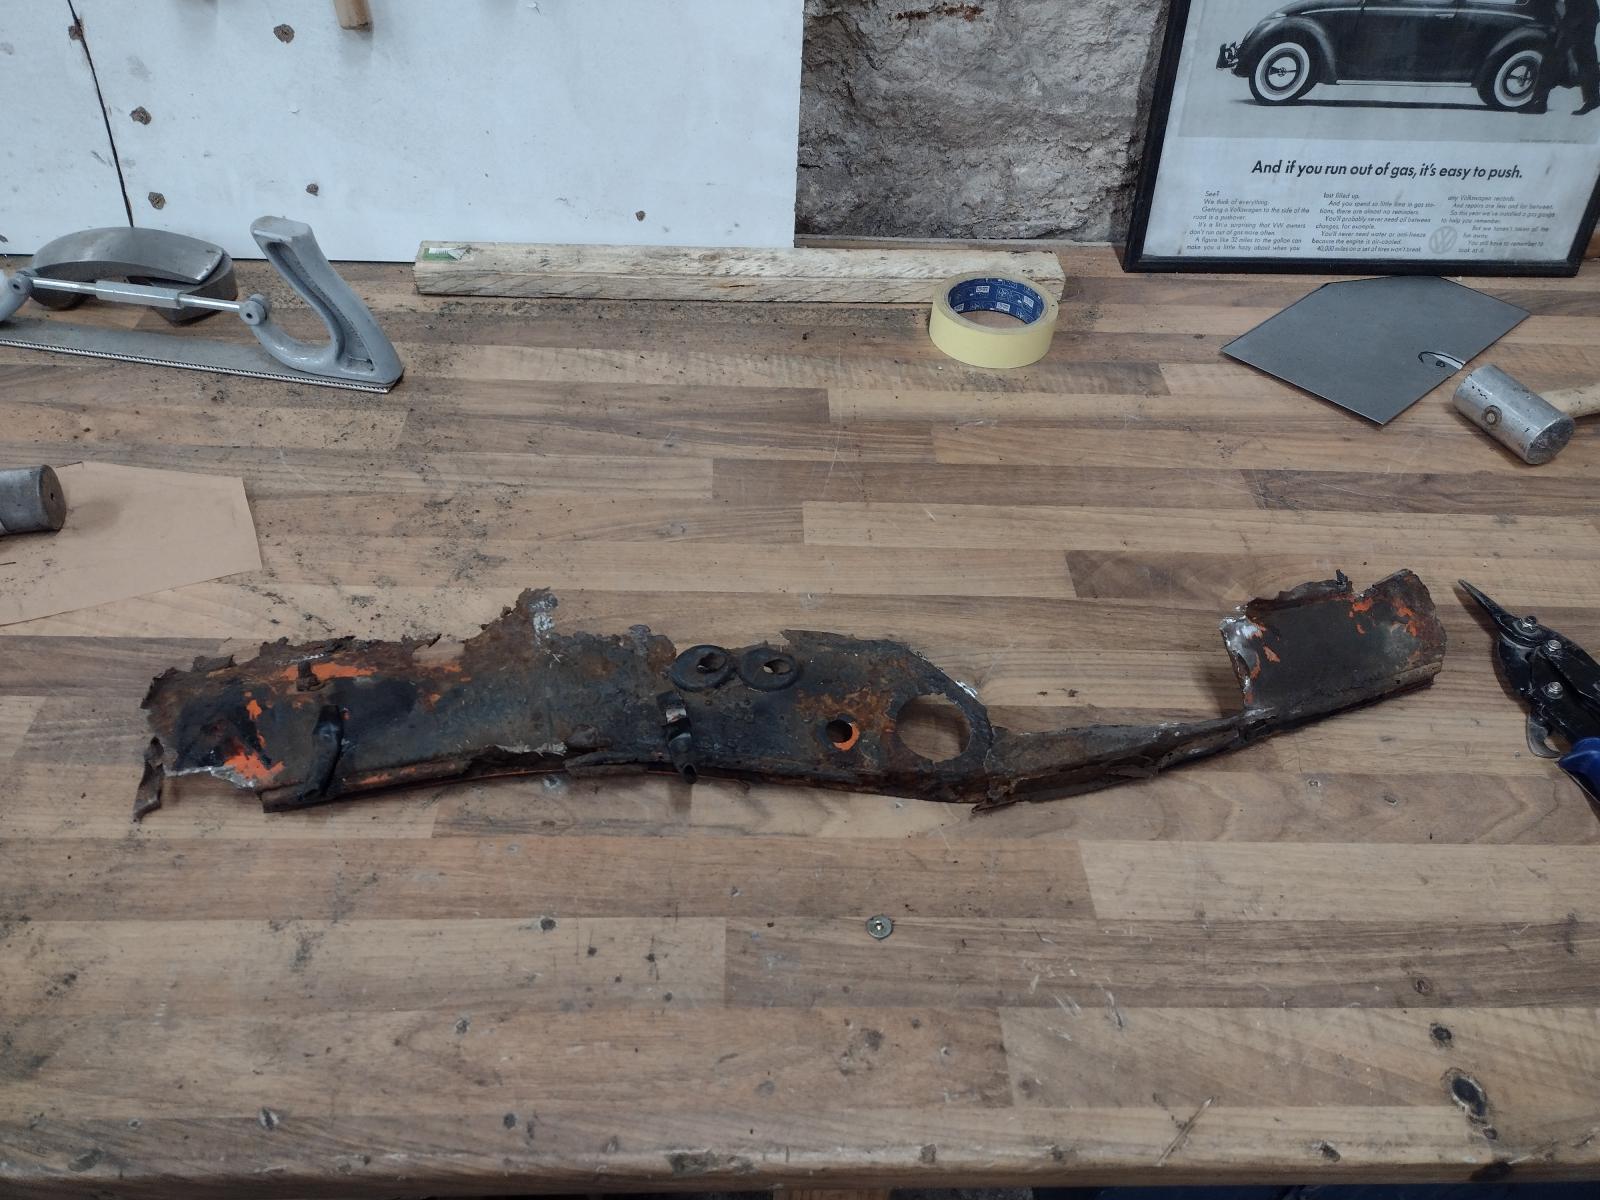
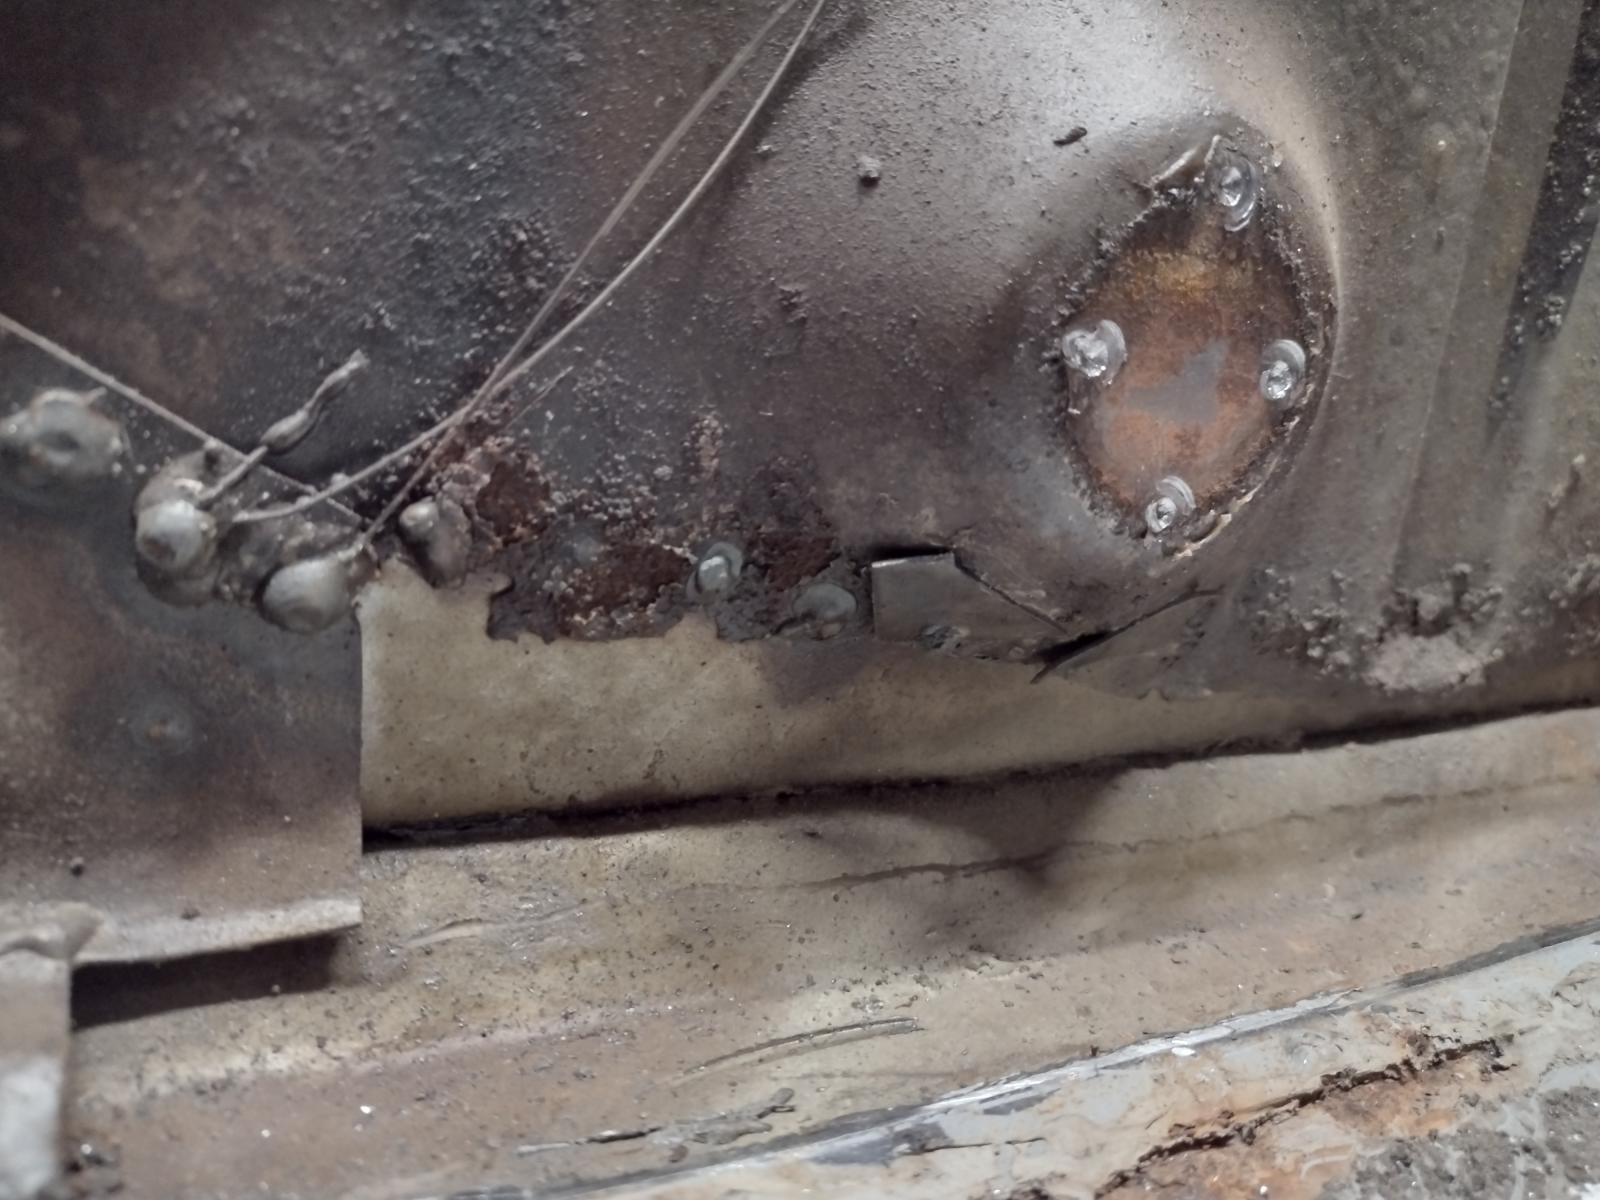
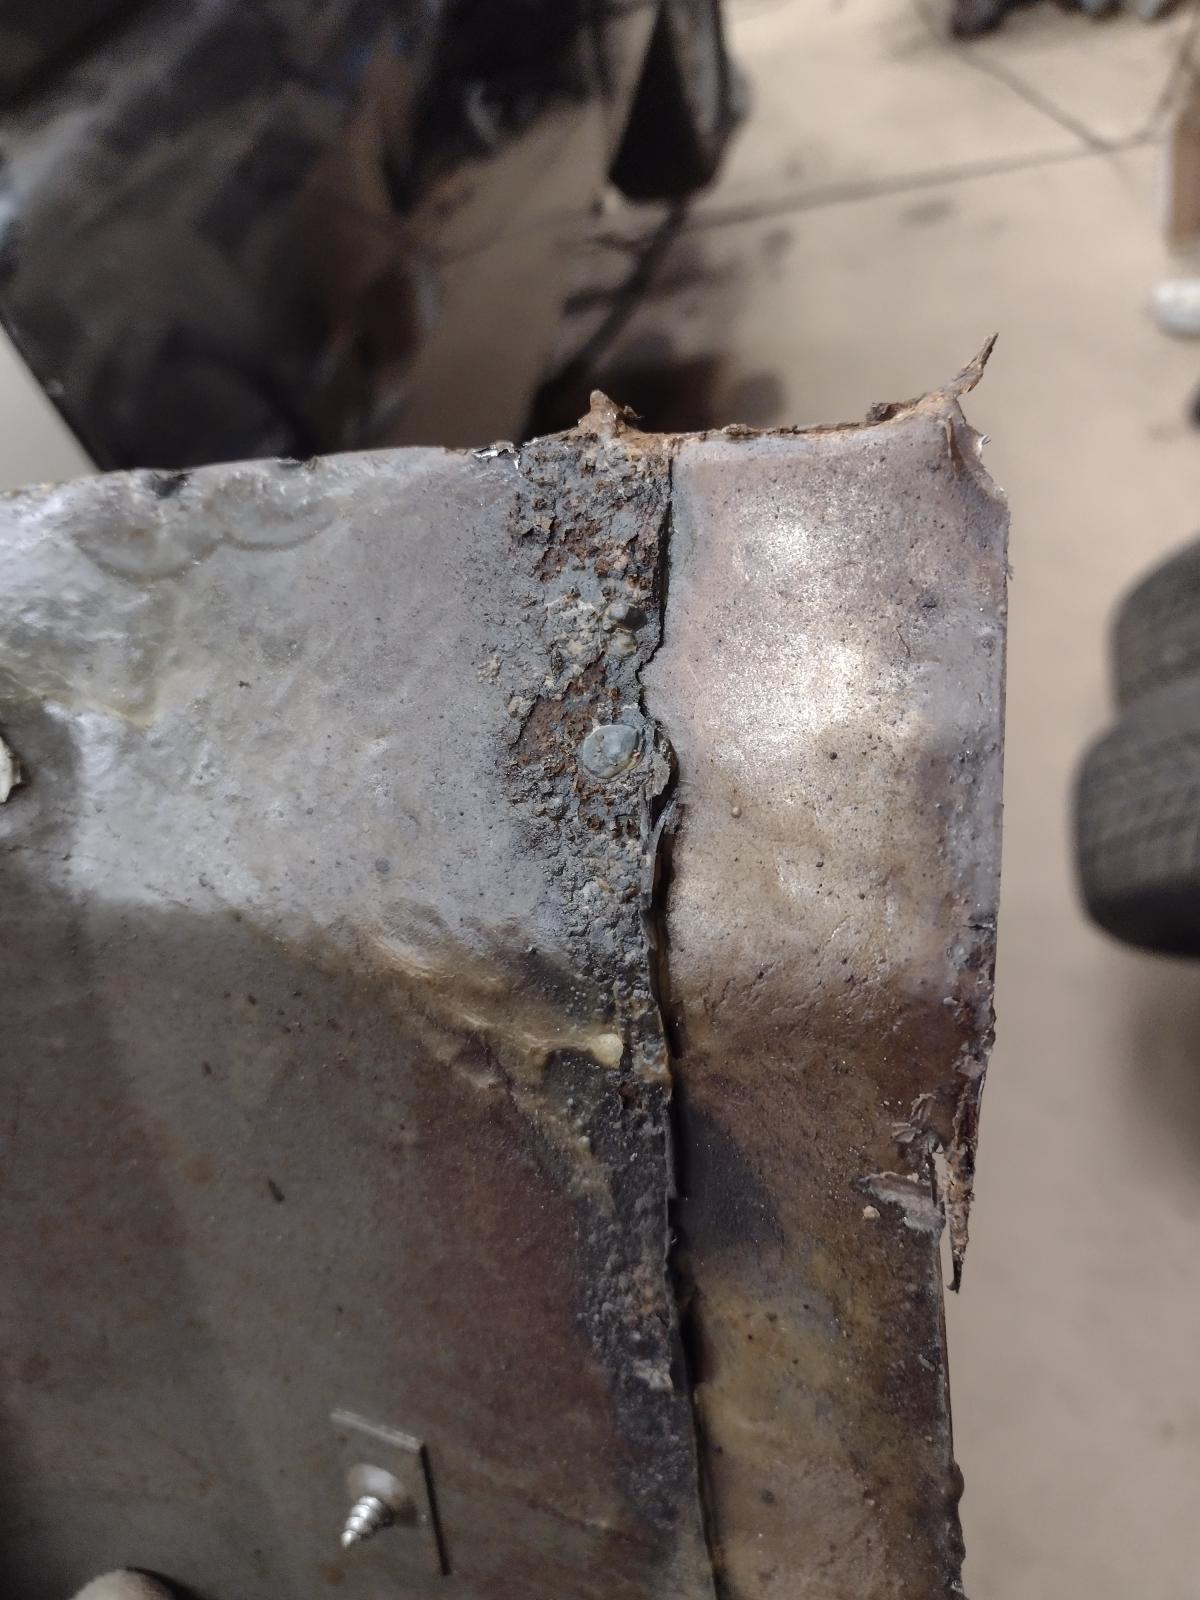
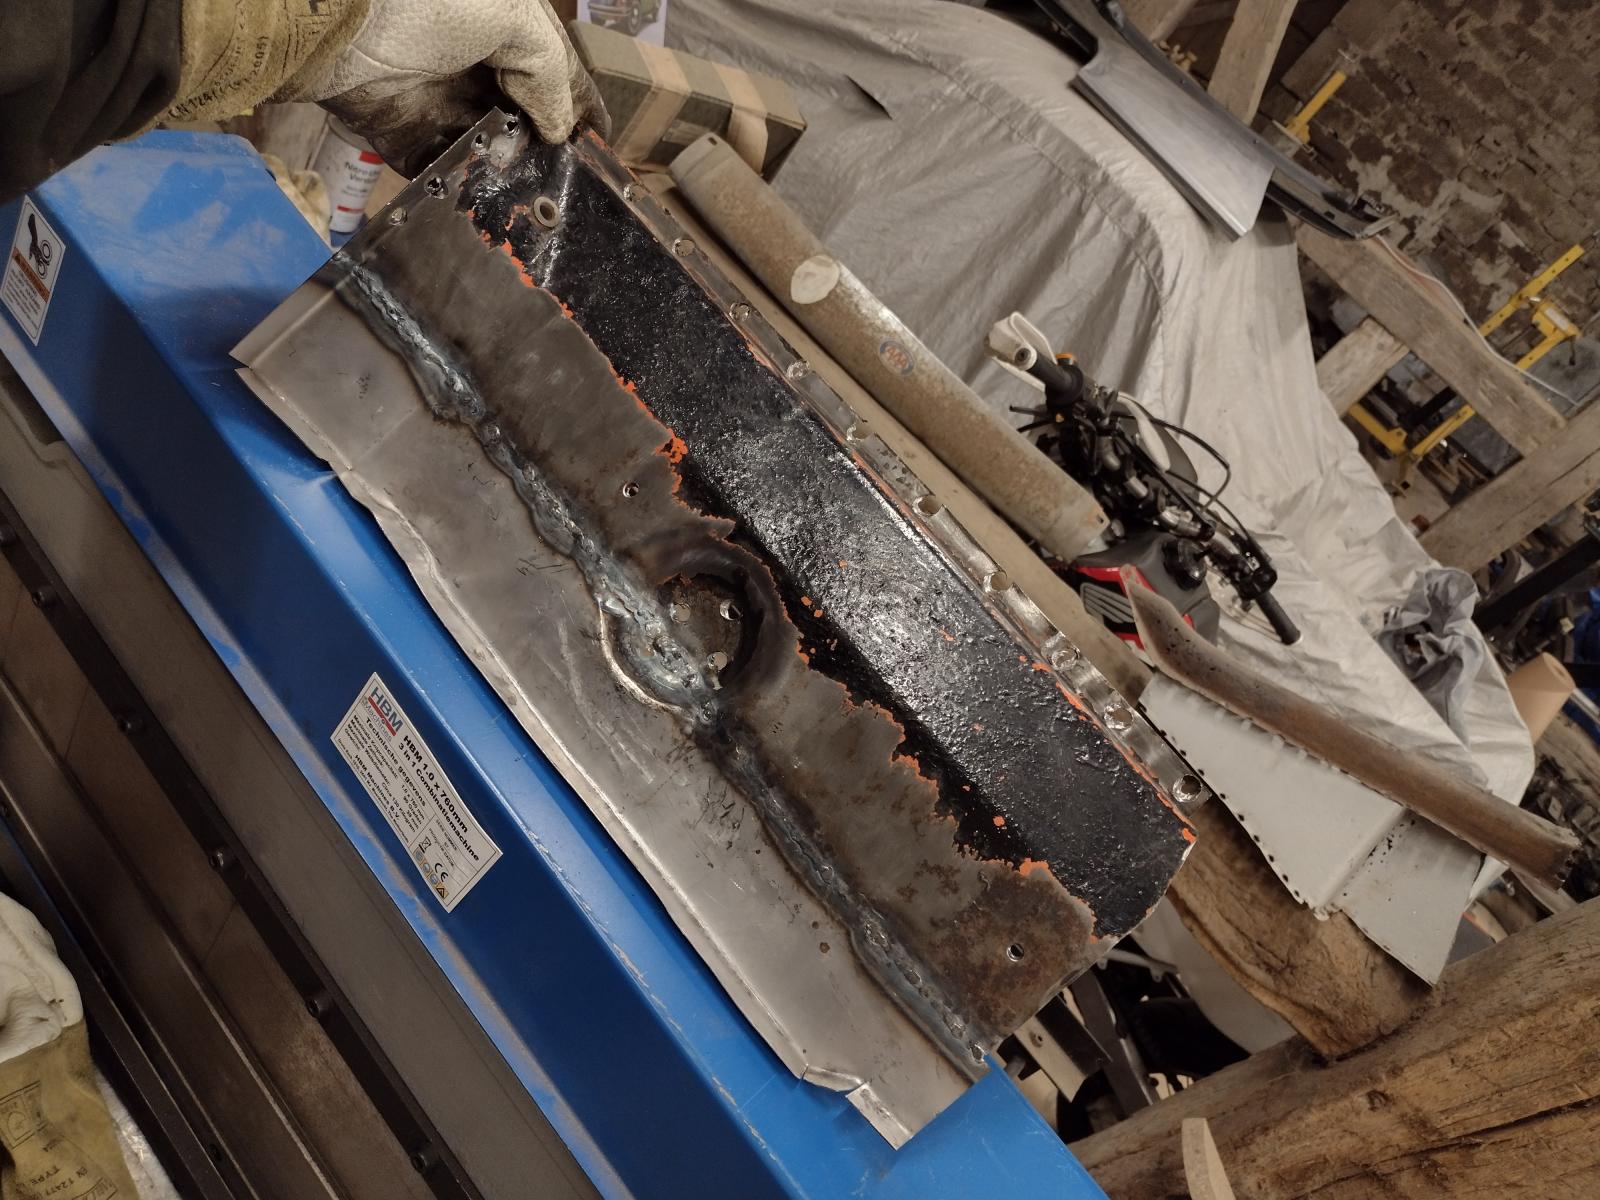
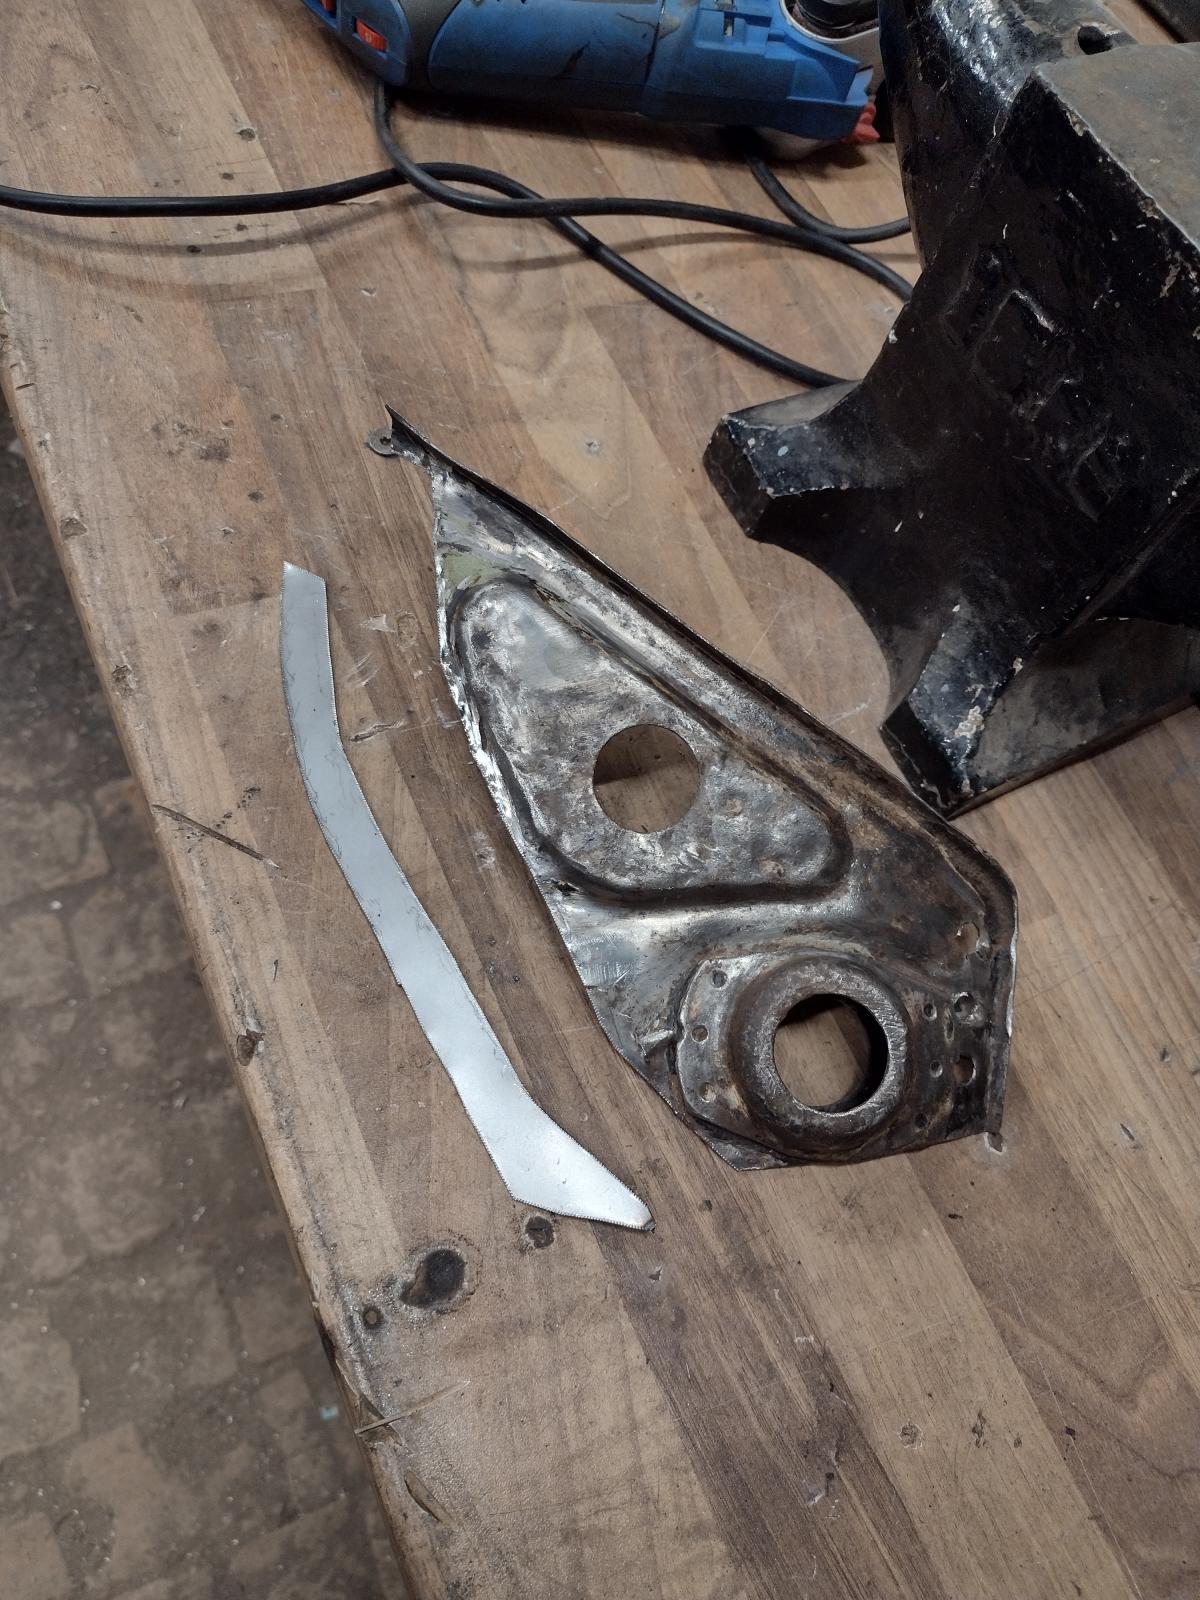
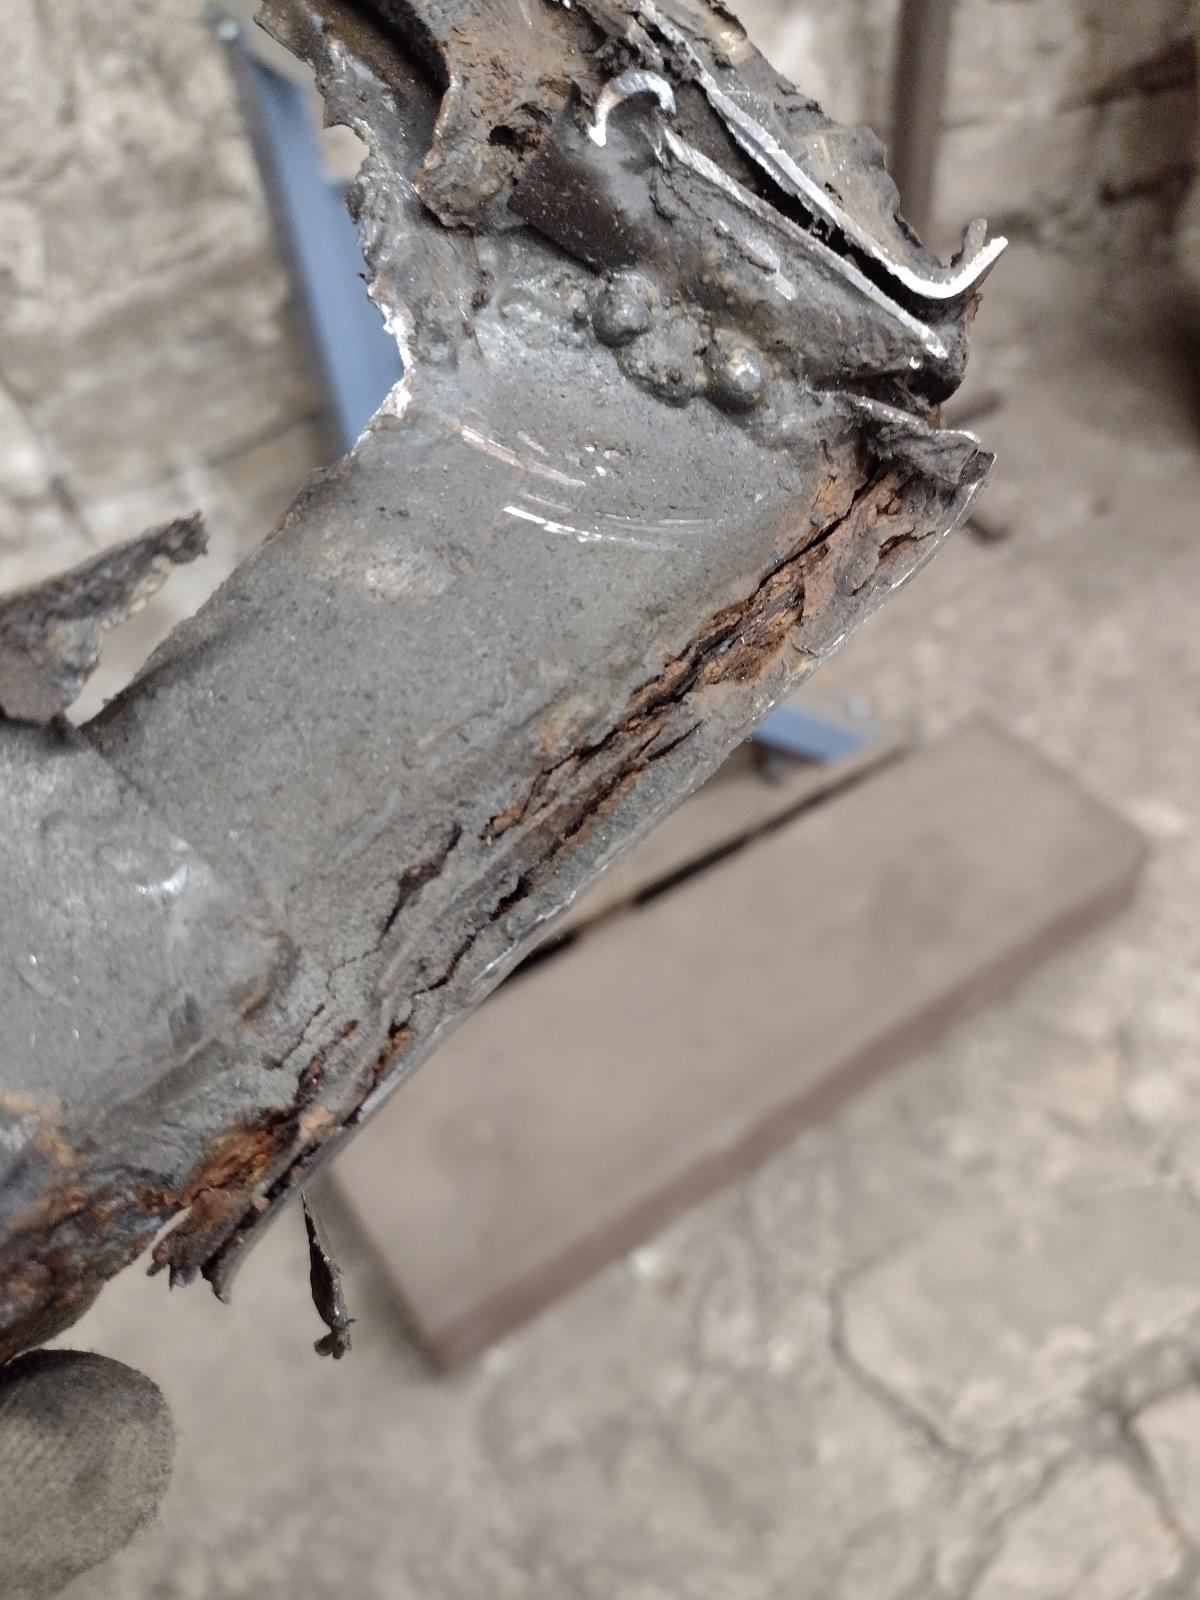
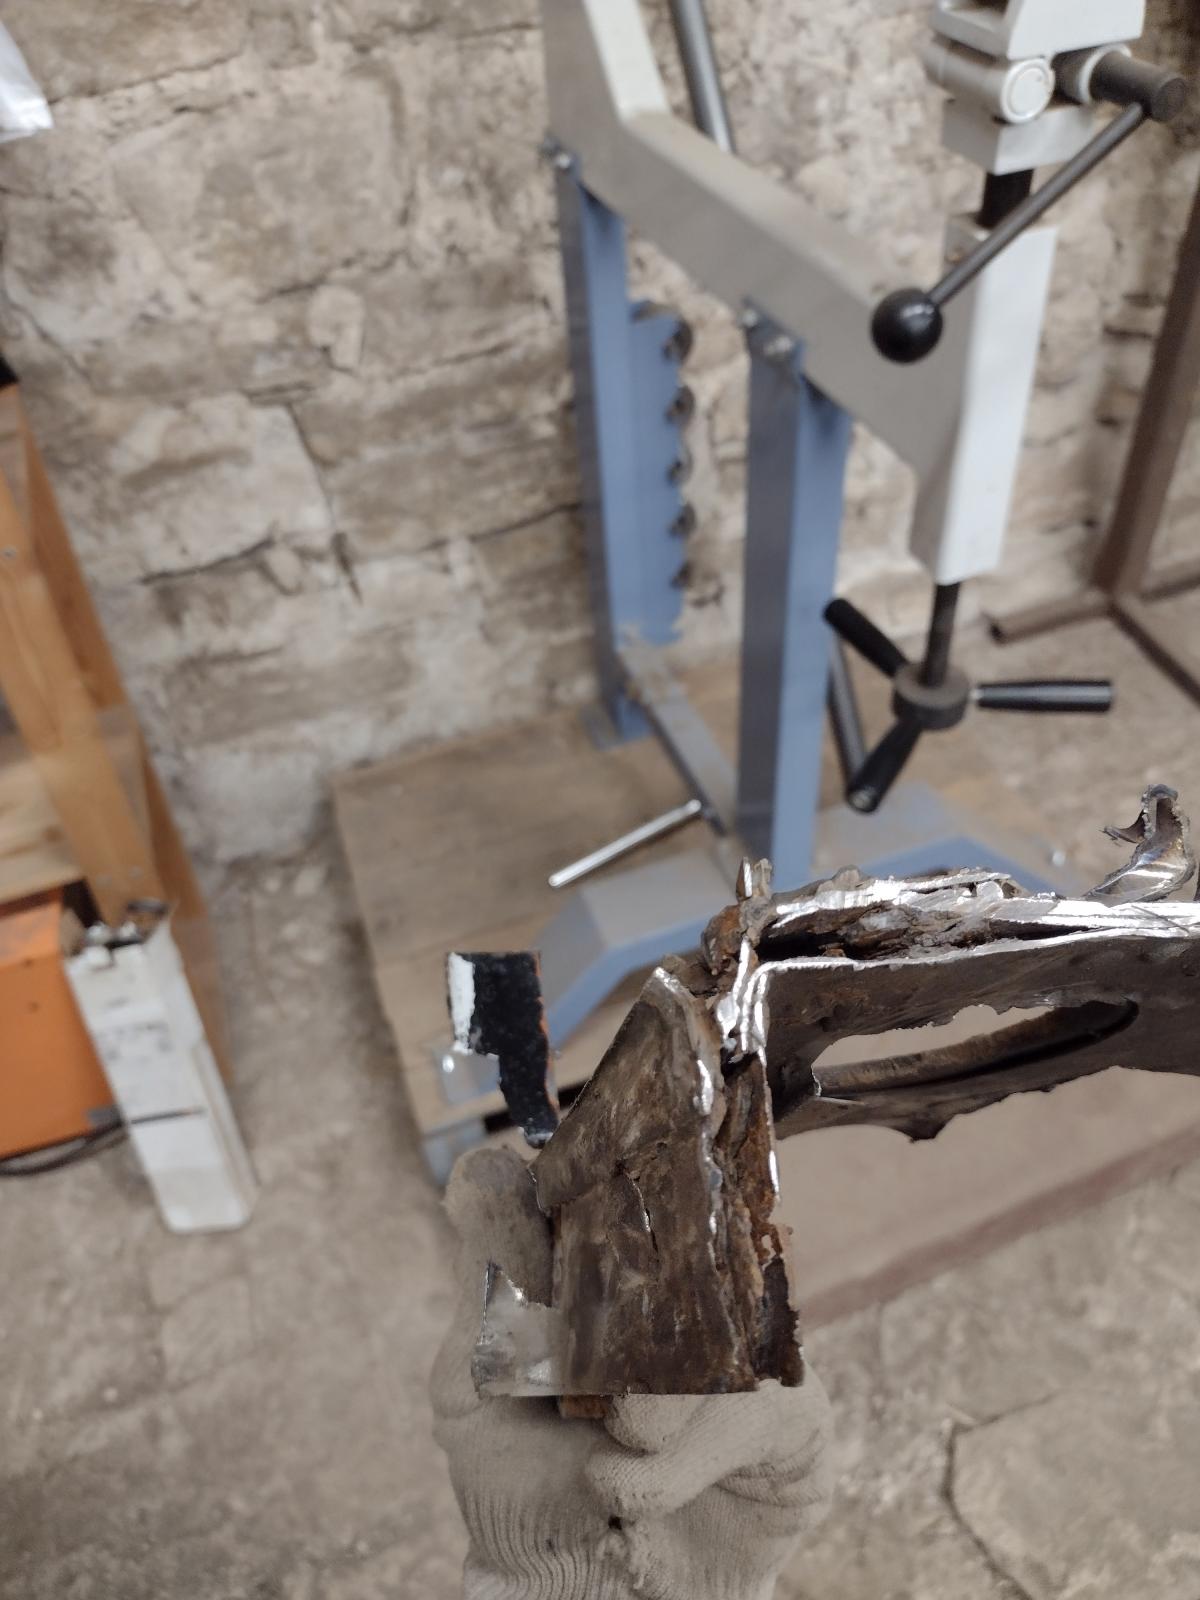
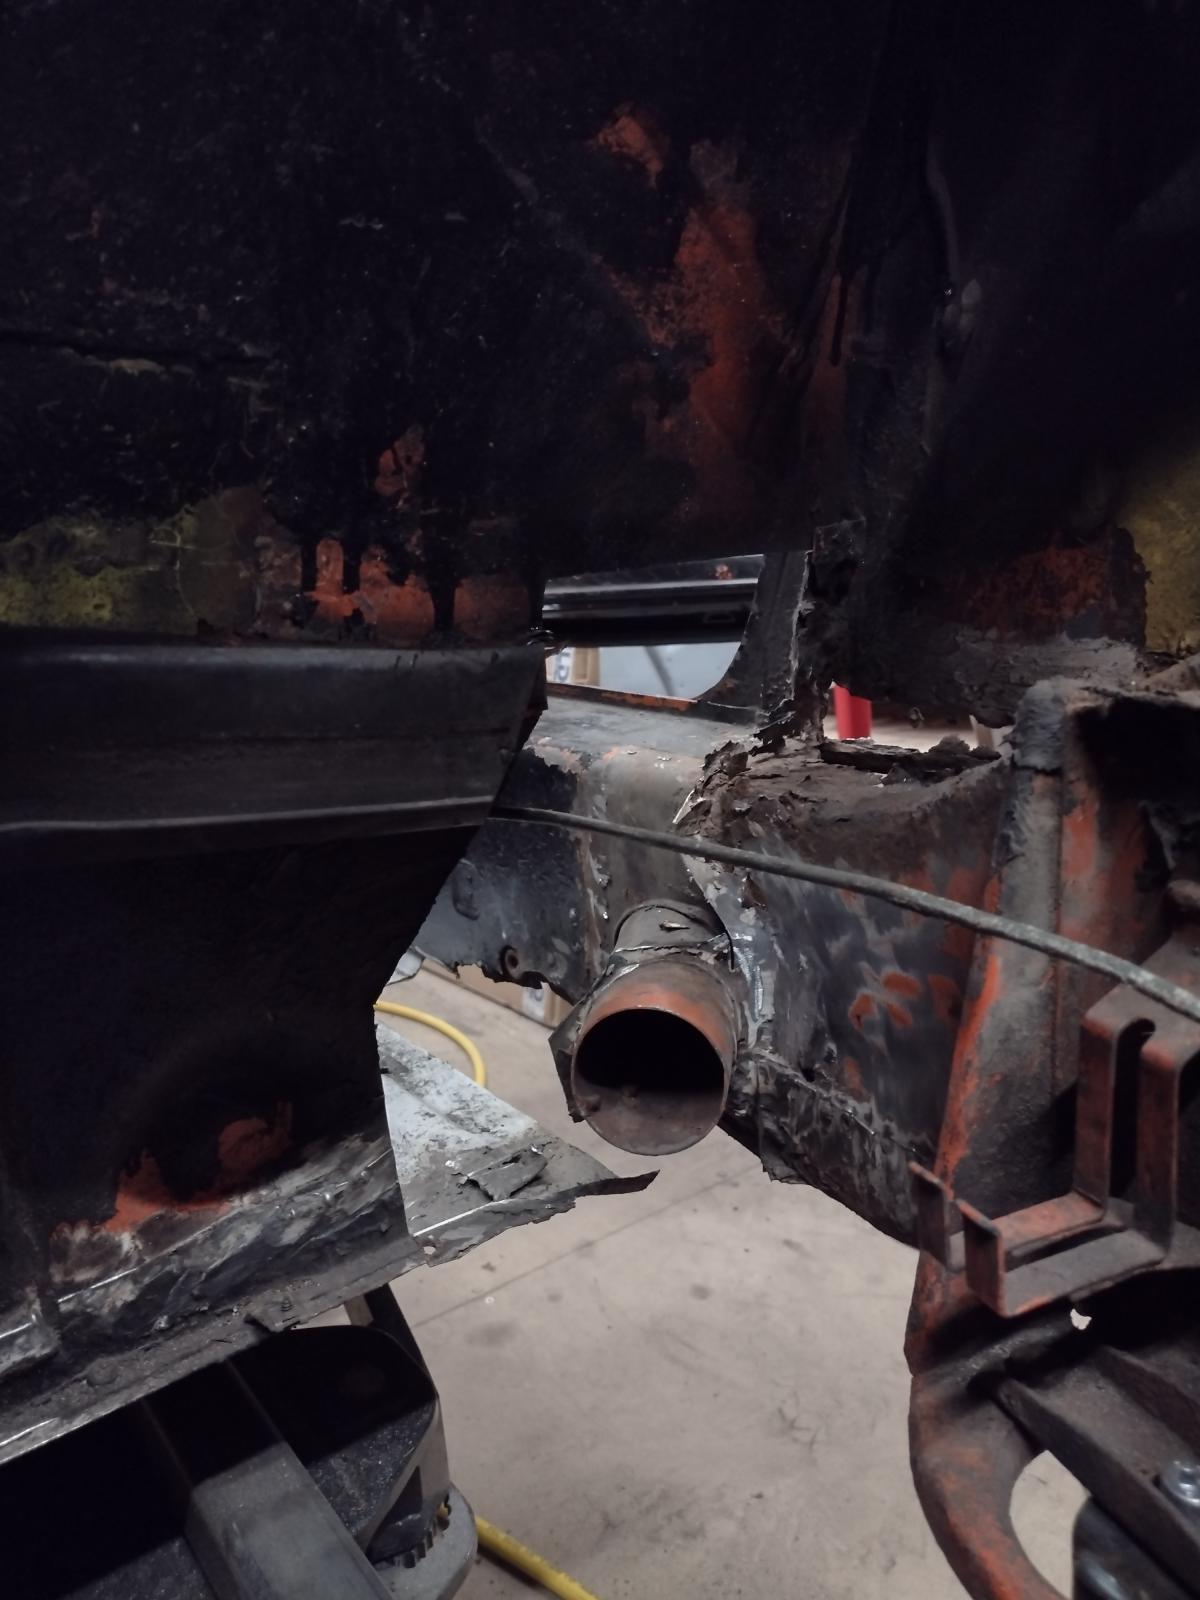
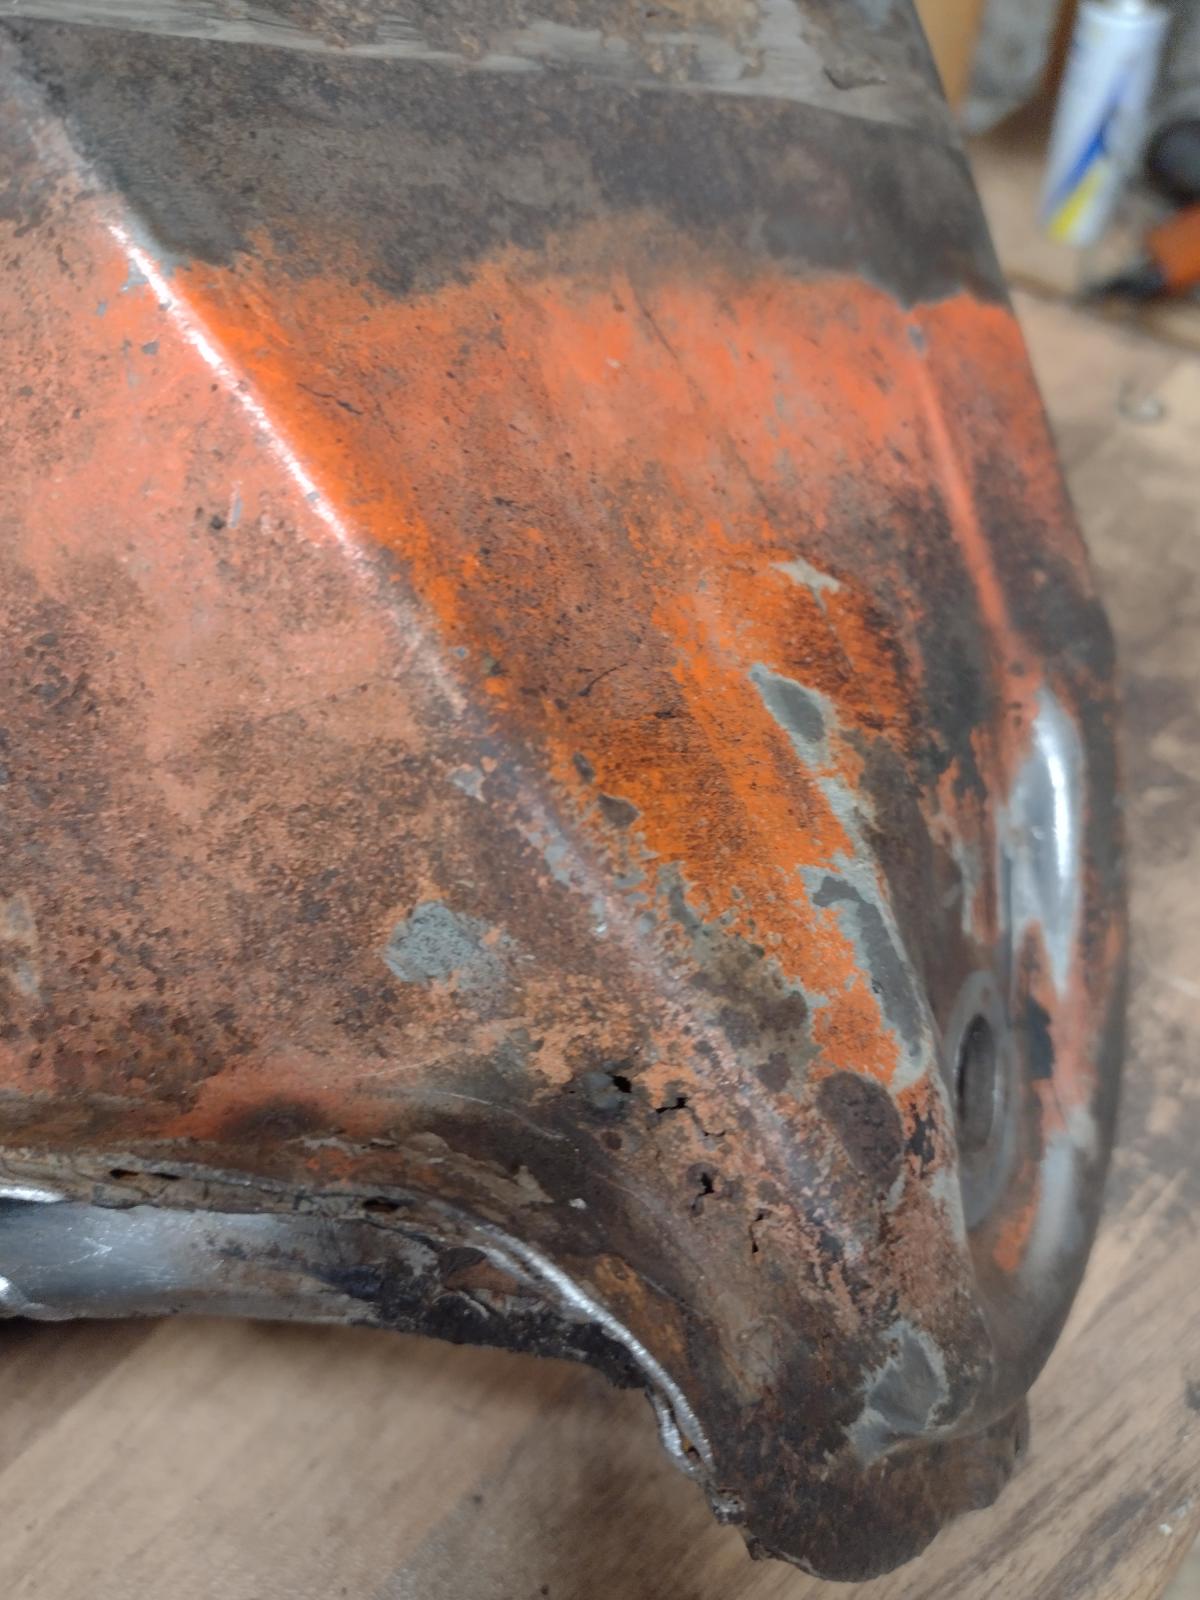
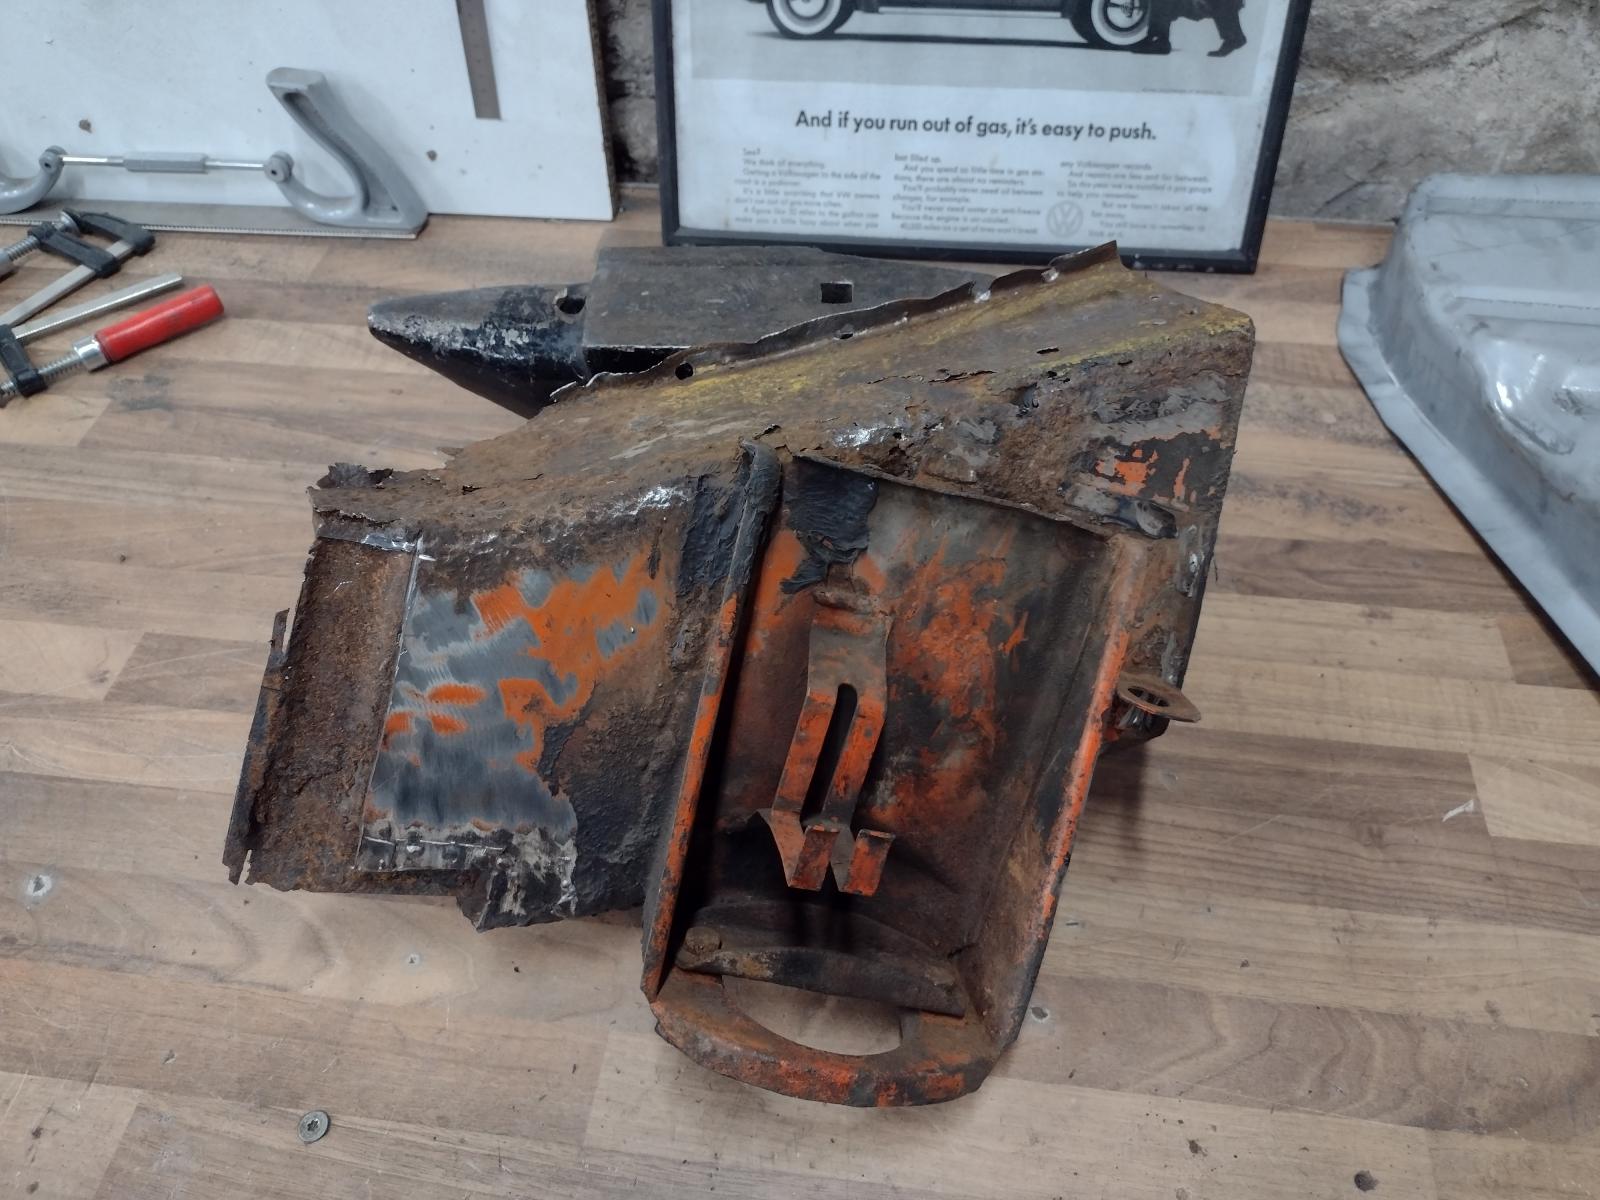
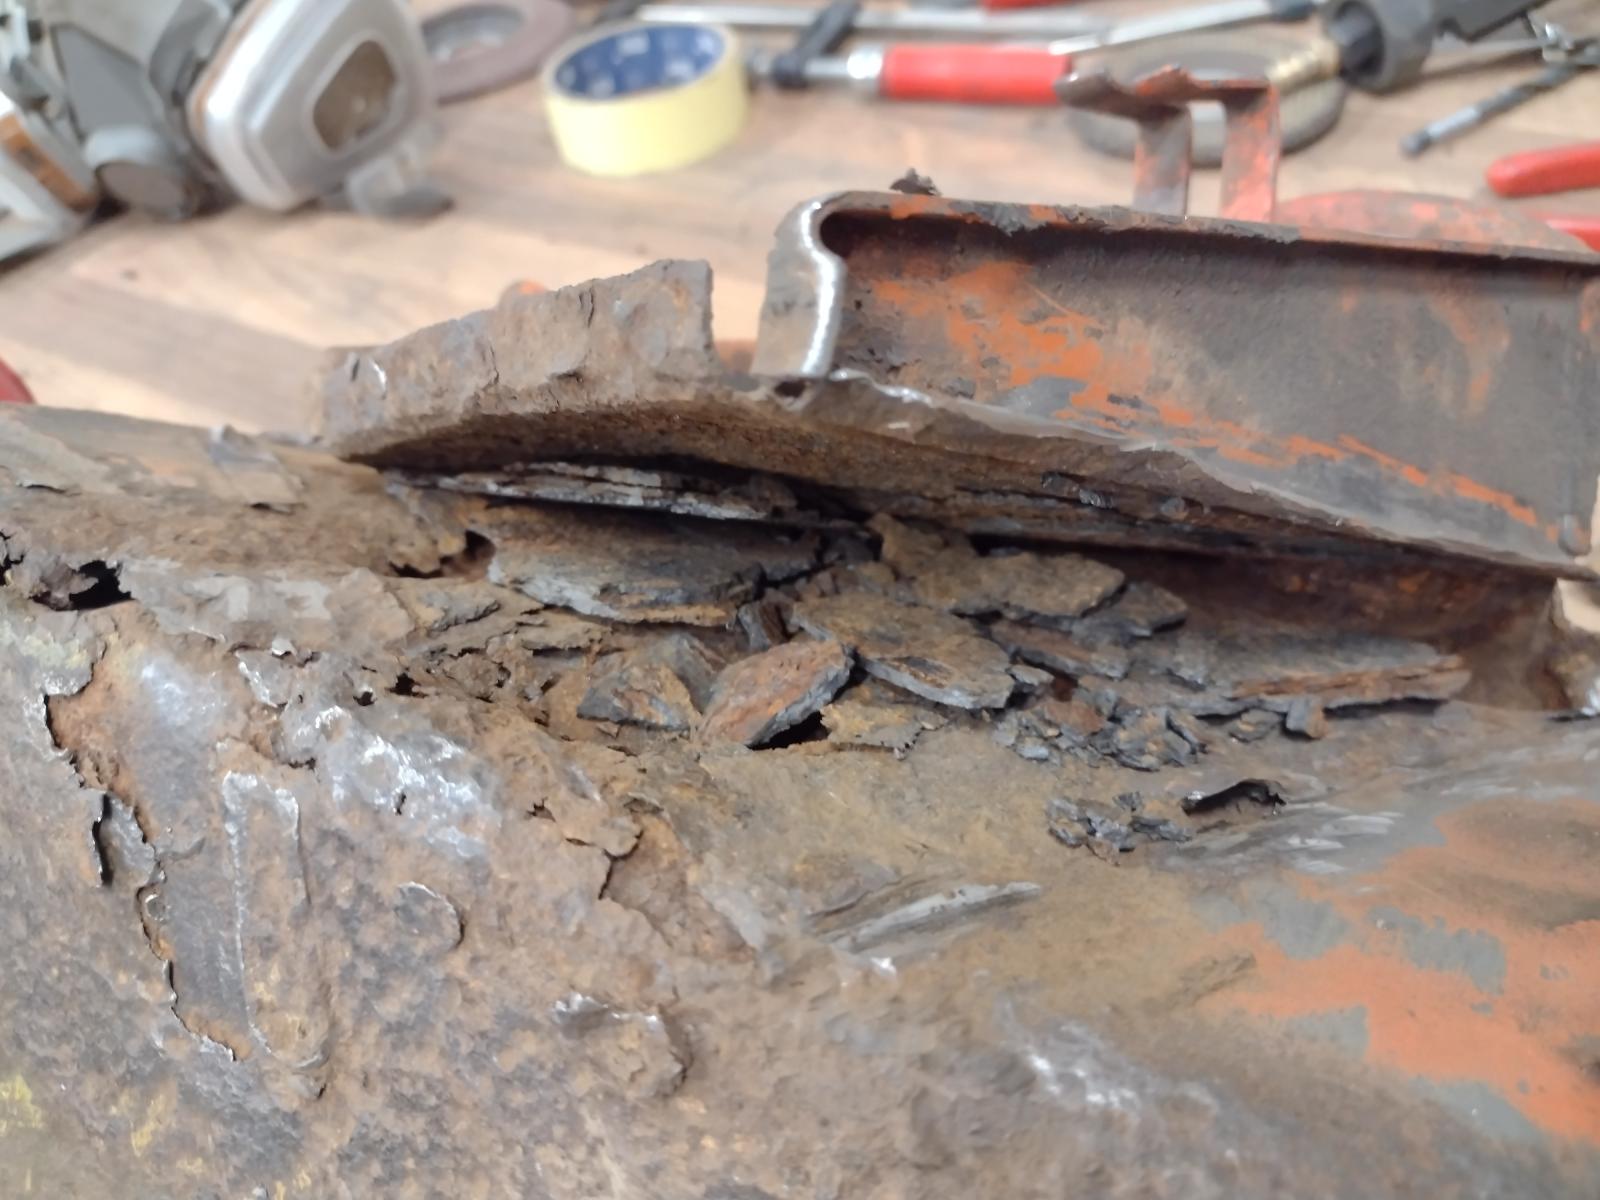
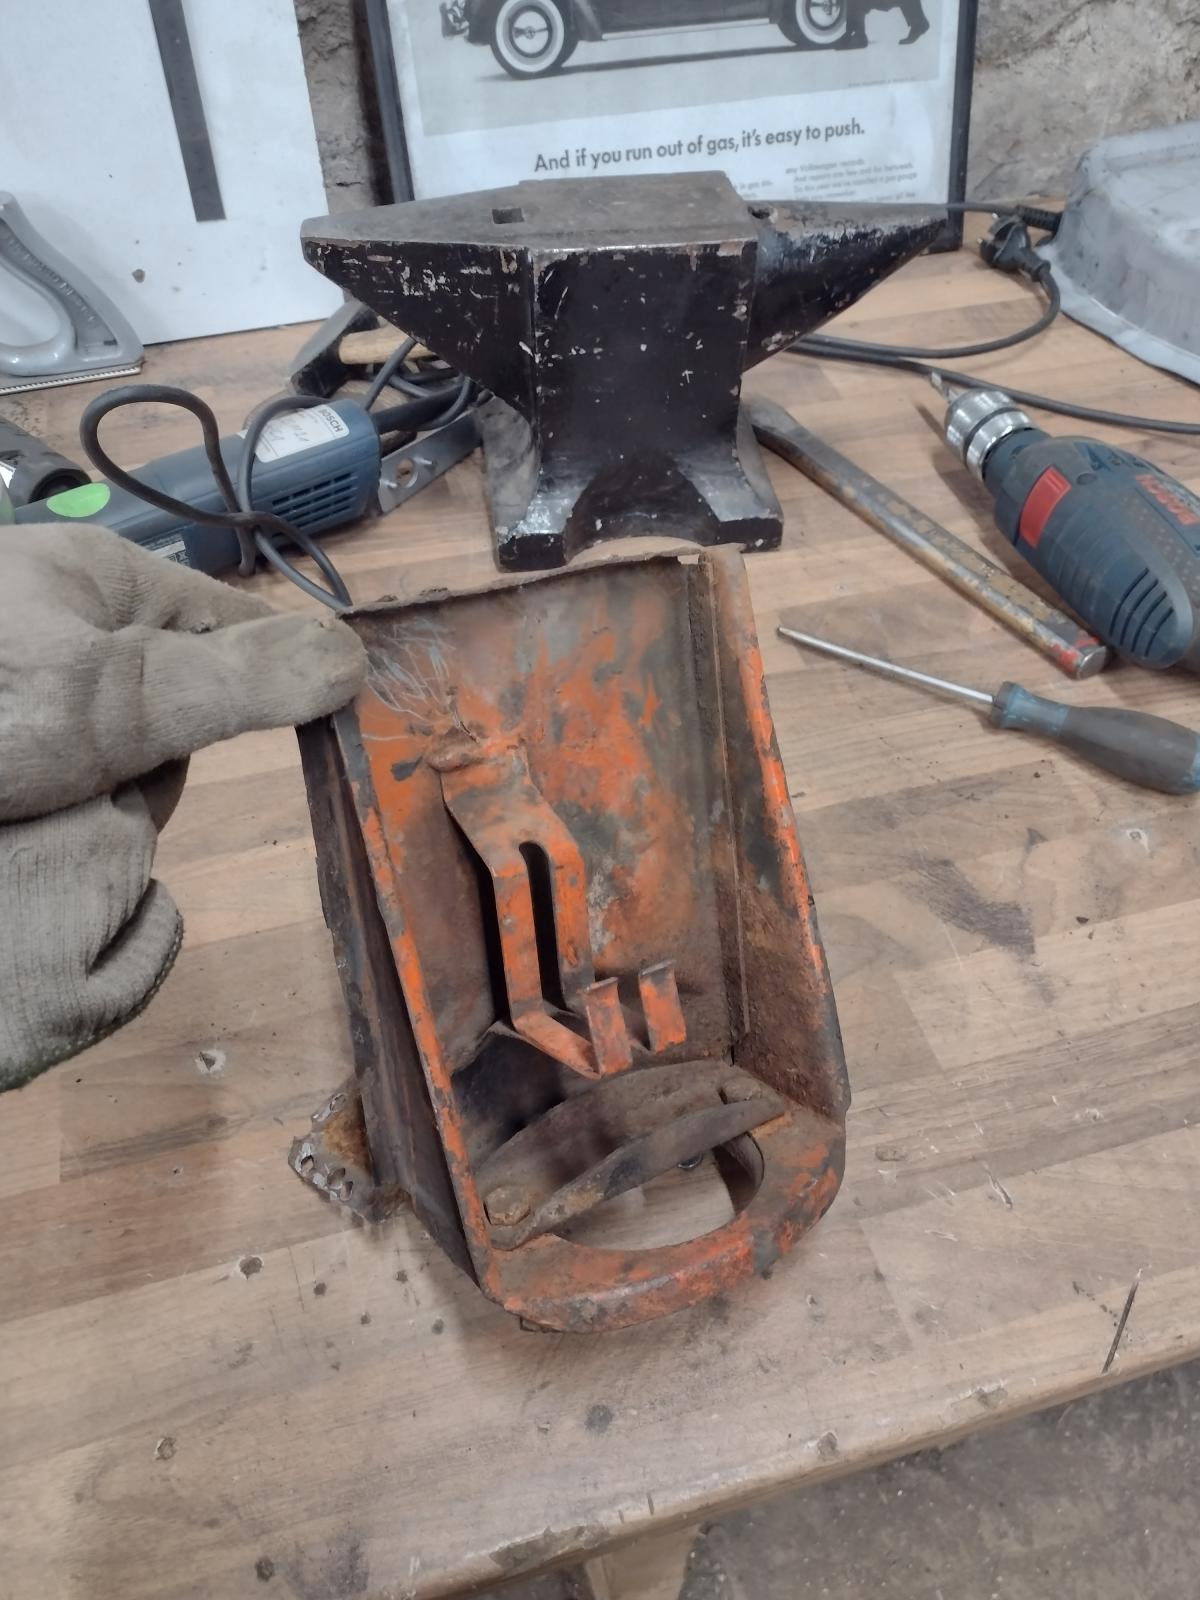
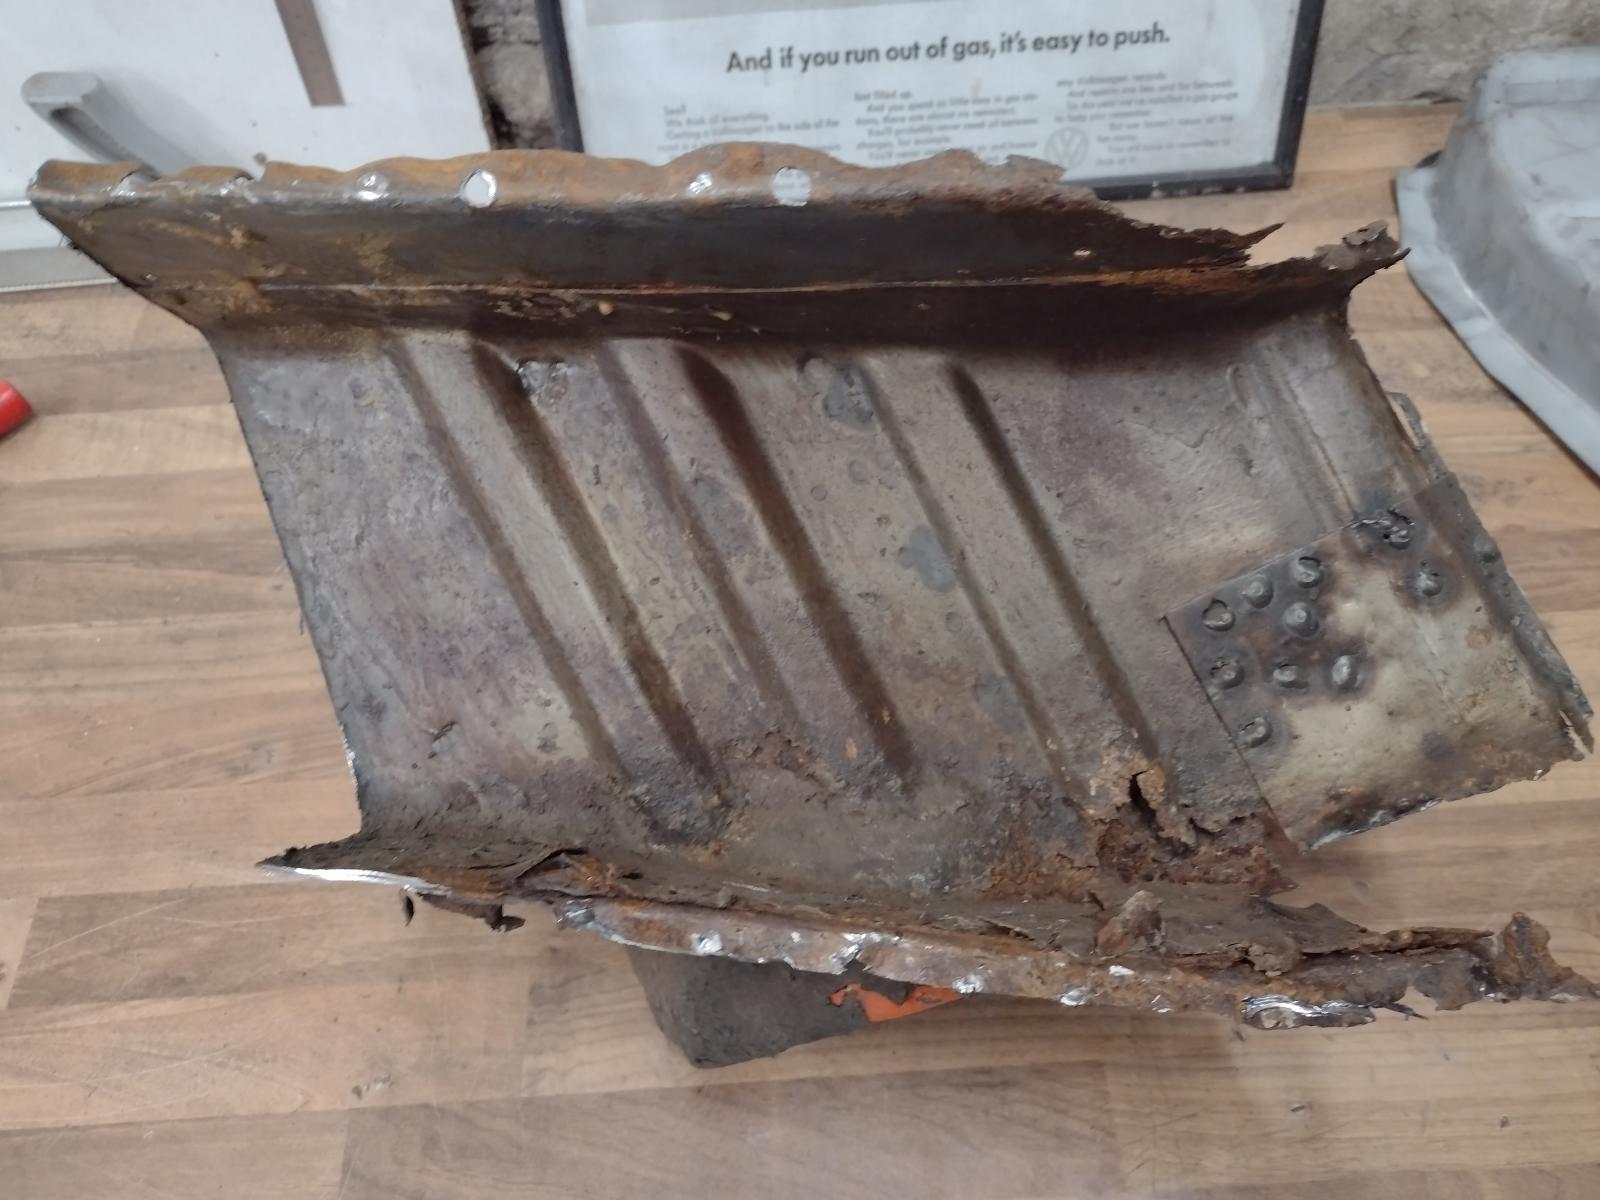
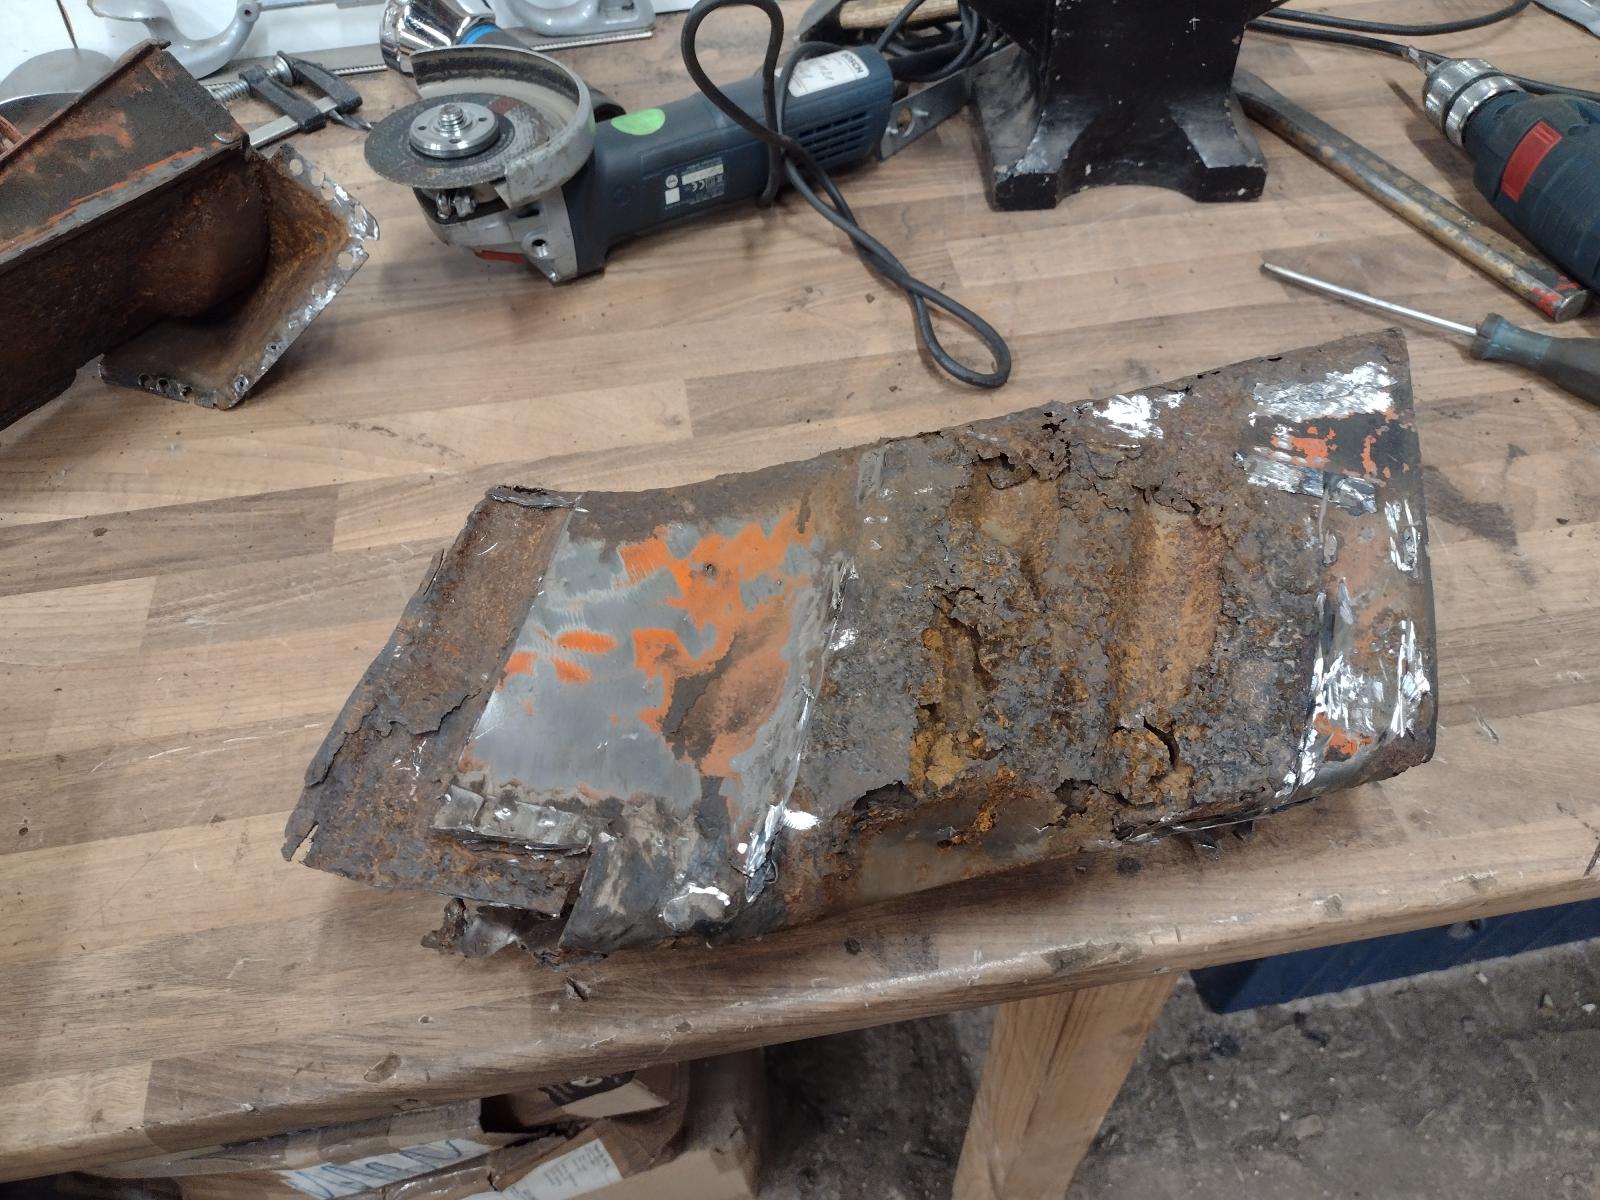
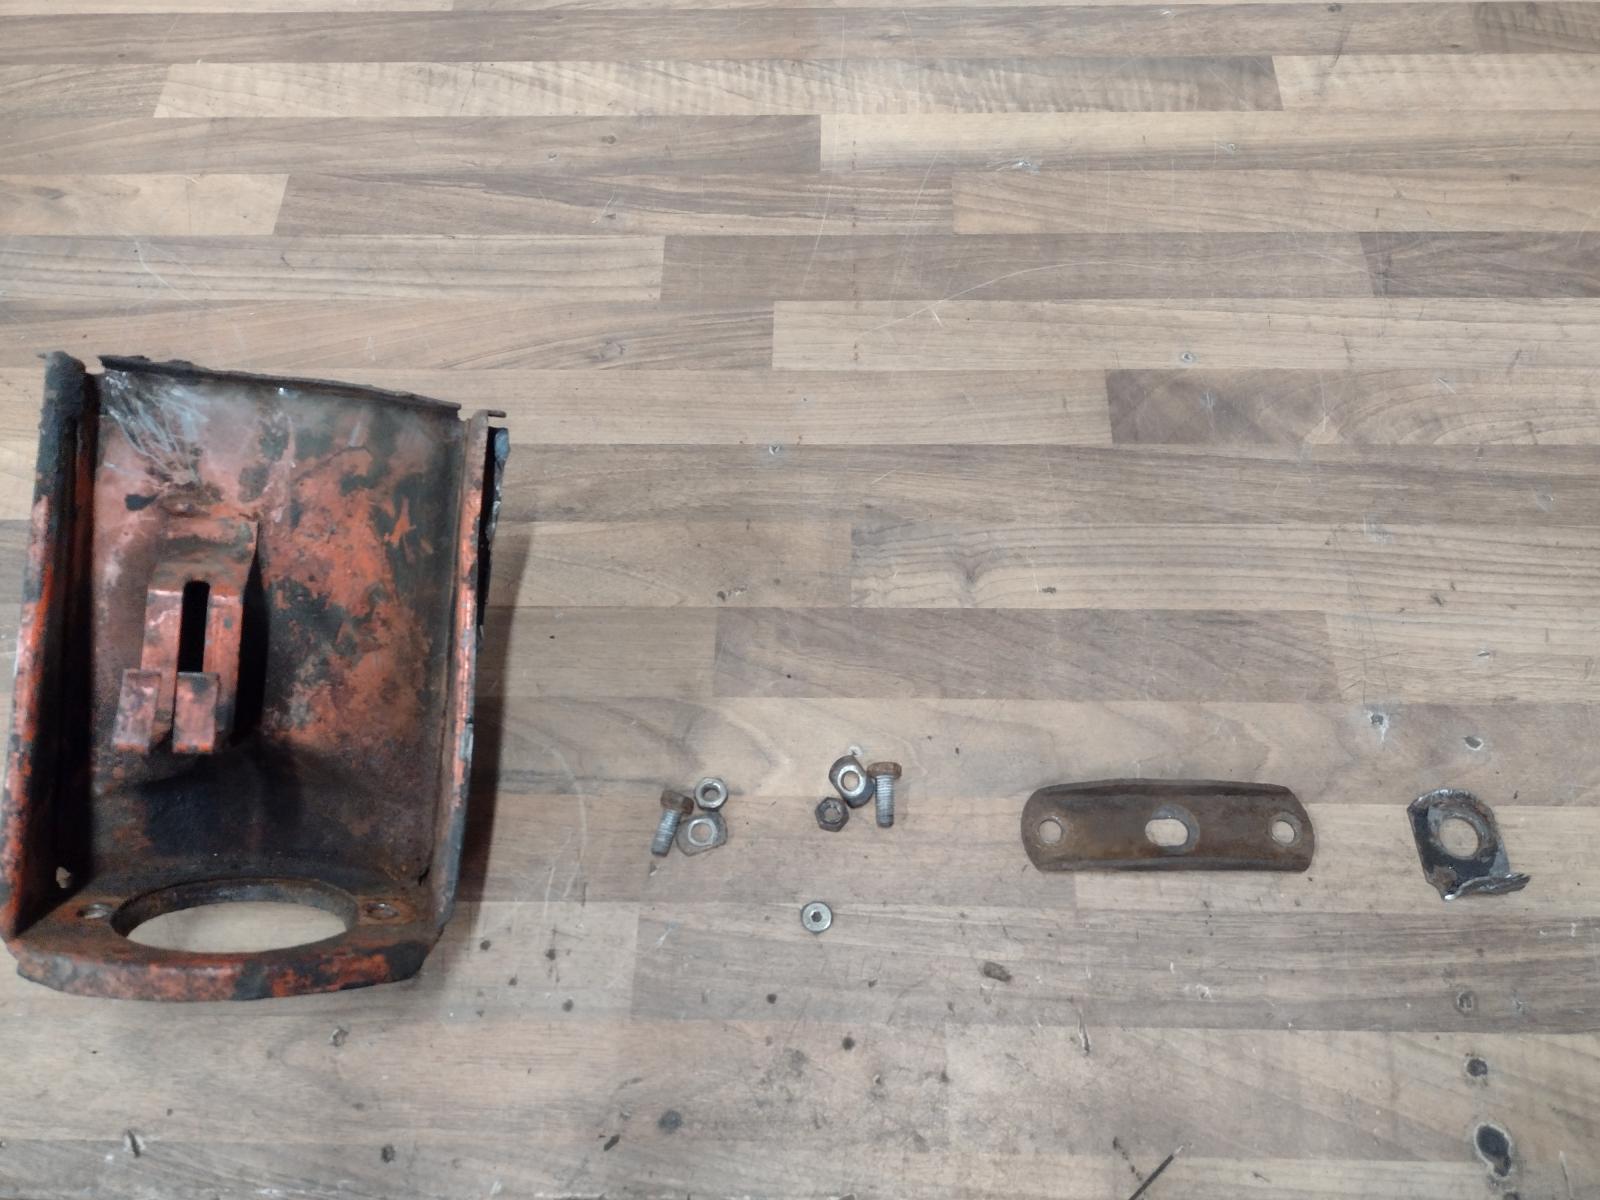
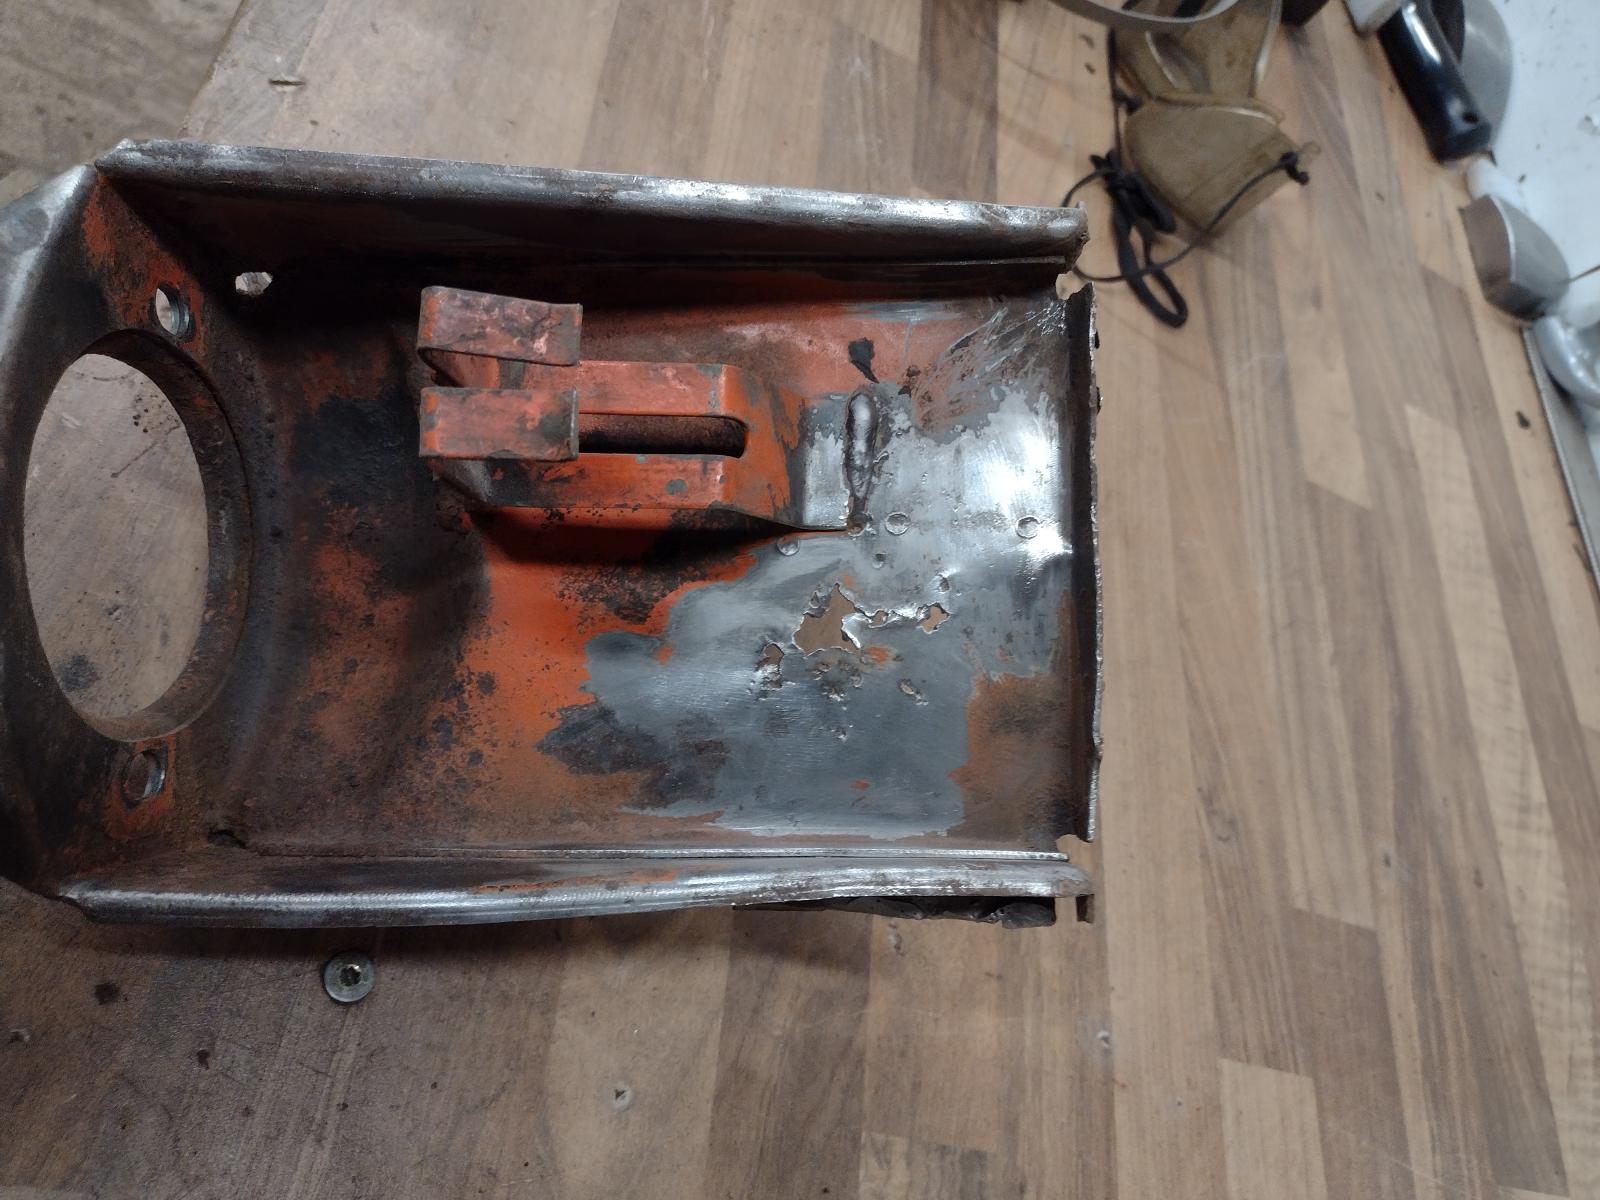
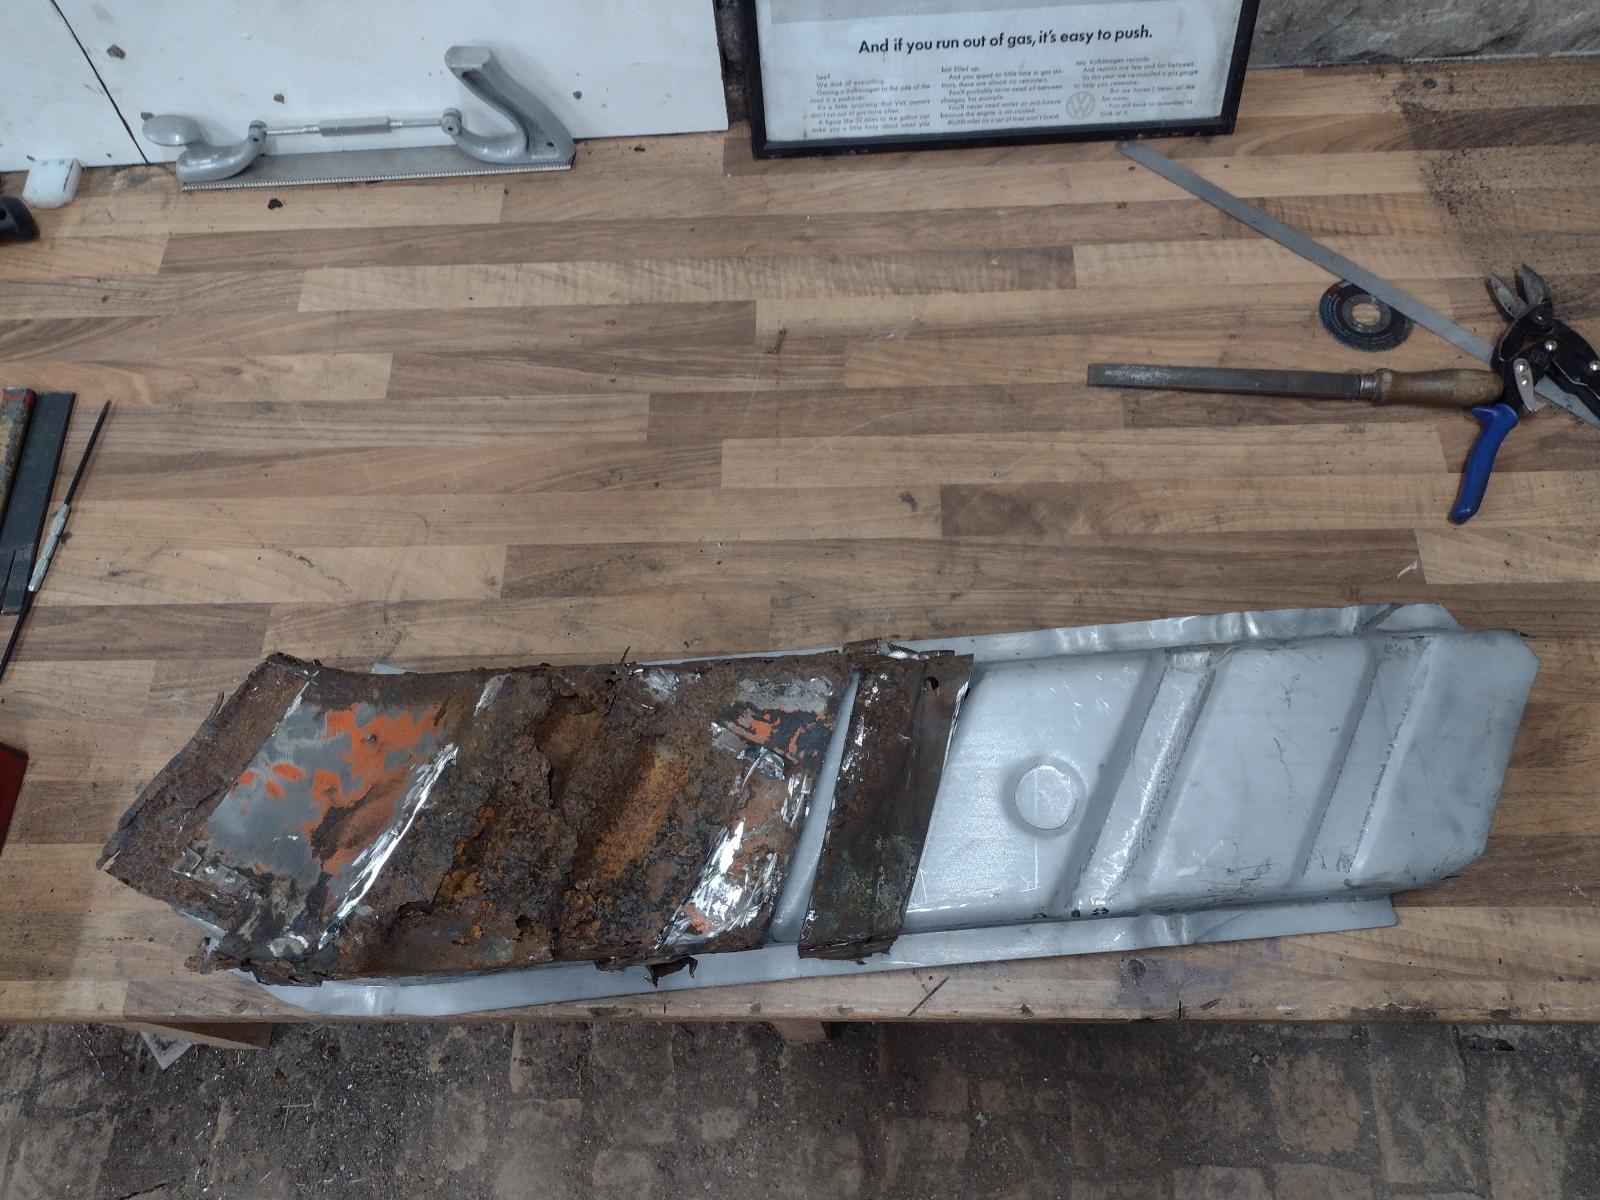
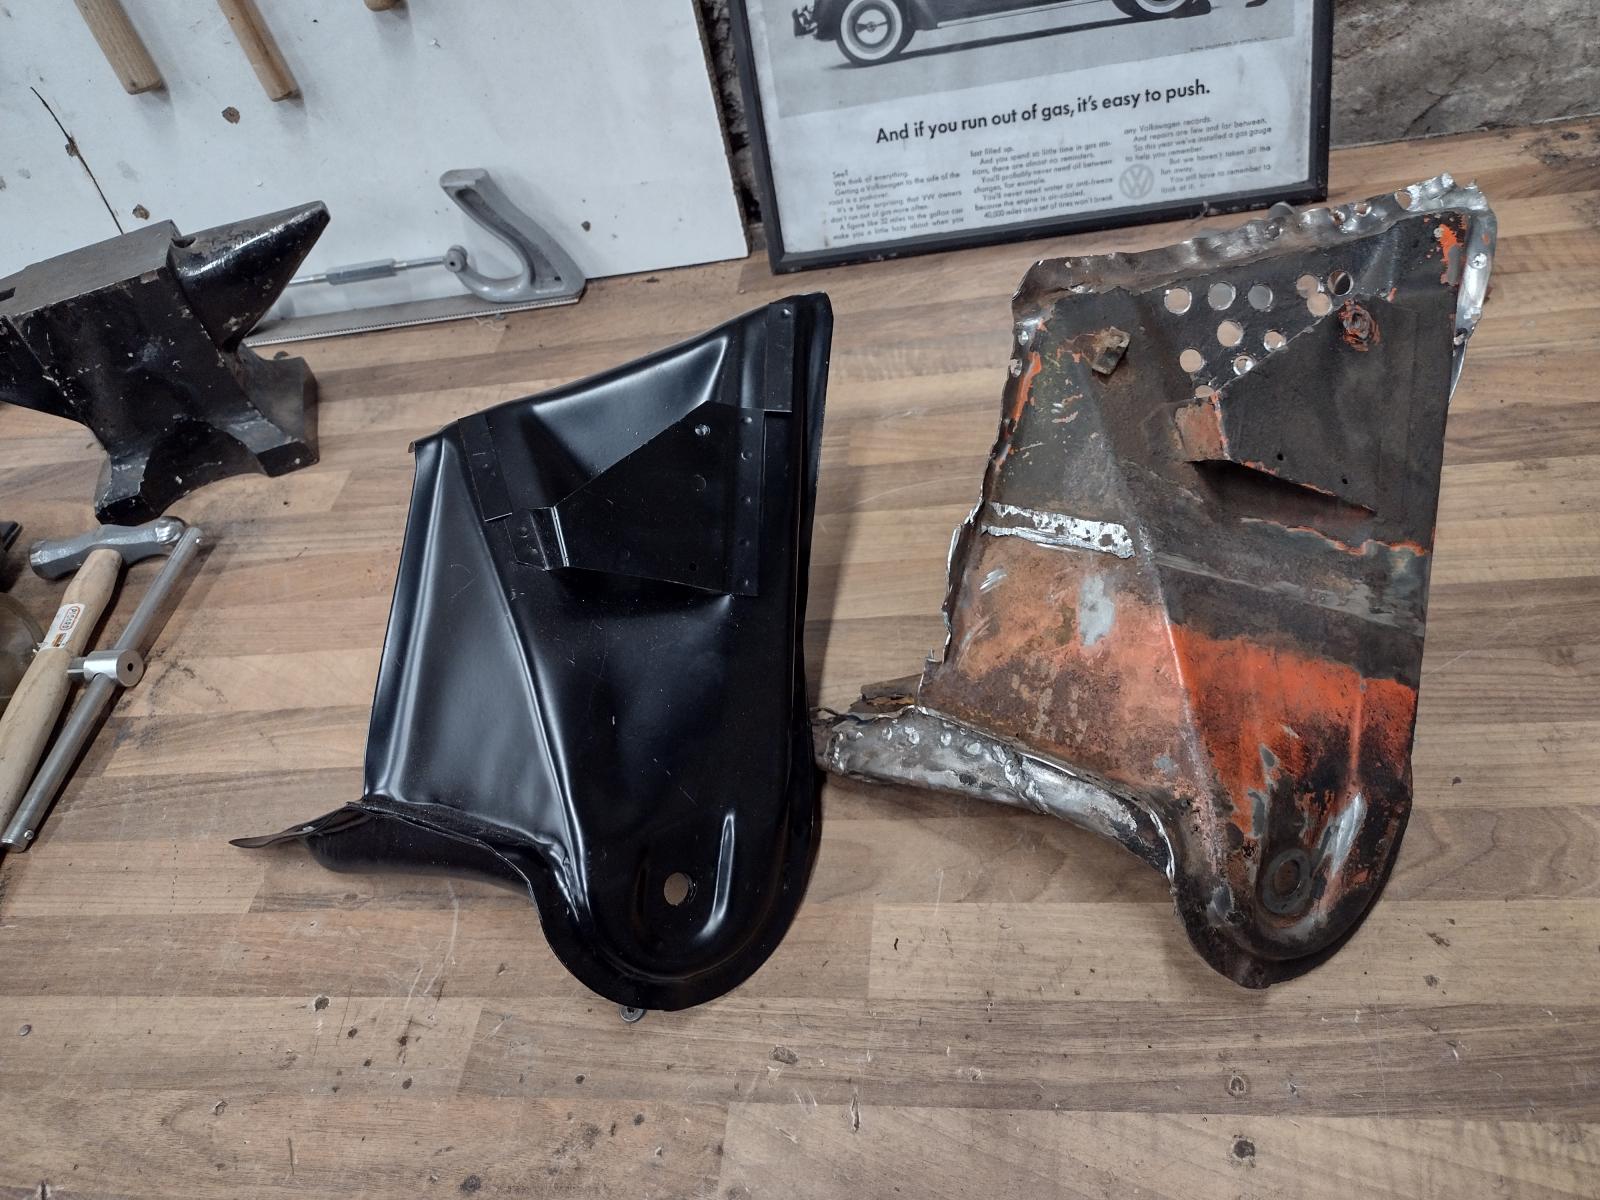
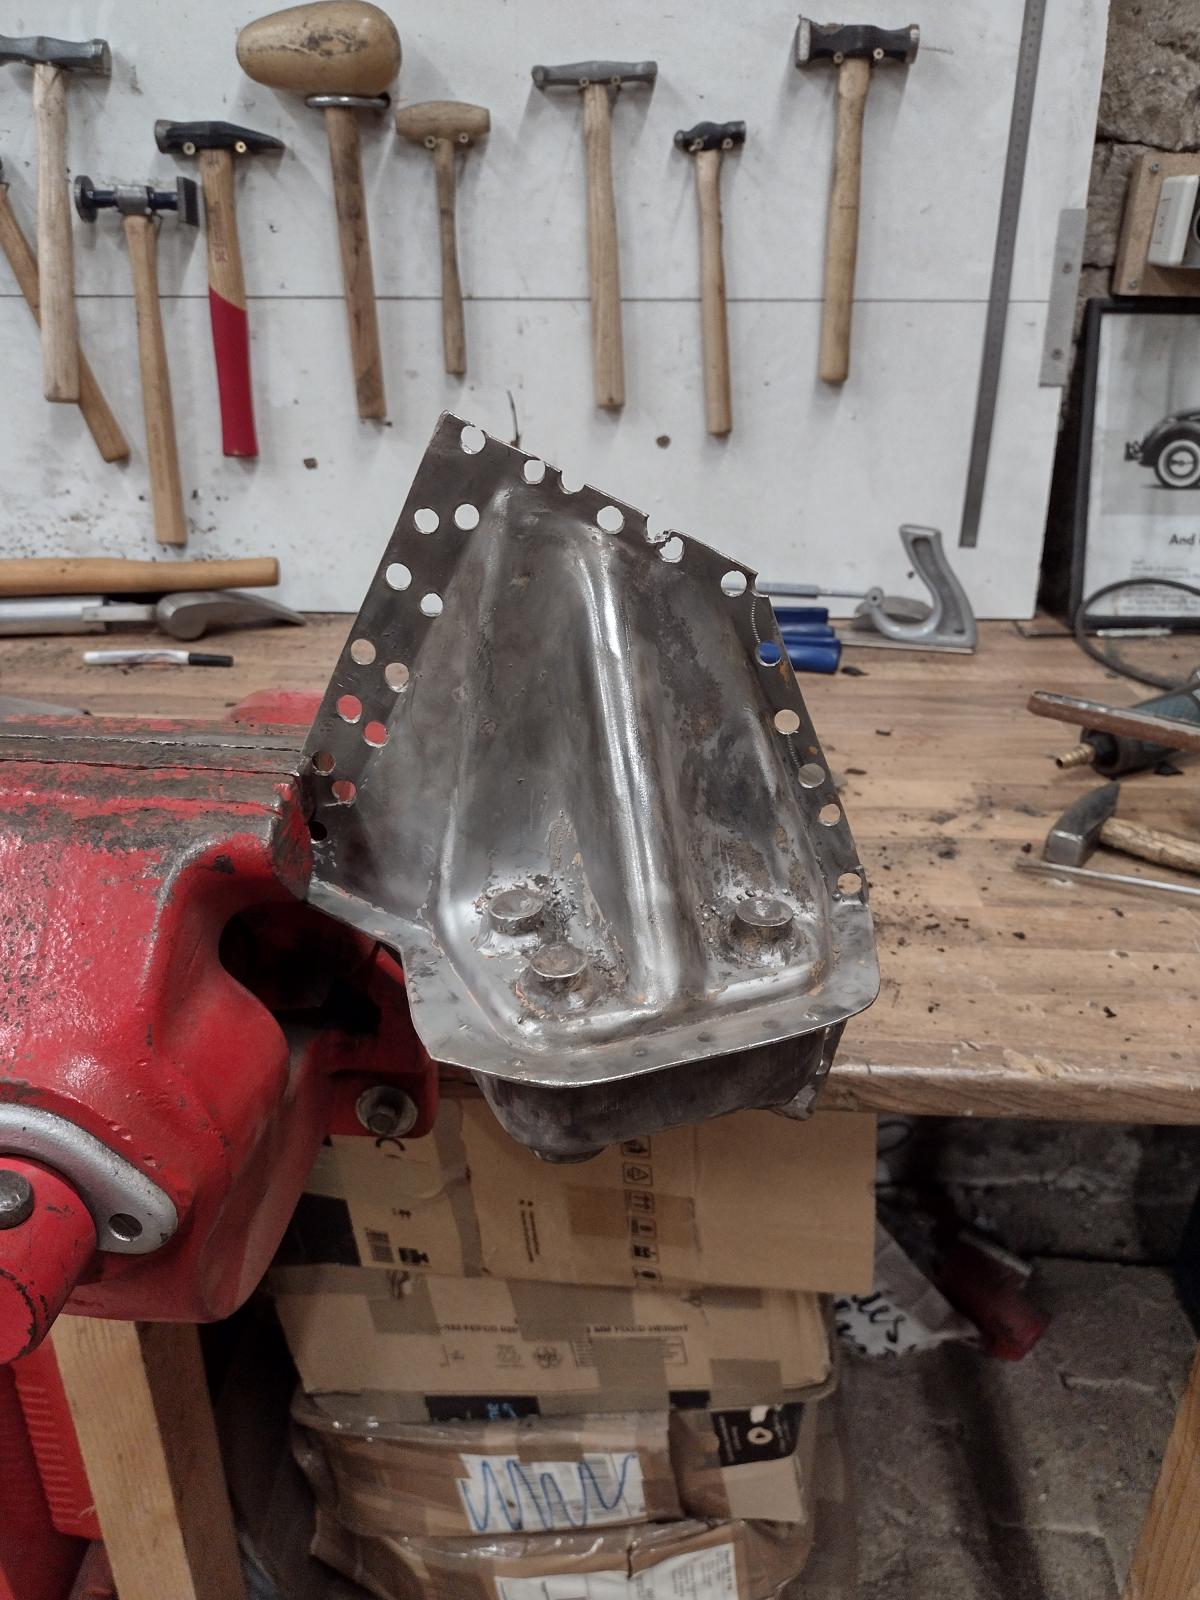
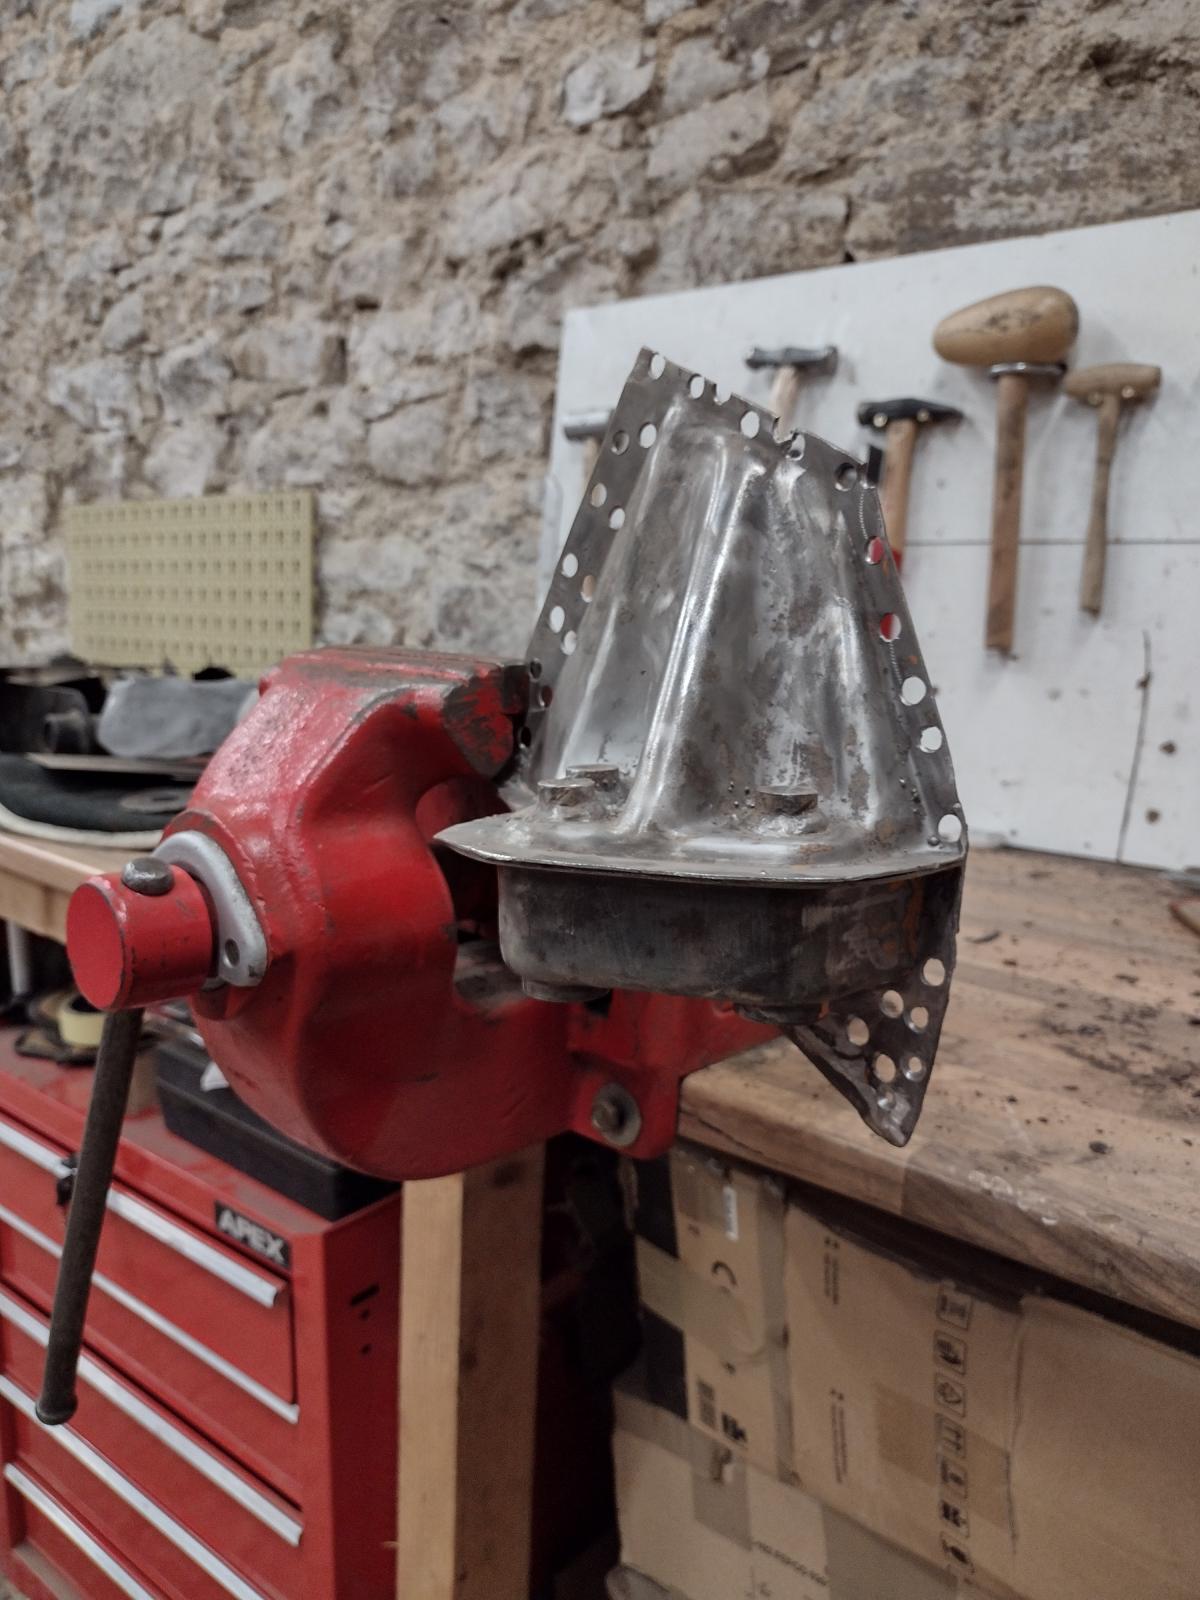
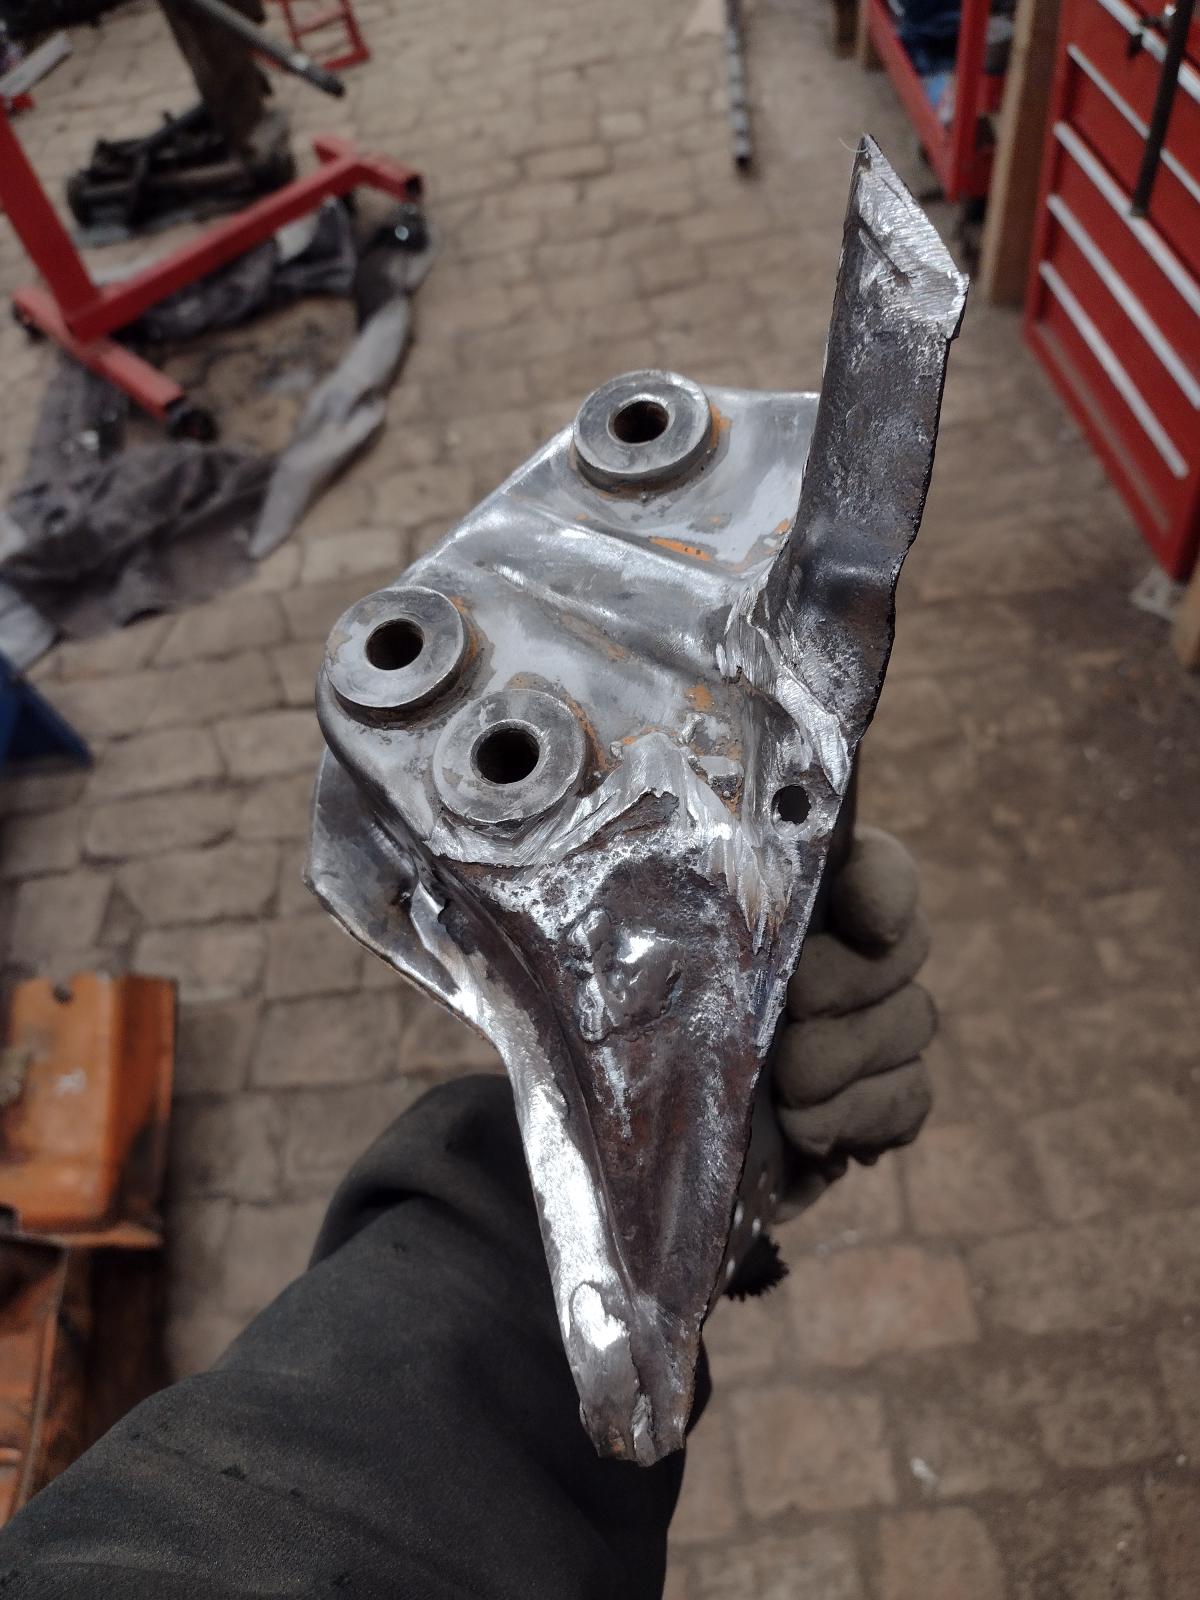
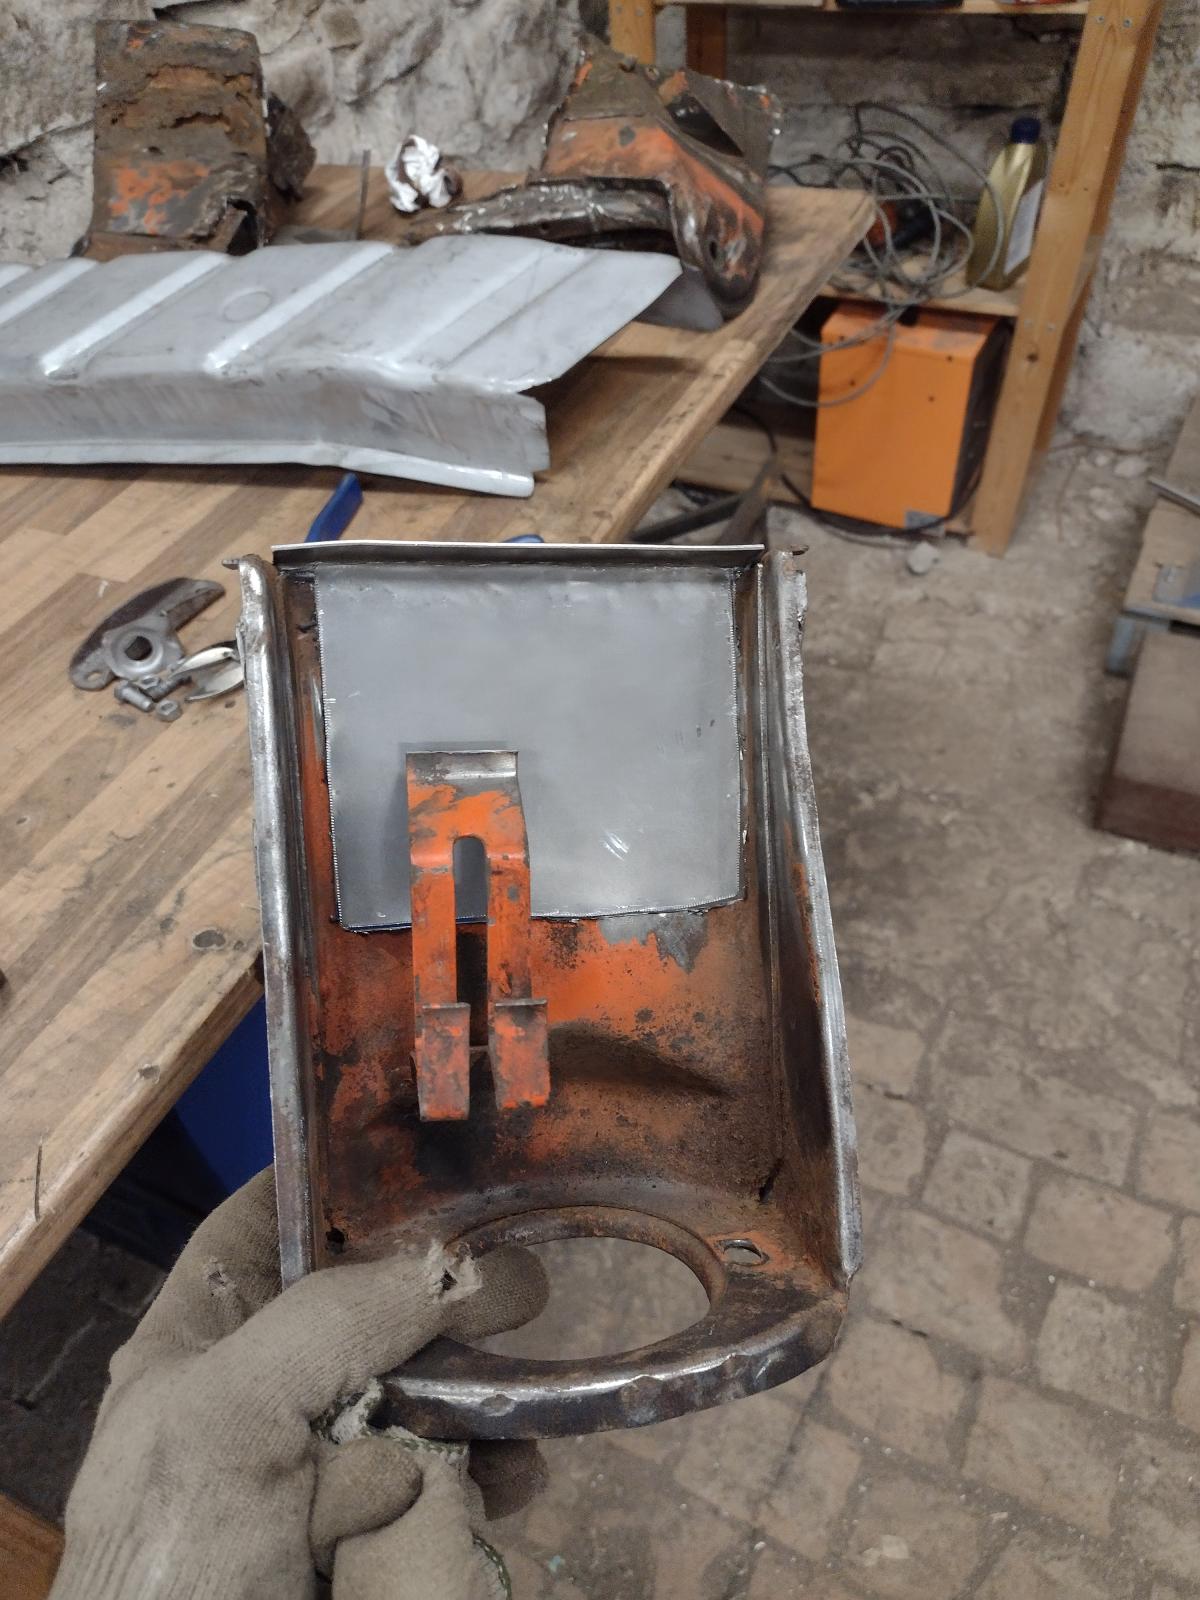
So, next on my list was the engine tray on the right..as your might remember it was not nice, so I removed it:
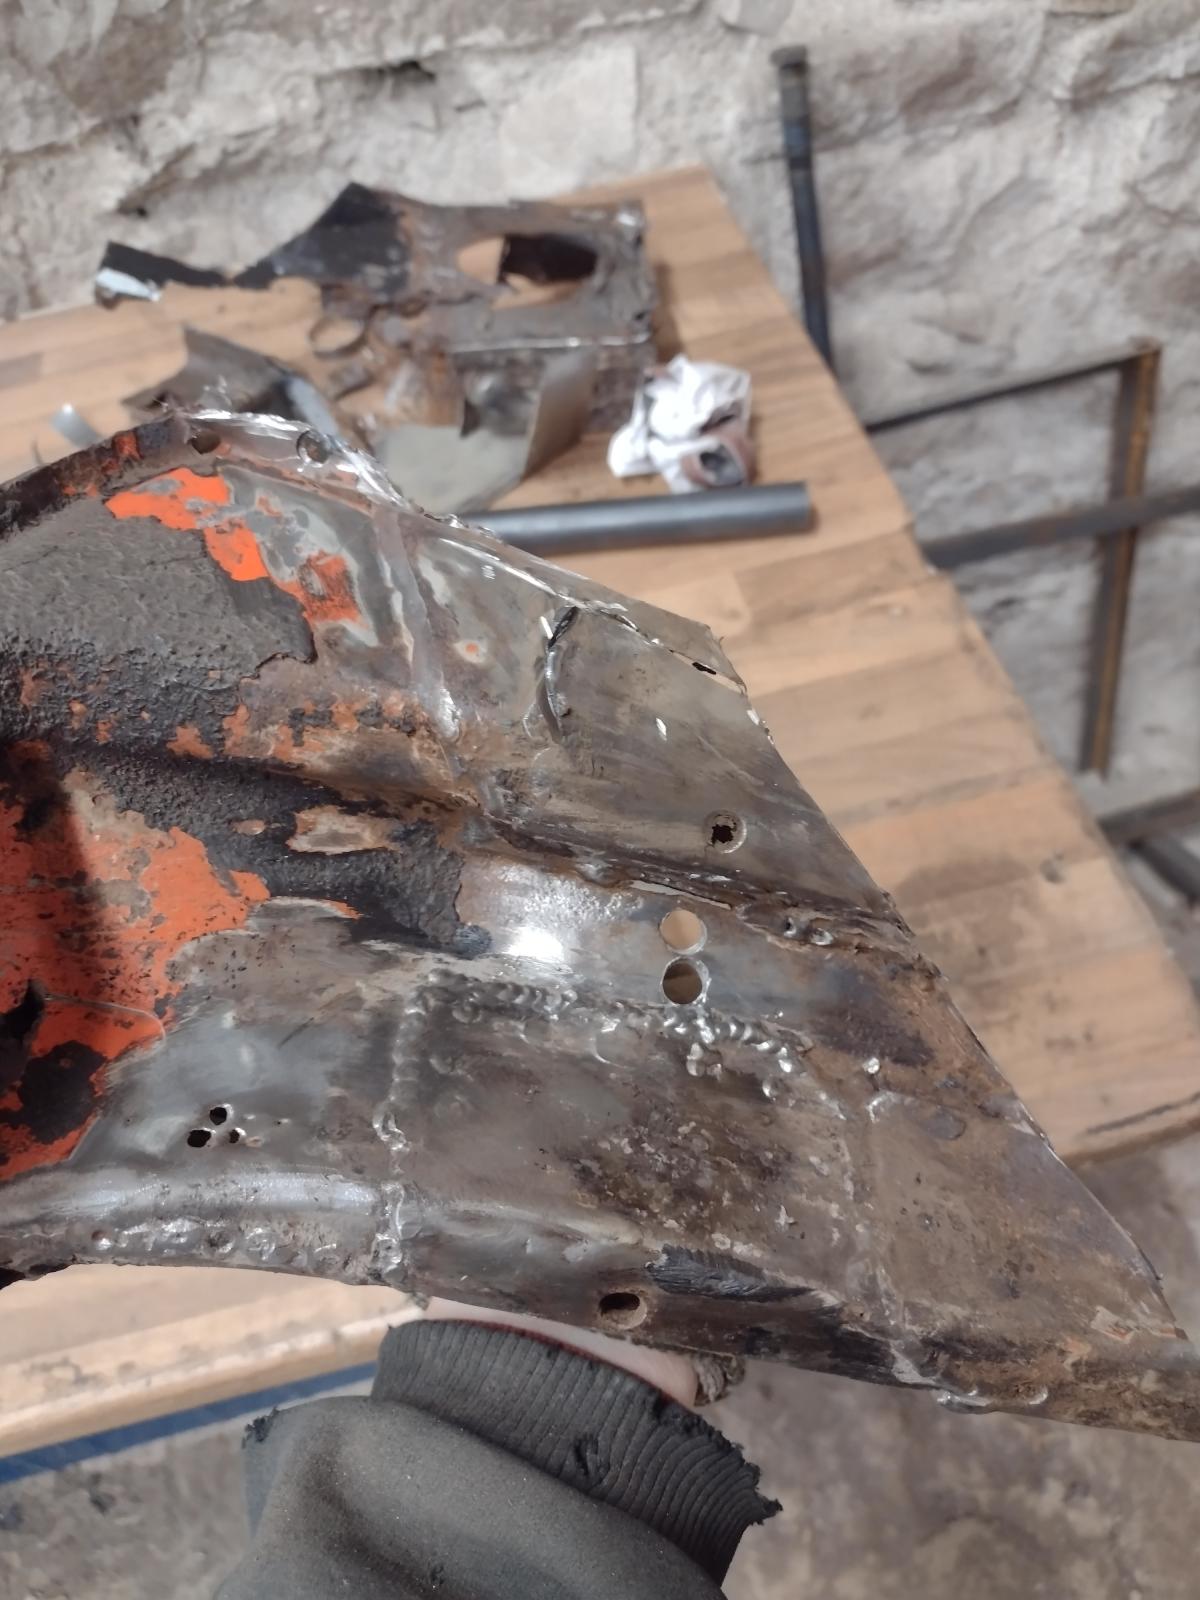
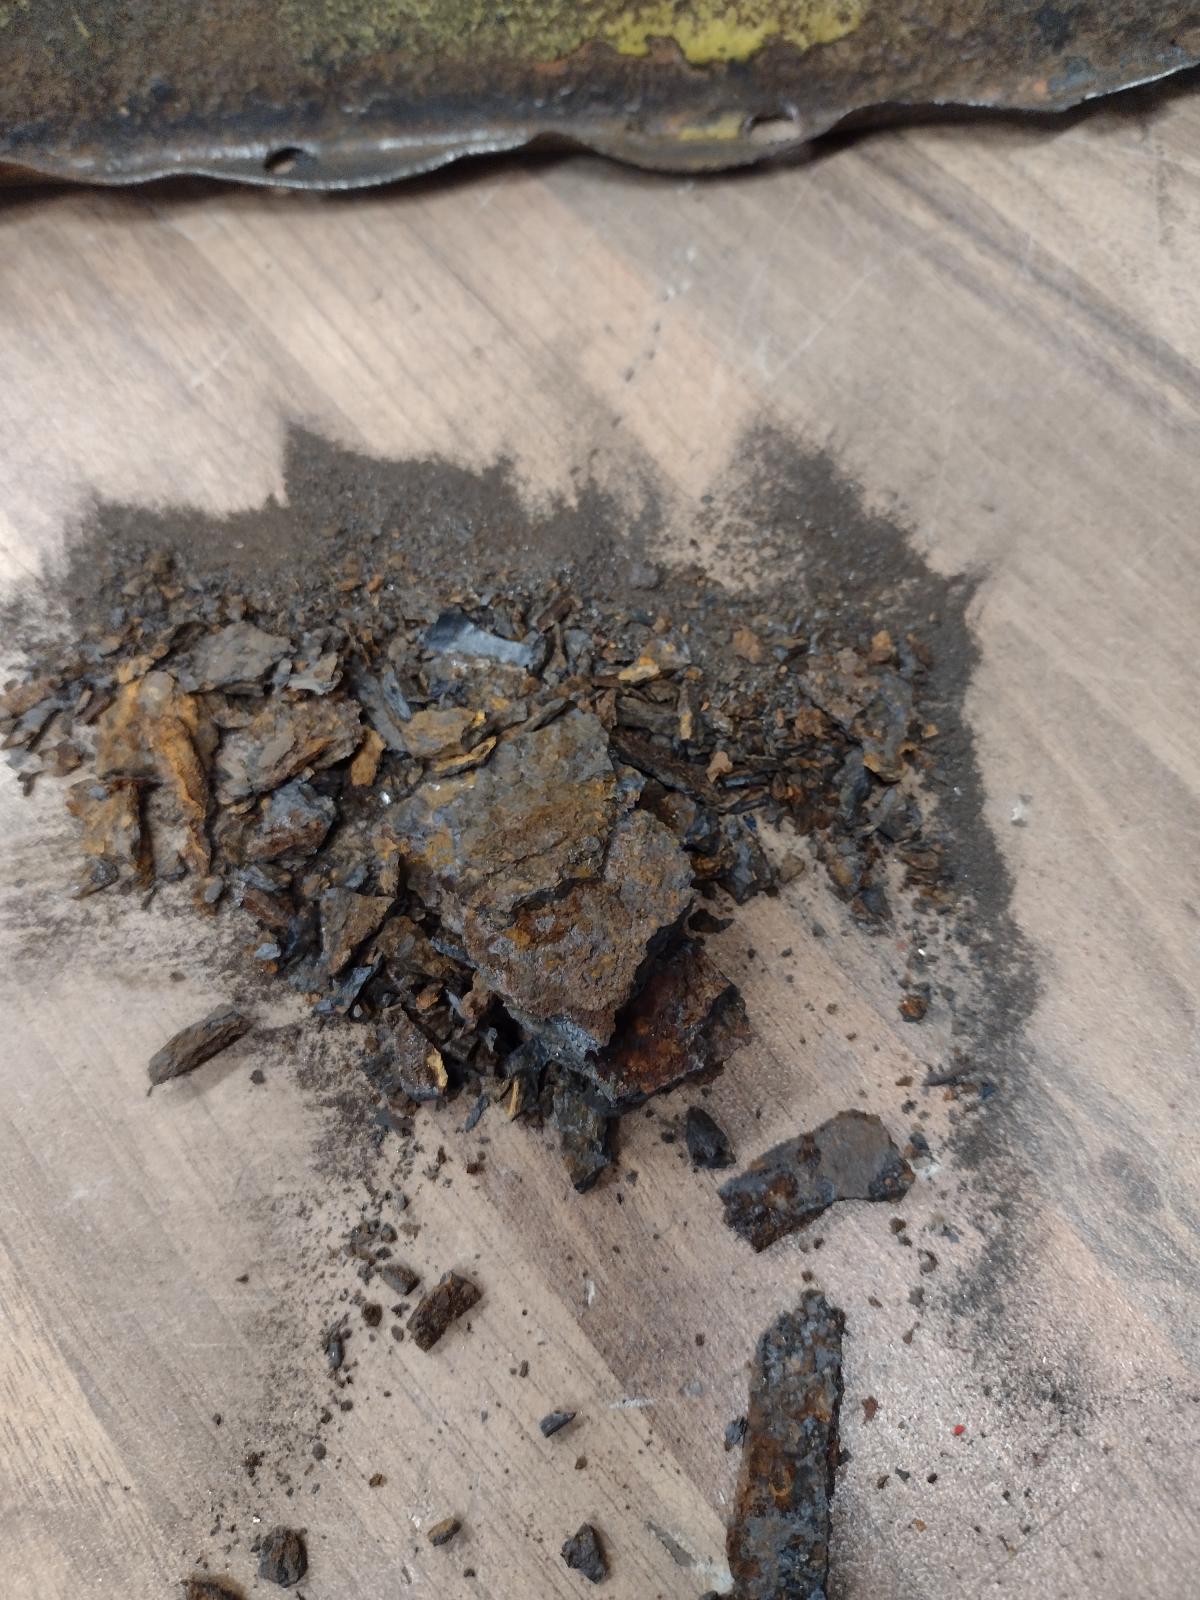
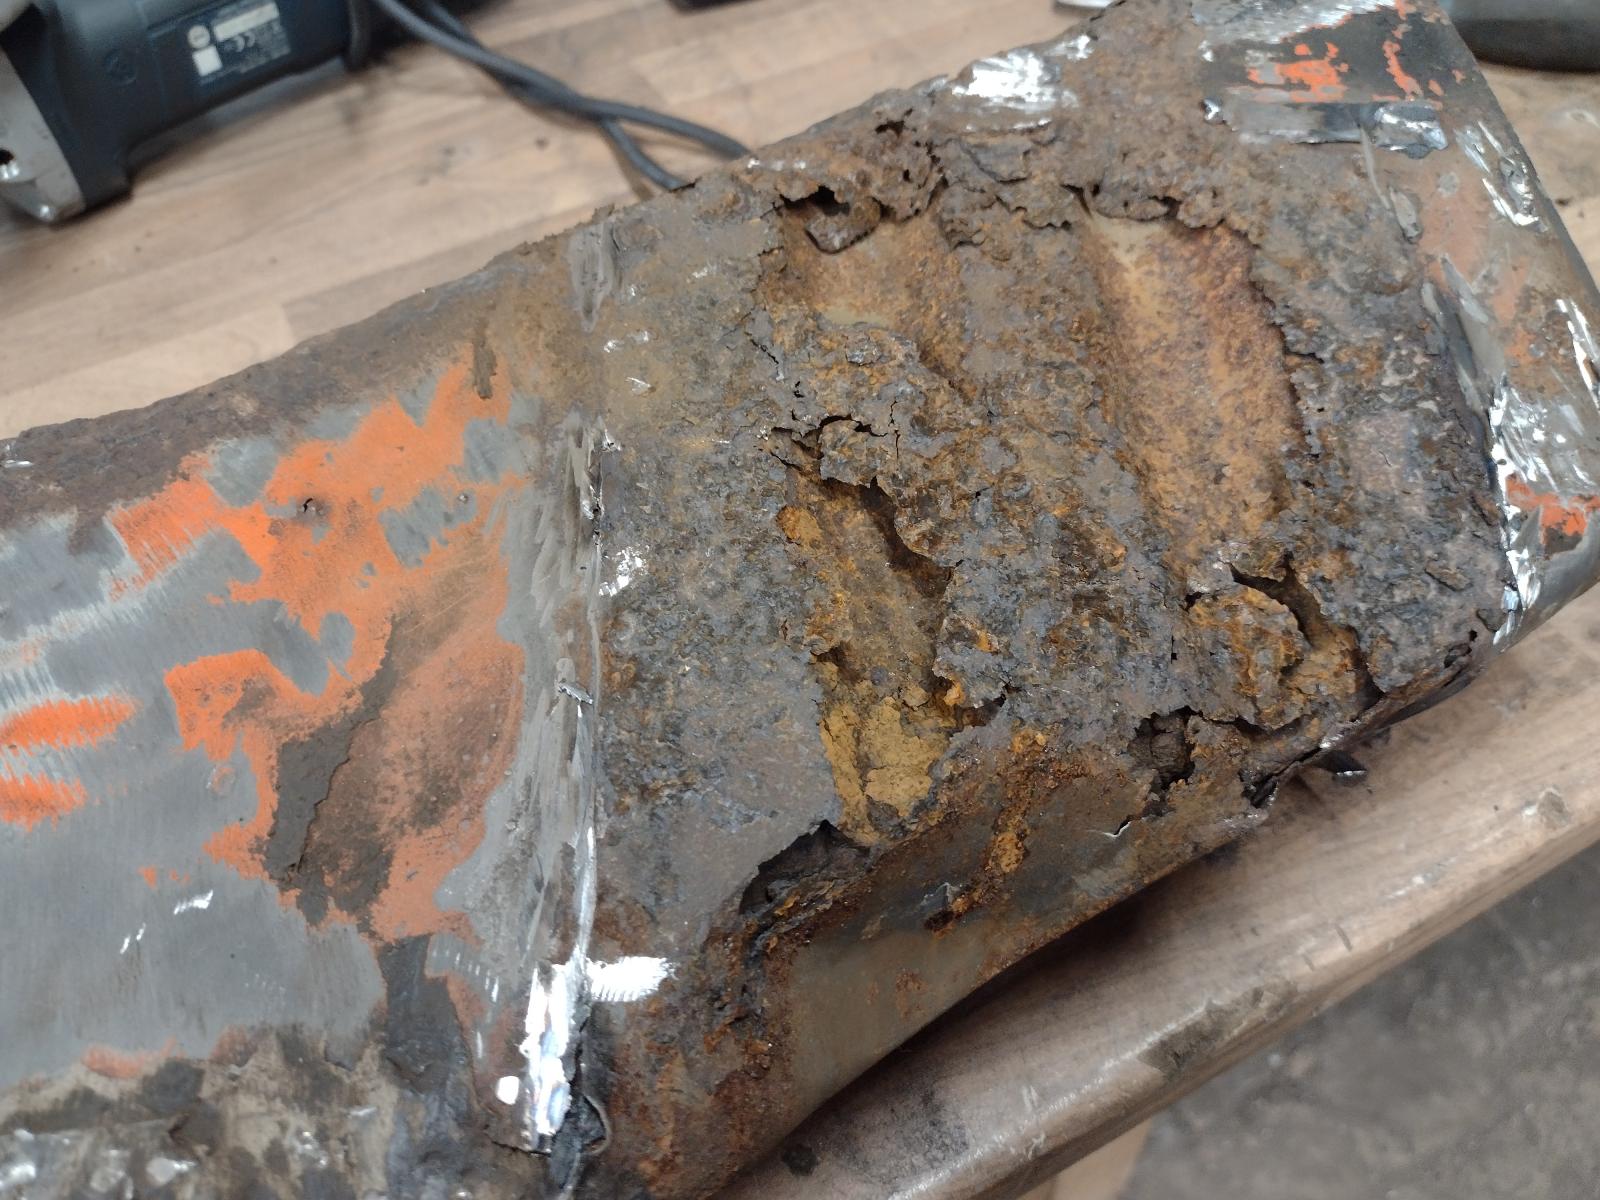
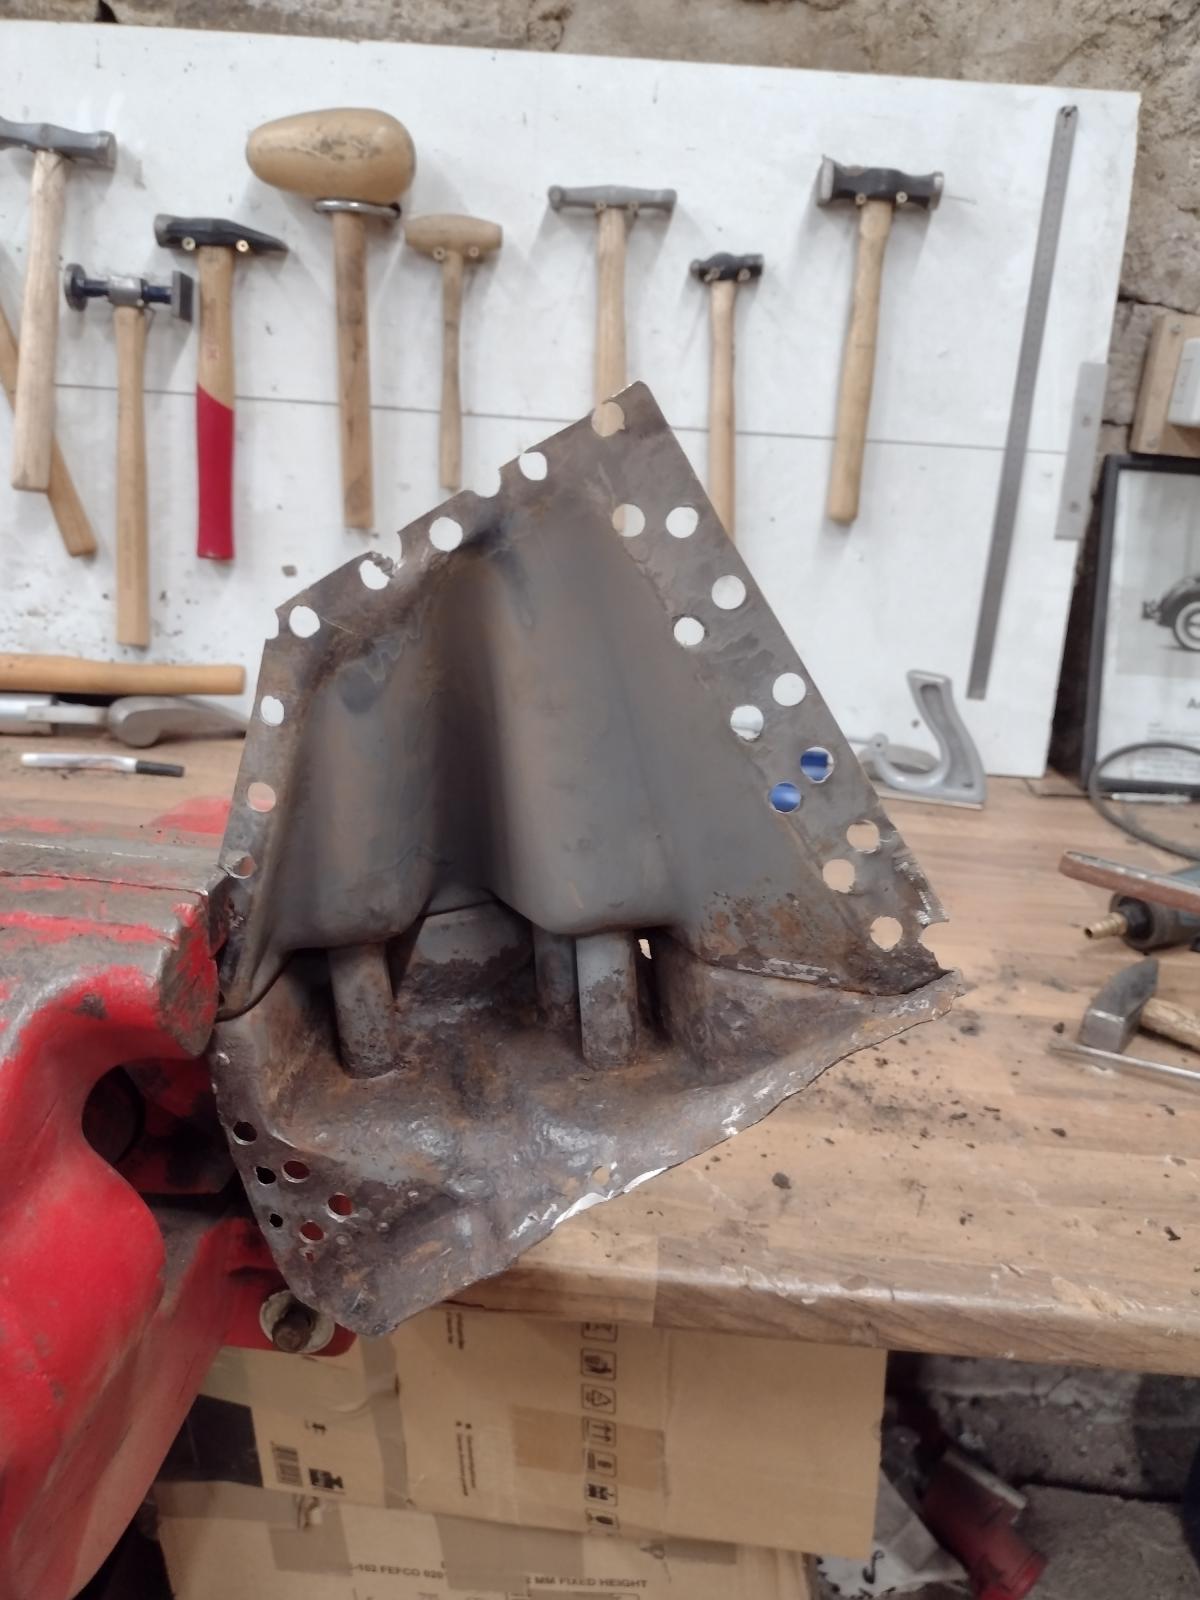
But it was even worse than I thought:
Almost not enough to use as a template!
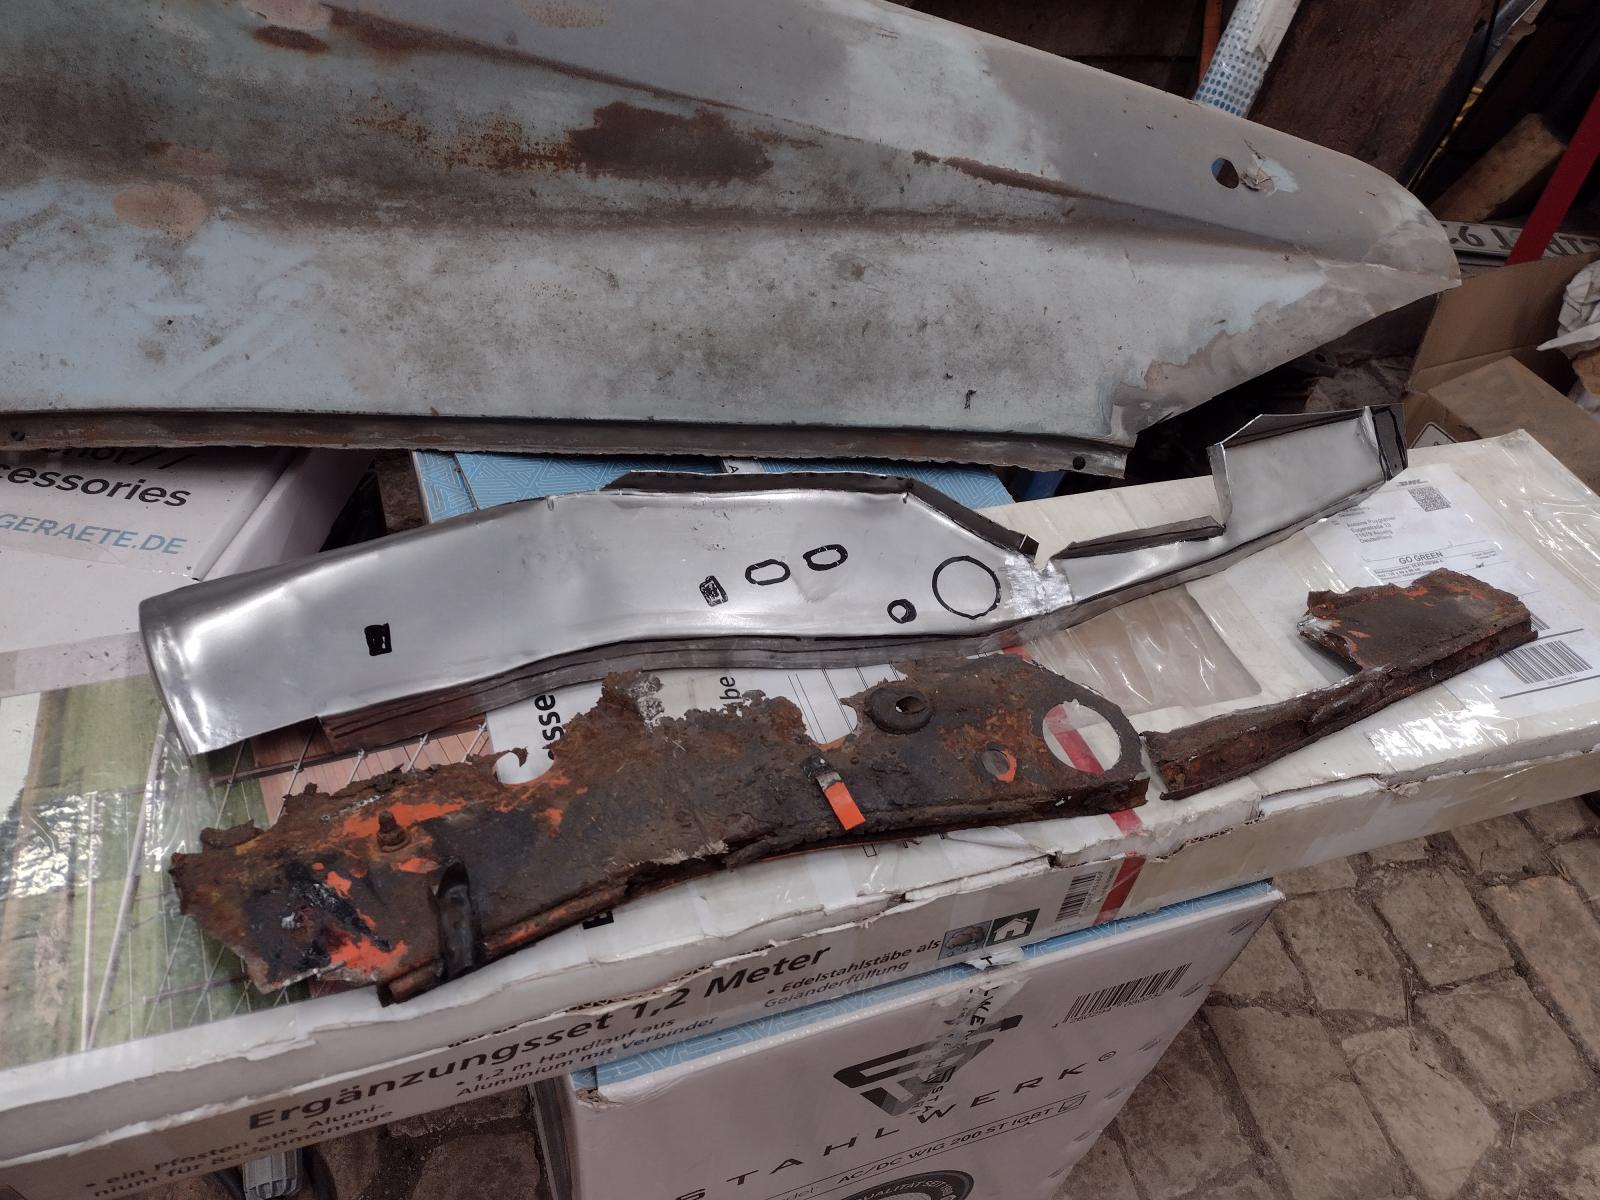
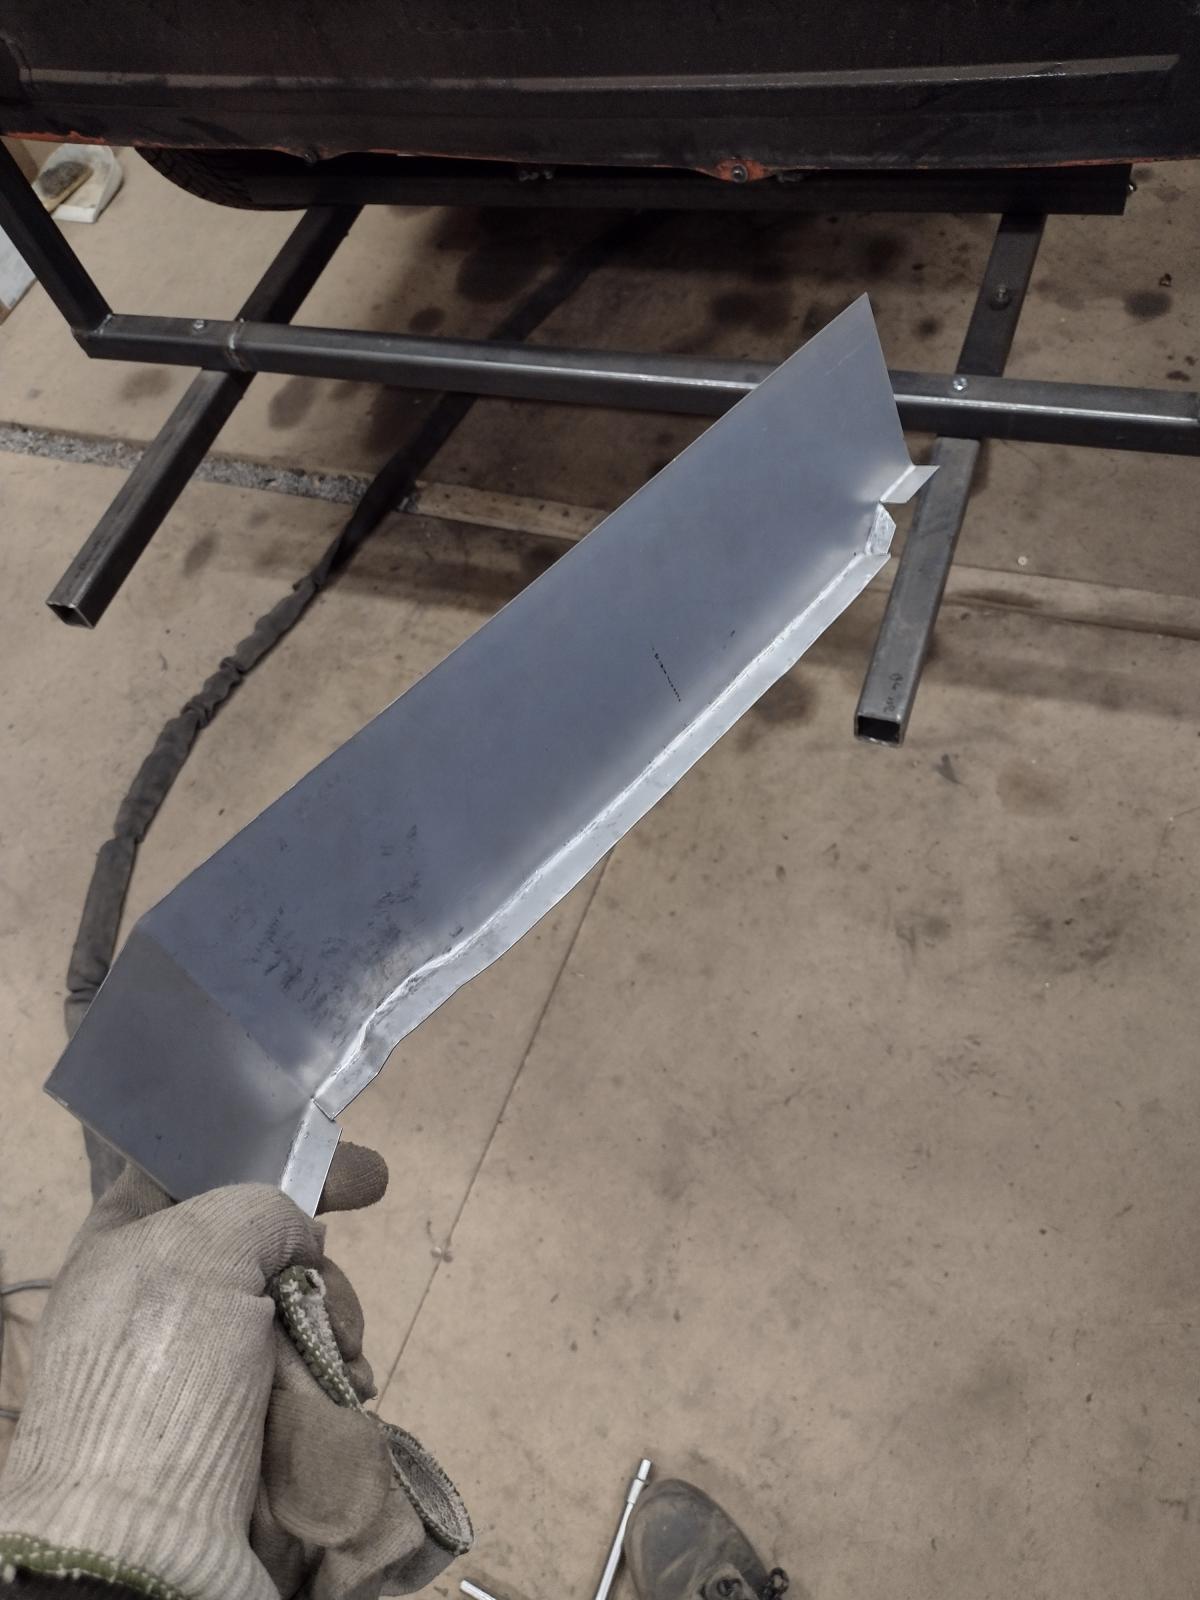
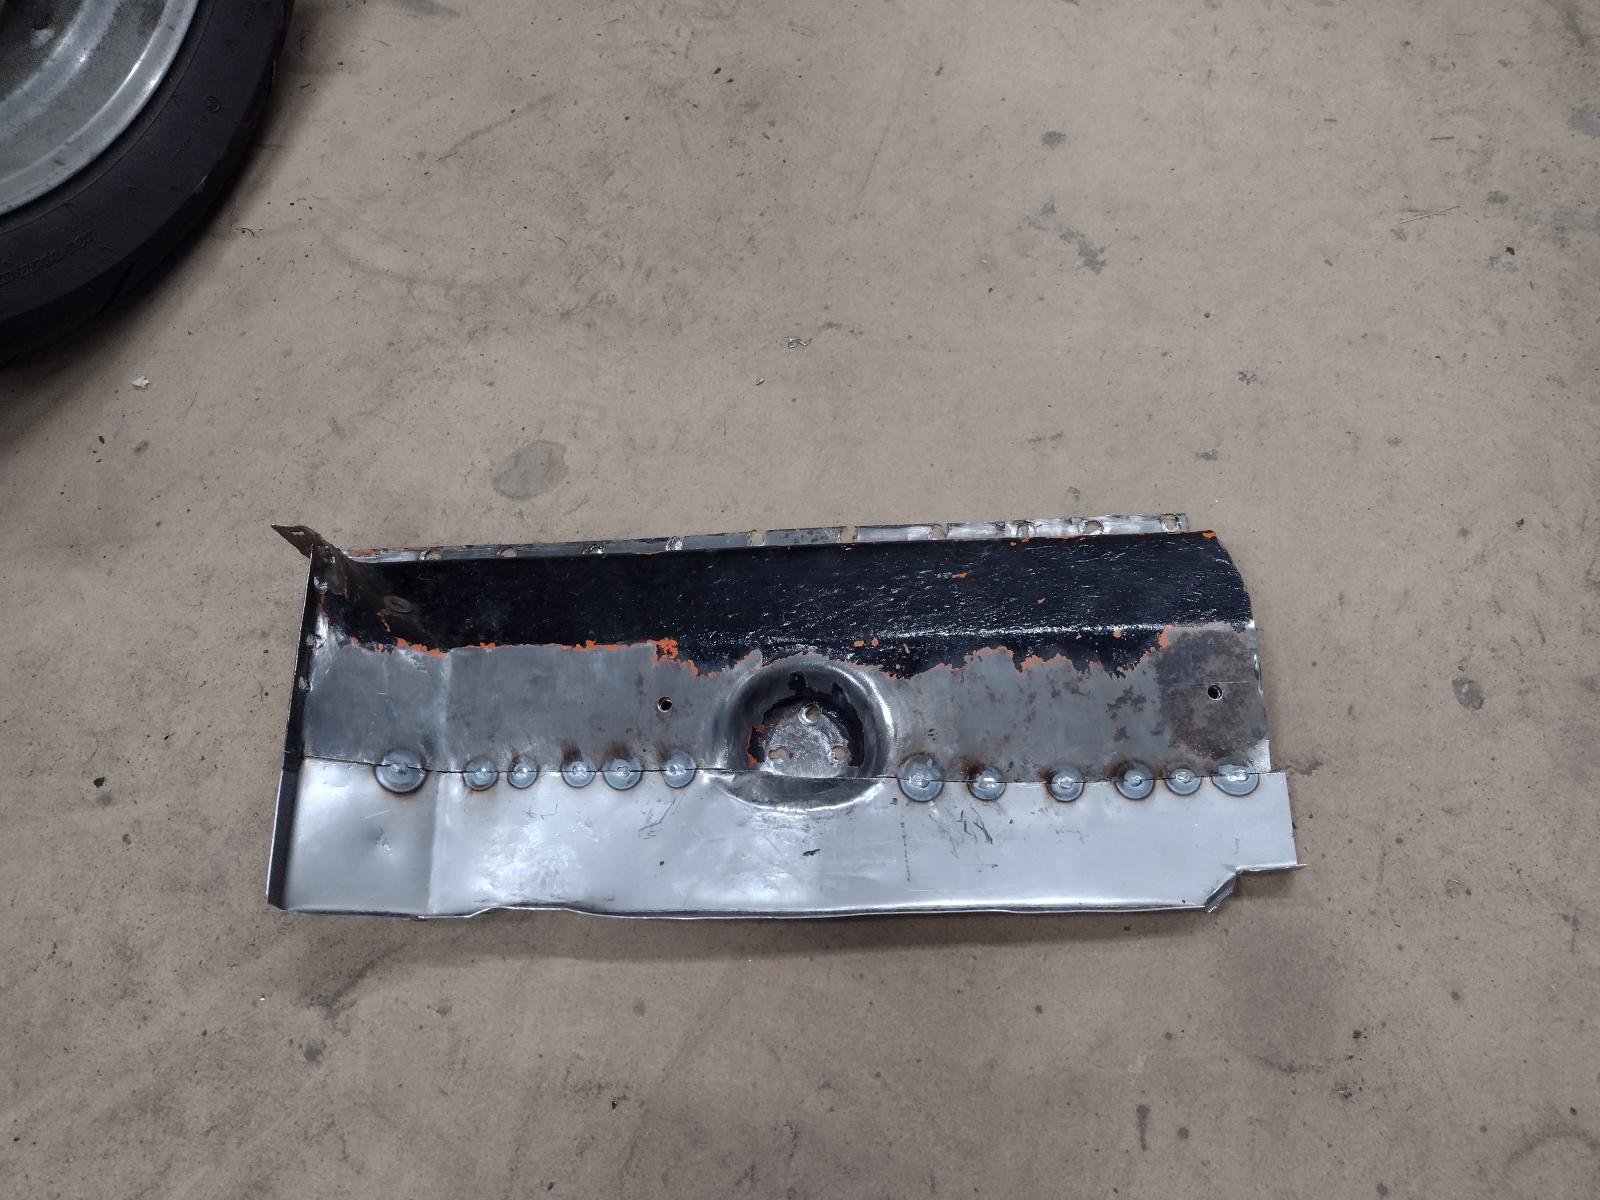
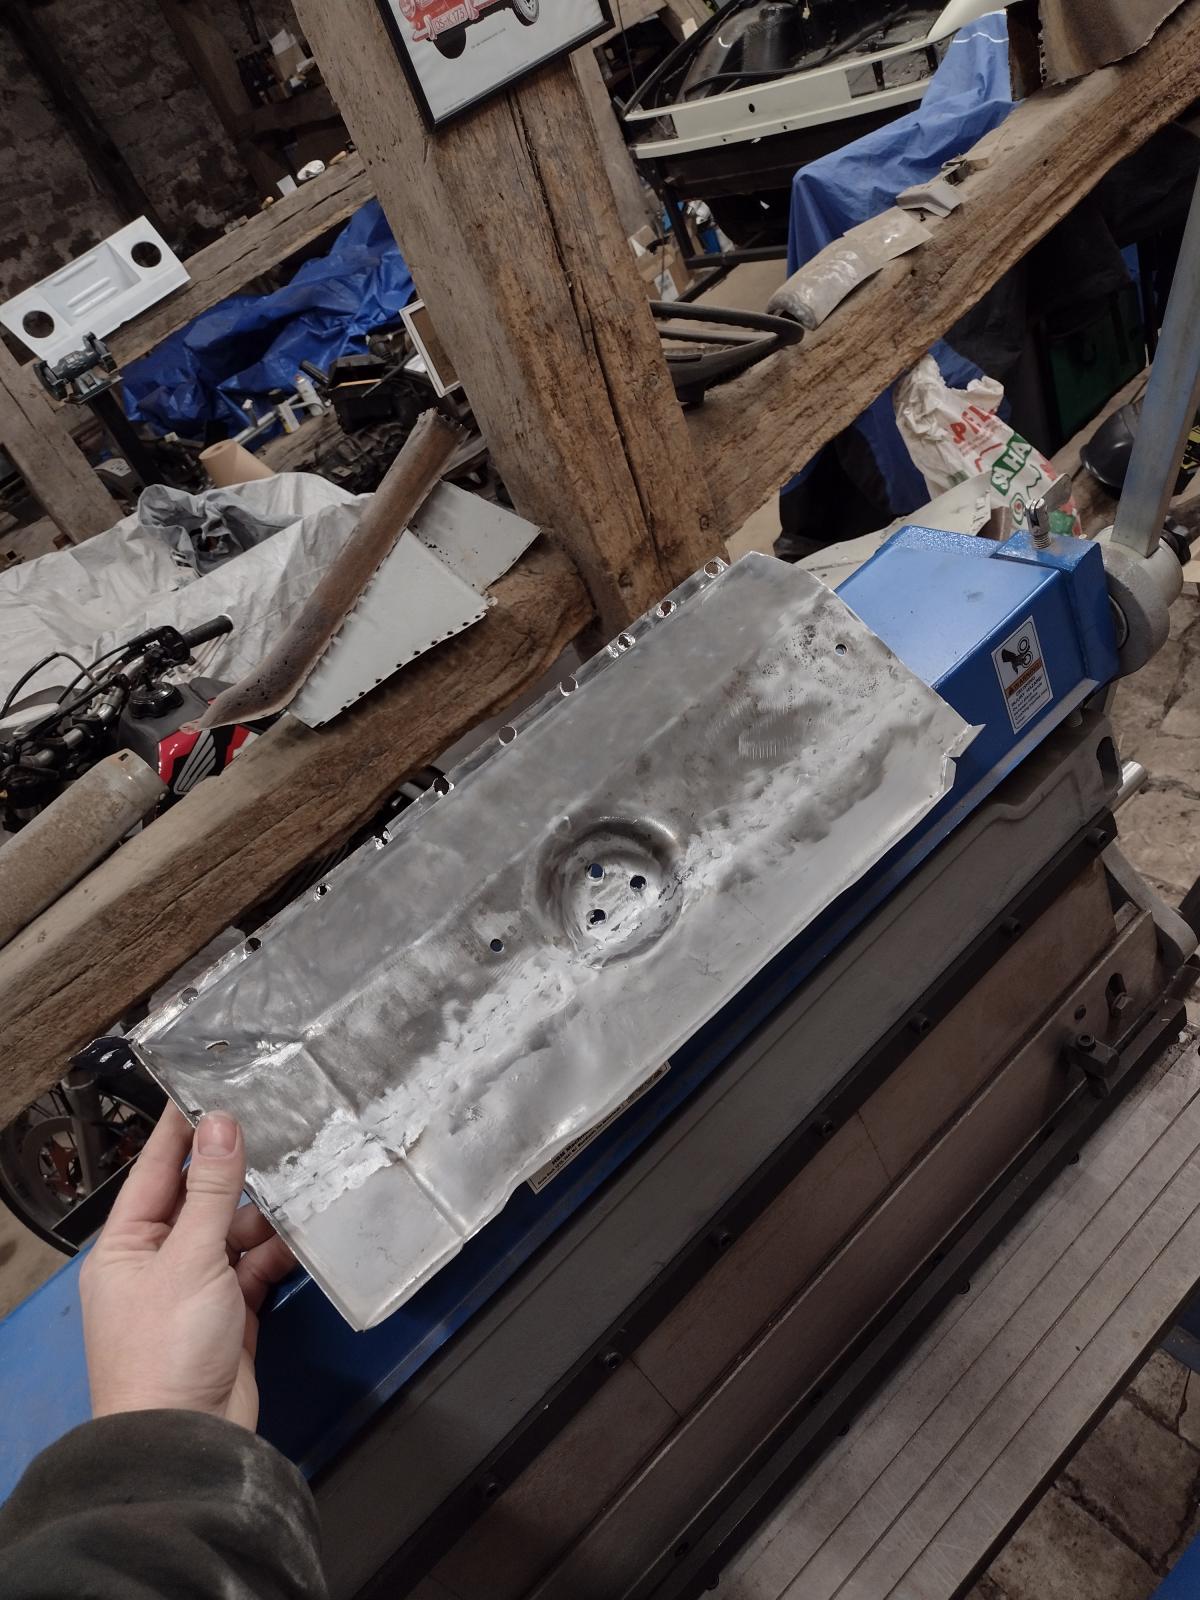
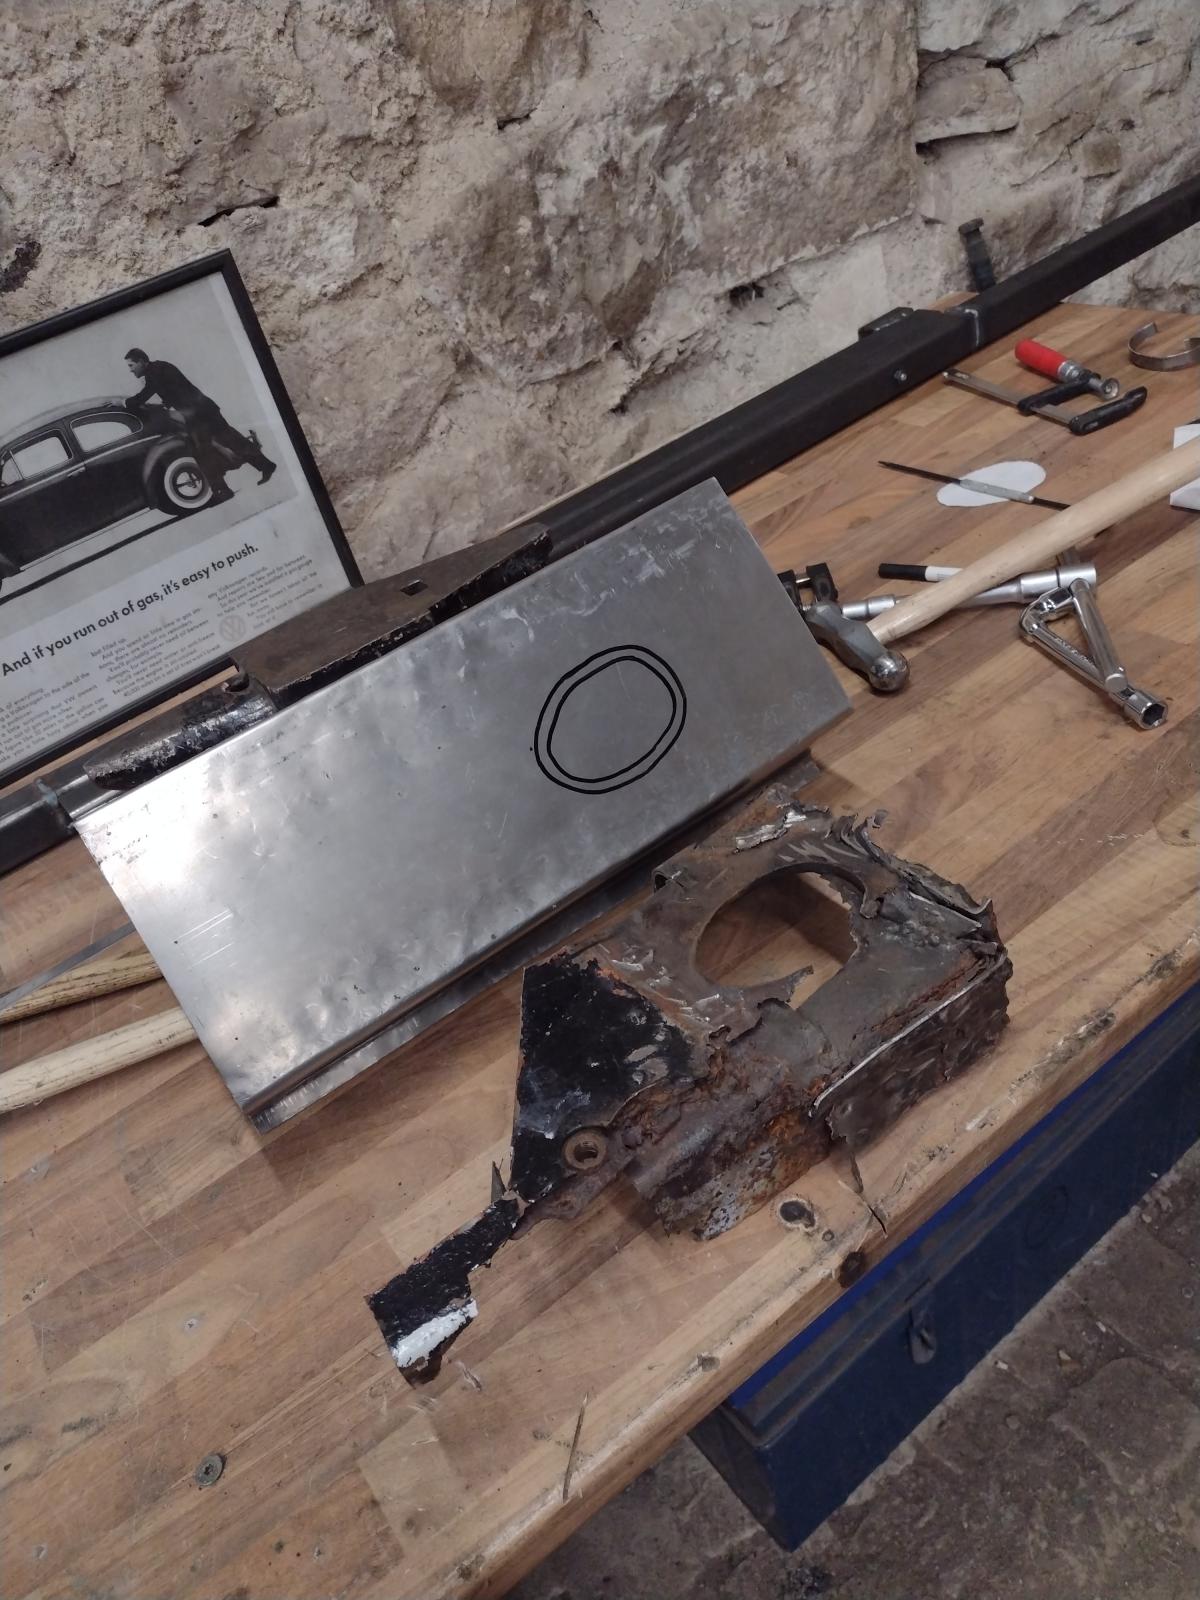
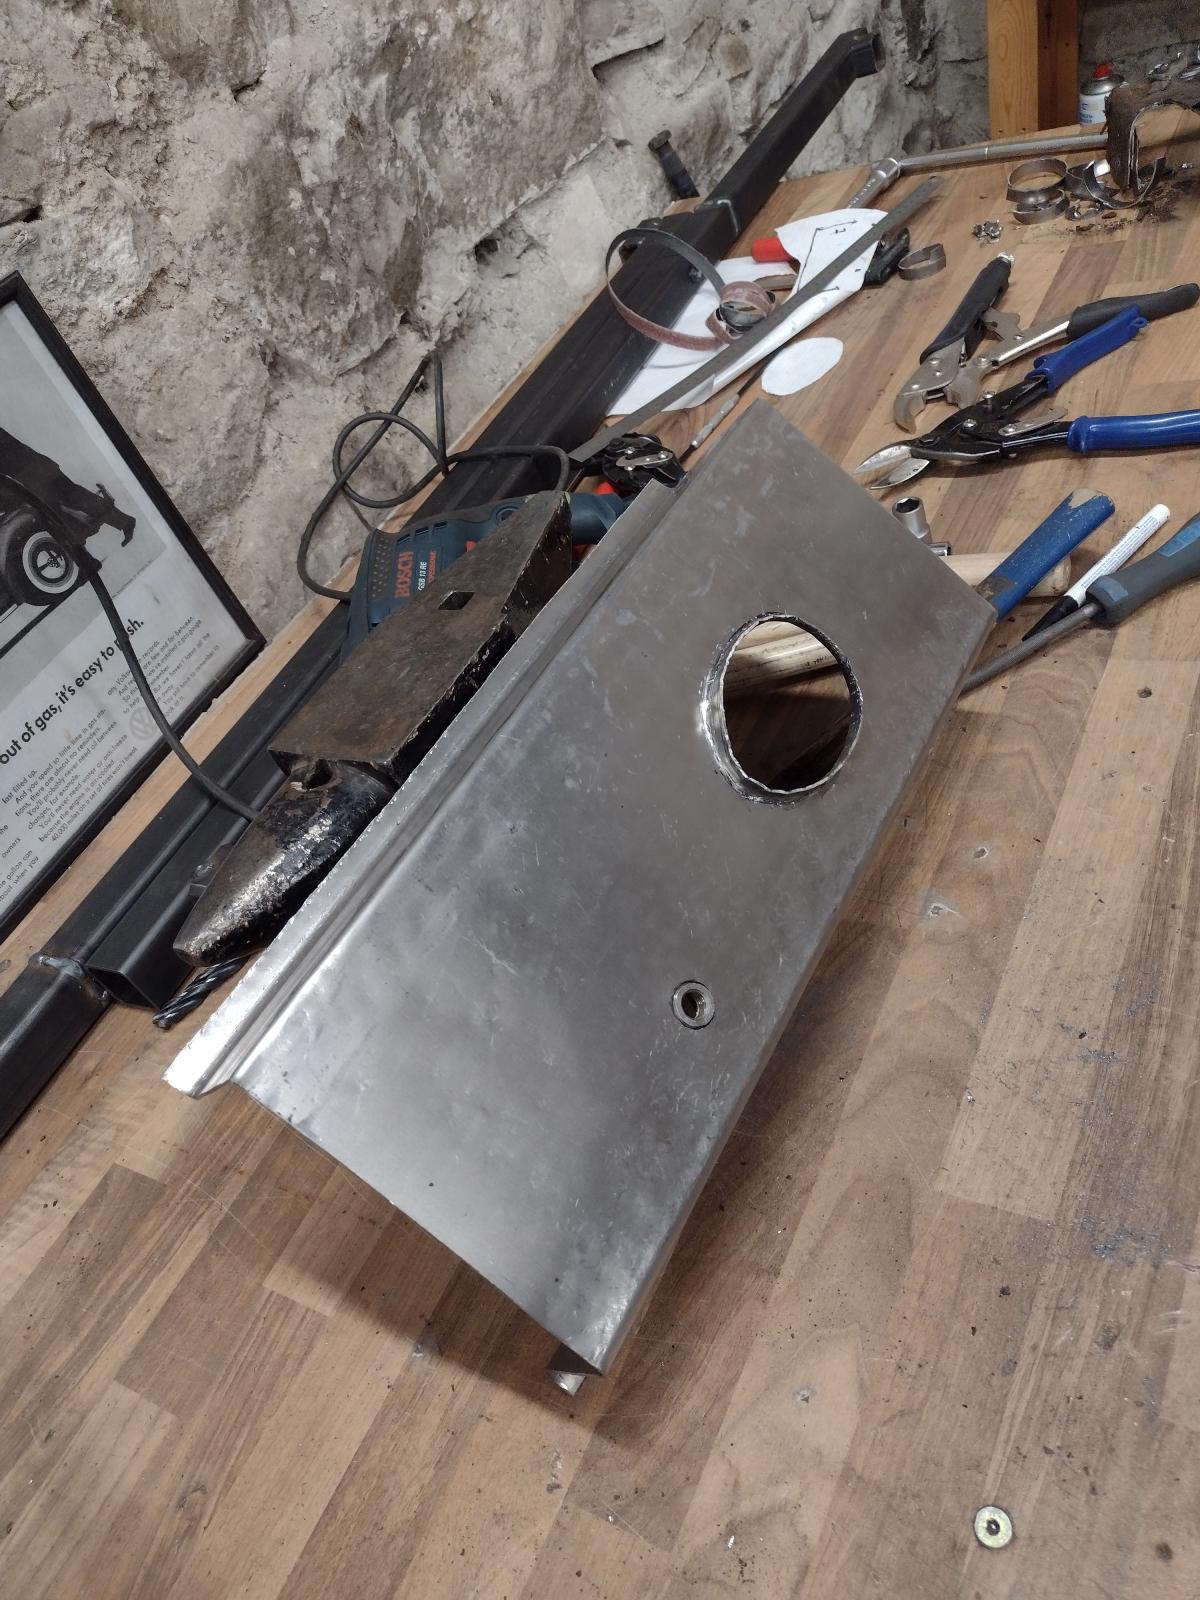
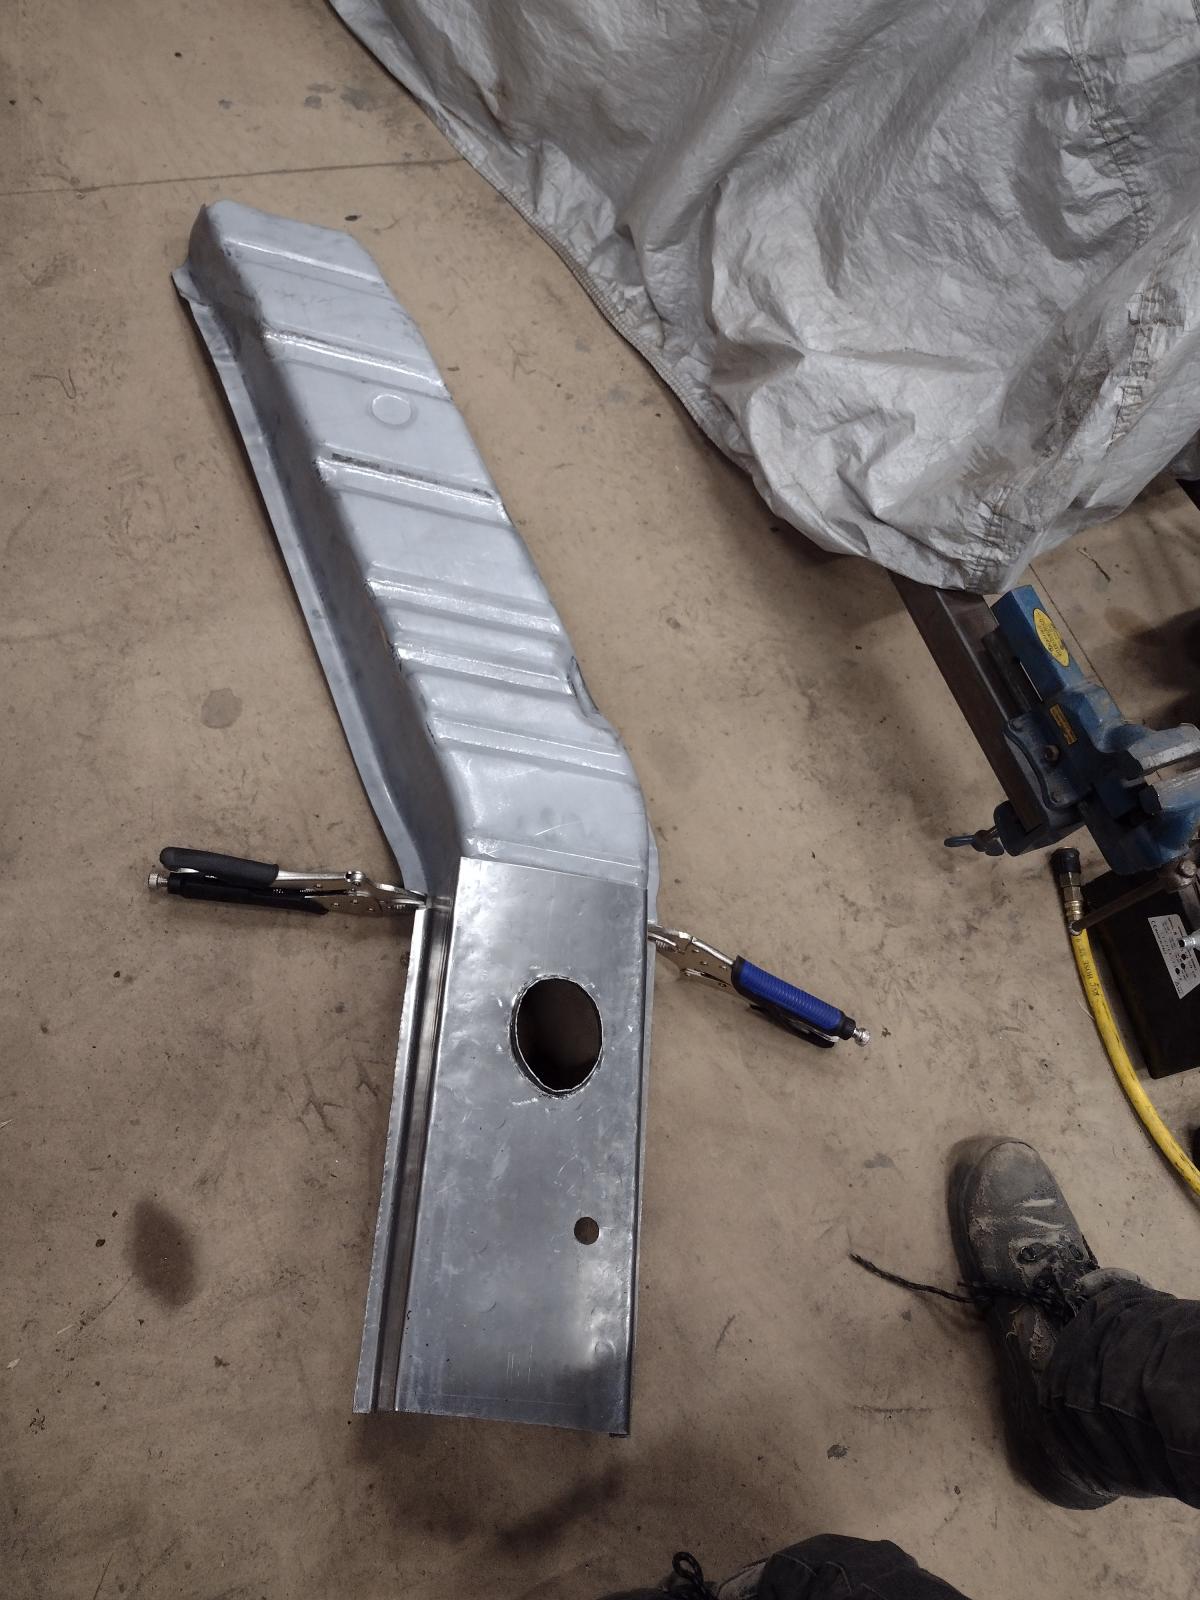
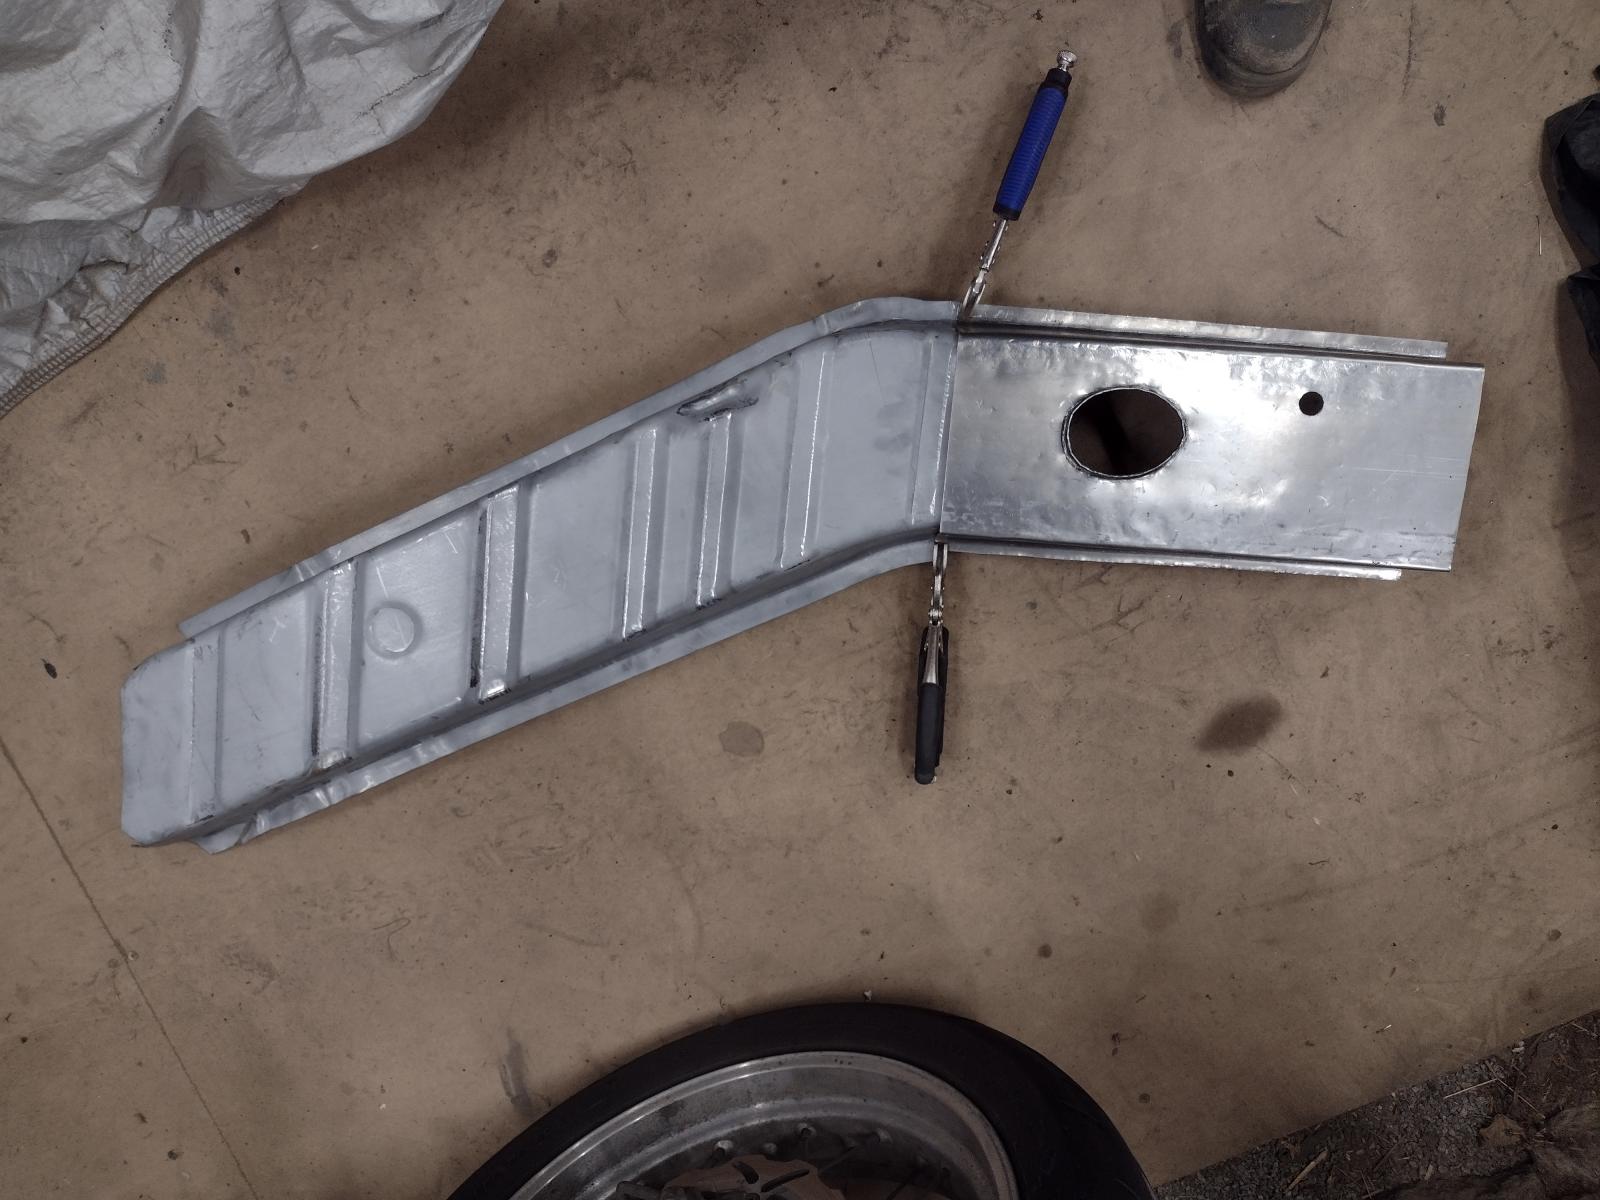
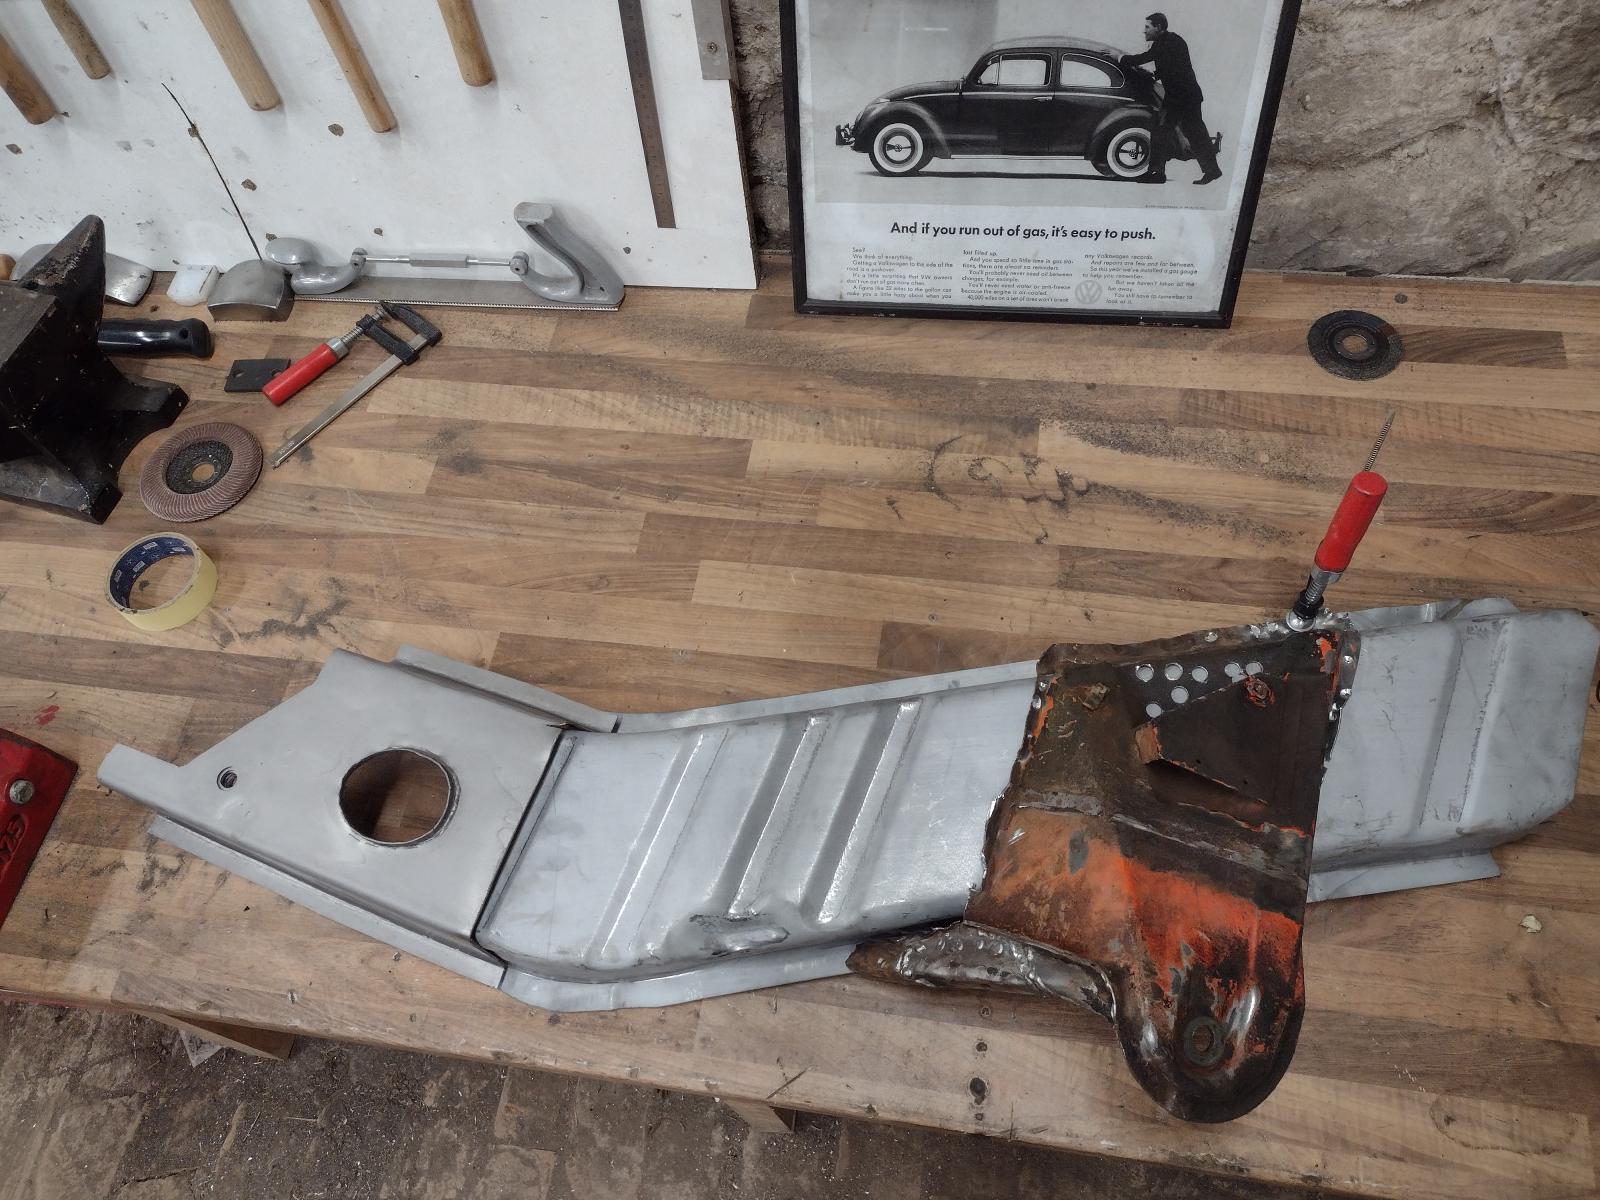
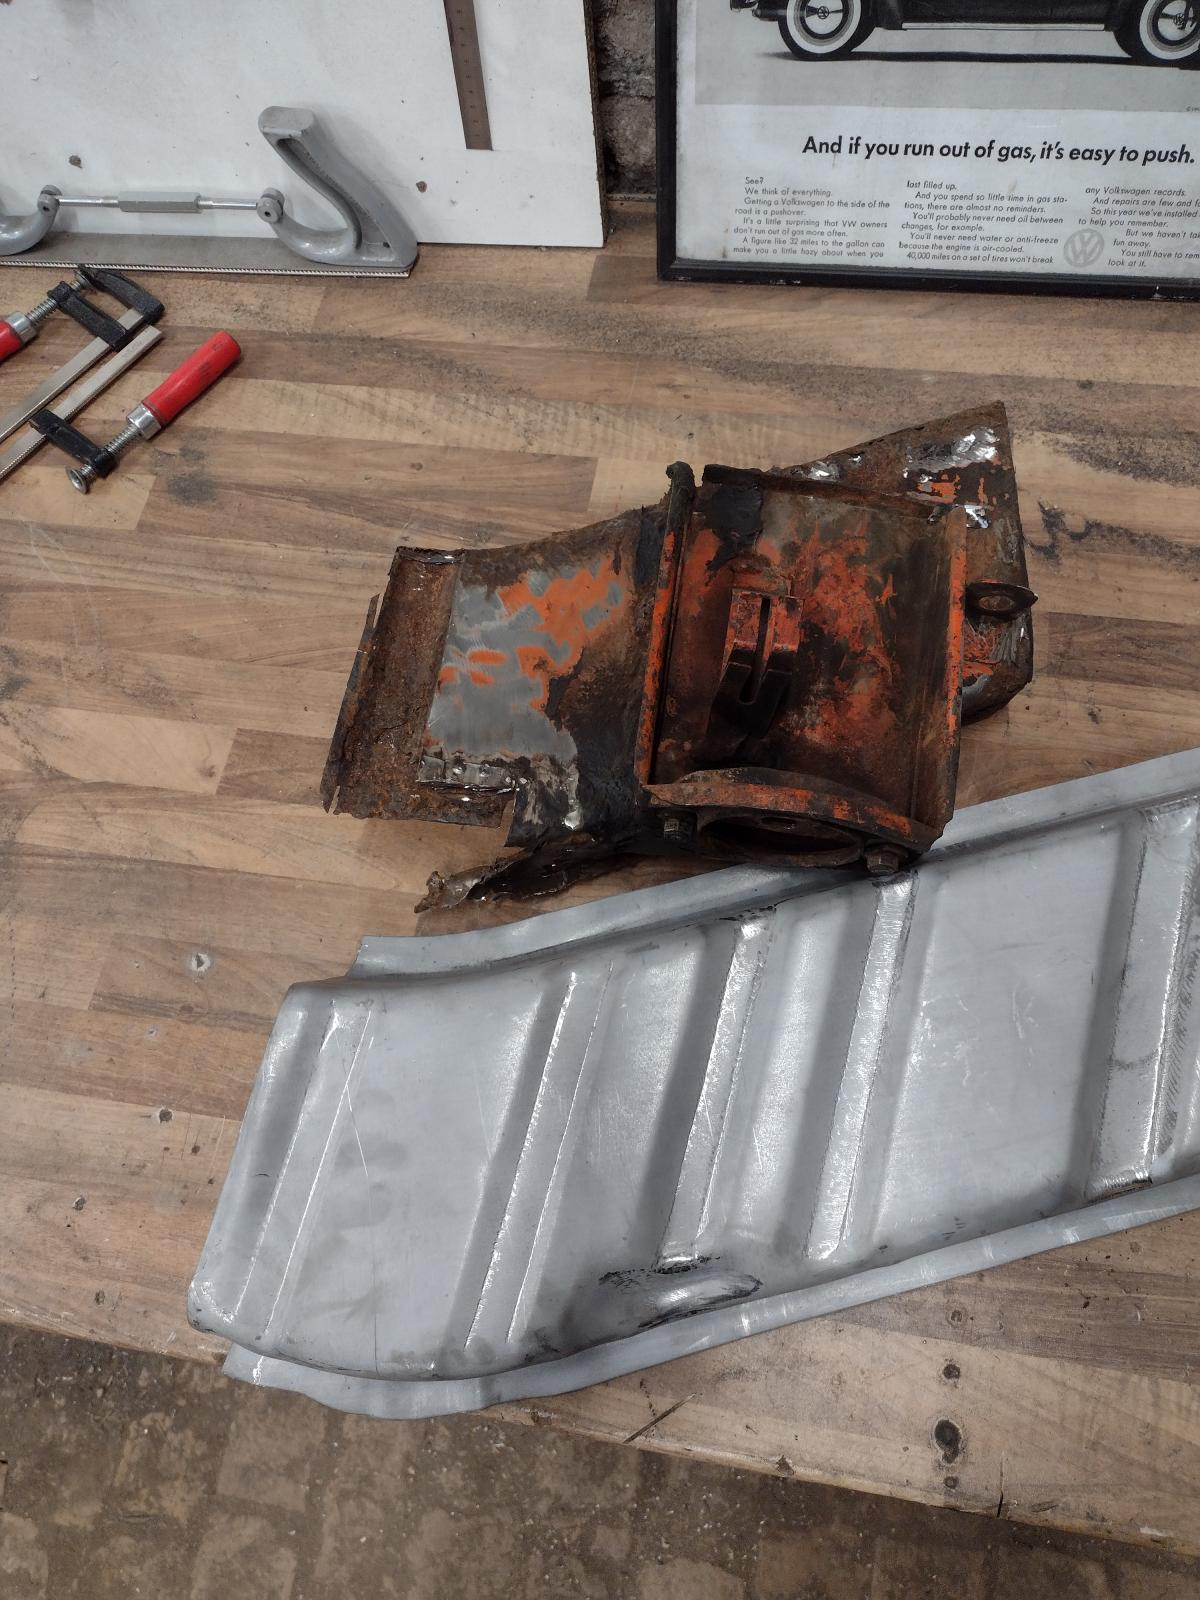
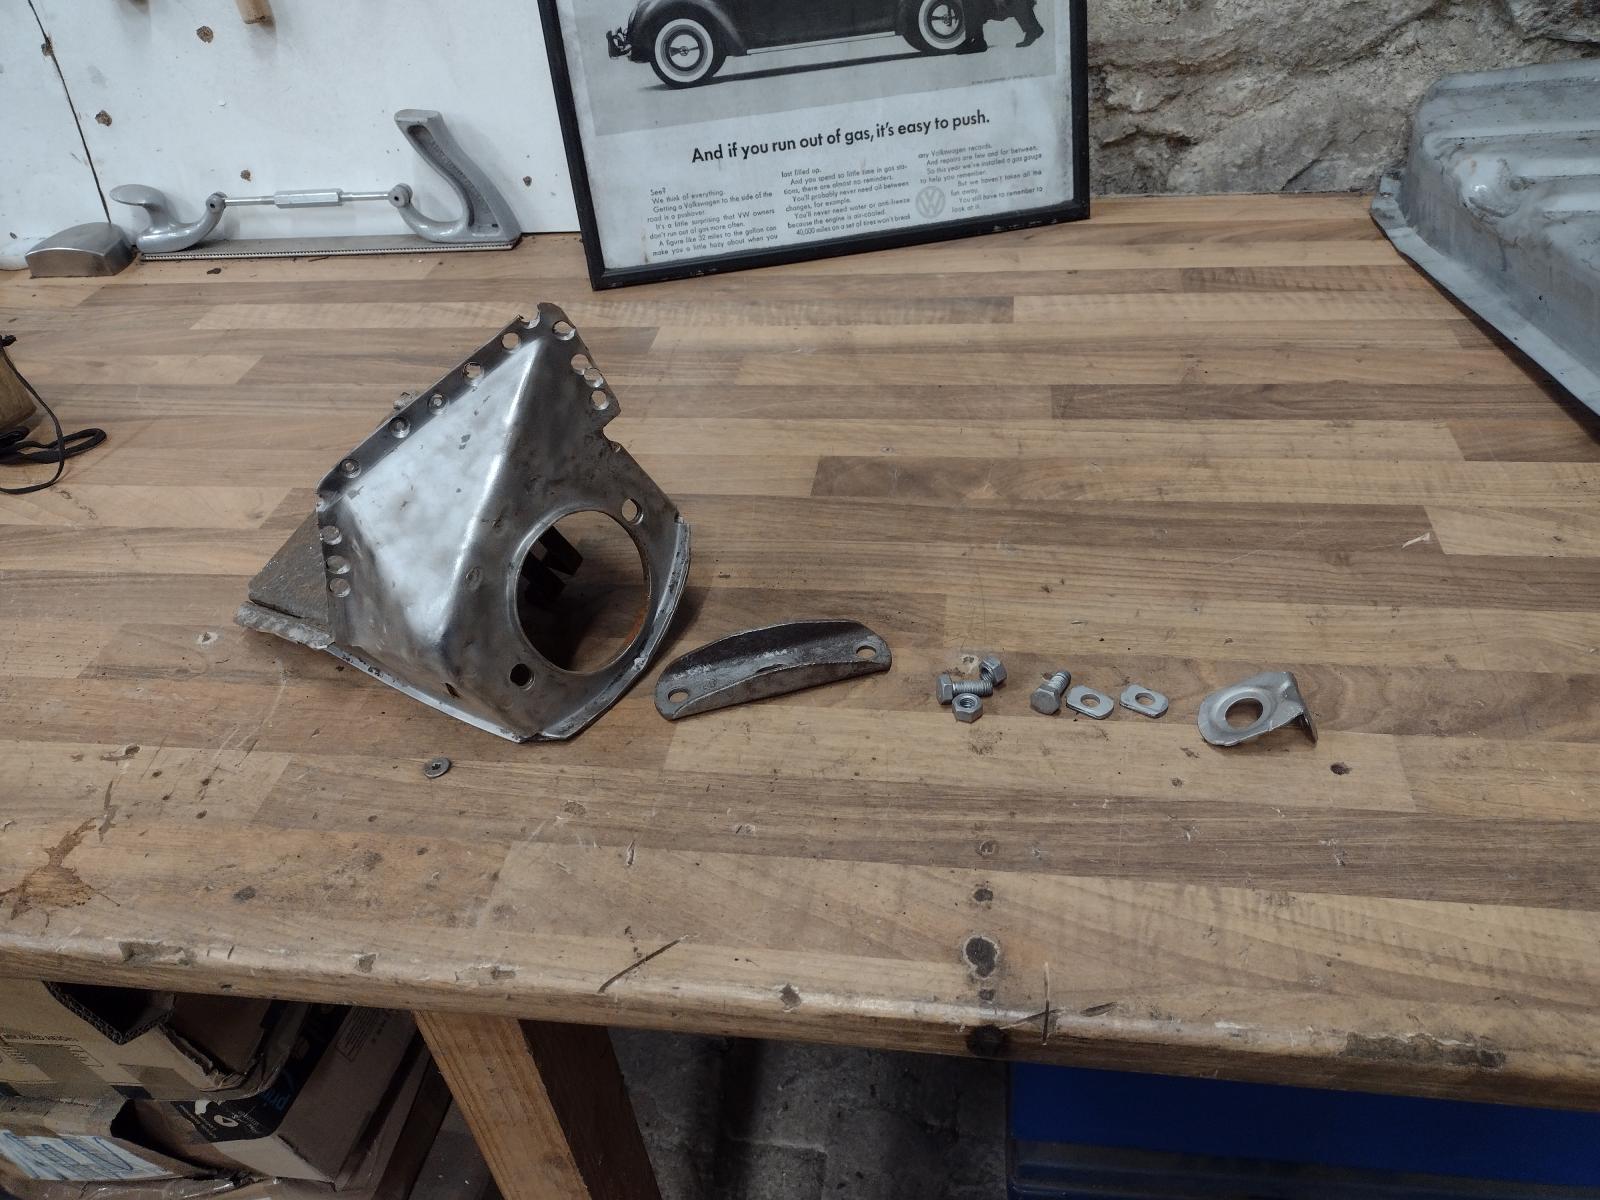
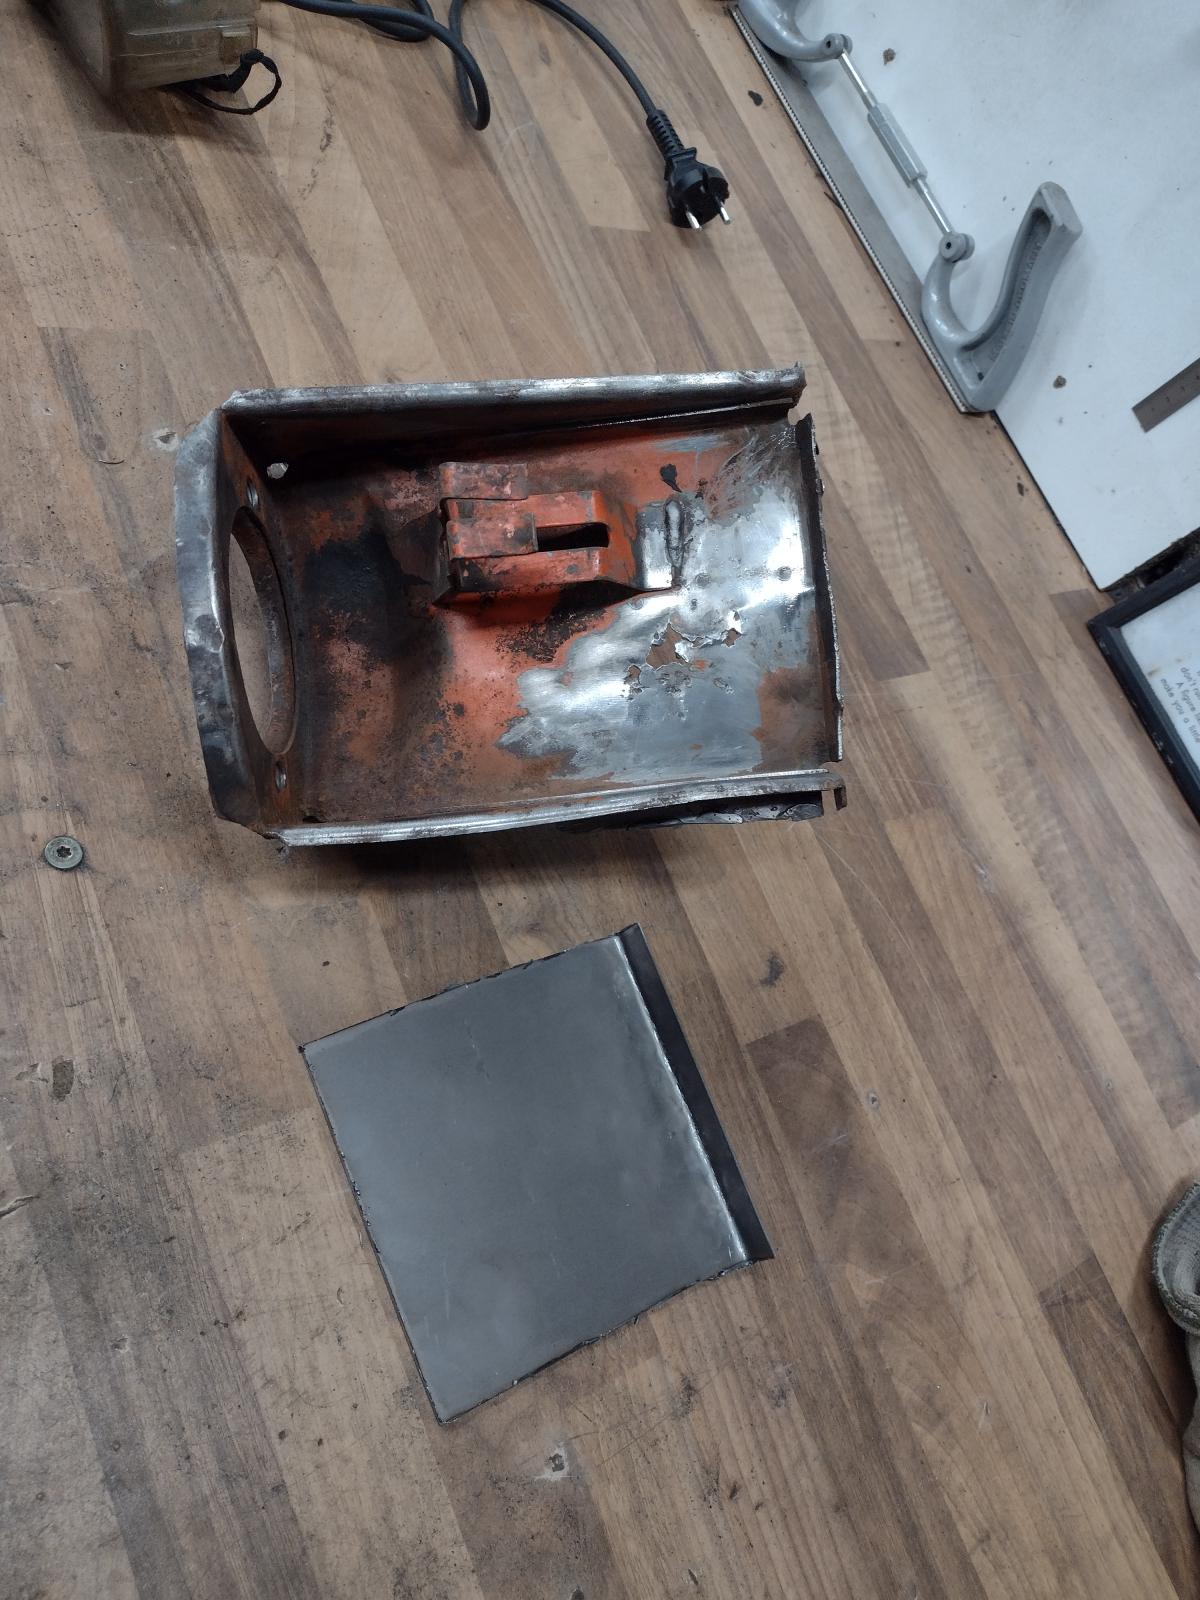
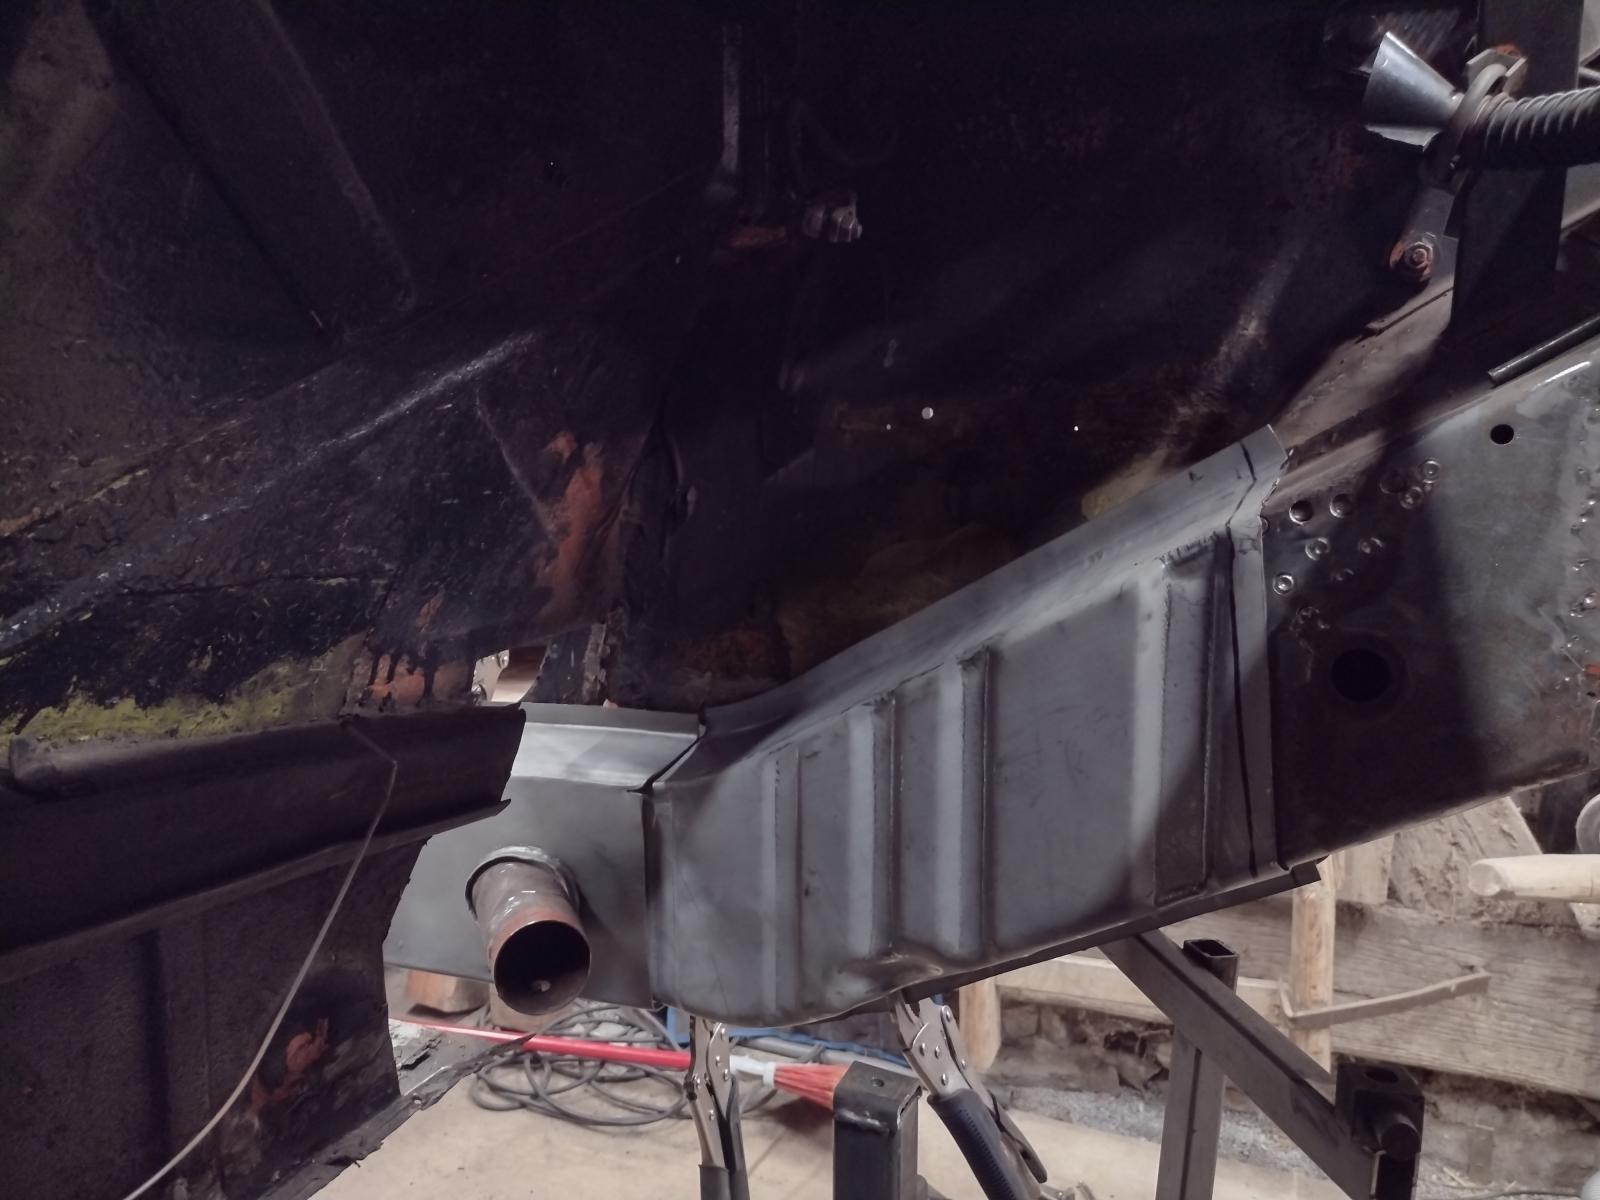
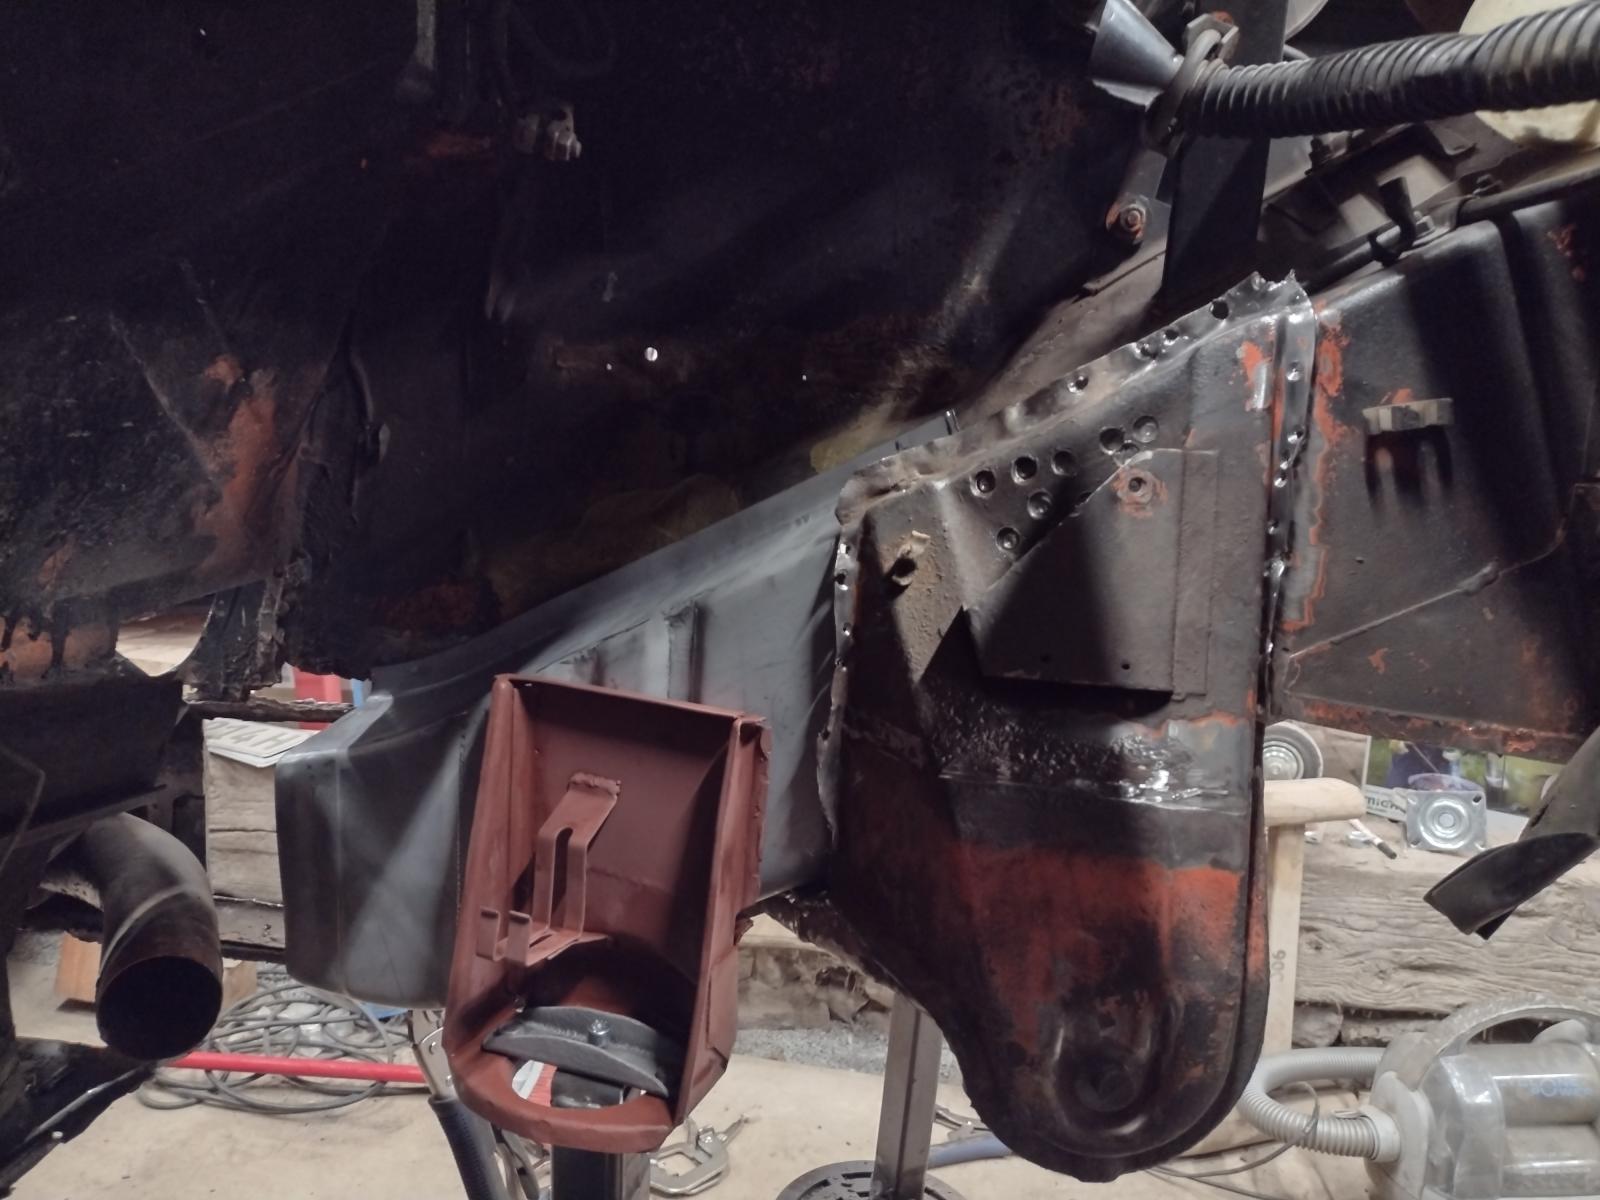
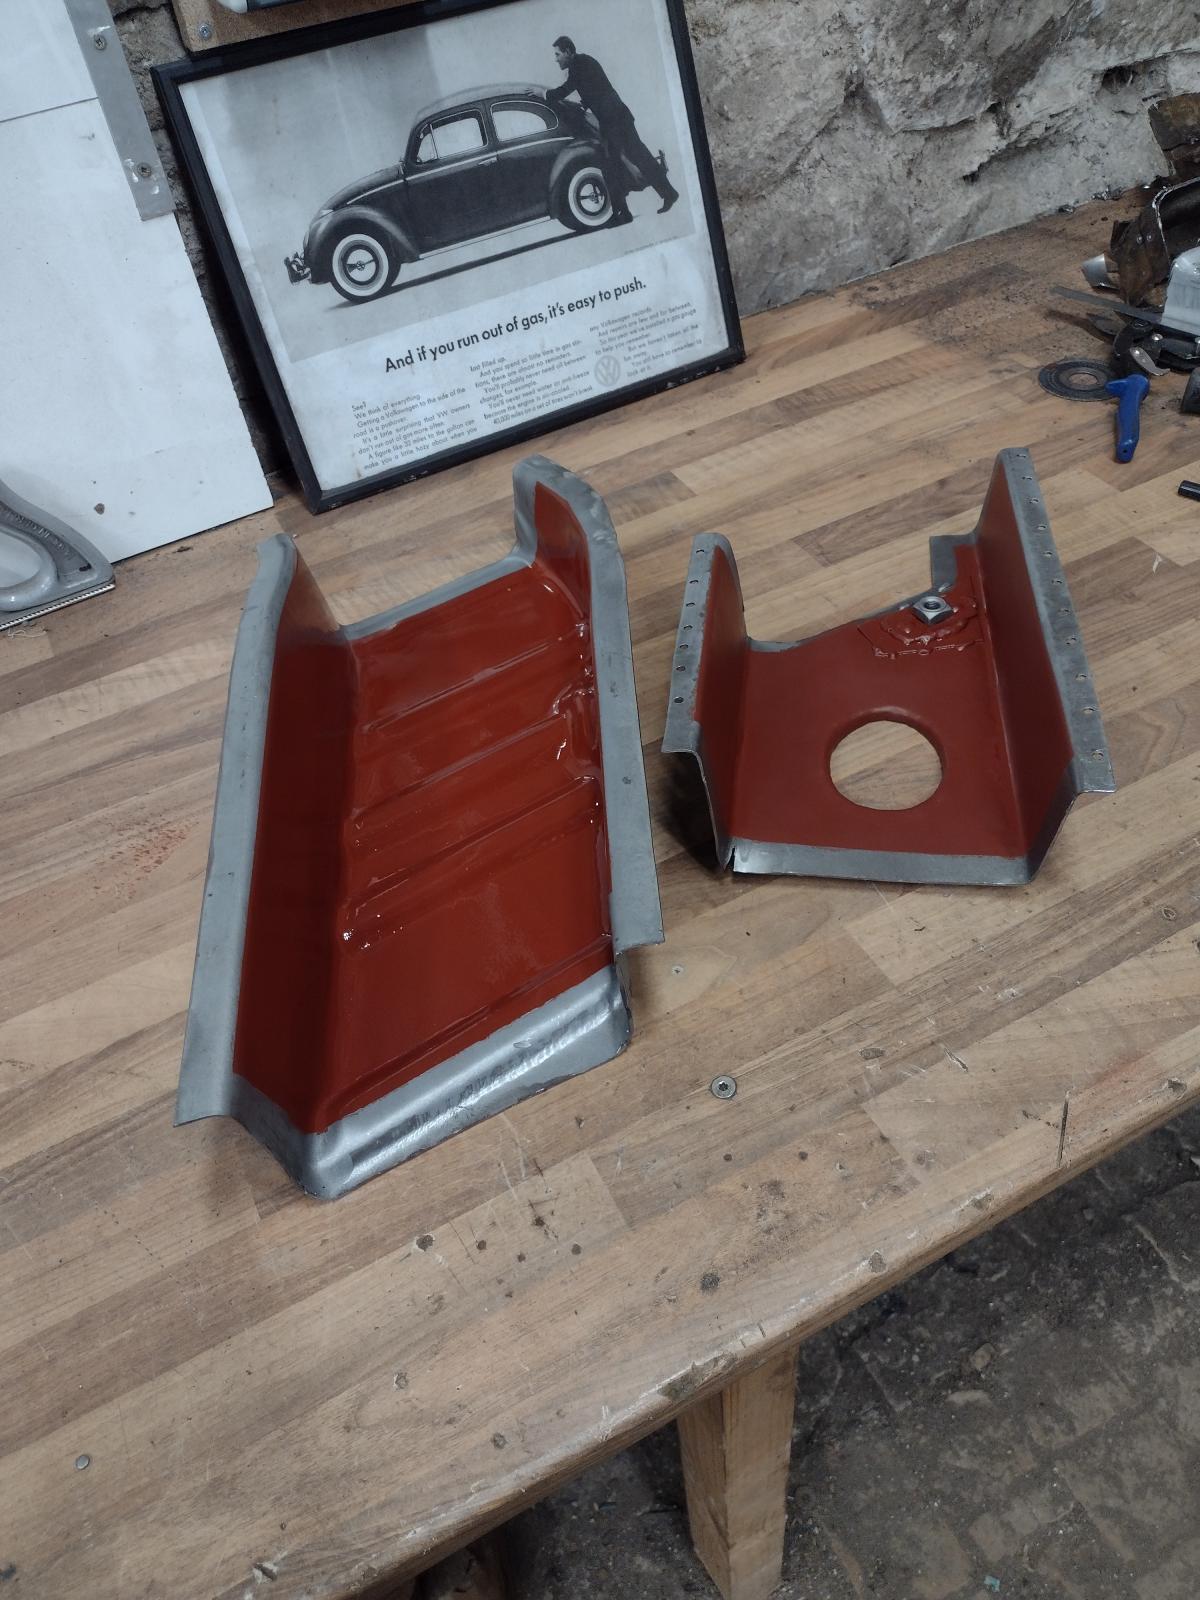
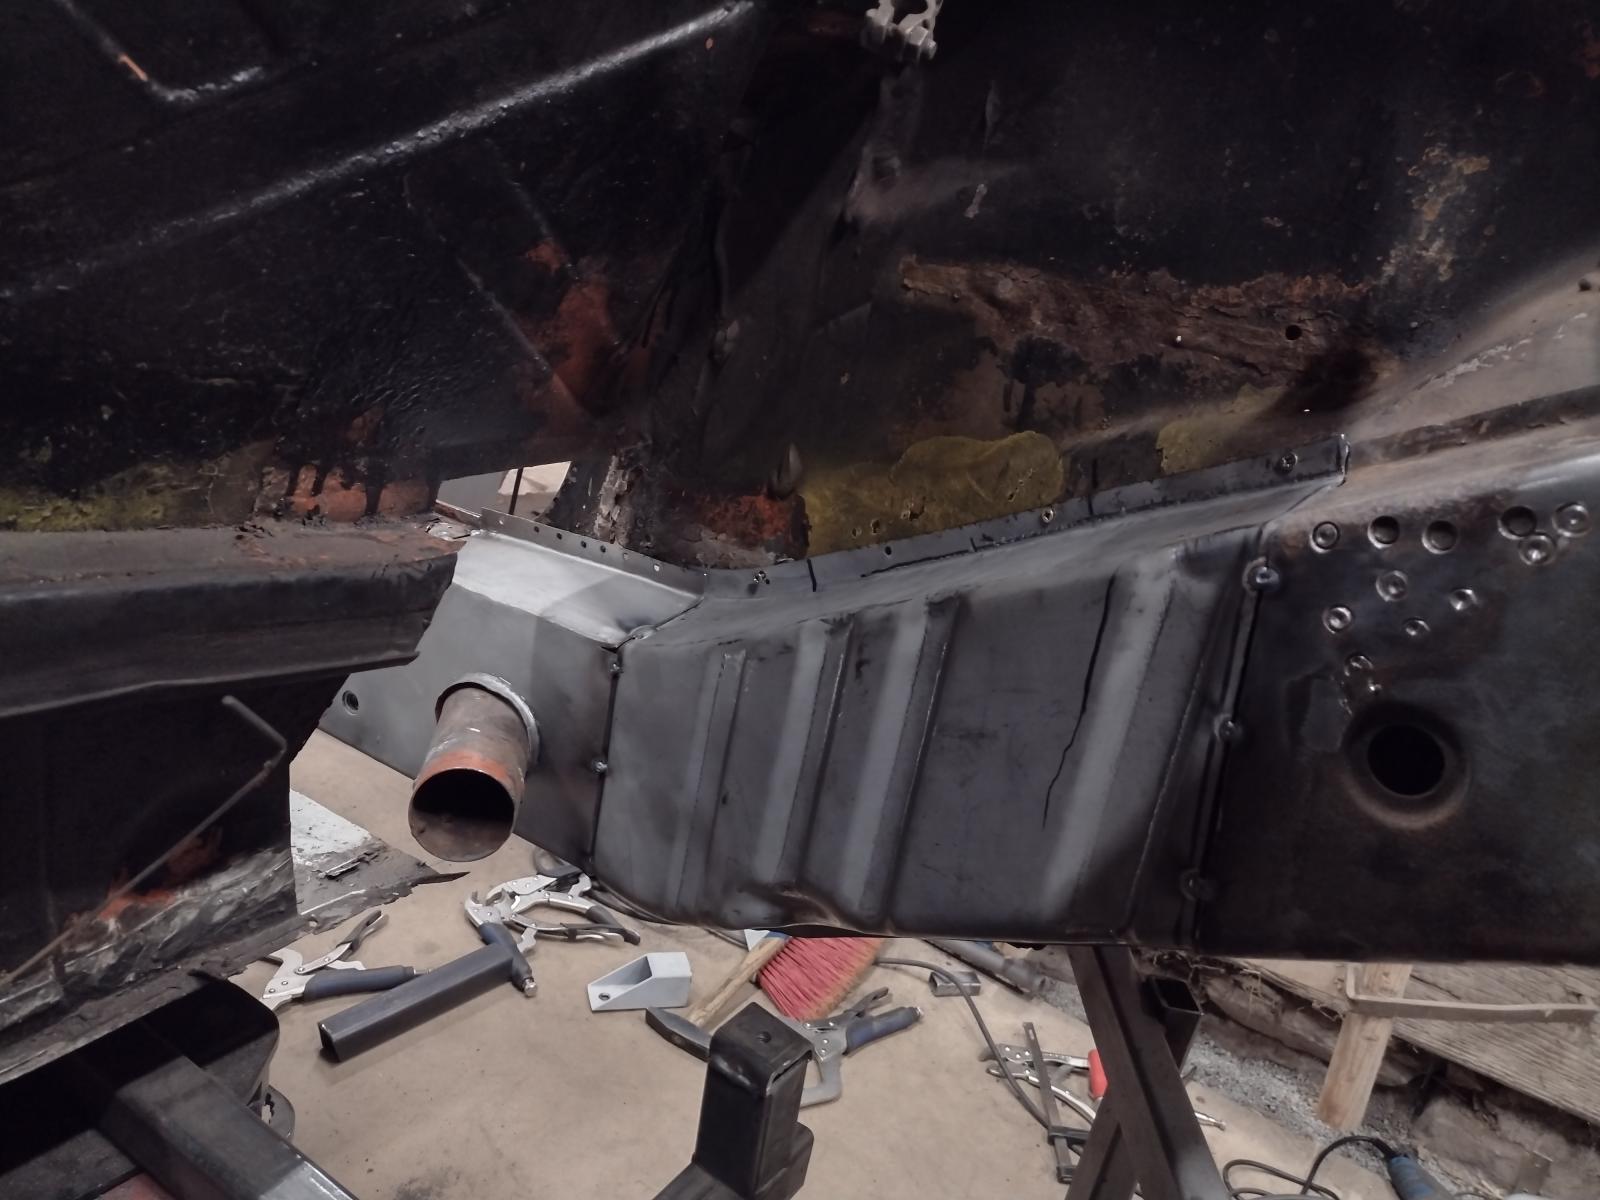
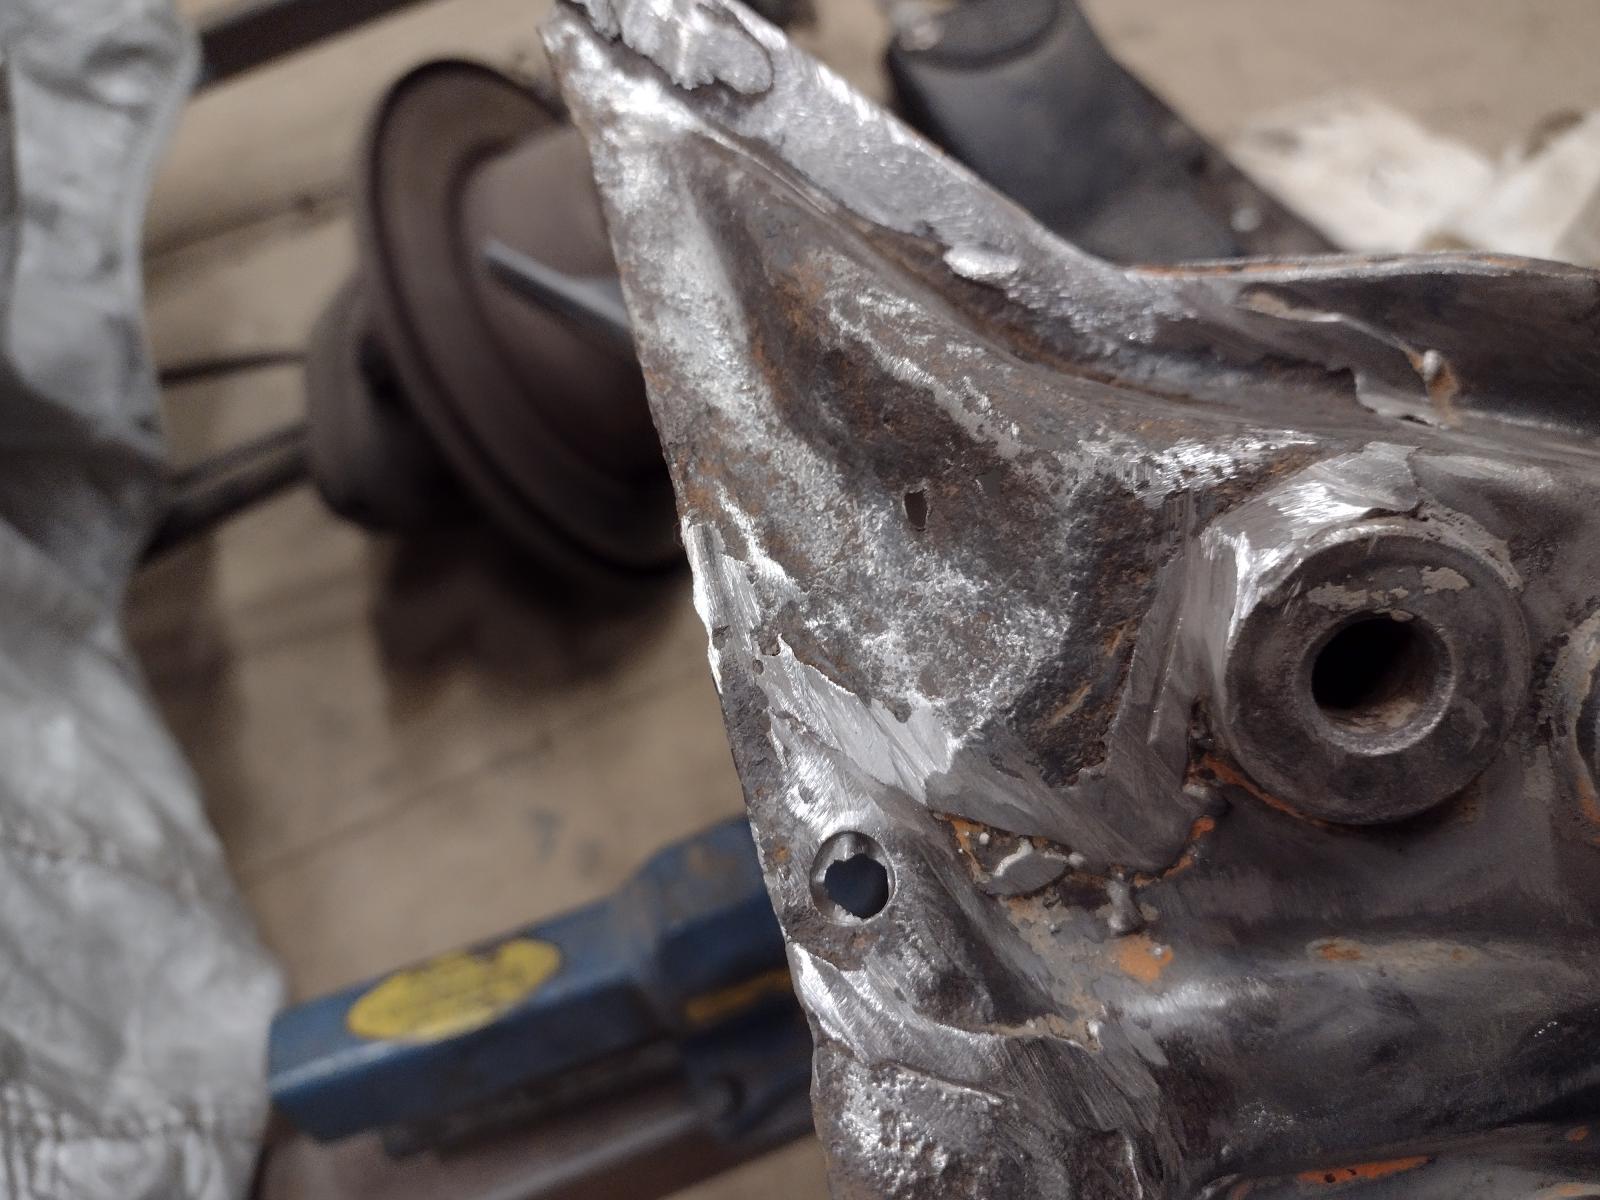
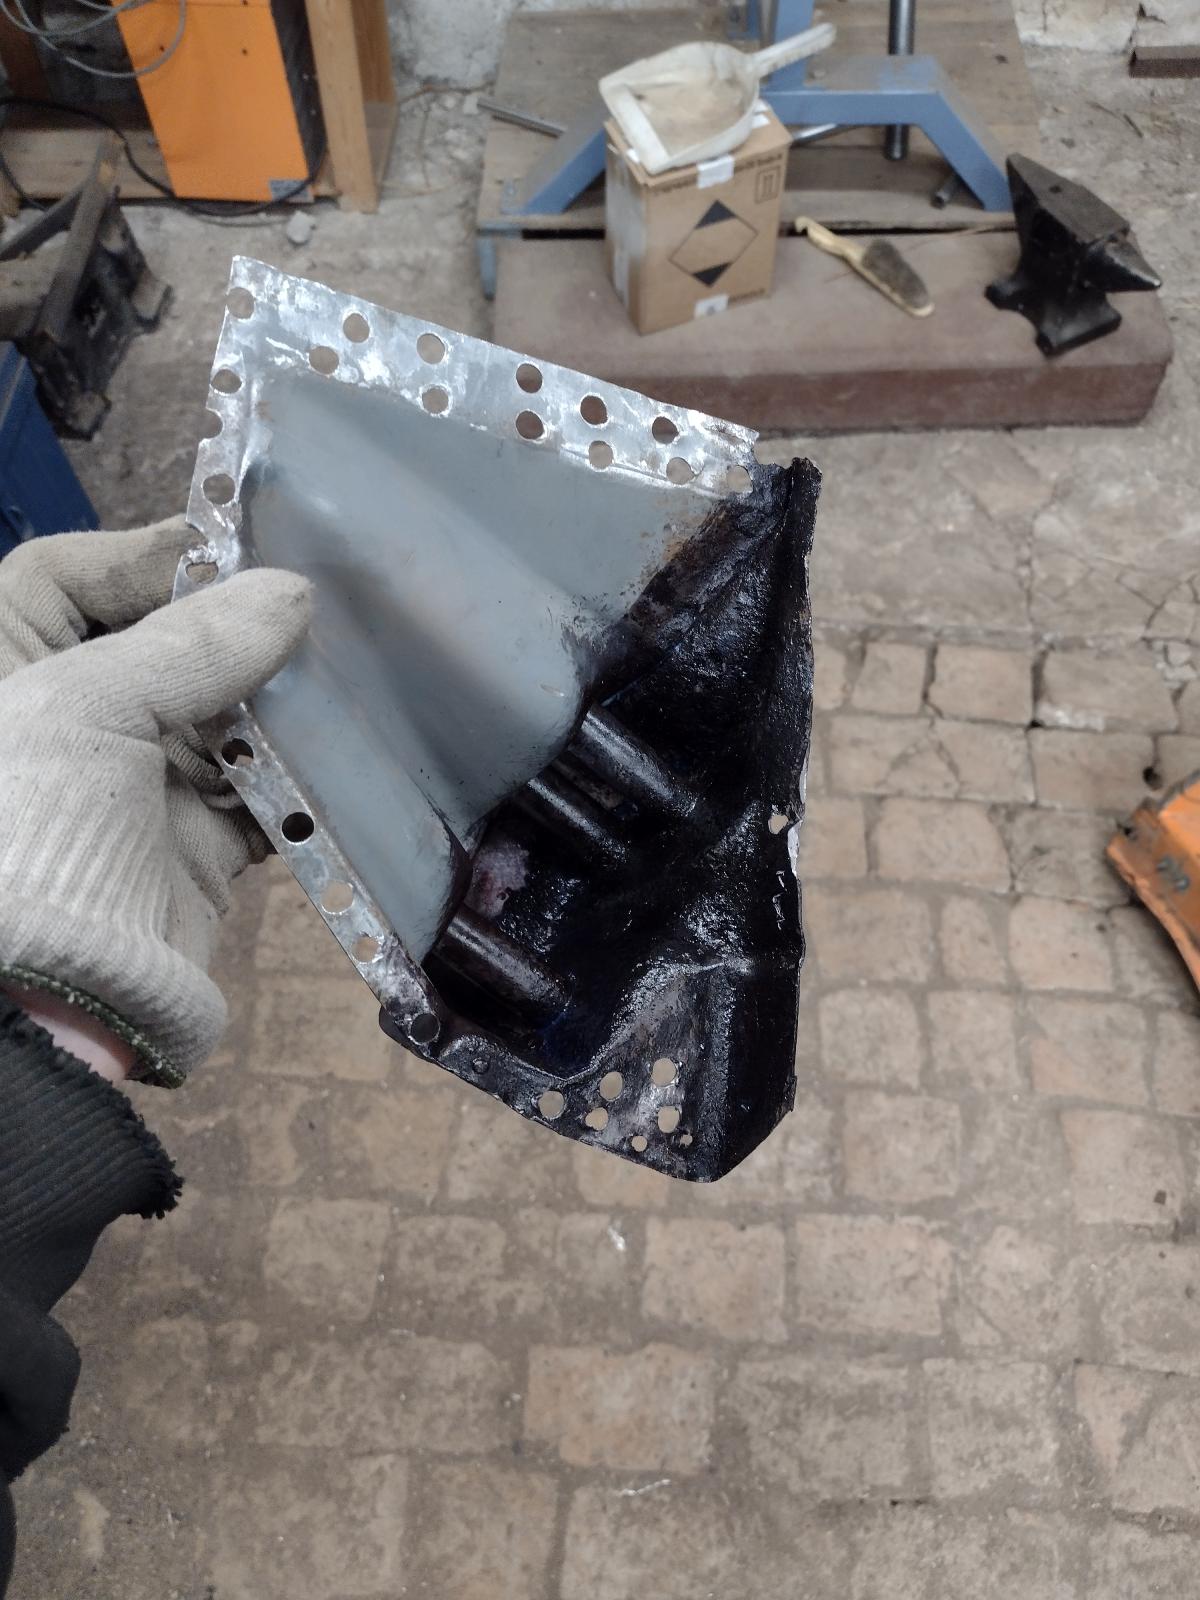
So I started to make a new one..and I had some difficulties getting the shape with so few left..I made a couple trial and in the end made it in two parts, easier to adjust and tig welded together in the end.
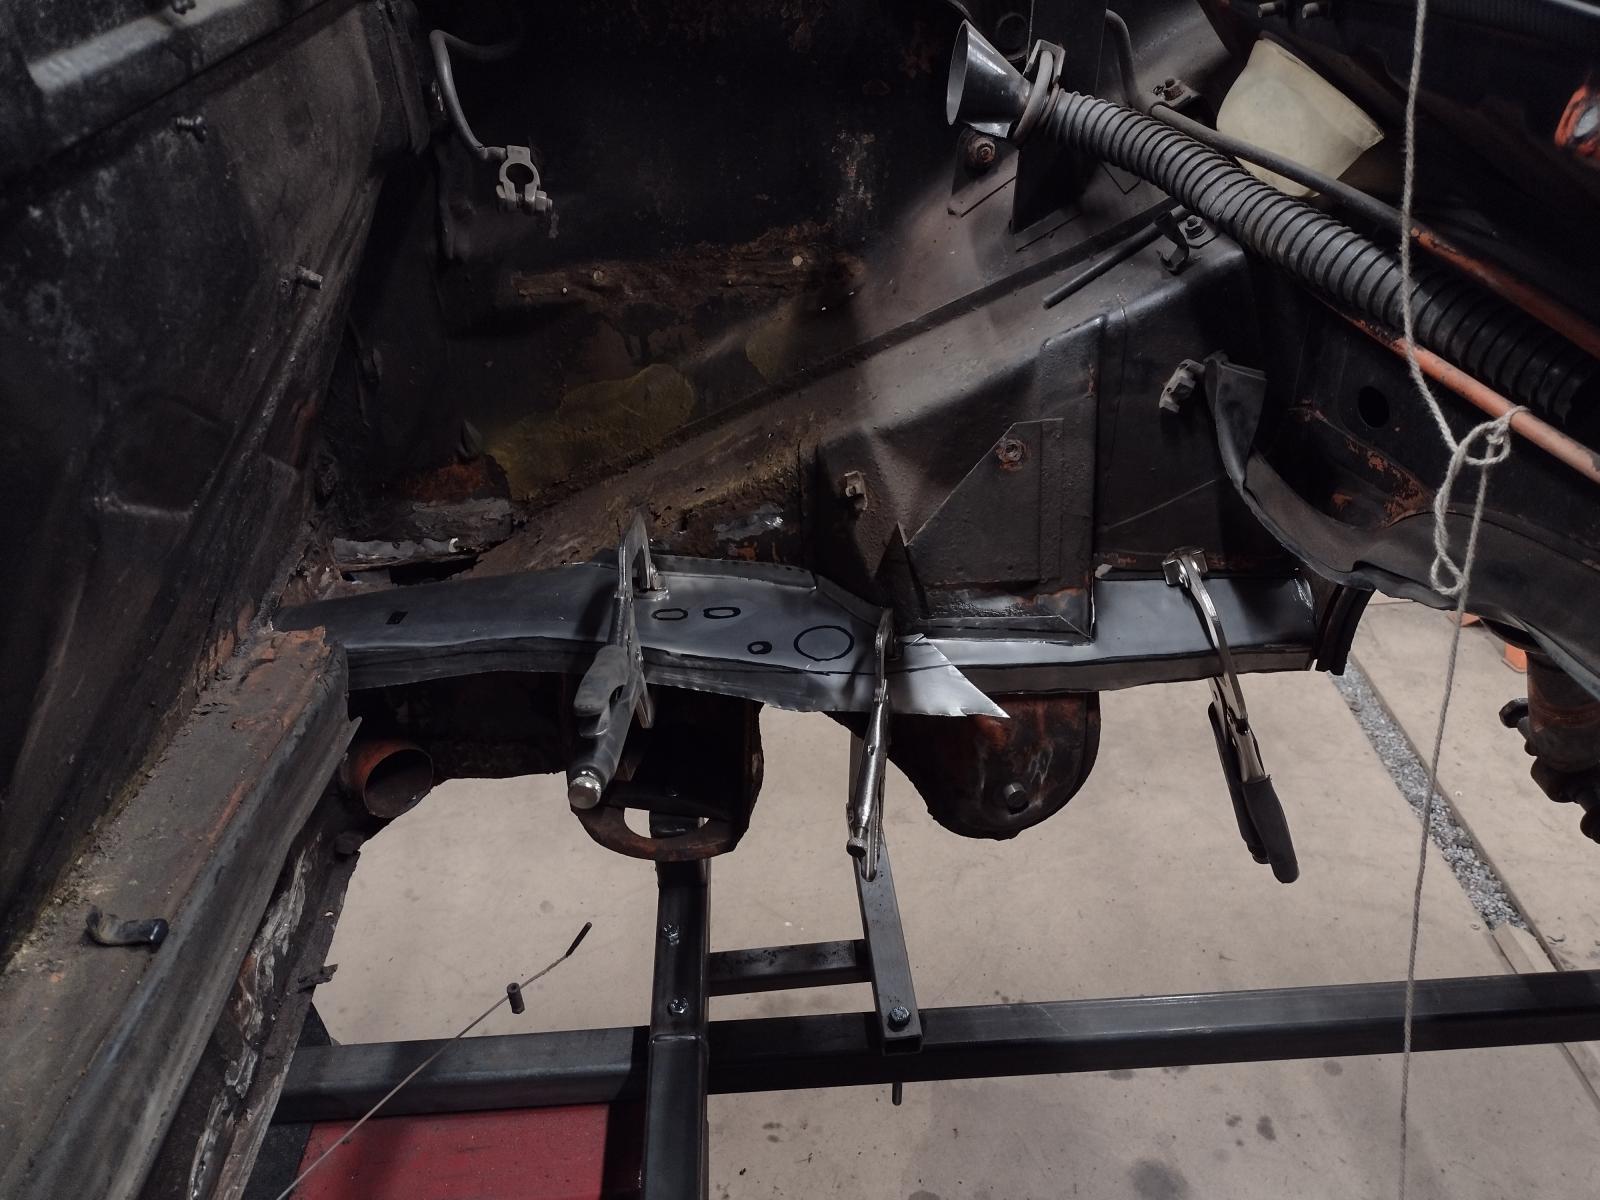
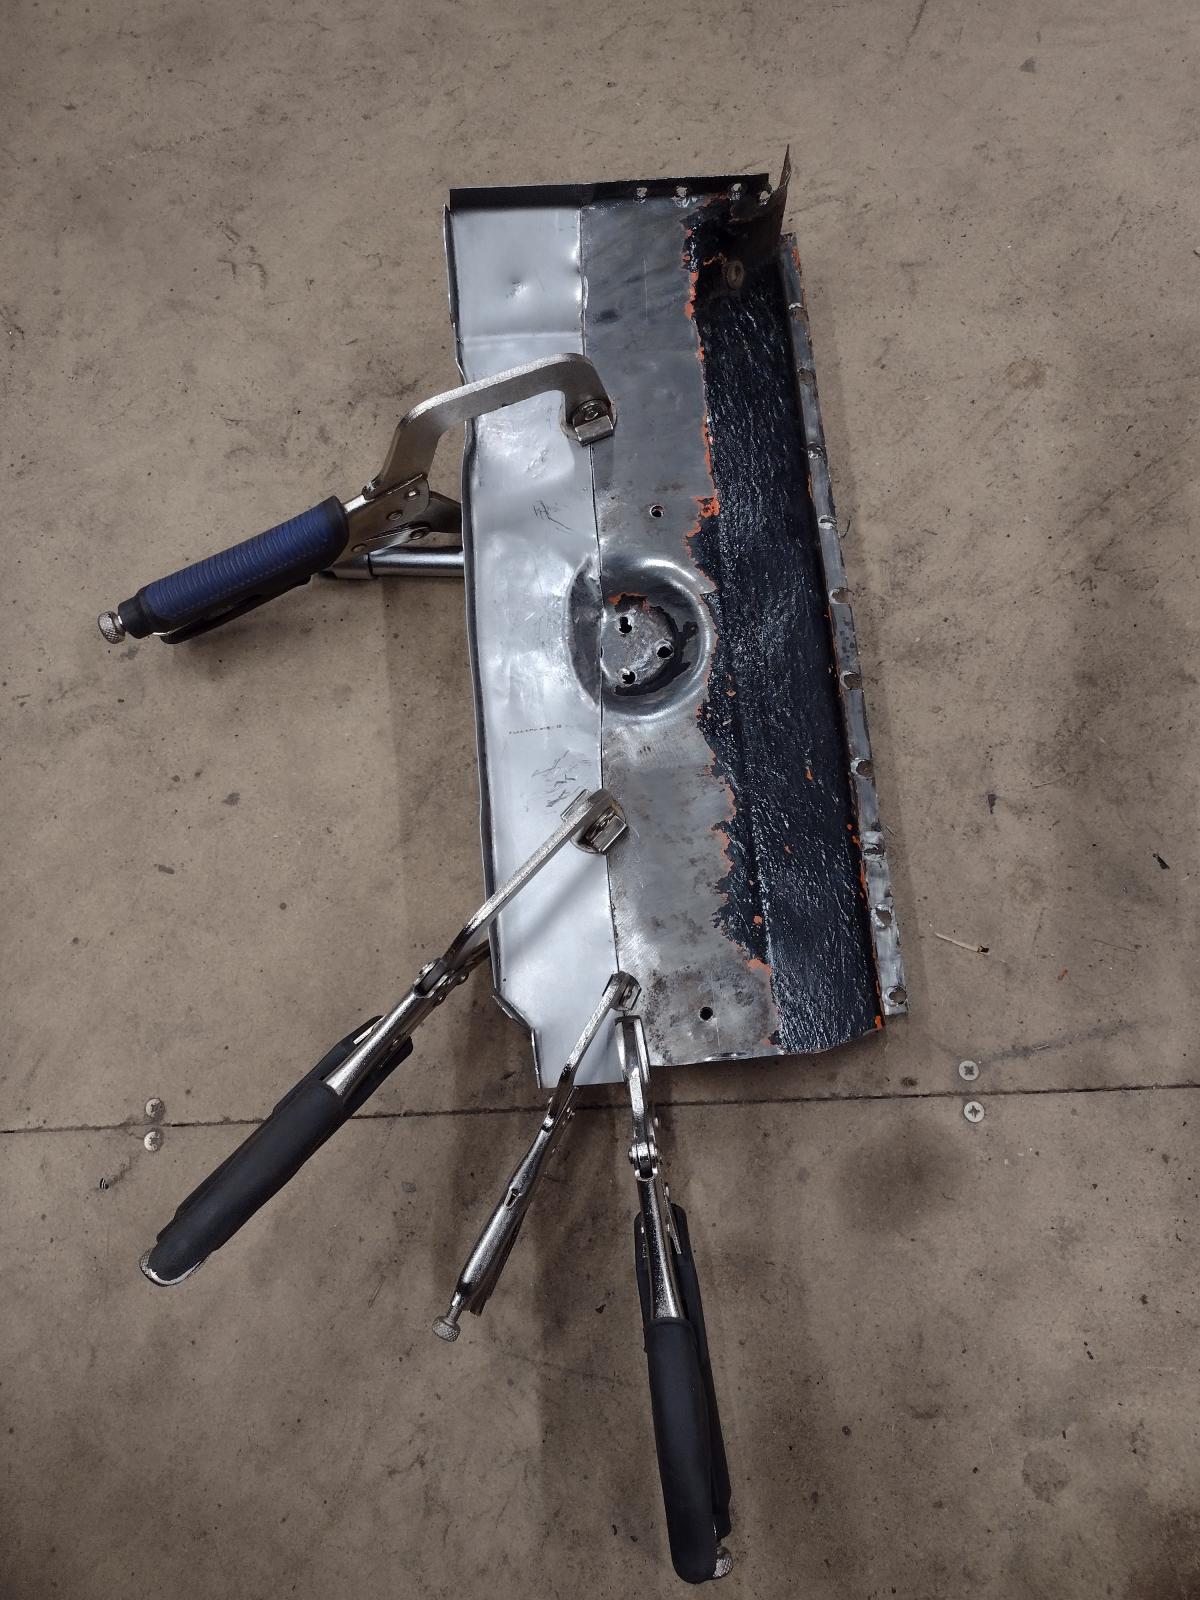
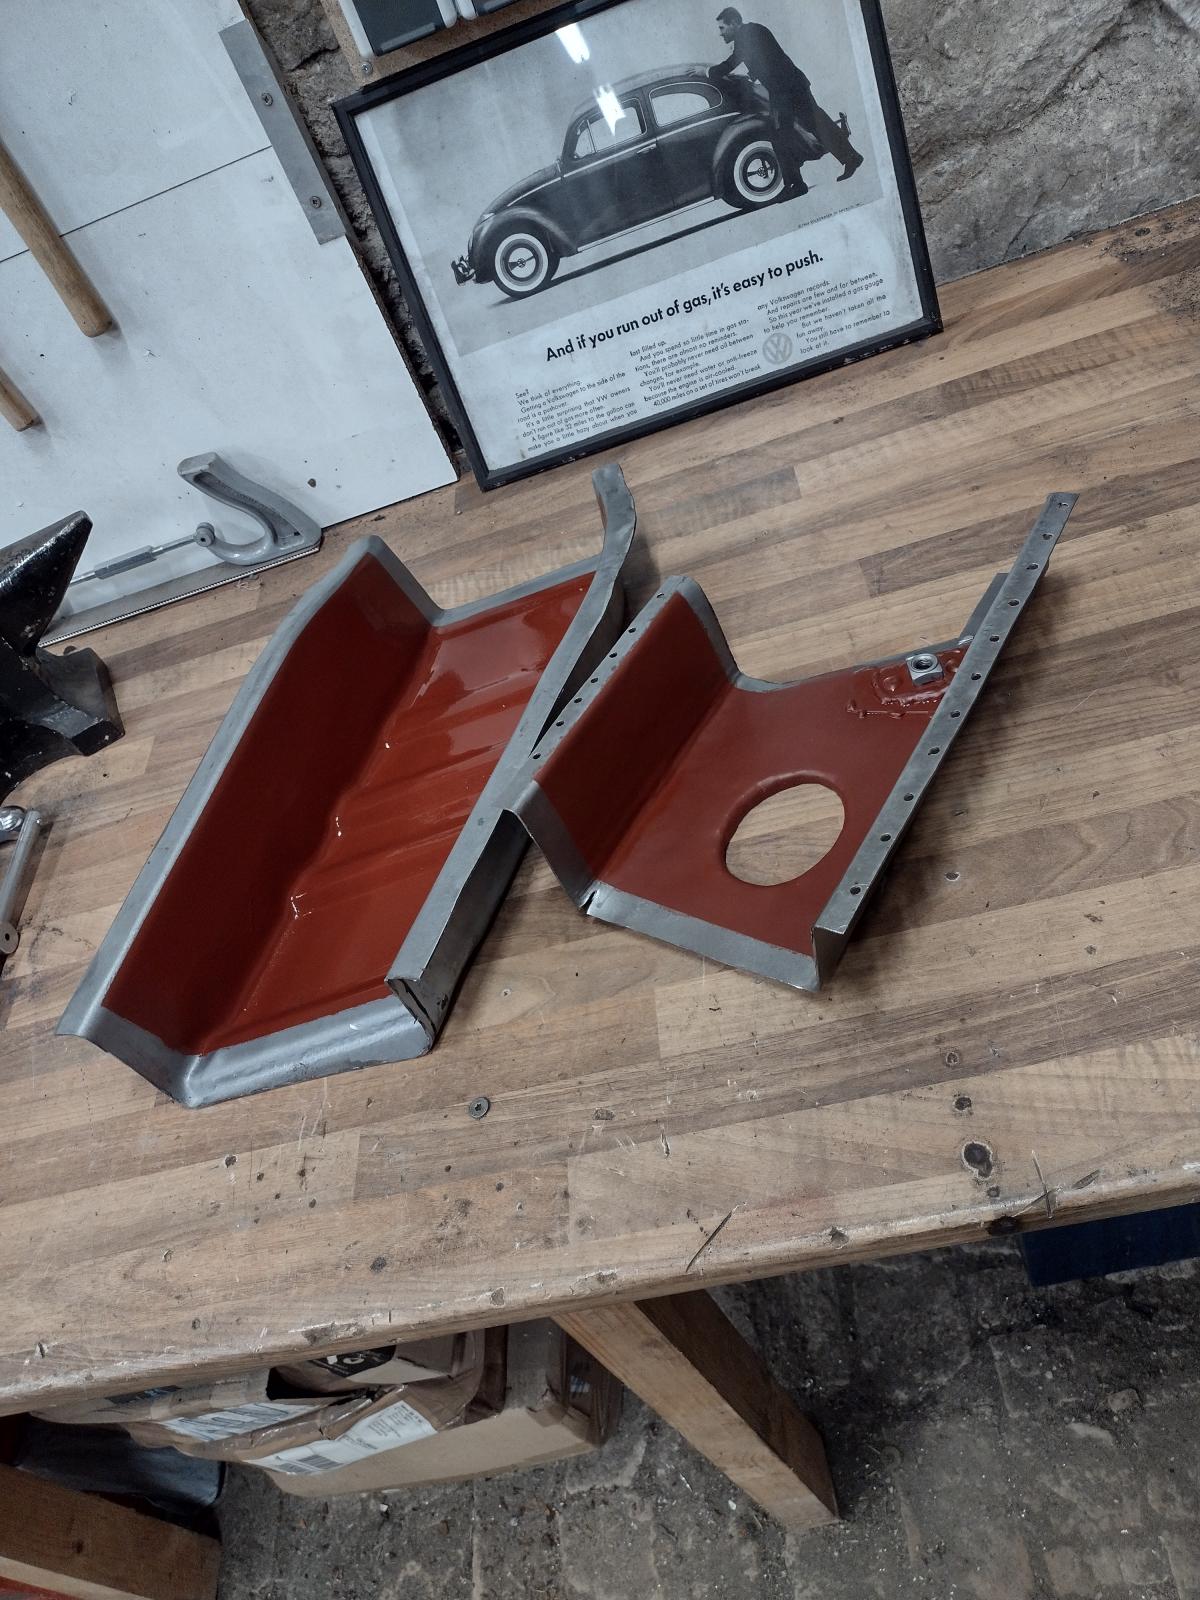
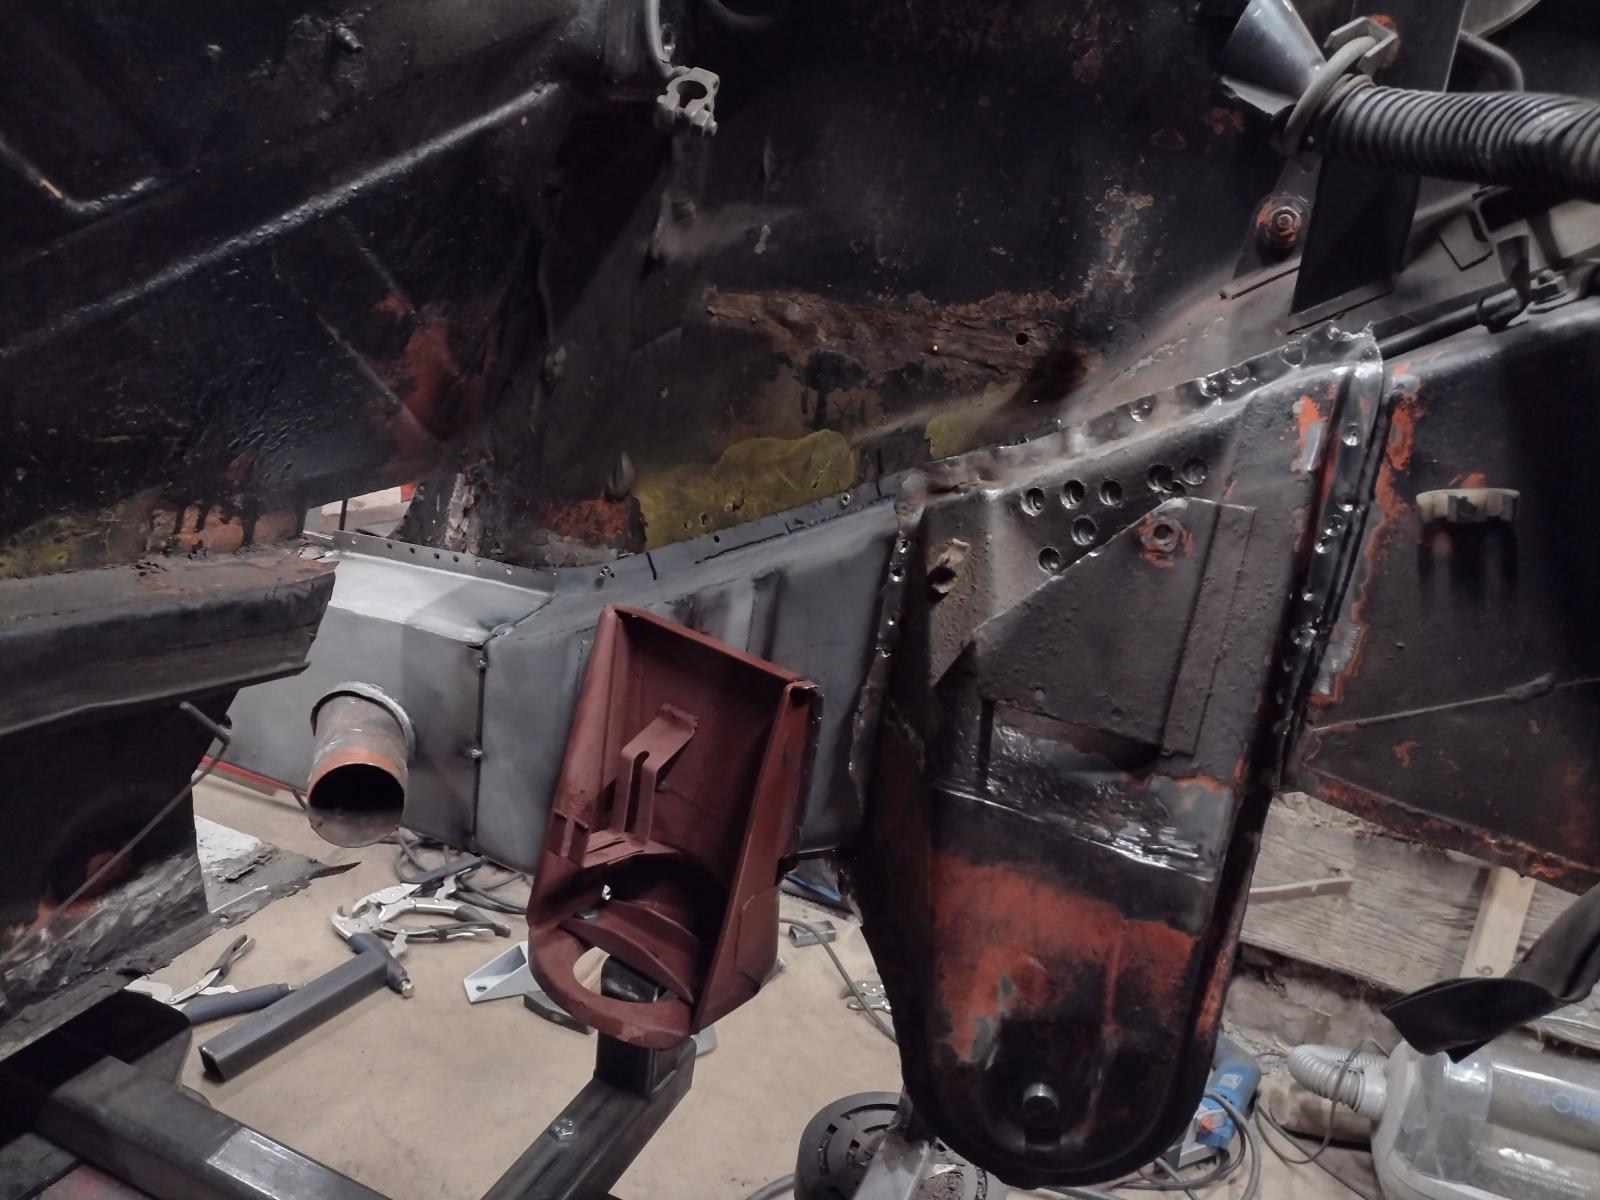
Here both parts getting adjusted:
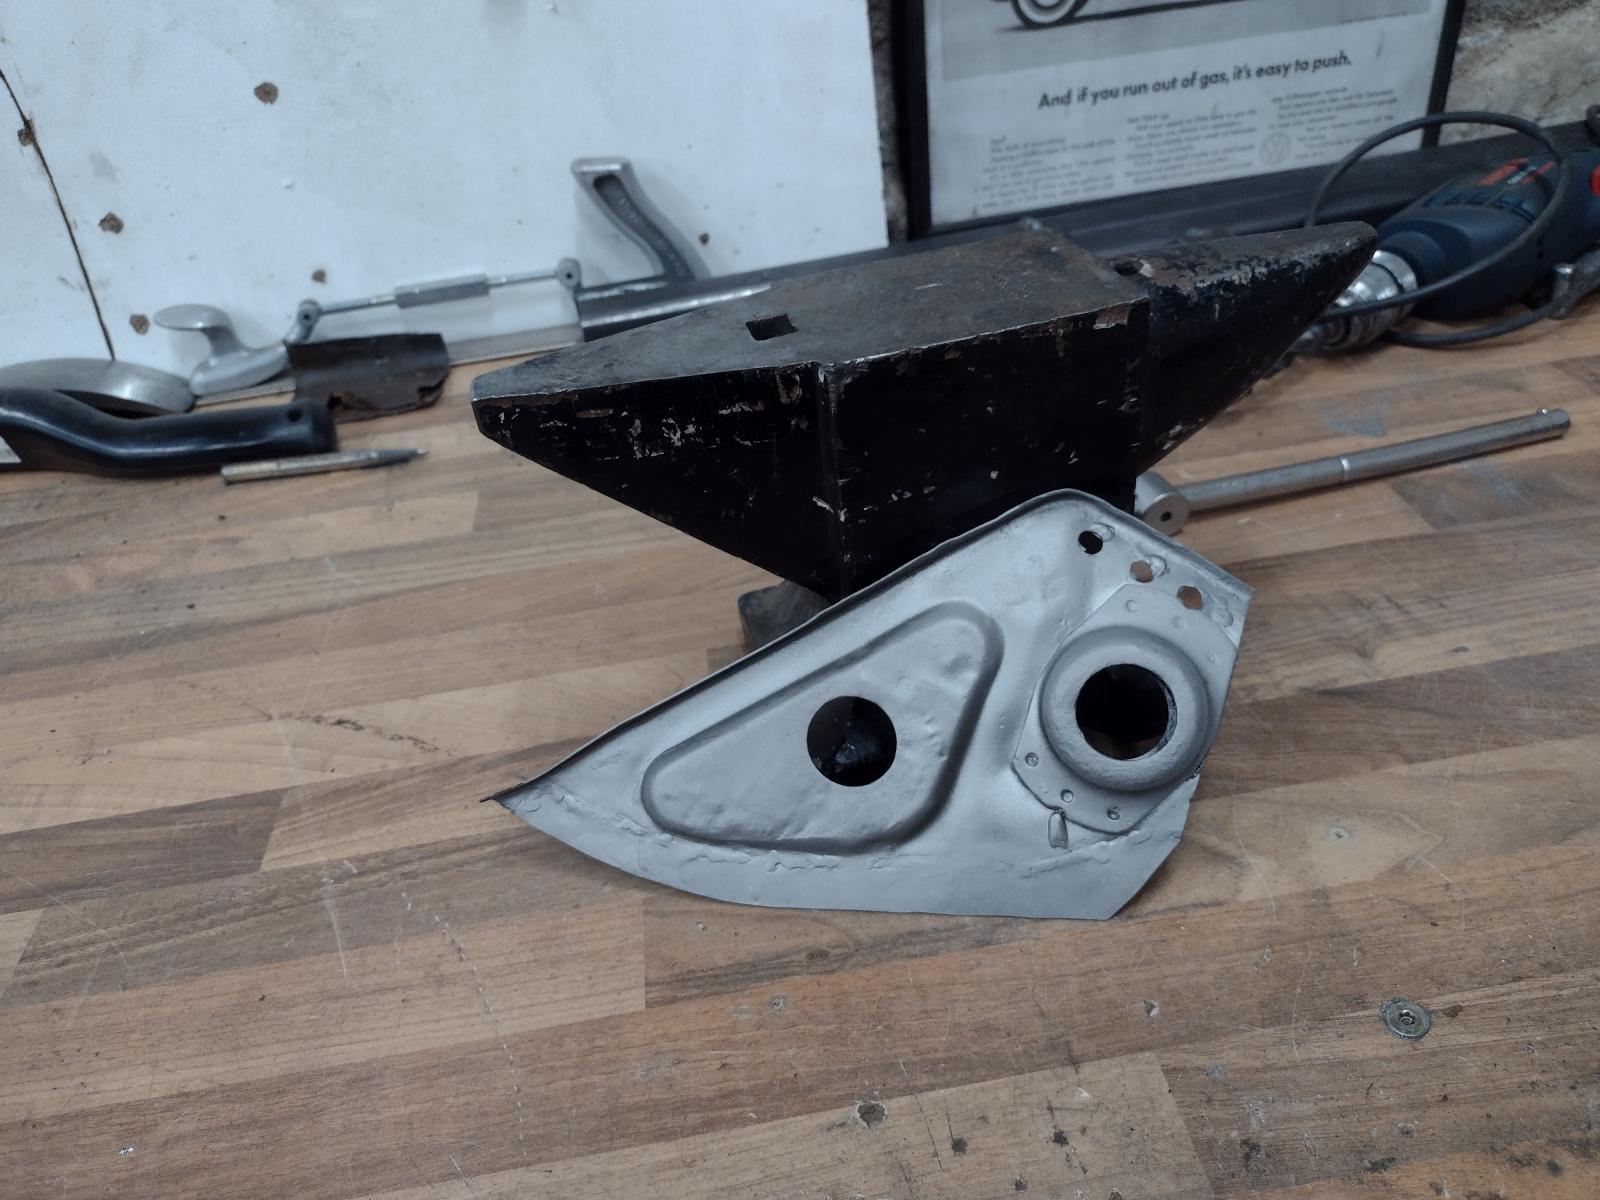
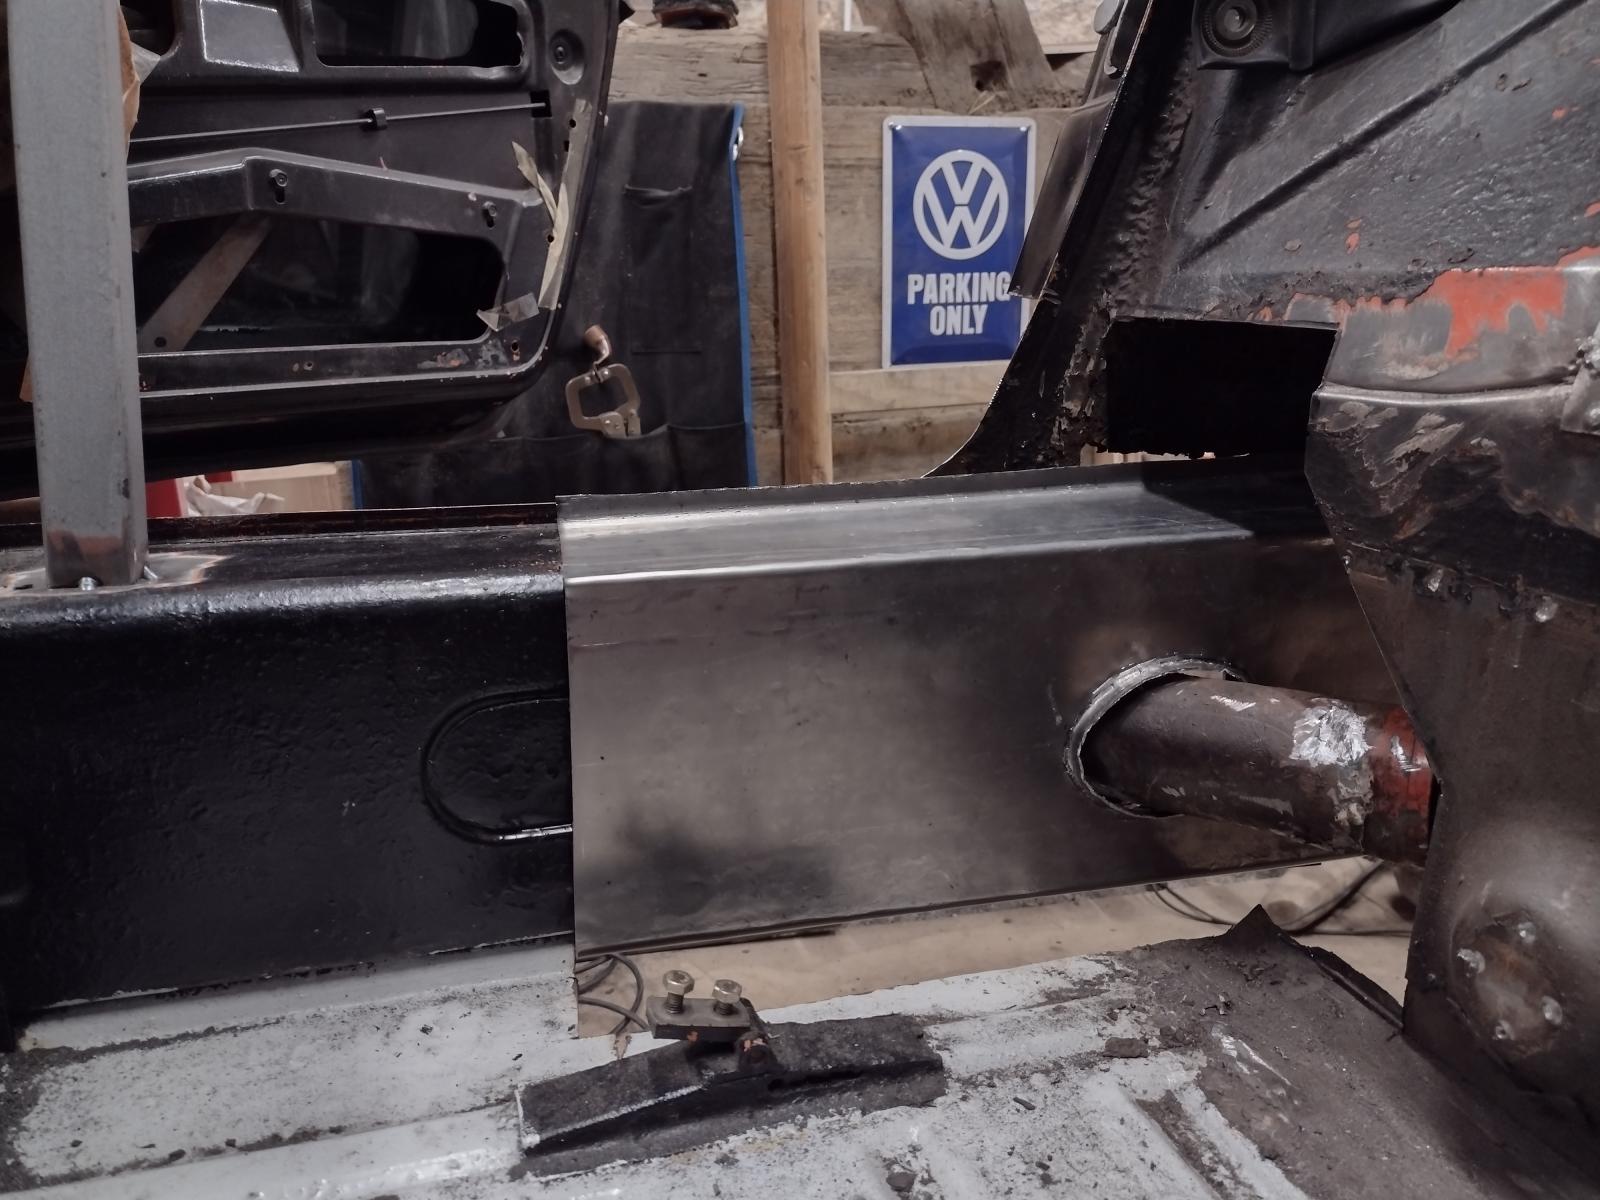
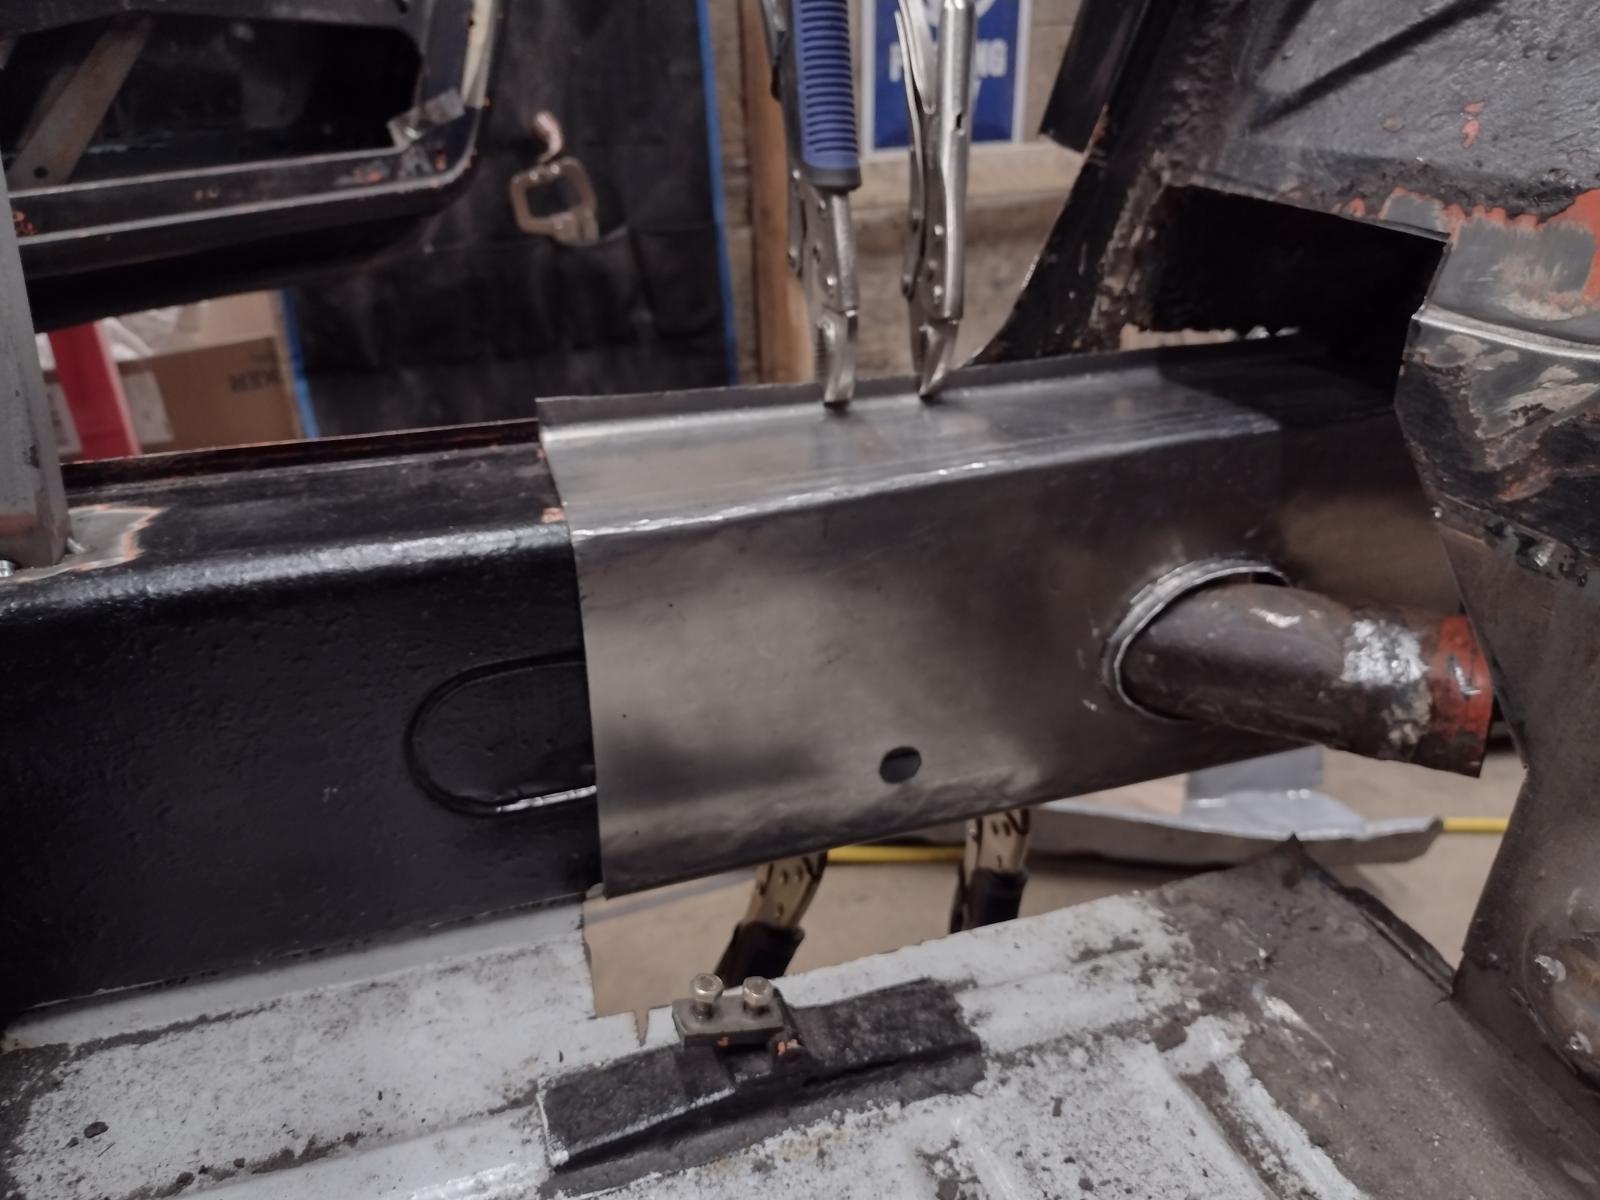
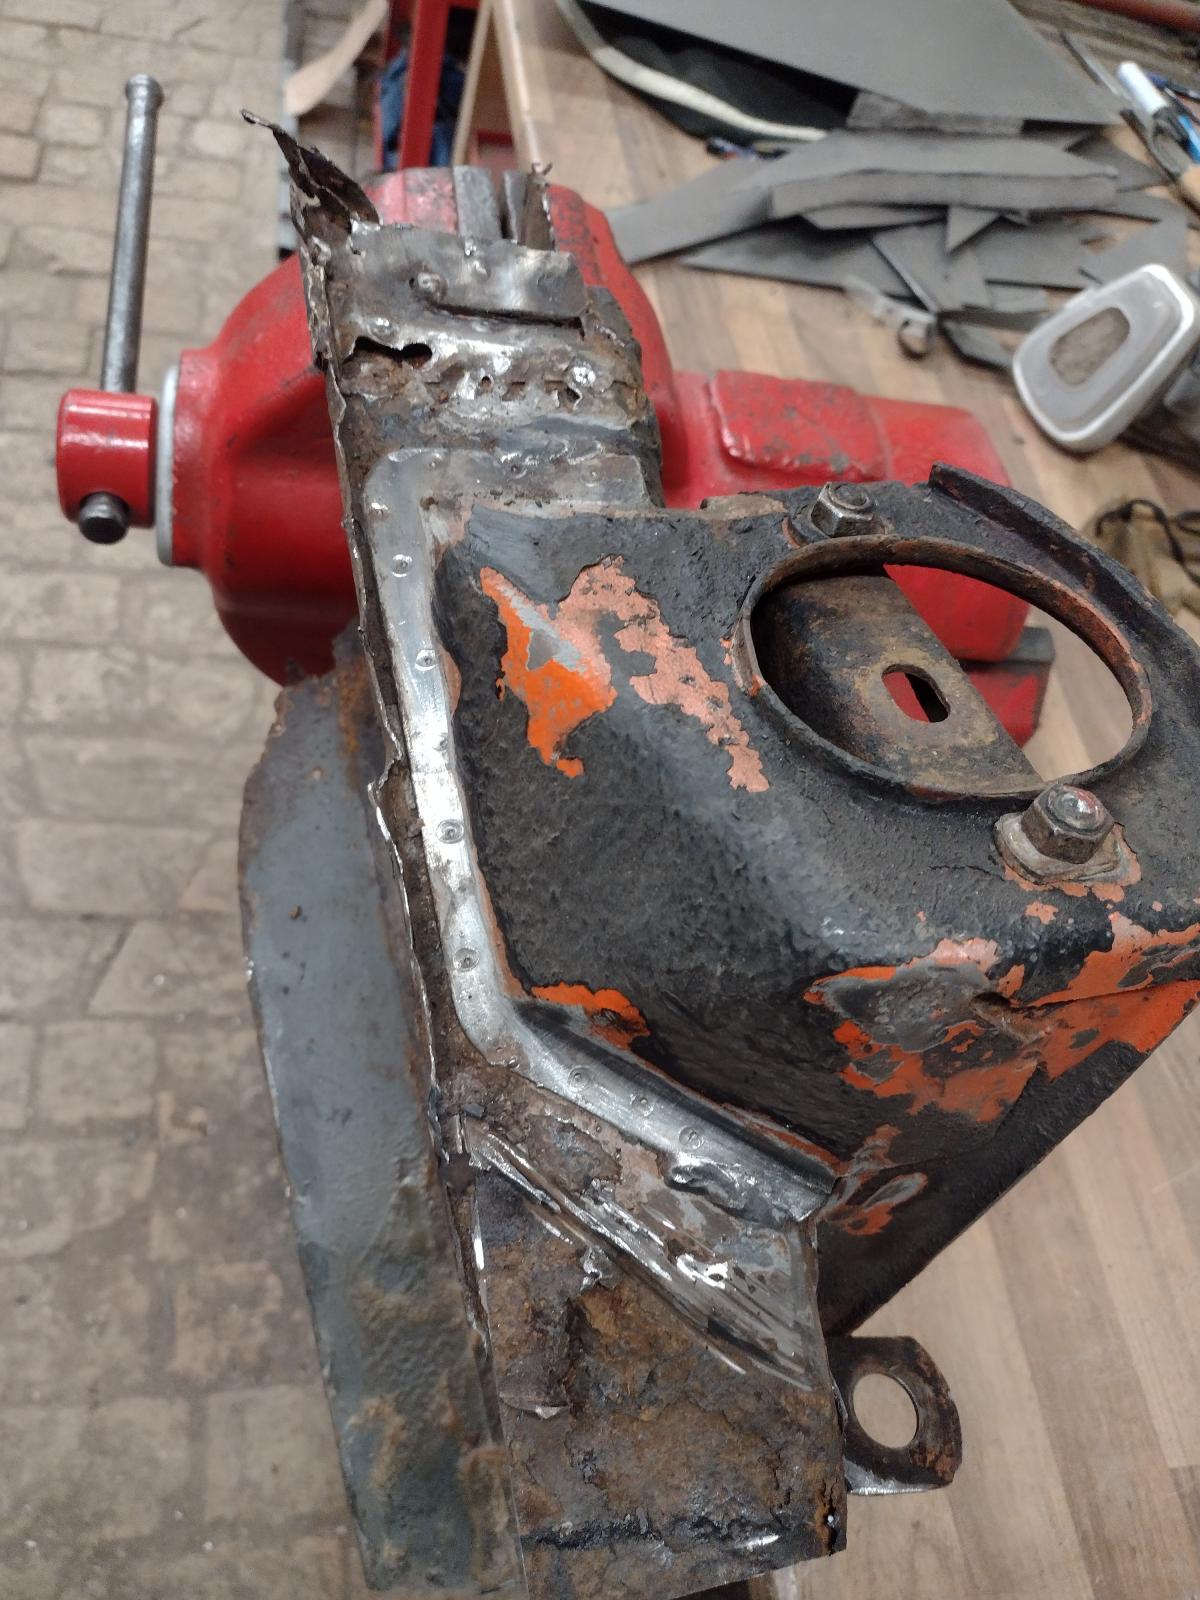
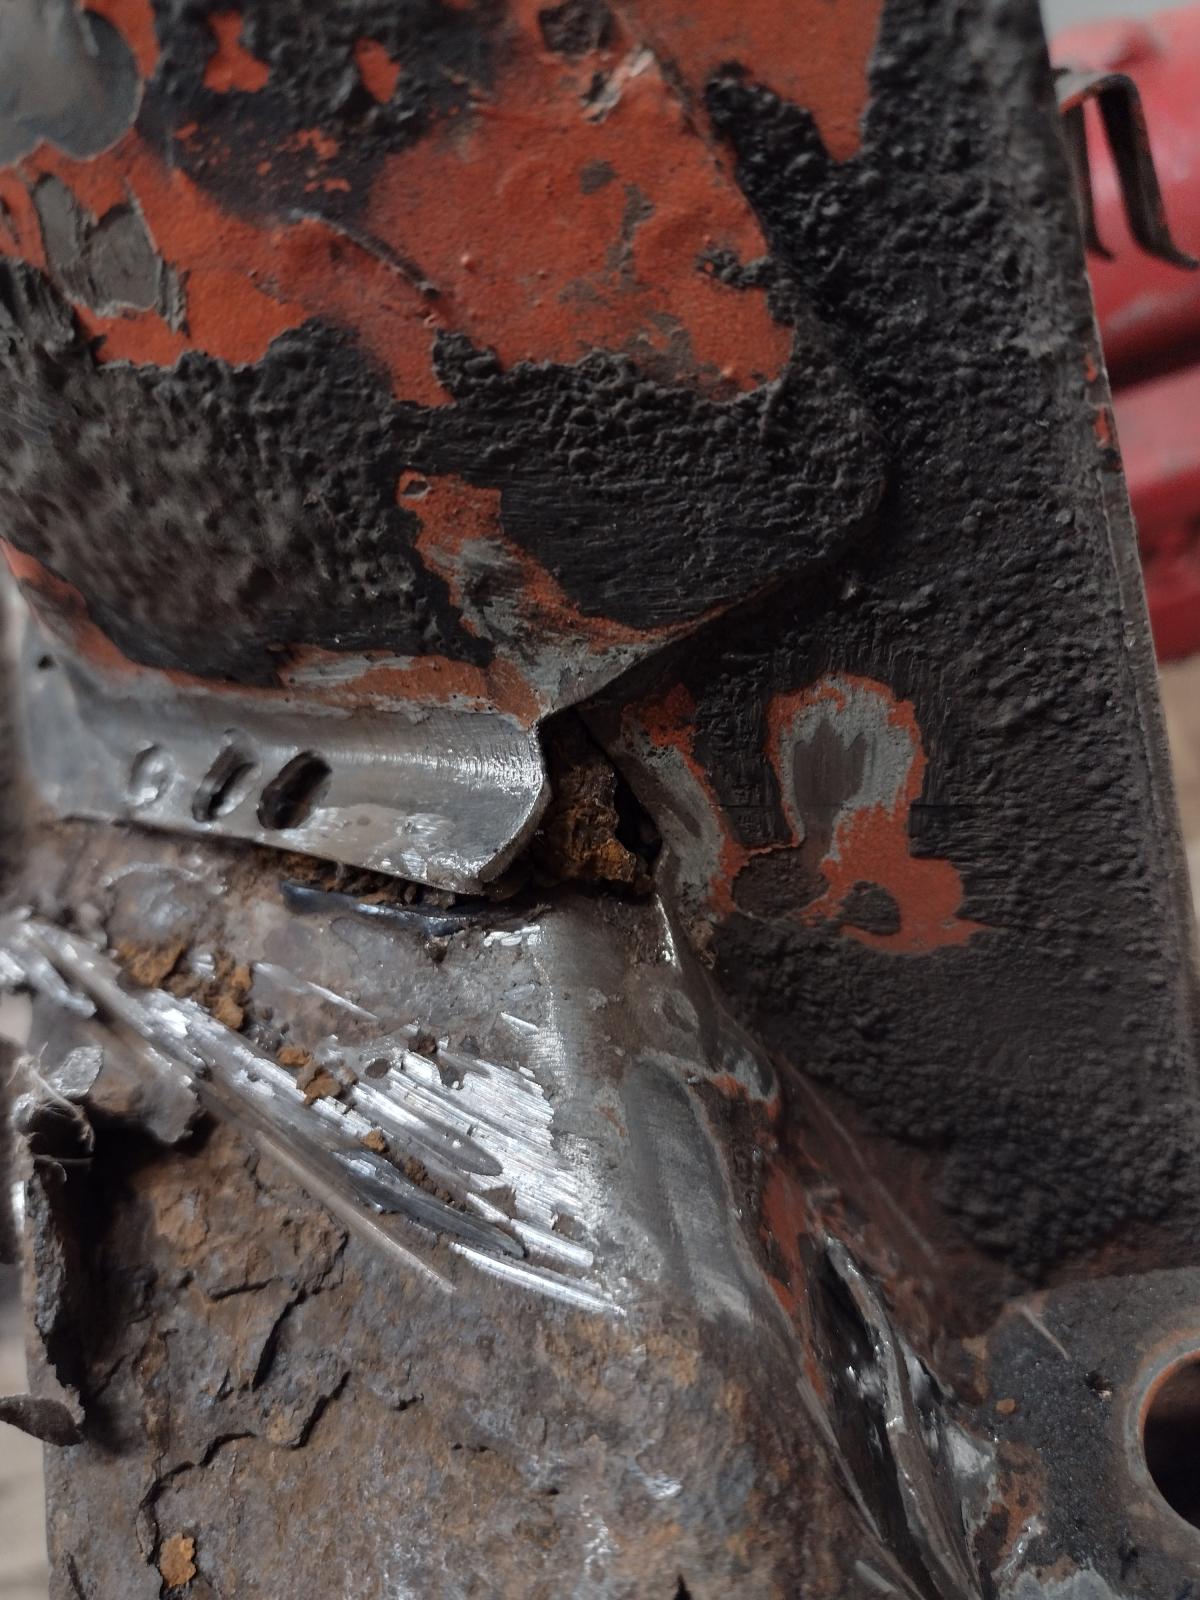
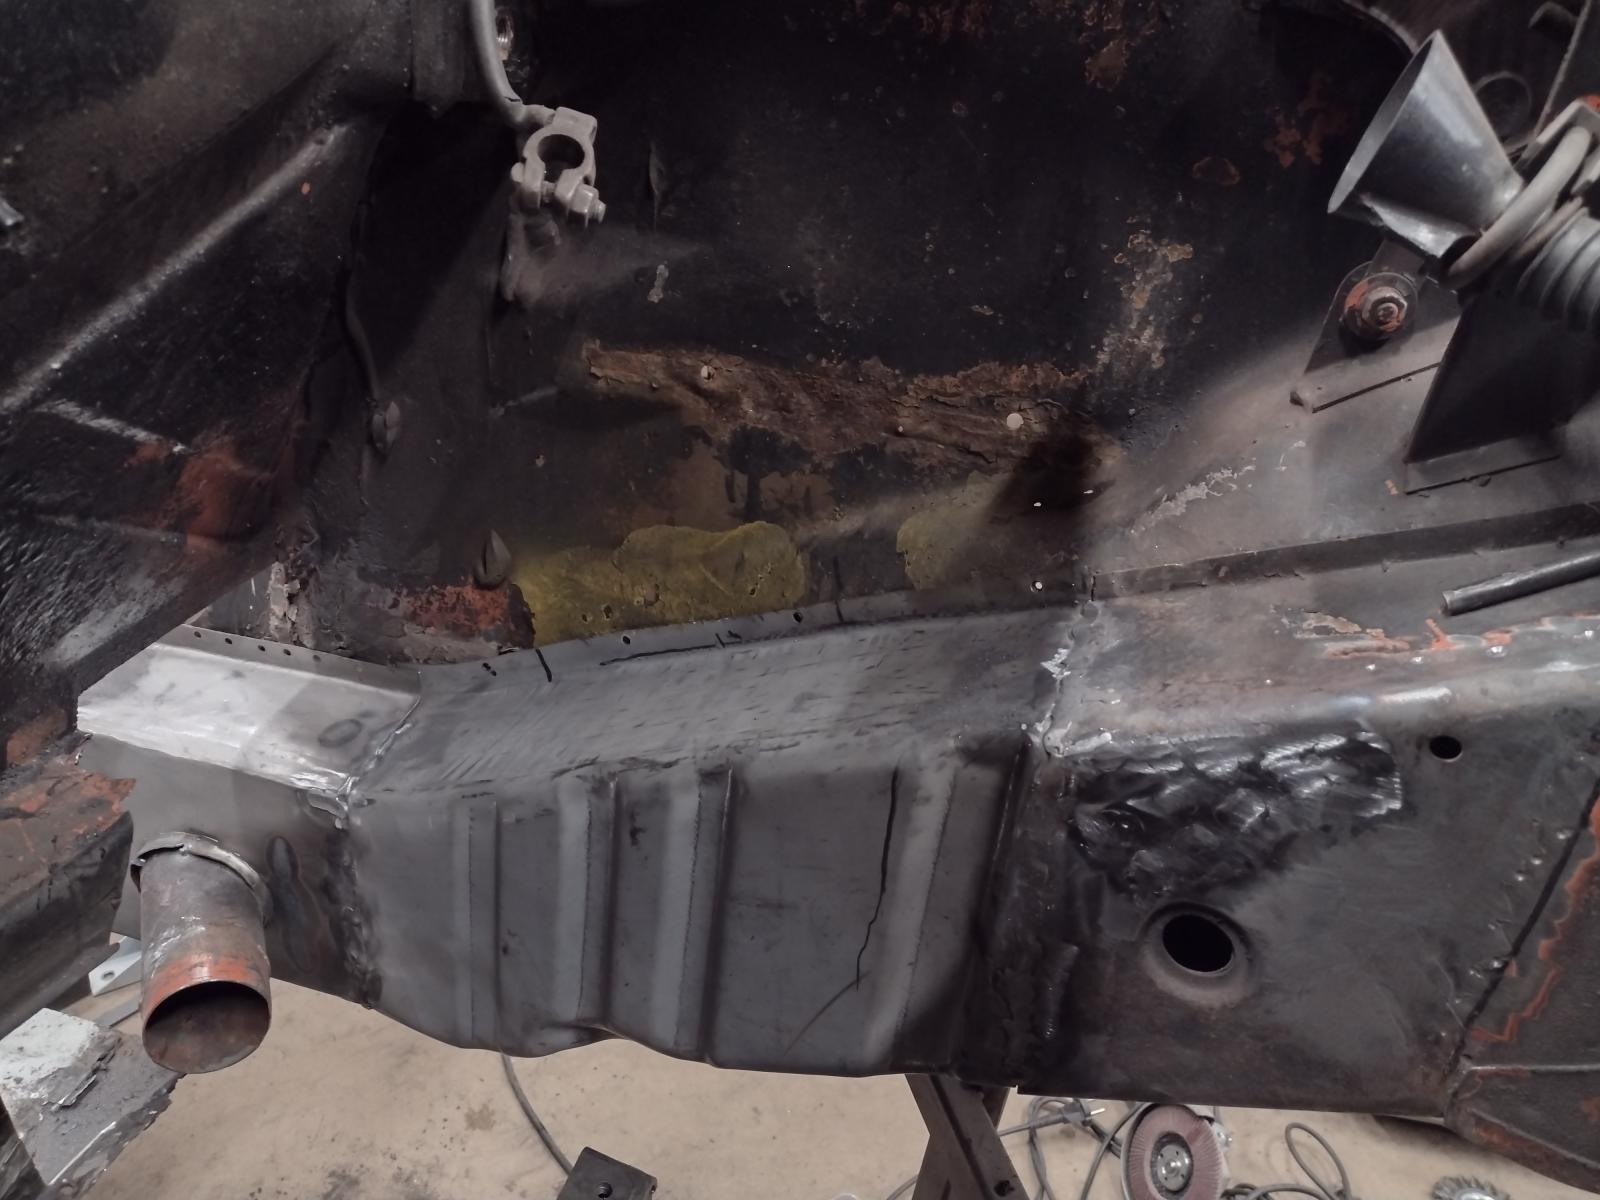
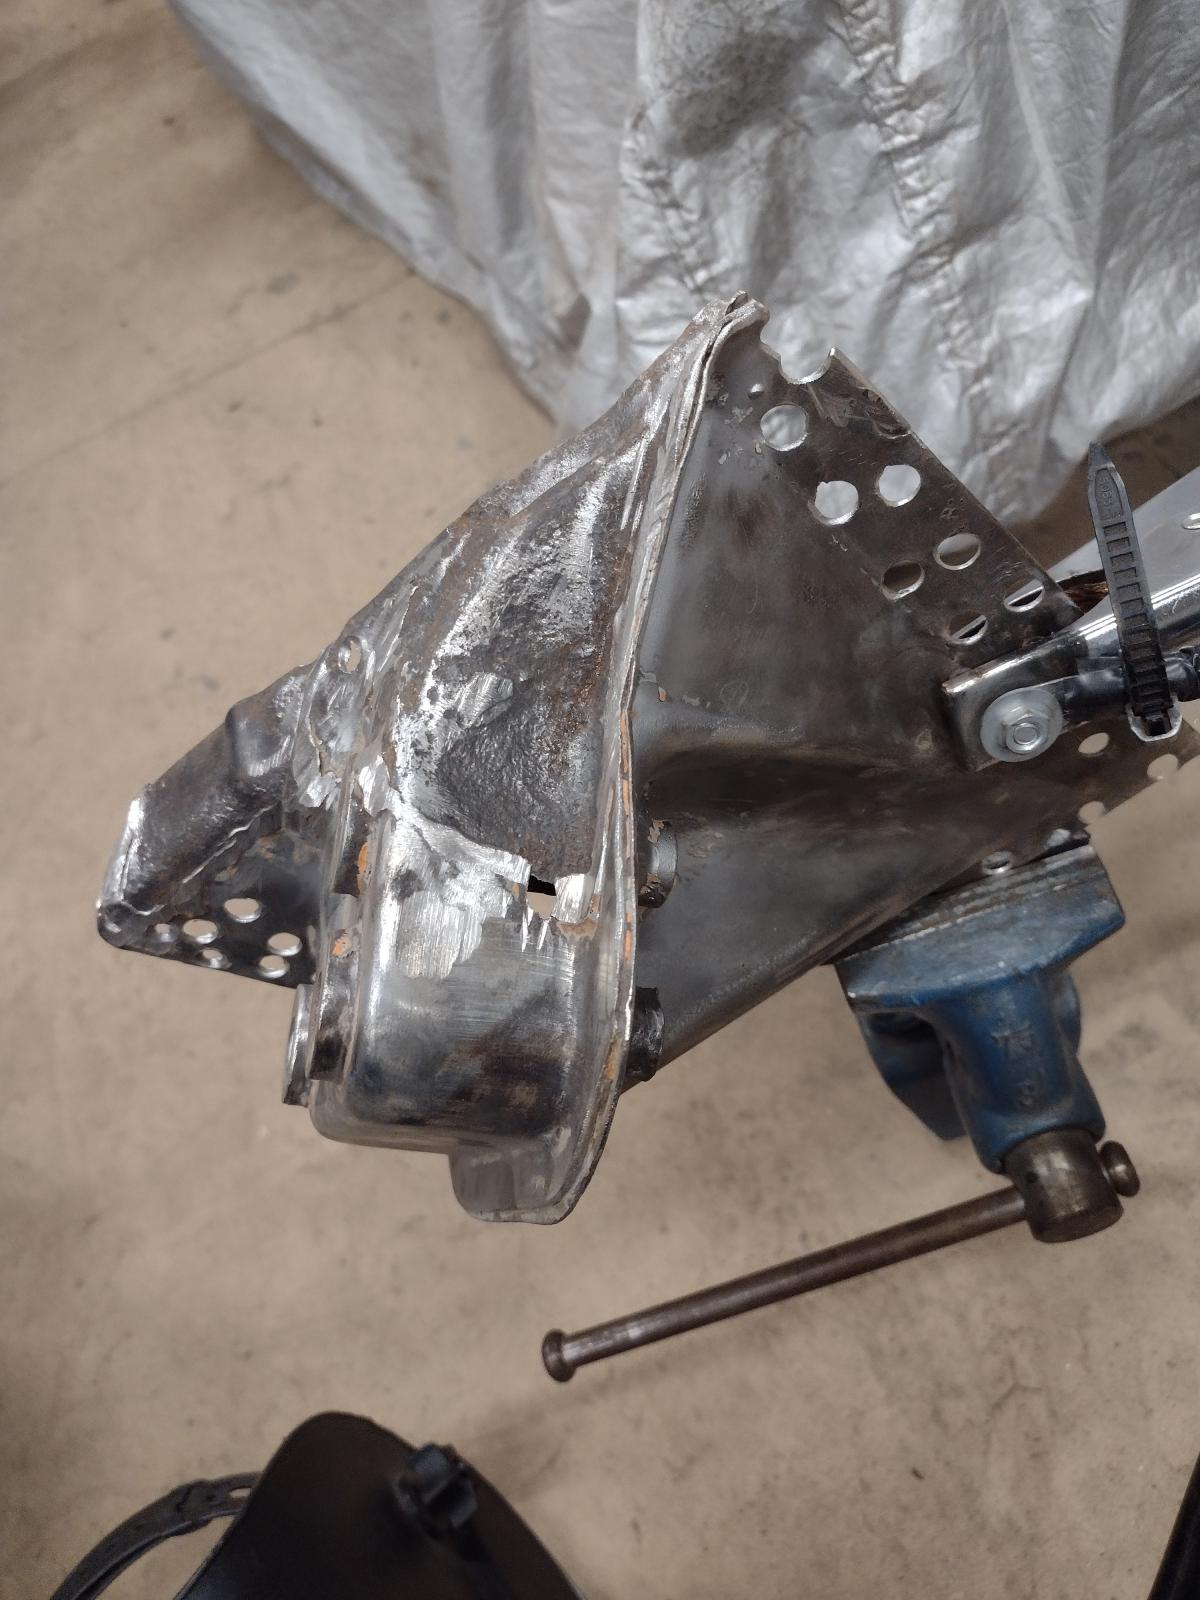
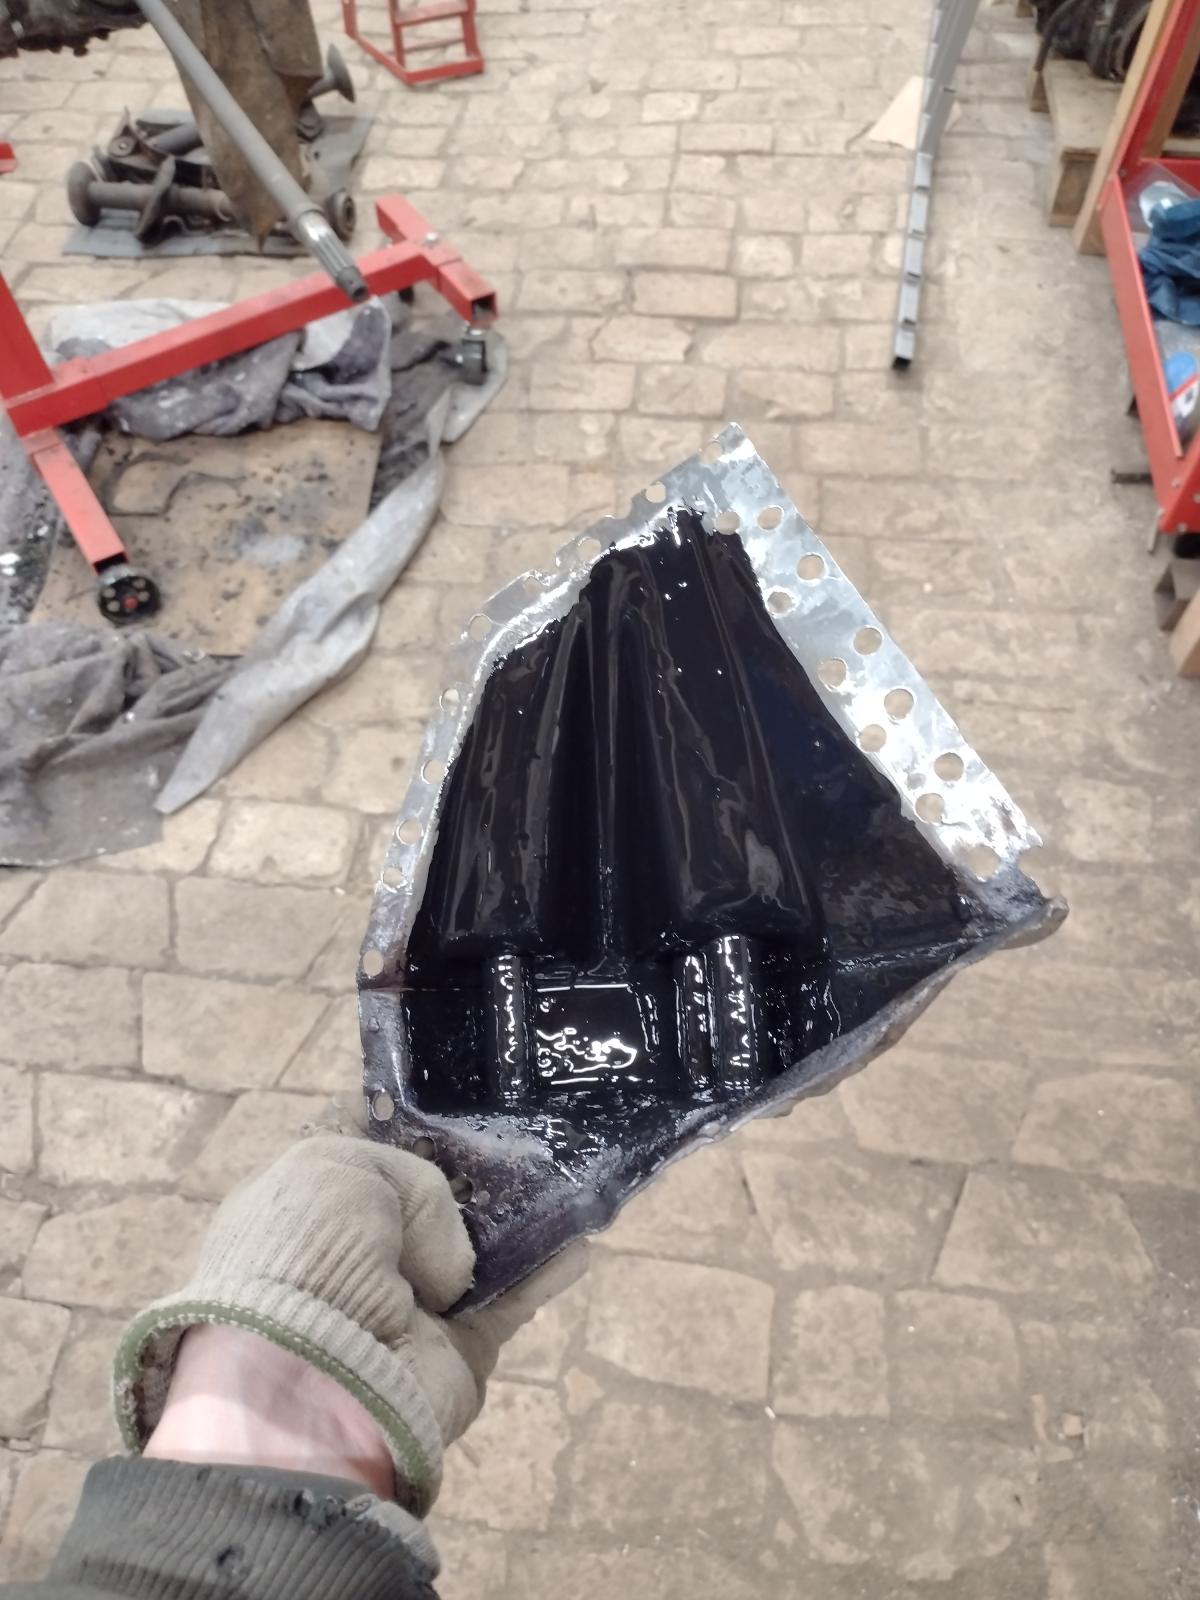
And welded:
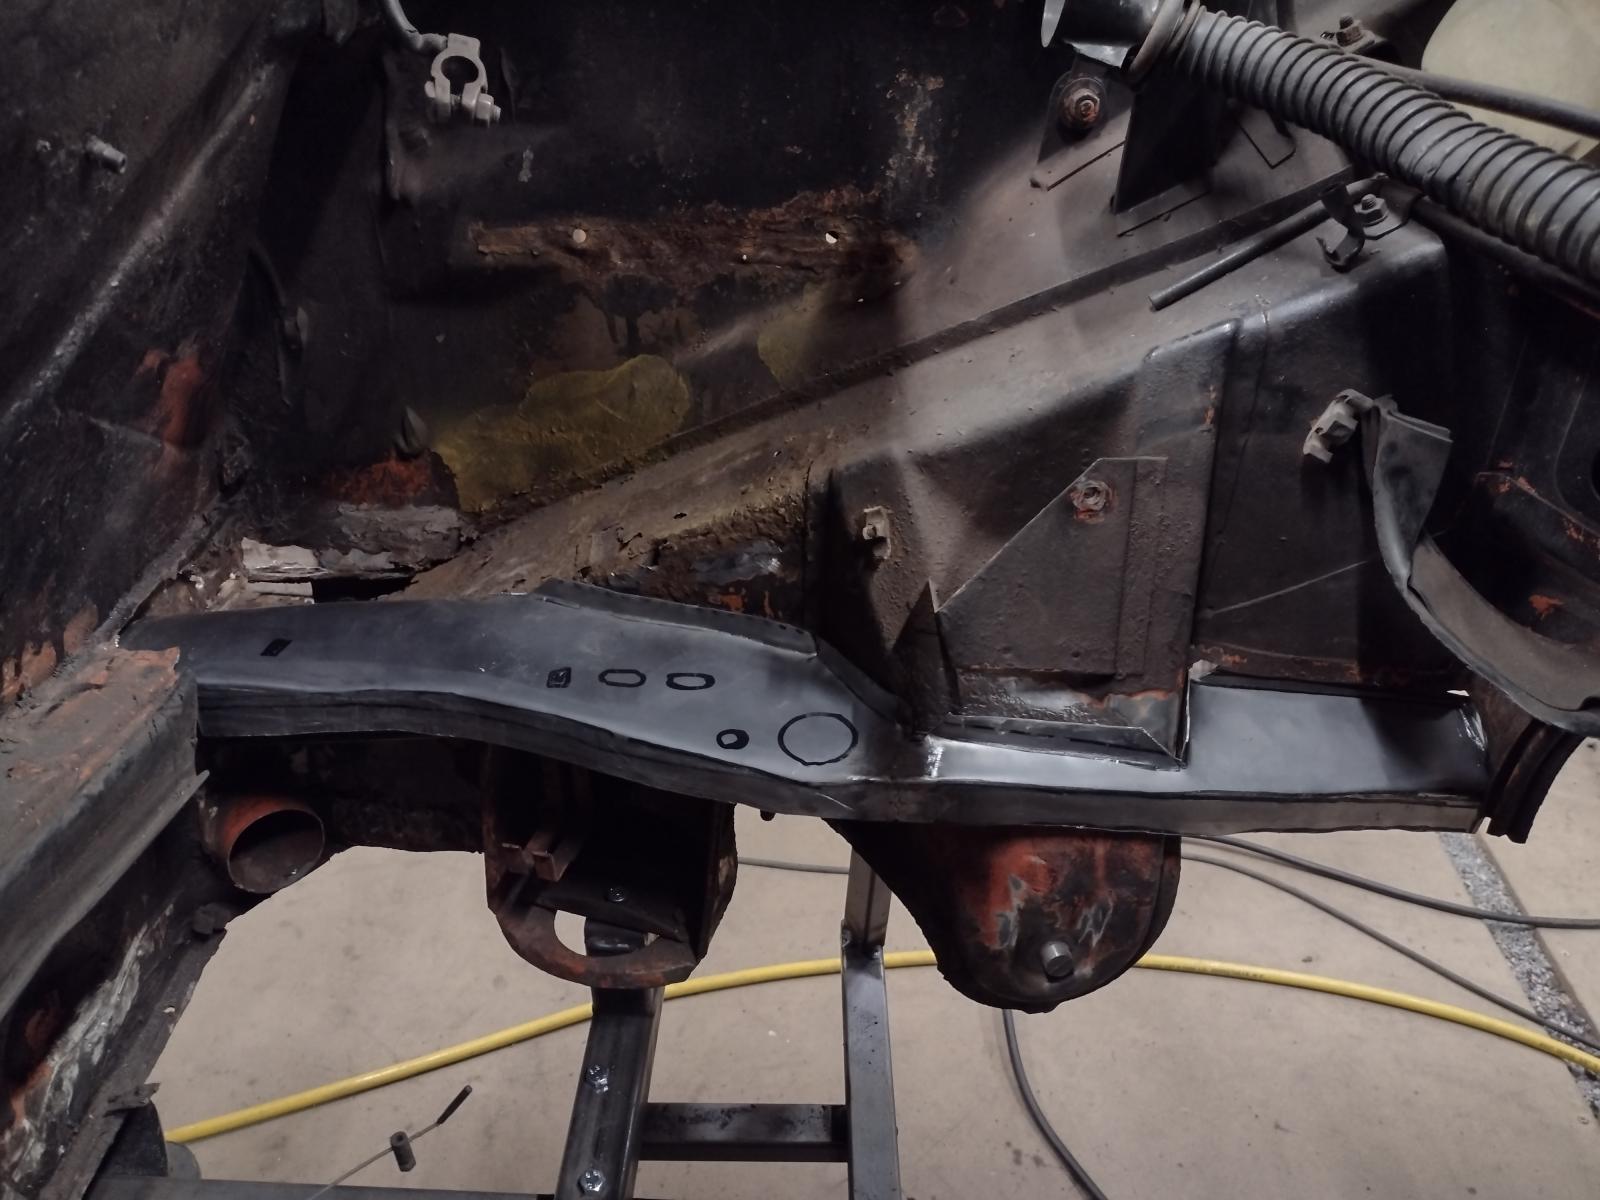
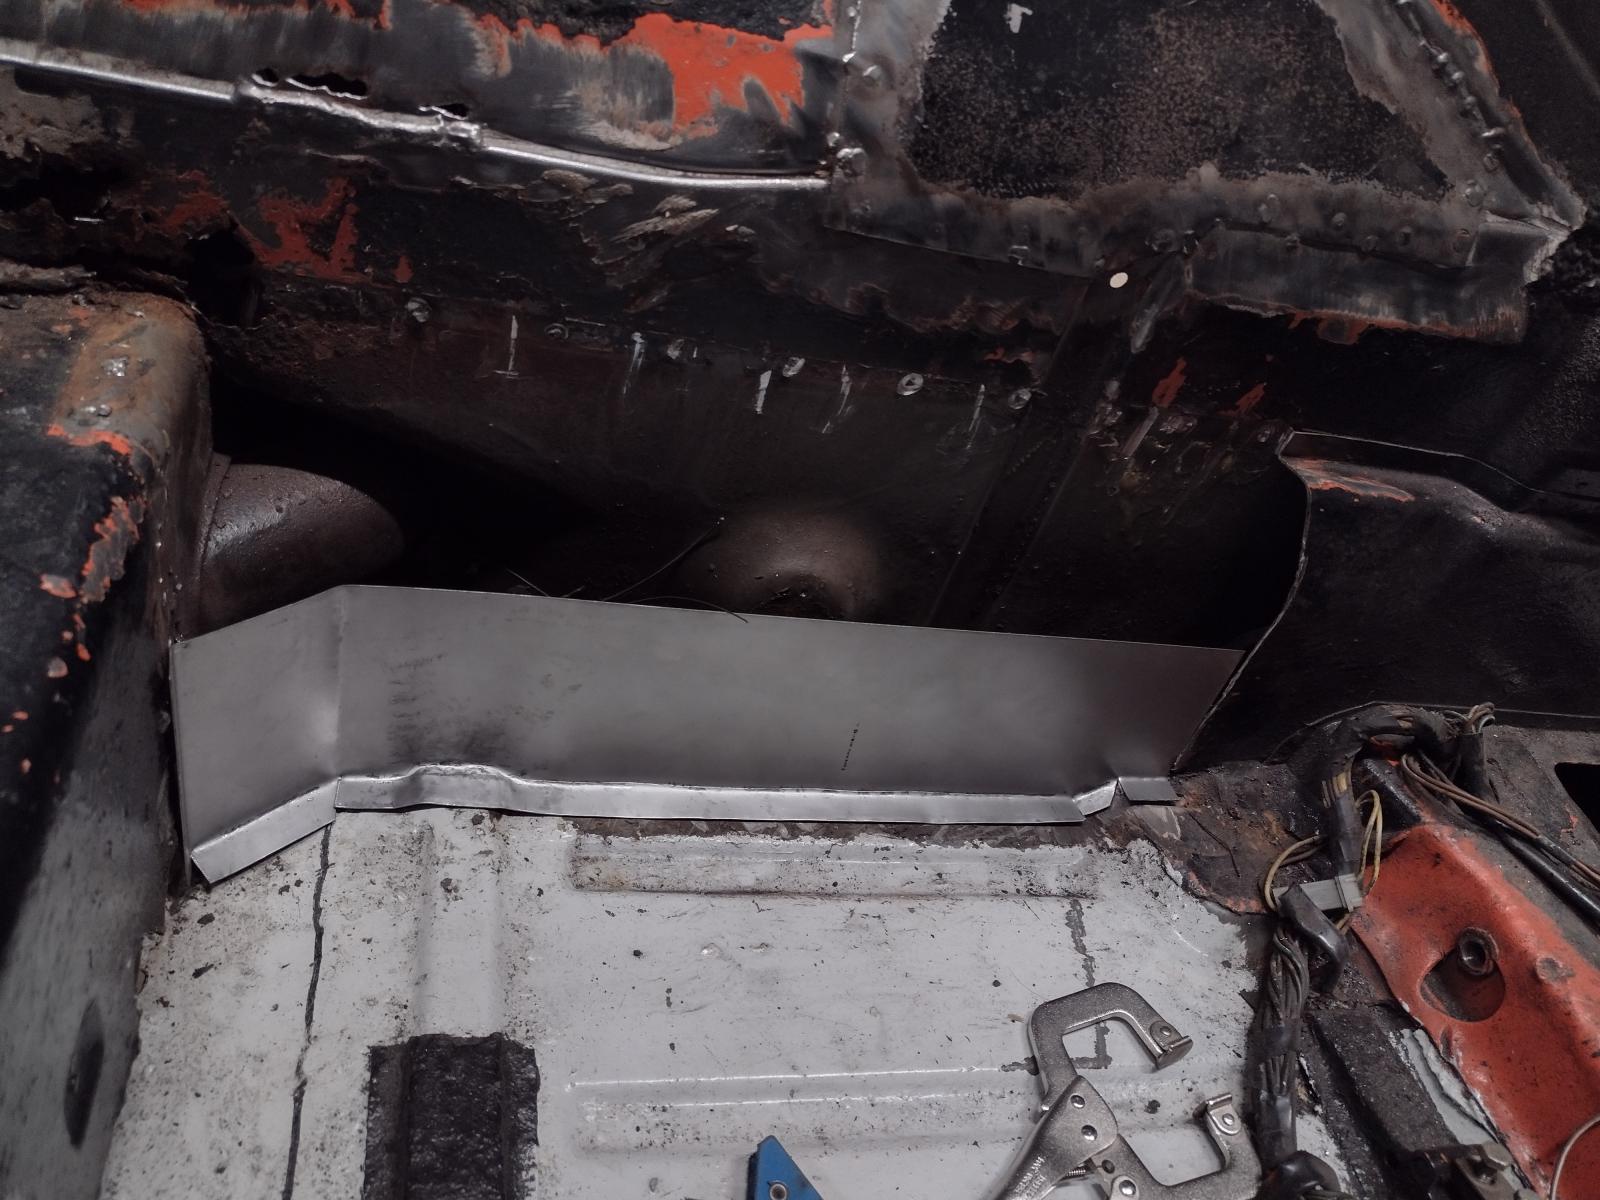
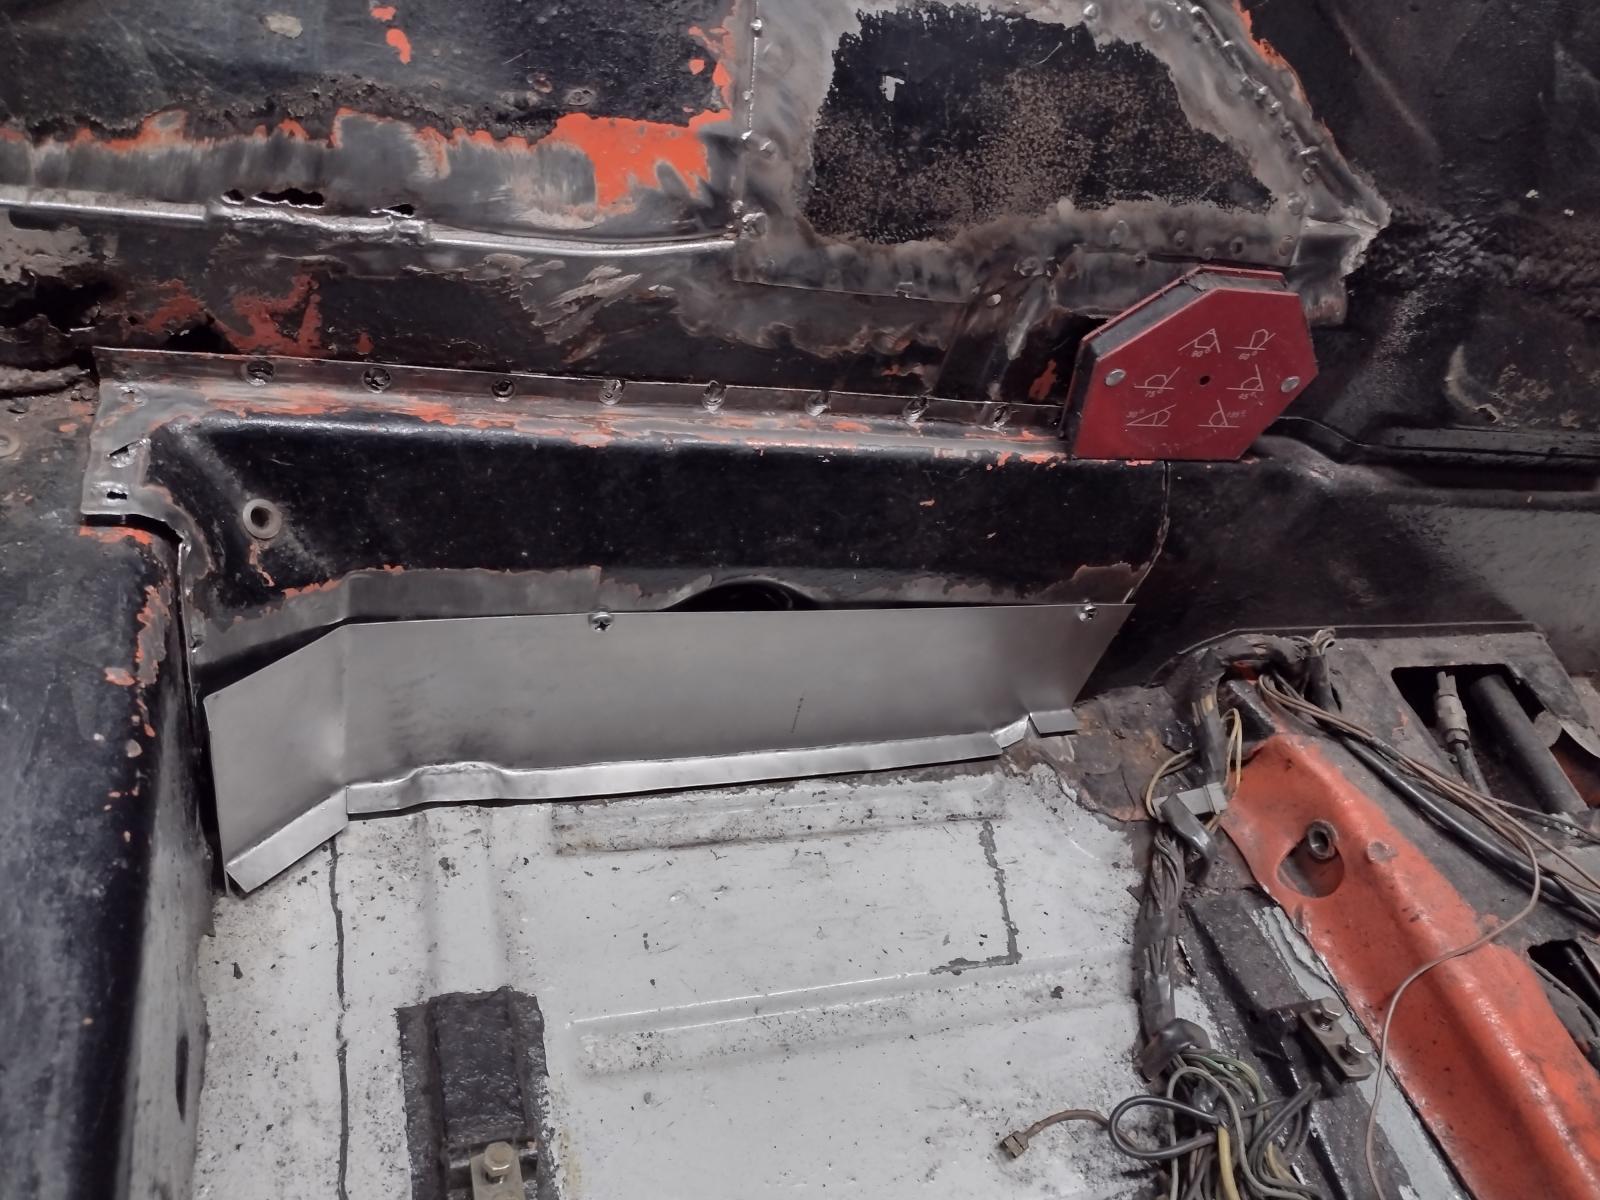
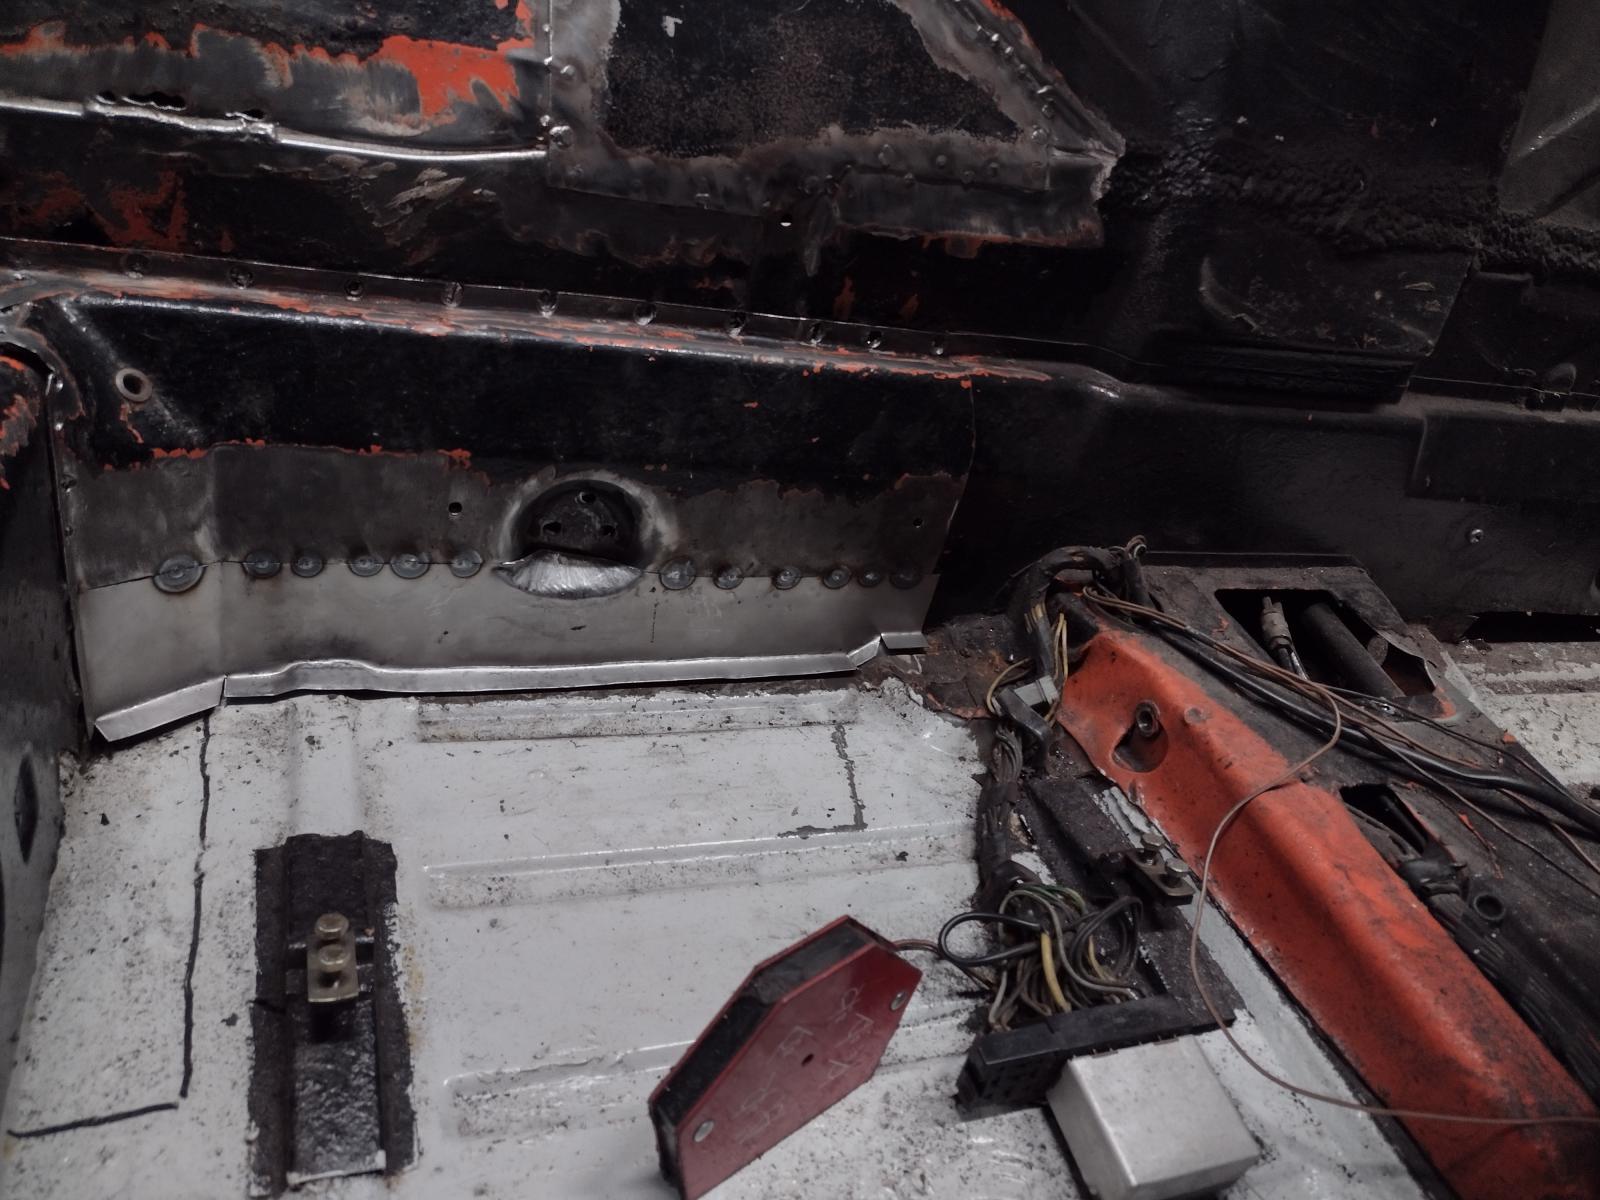
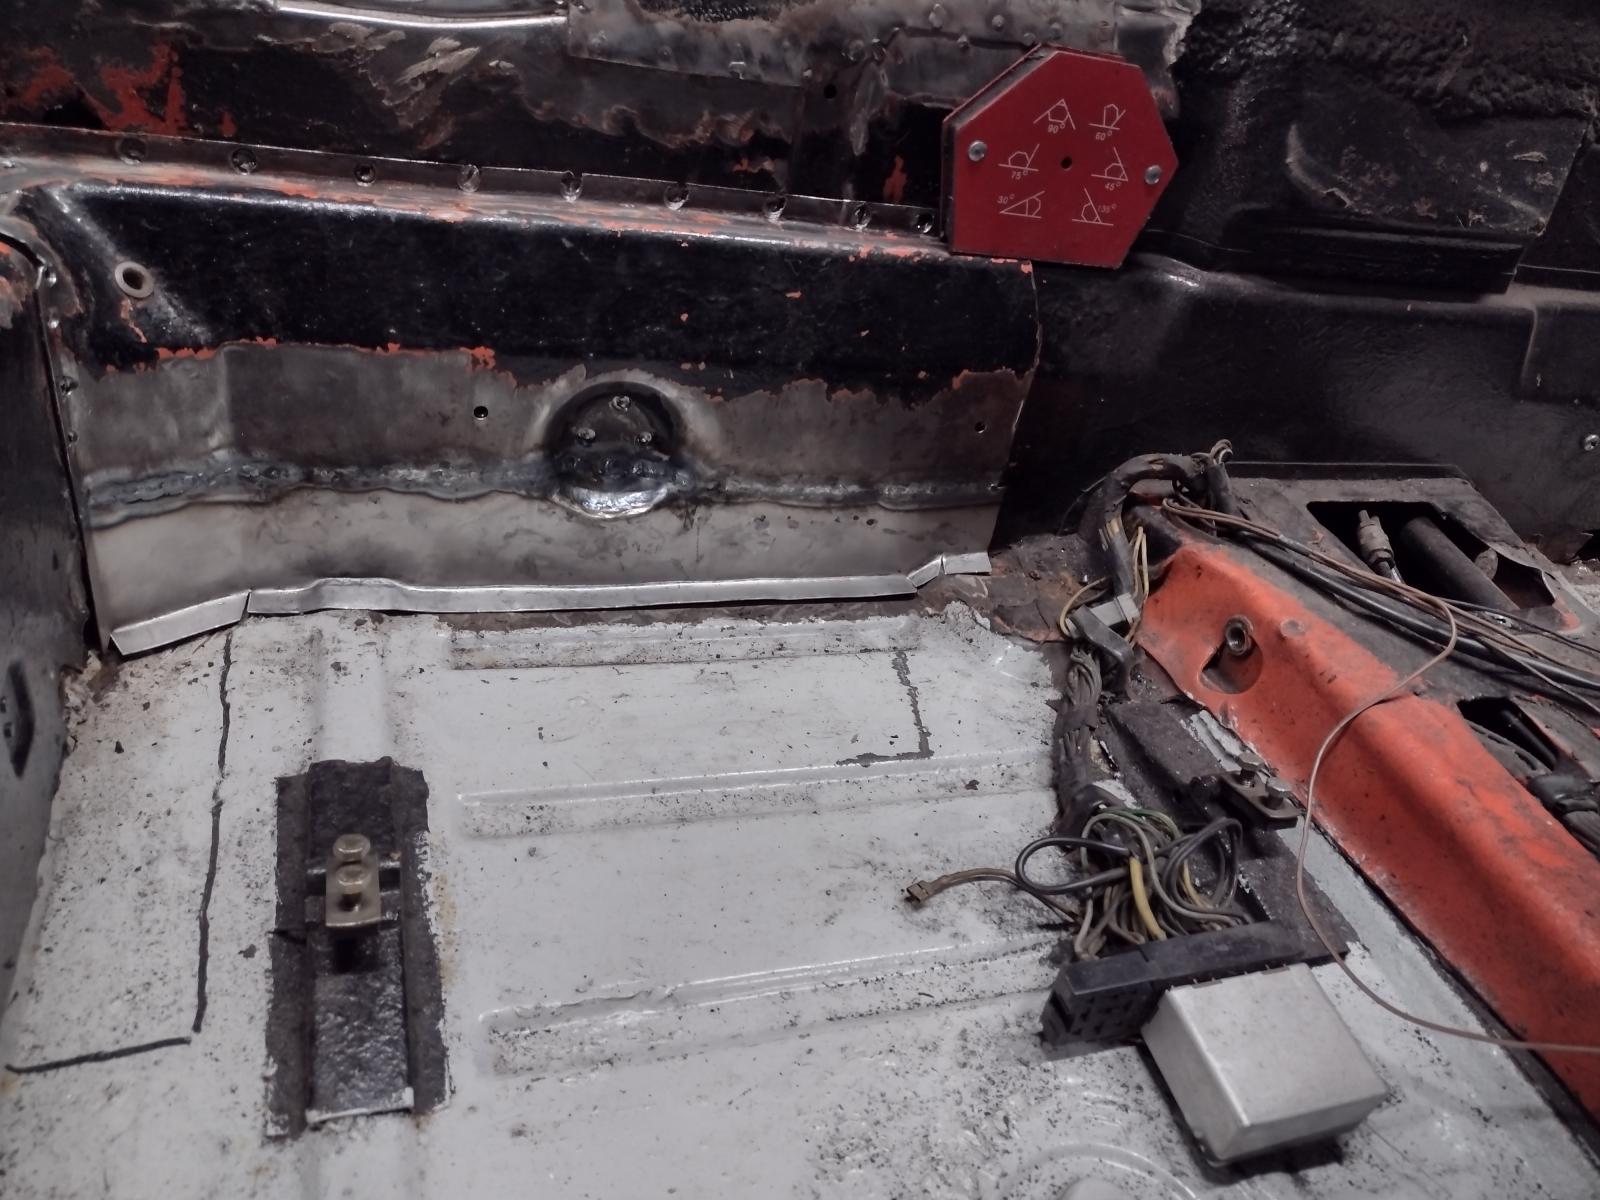
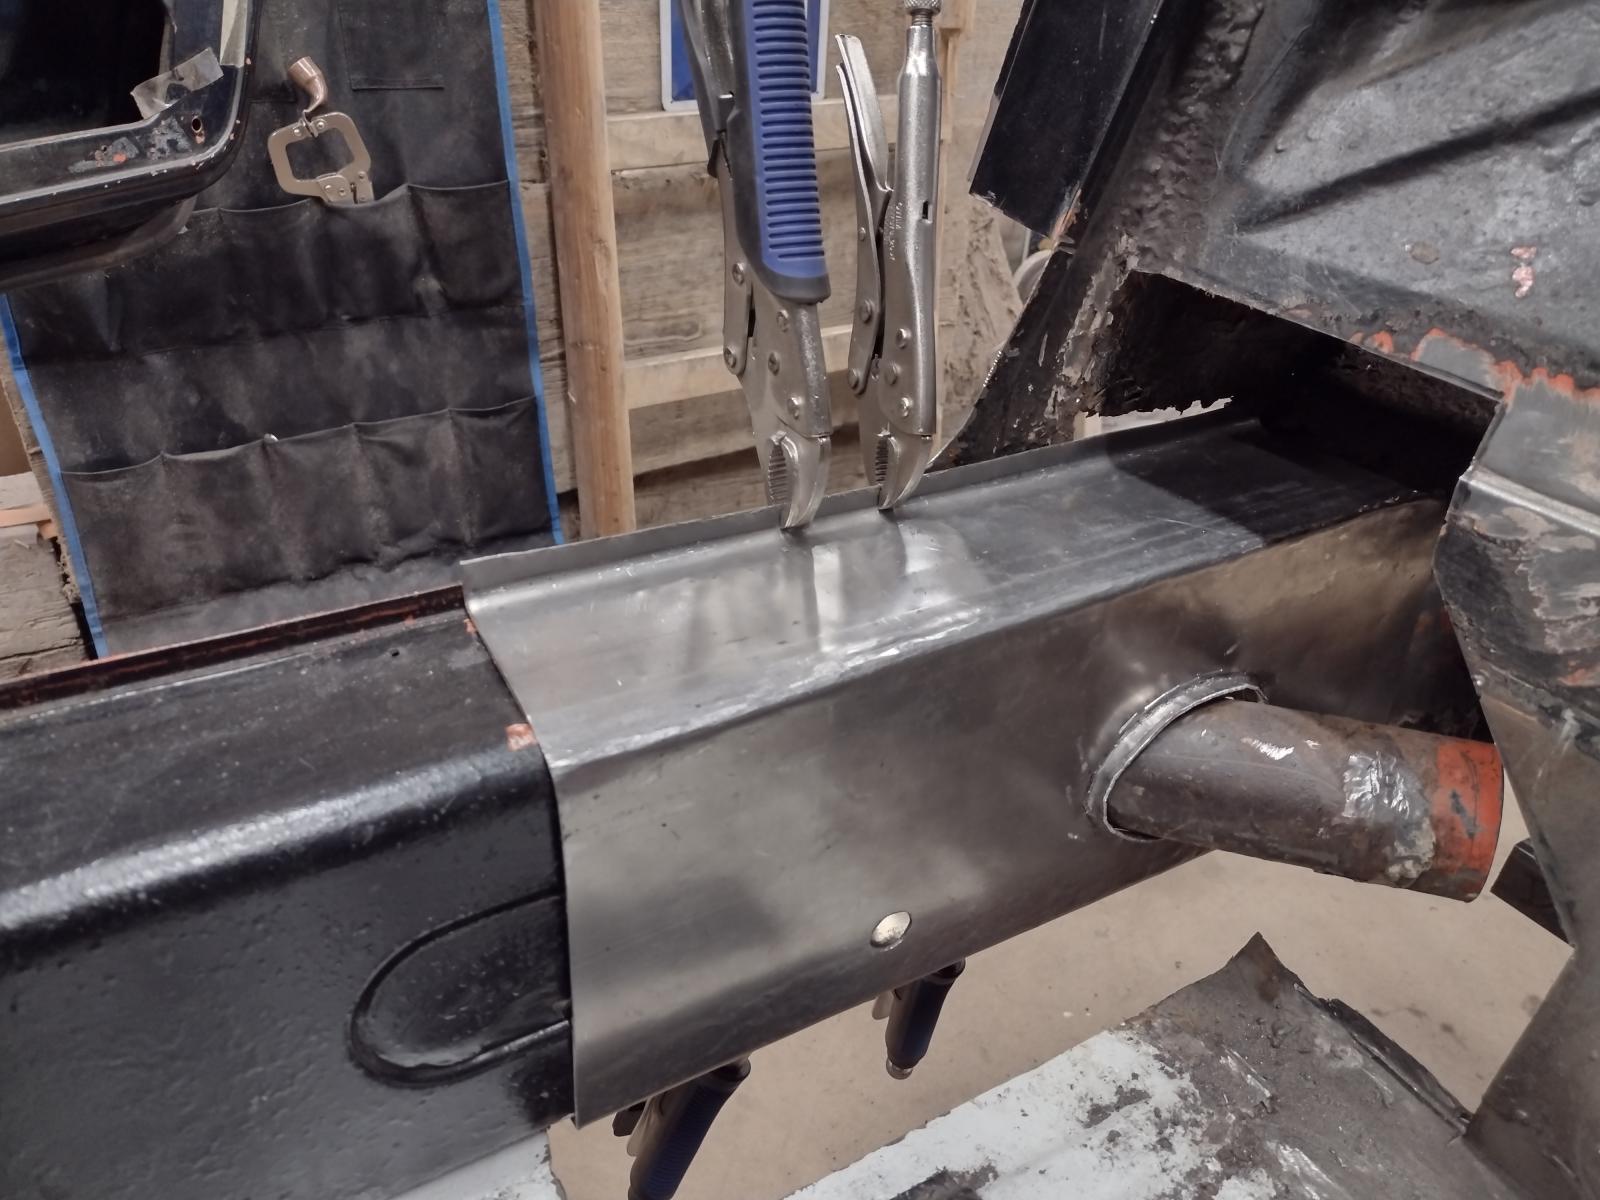
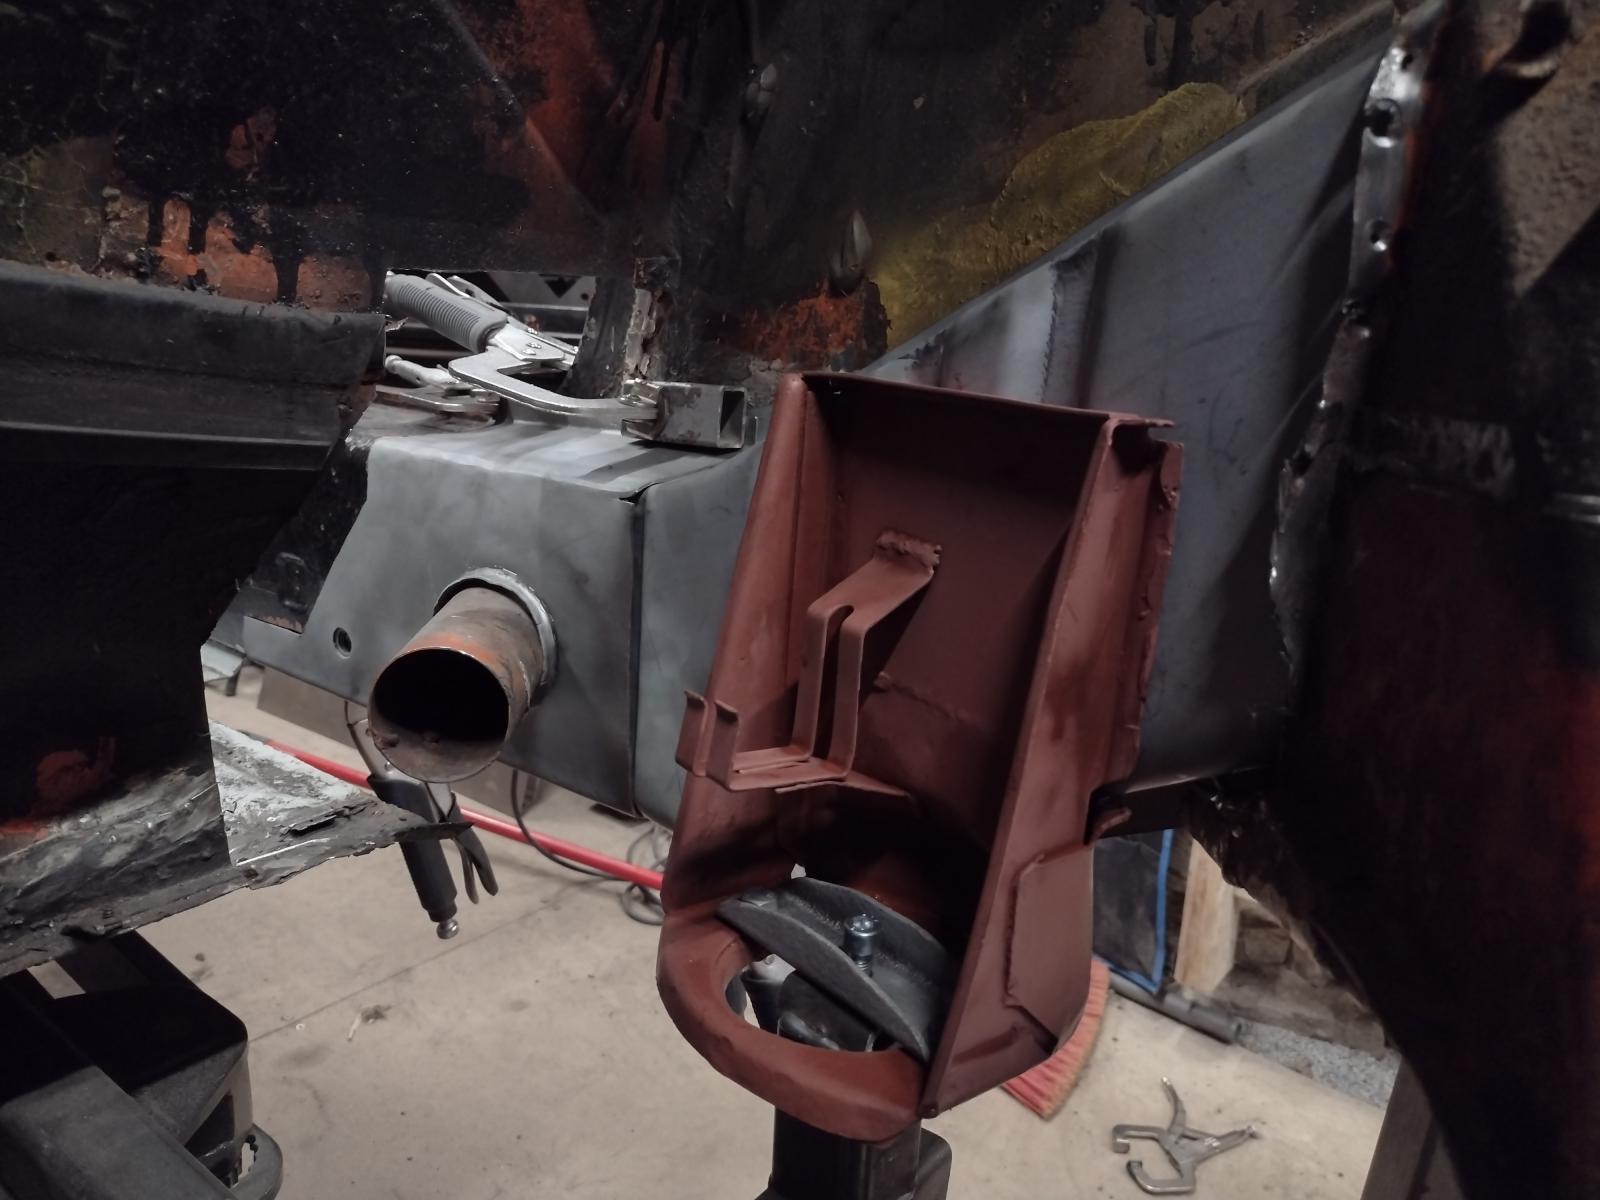
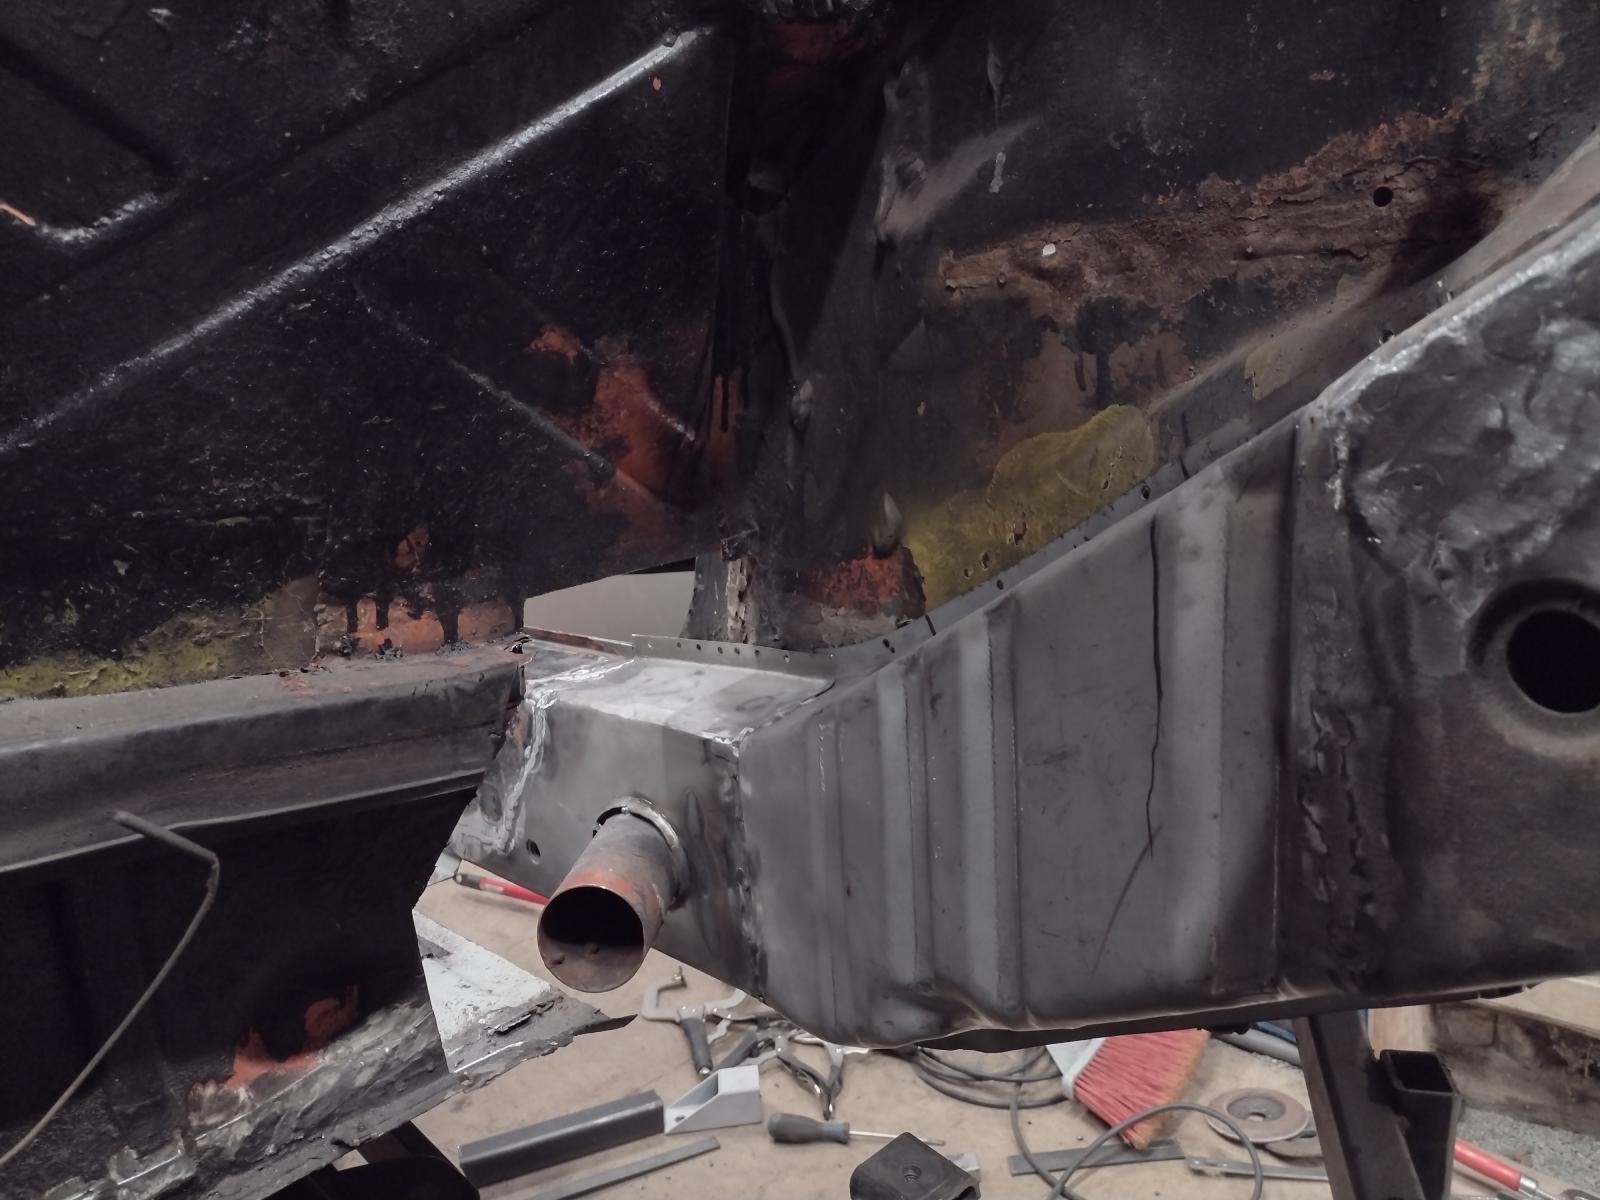
I still need to make the holes for the grommets and build the retaining part for the engine seal but if fits as it should:
Stay tuned,
Antoine
Fantastic job, Antoine.
Still can´t believe that your swiss cheese 914 had legal TÜV an a H Plate with installed muffler, shifter,......
Hi Dirk,
Thanks a lot for the kind words! I see you're from Stuttgart, WE can meet when it's back on wheels this summer !
For the TÜV, let's say that rust was well hidden..for the rest, muffler is a period correct ANSA (with ABE papier), so no issues..and the shifter..I mounted it (is from Martin Bott) and wasn't at the TÜV with it yet, do you see an issue there ? Is a short shifter an issue for the TÜV, I have no experience here..I will see..
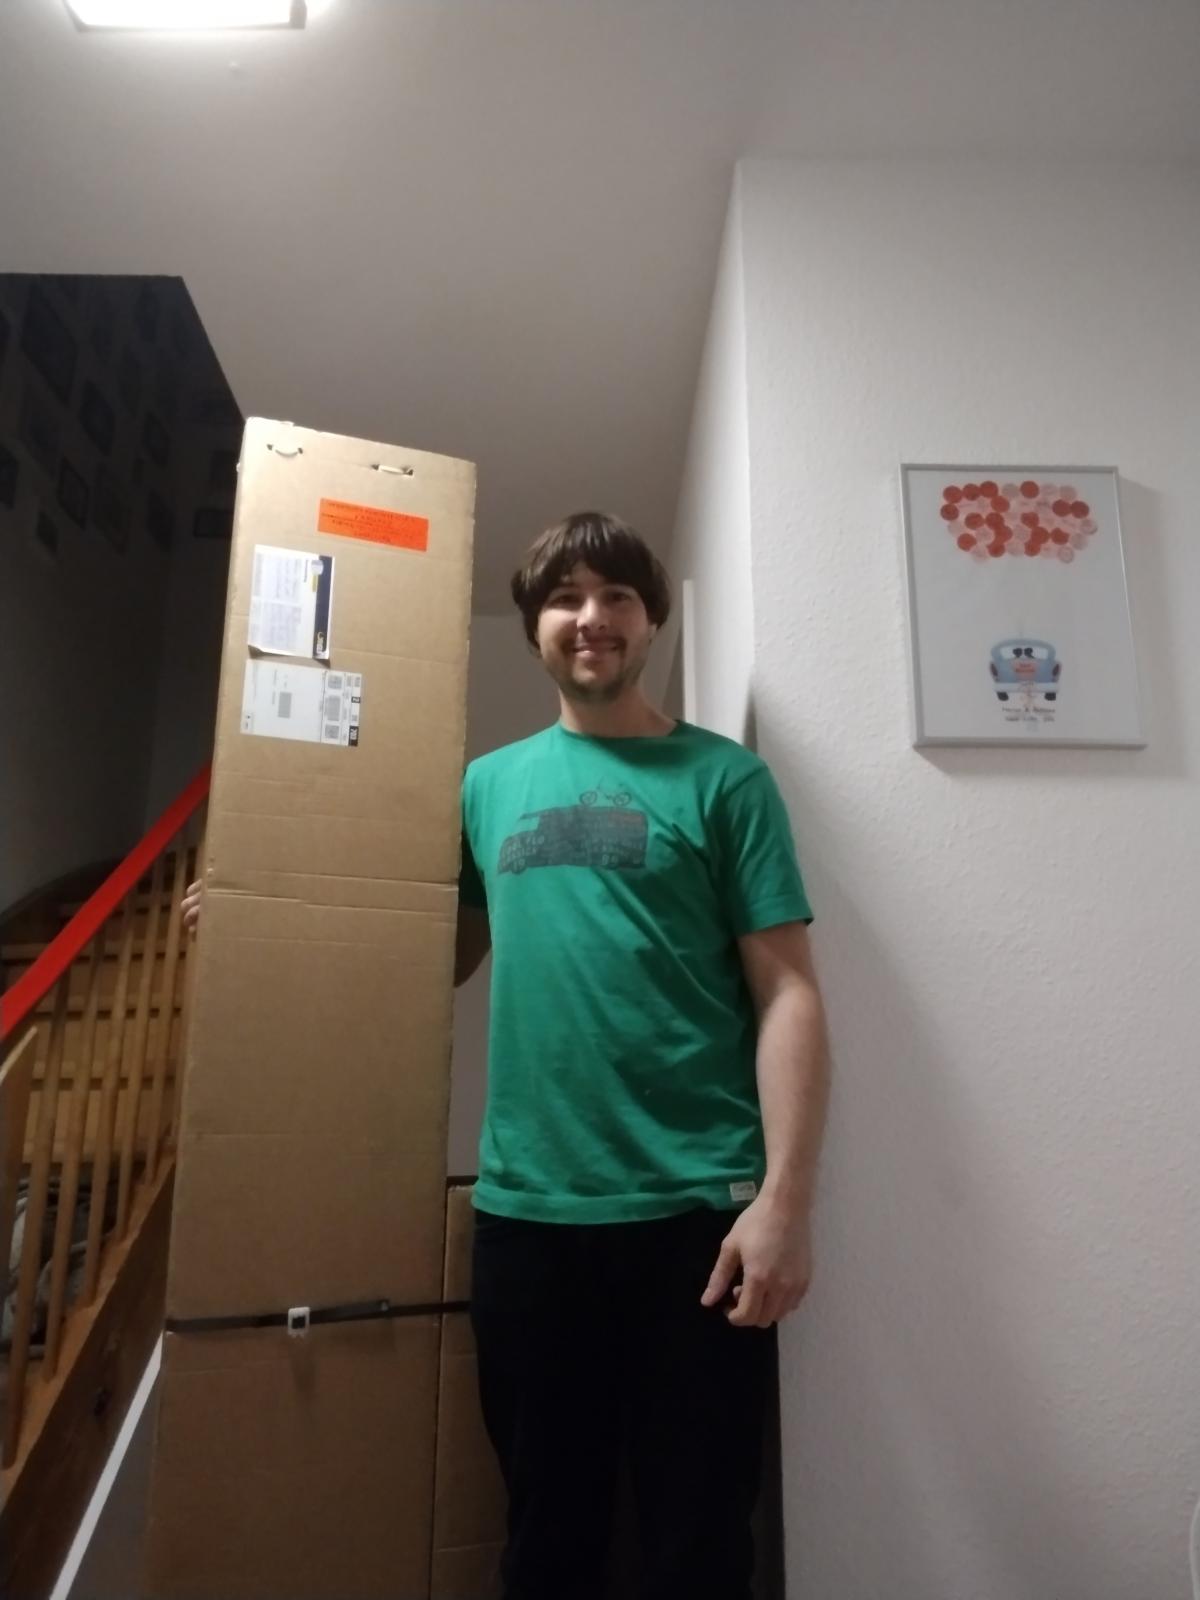
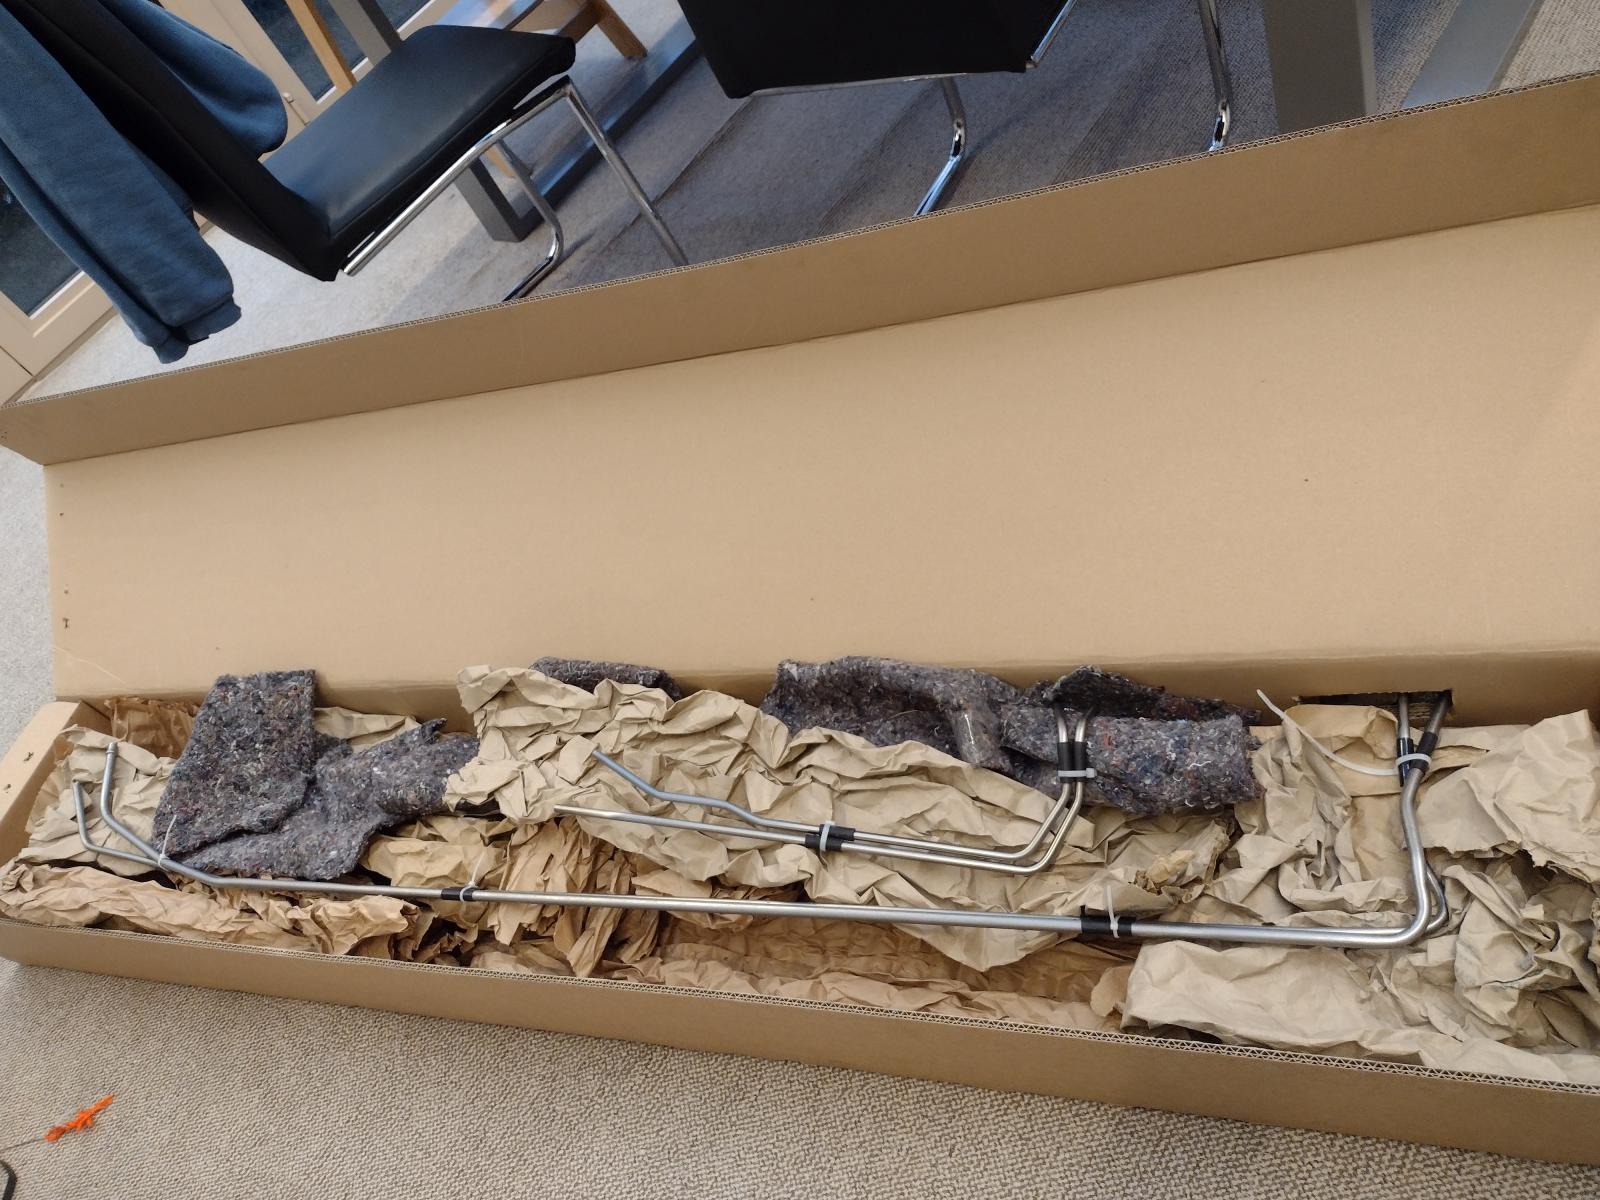
So, next, I got a big box:
With my stainless steel fuel lines:
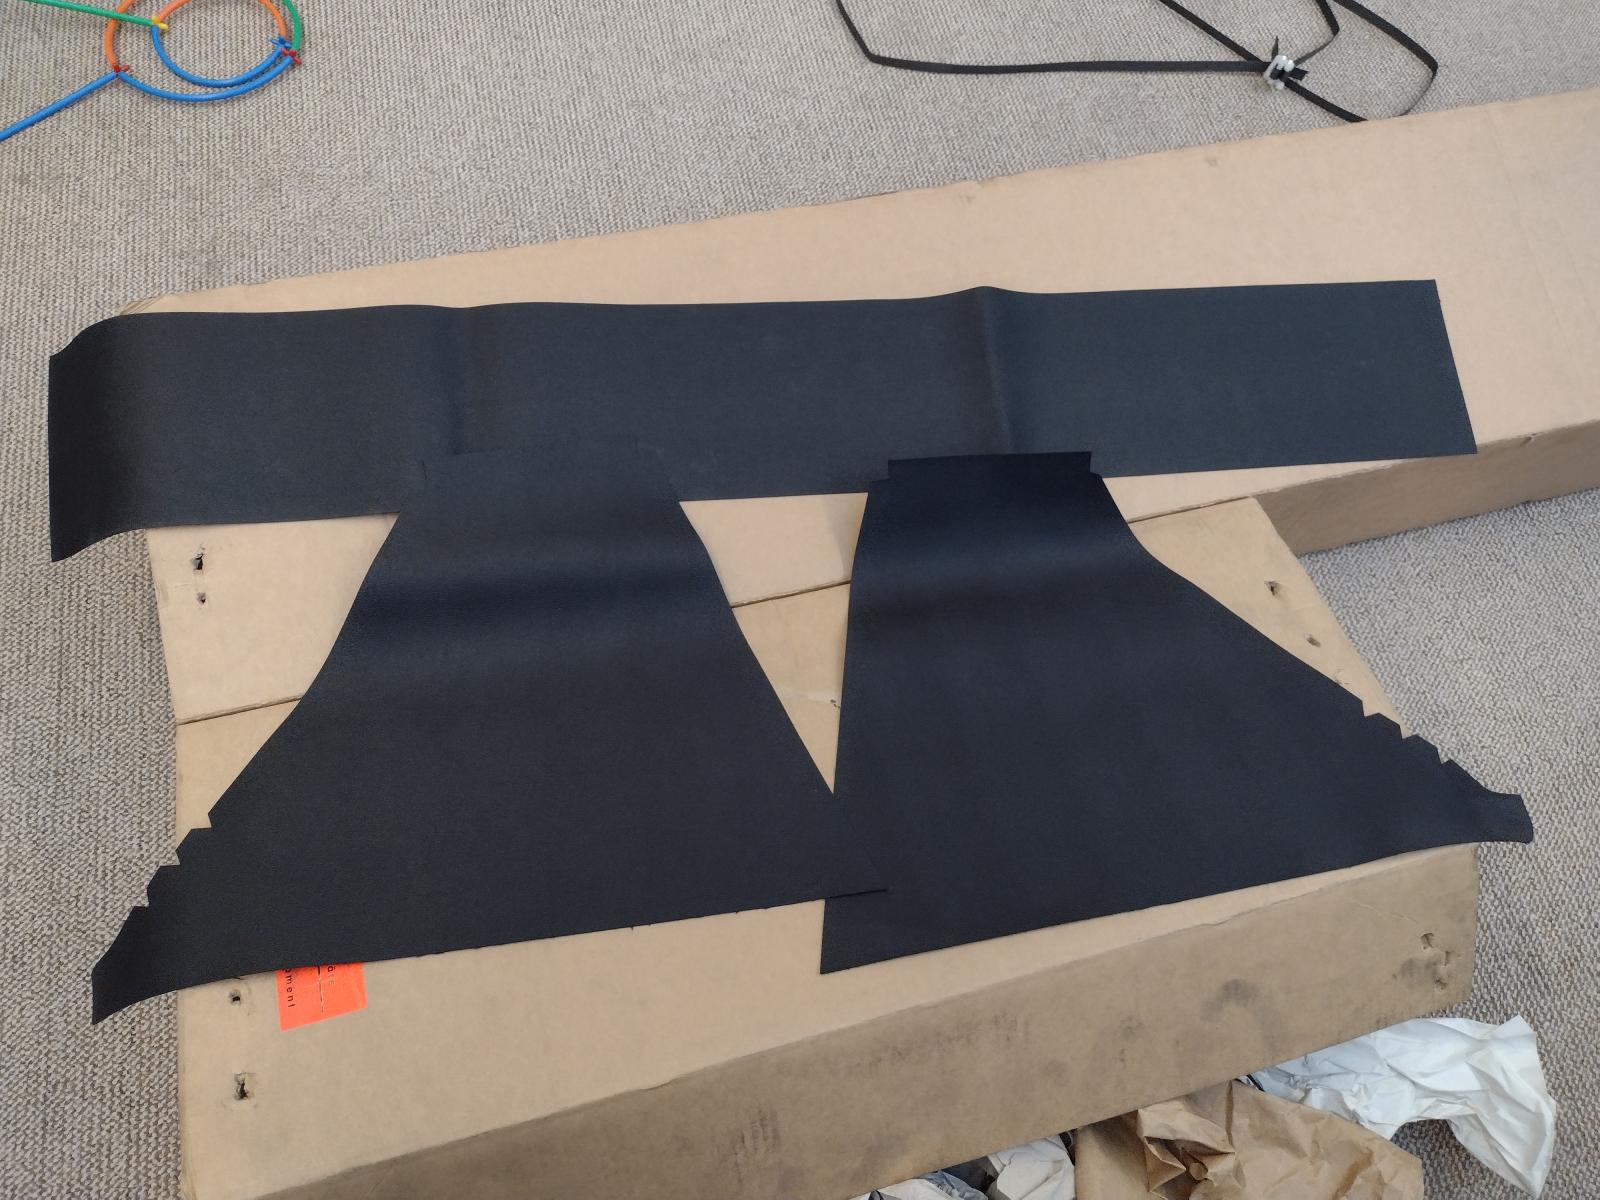
And the vinyl for the sail panel:
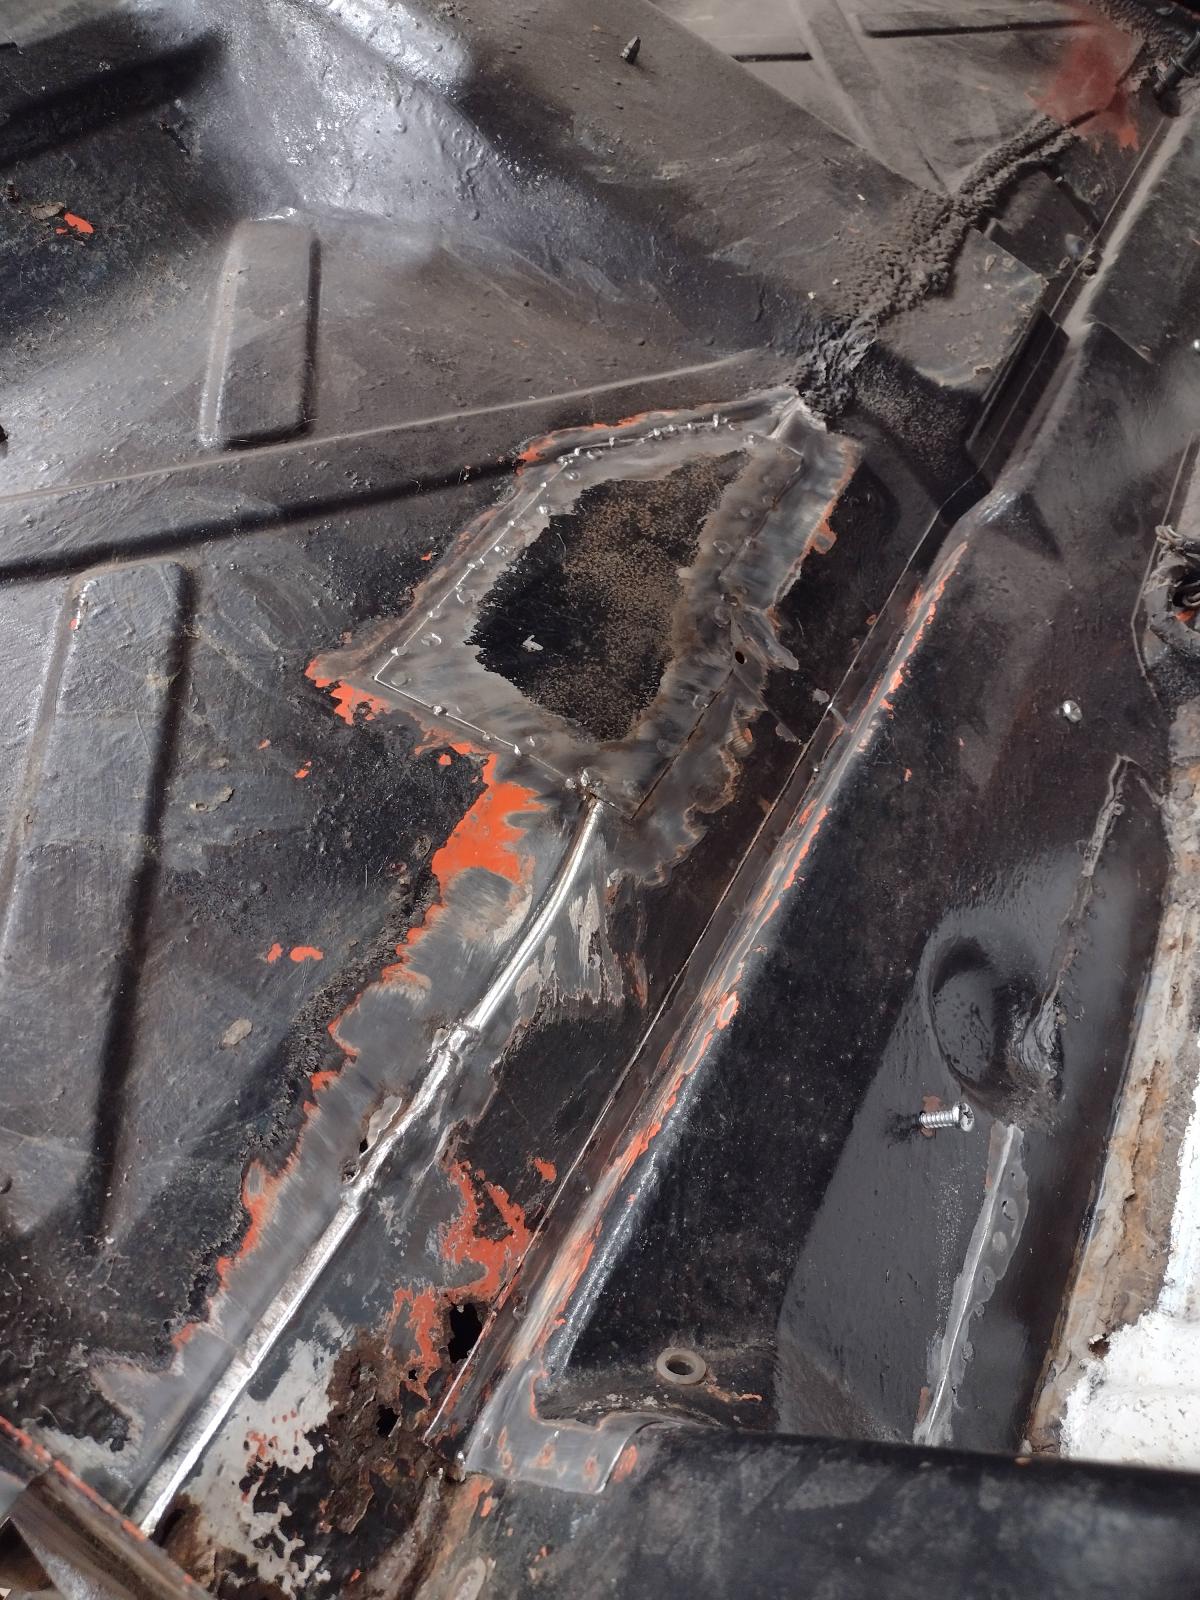
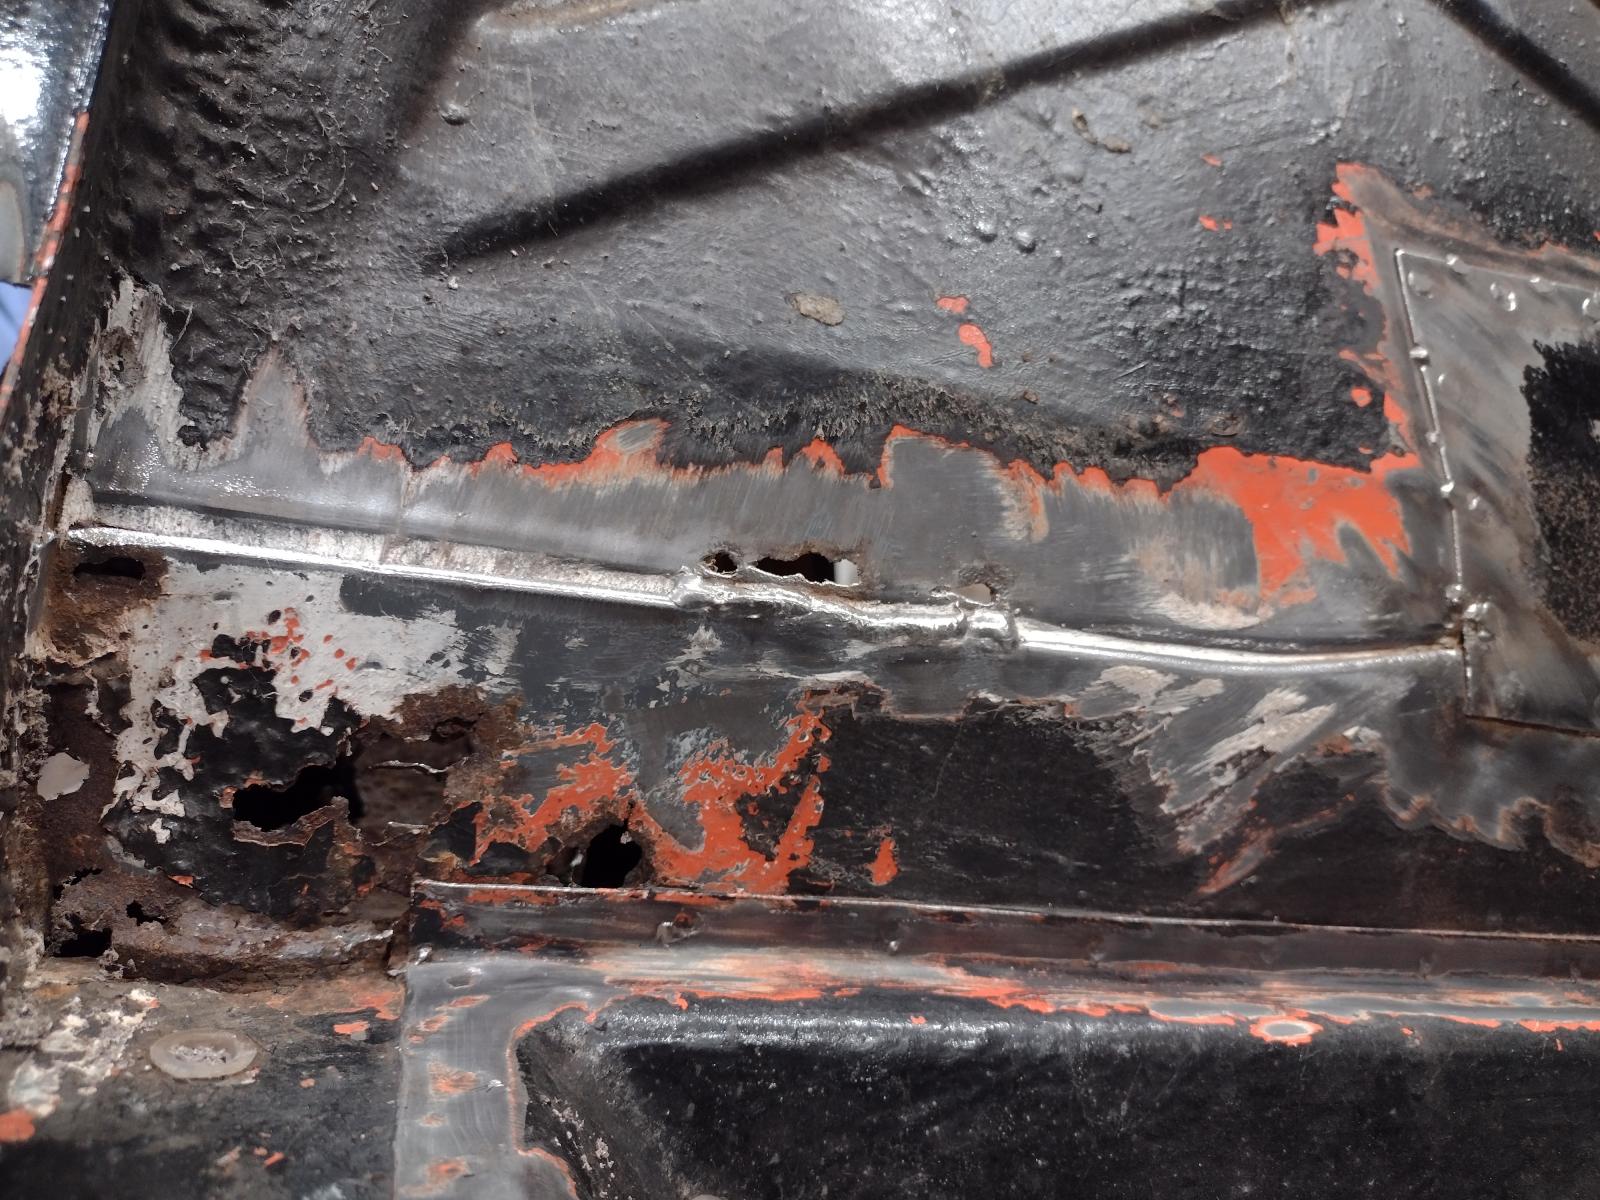
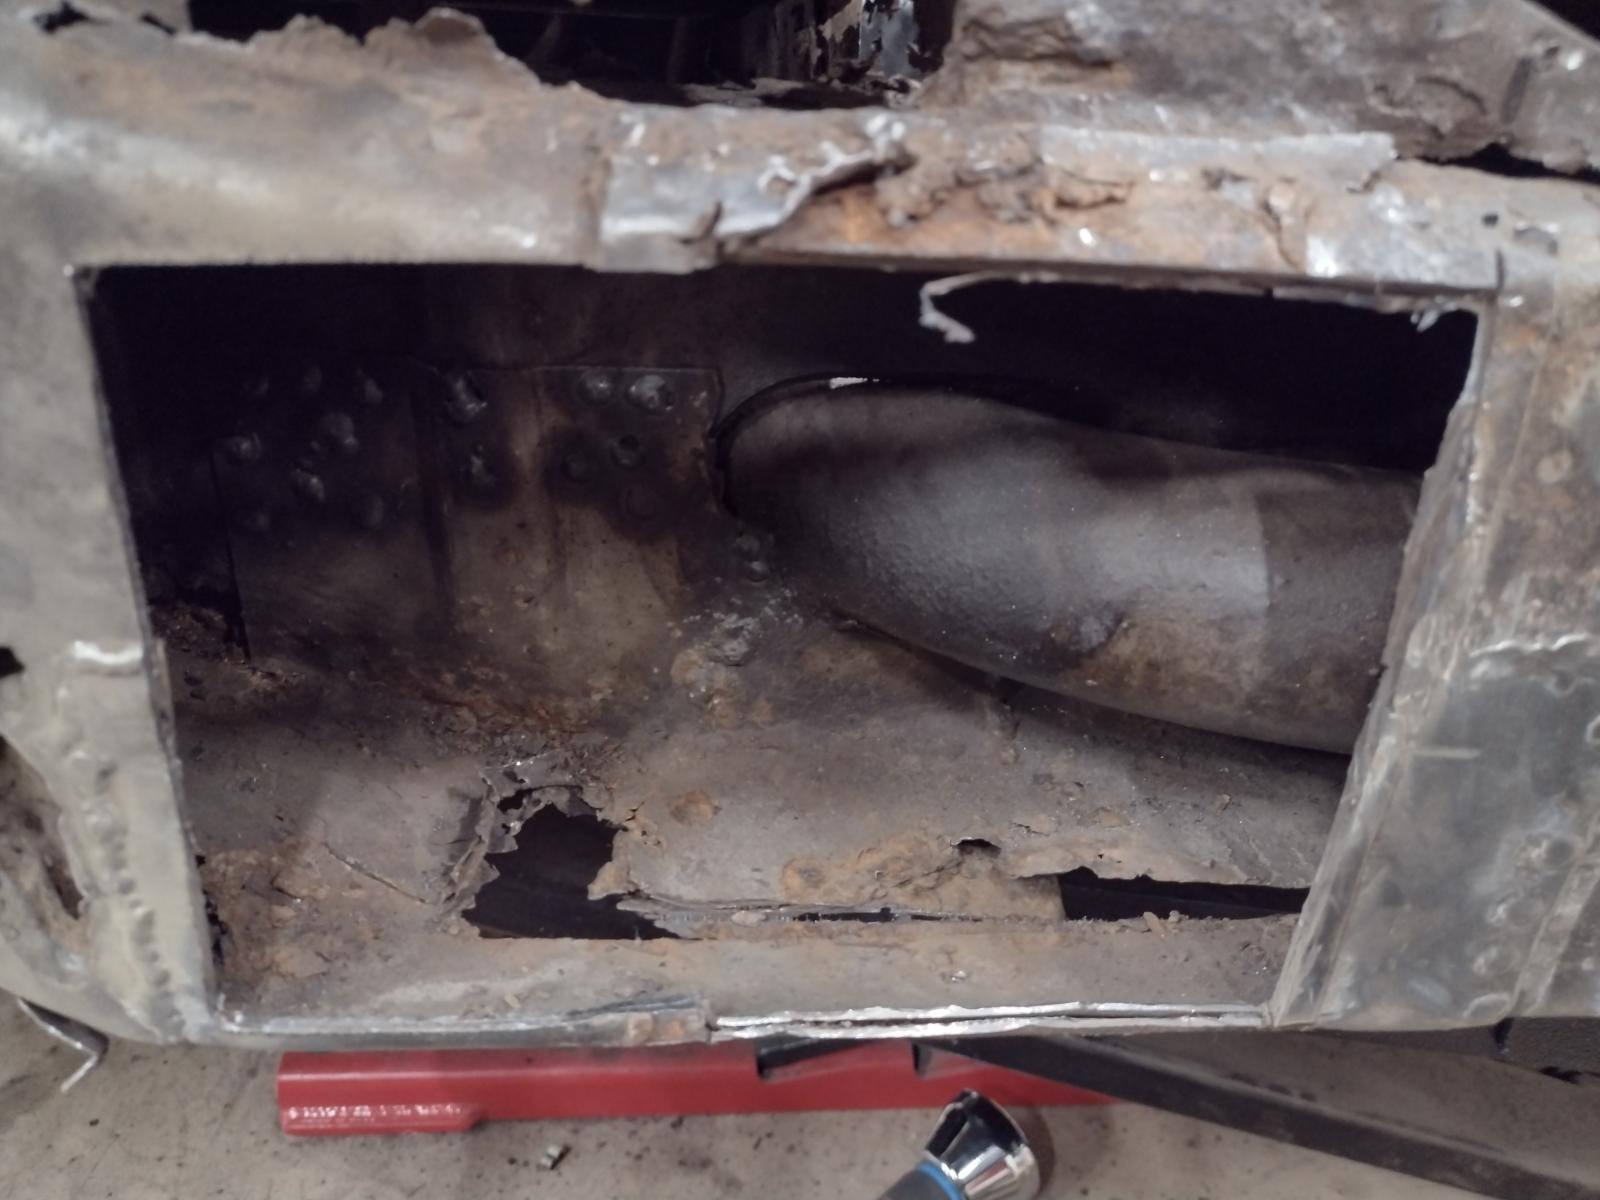
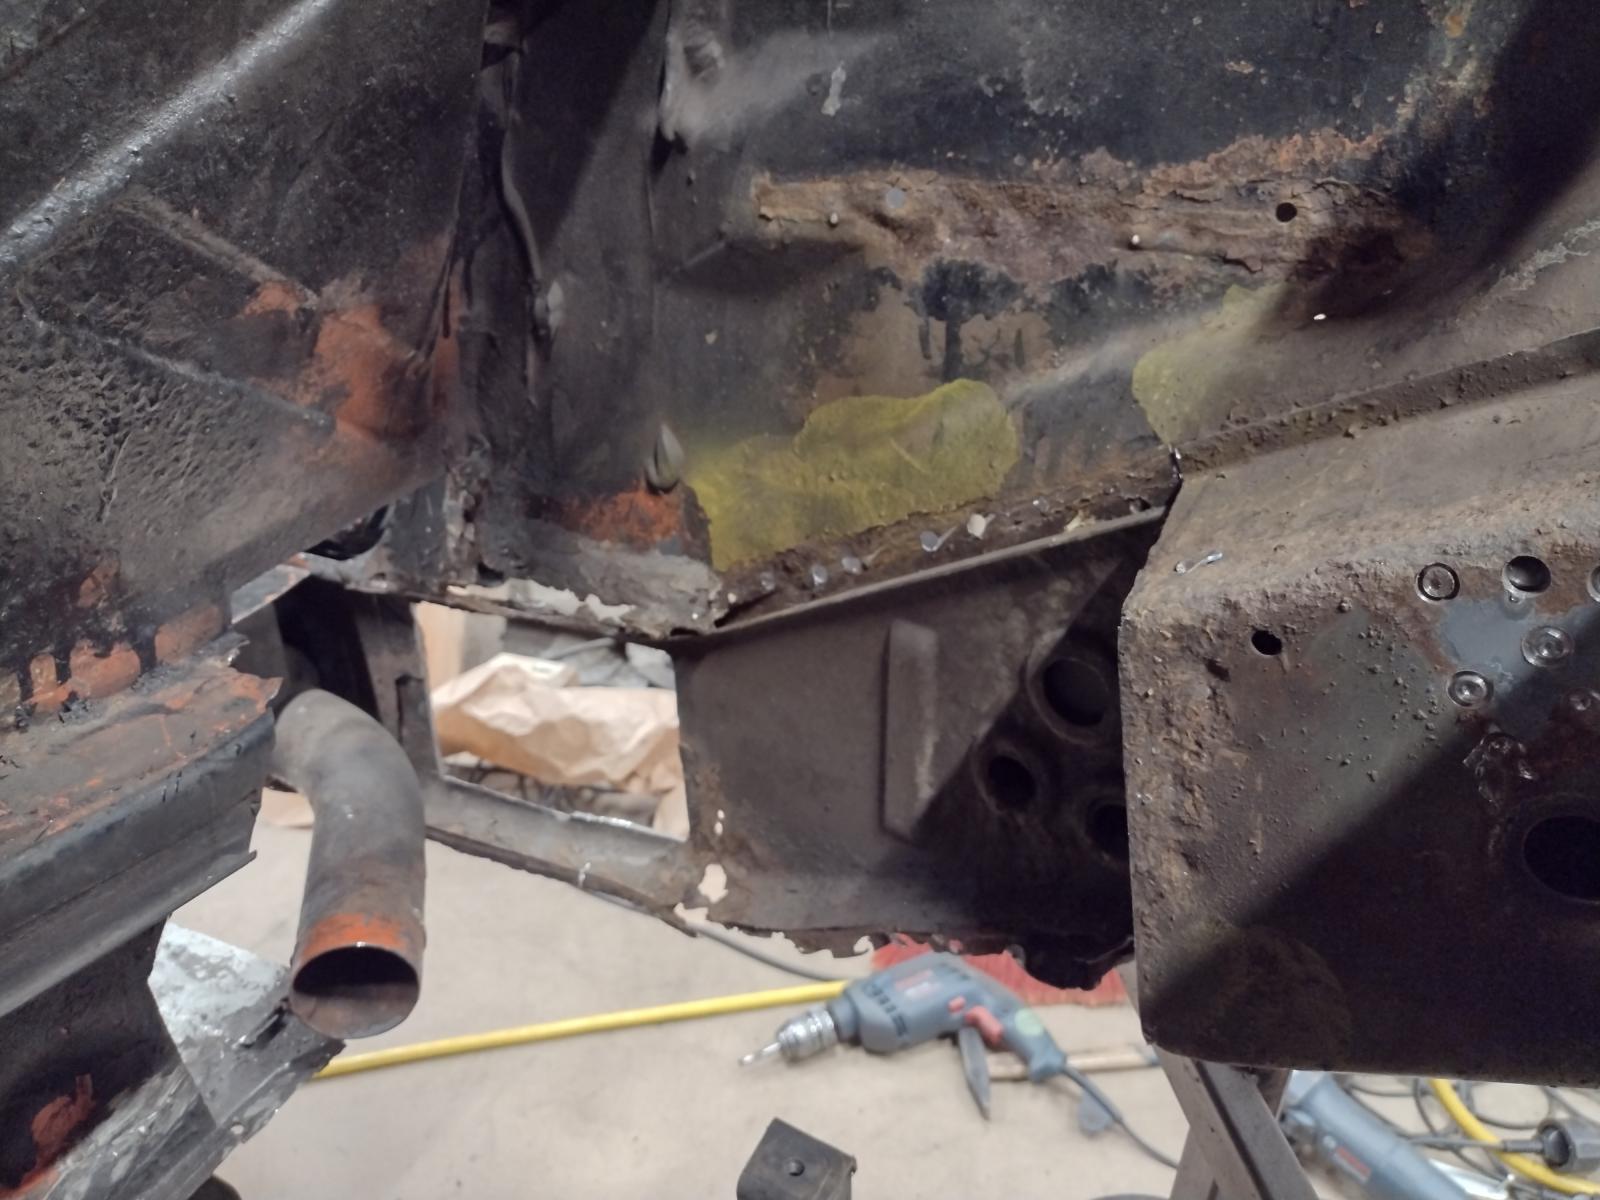
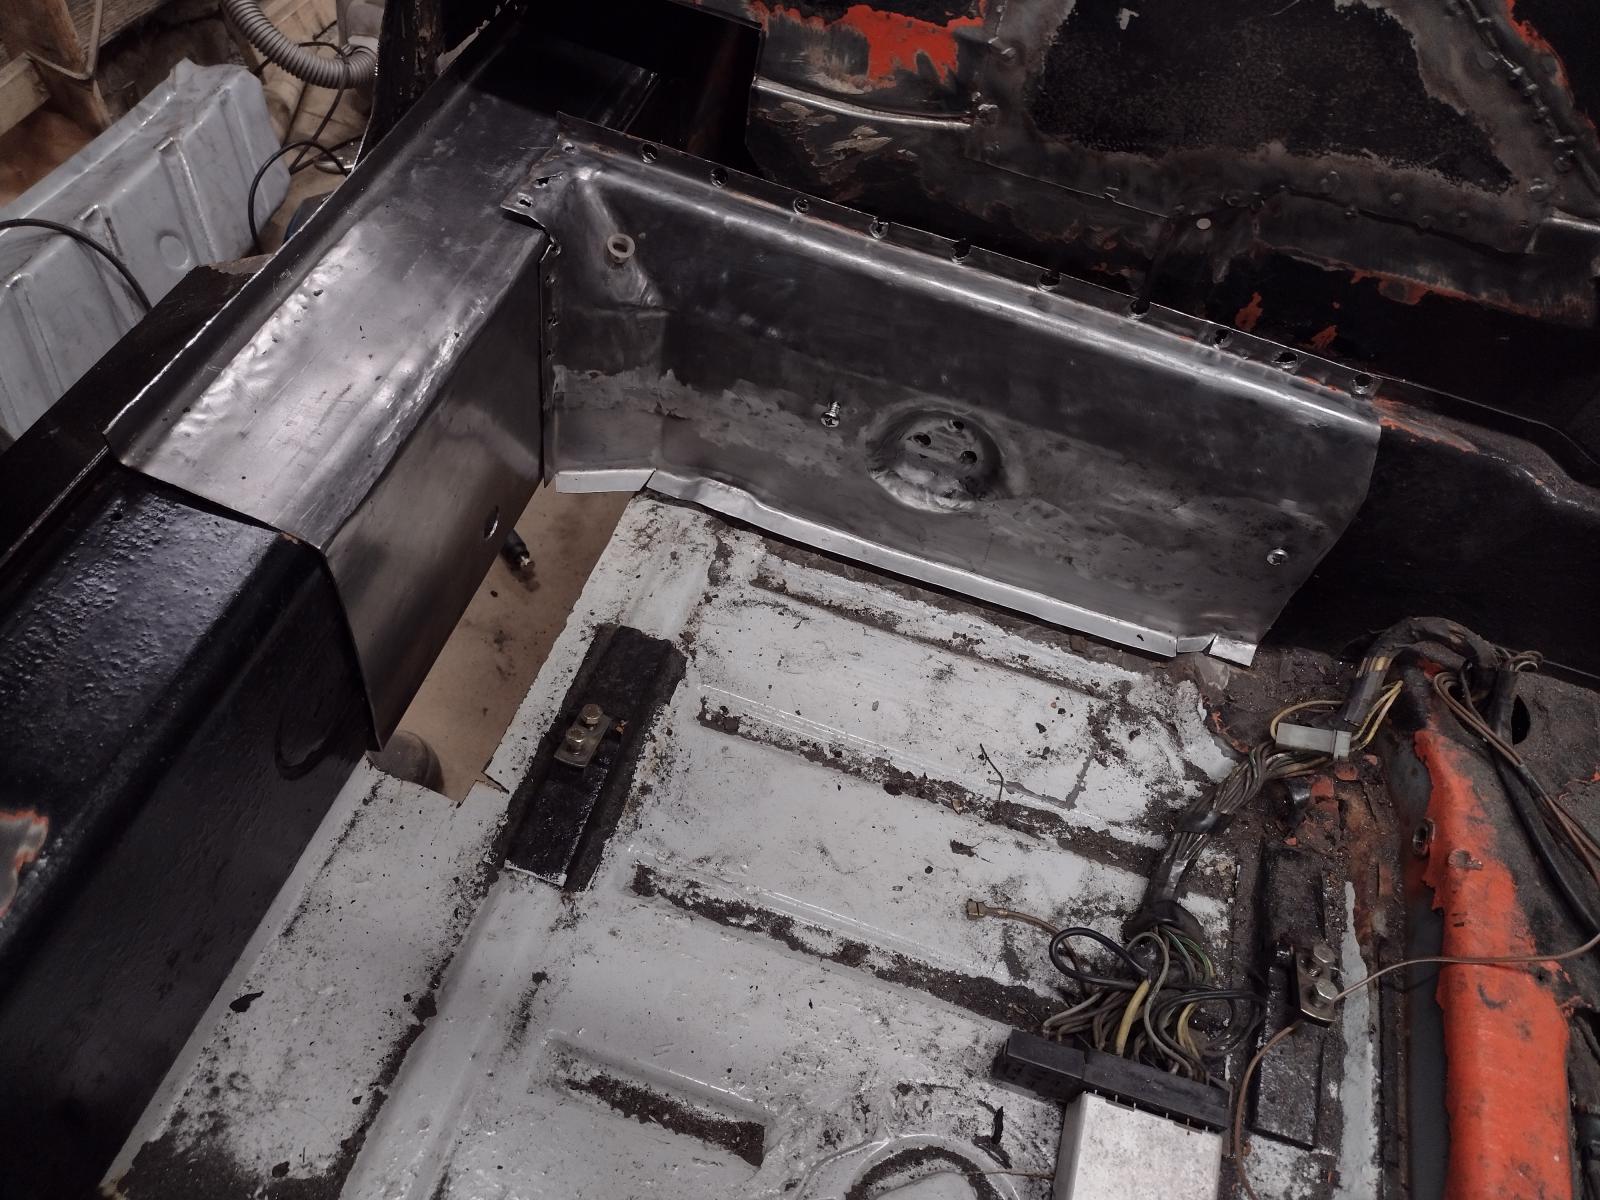
And then it was time to start on the hellhole. First making some space in the corner of the cabin..so a part ofthe firewall has to go:
It had its issue and bad repair:
So it was time to remove as far as needed to repair it properly:
What I discovered behind it wasn't nice either:
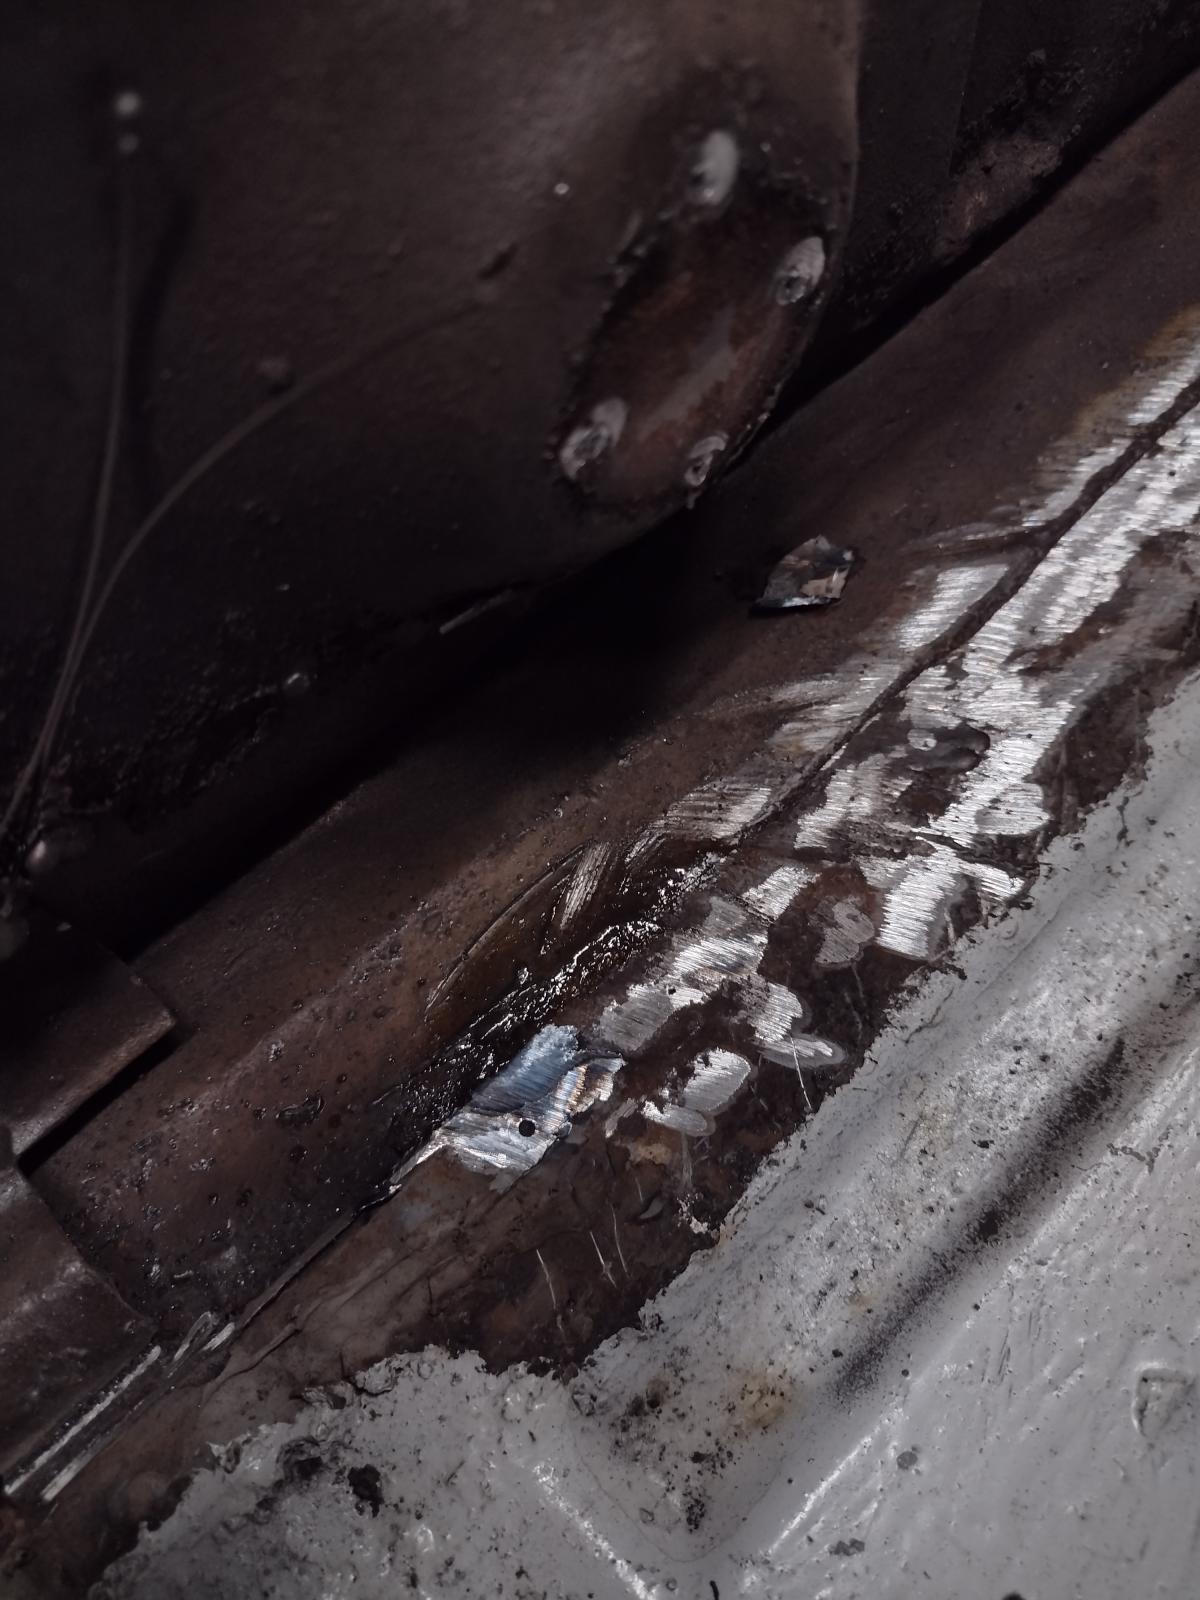
And the floor "repair" was not butt welded, which showed when I cut here the remain of the firewall and water came through capillarity even if the car did not see any water/rain since 2 months at that time..
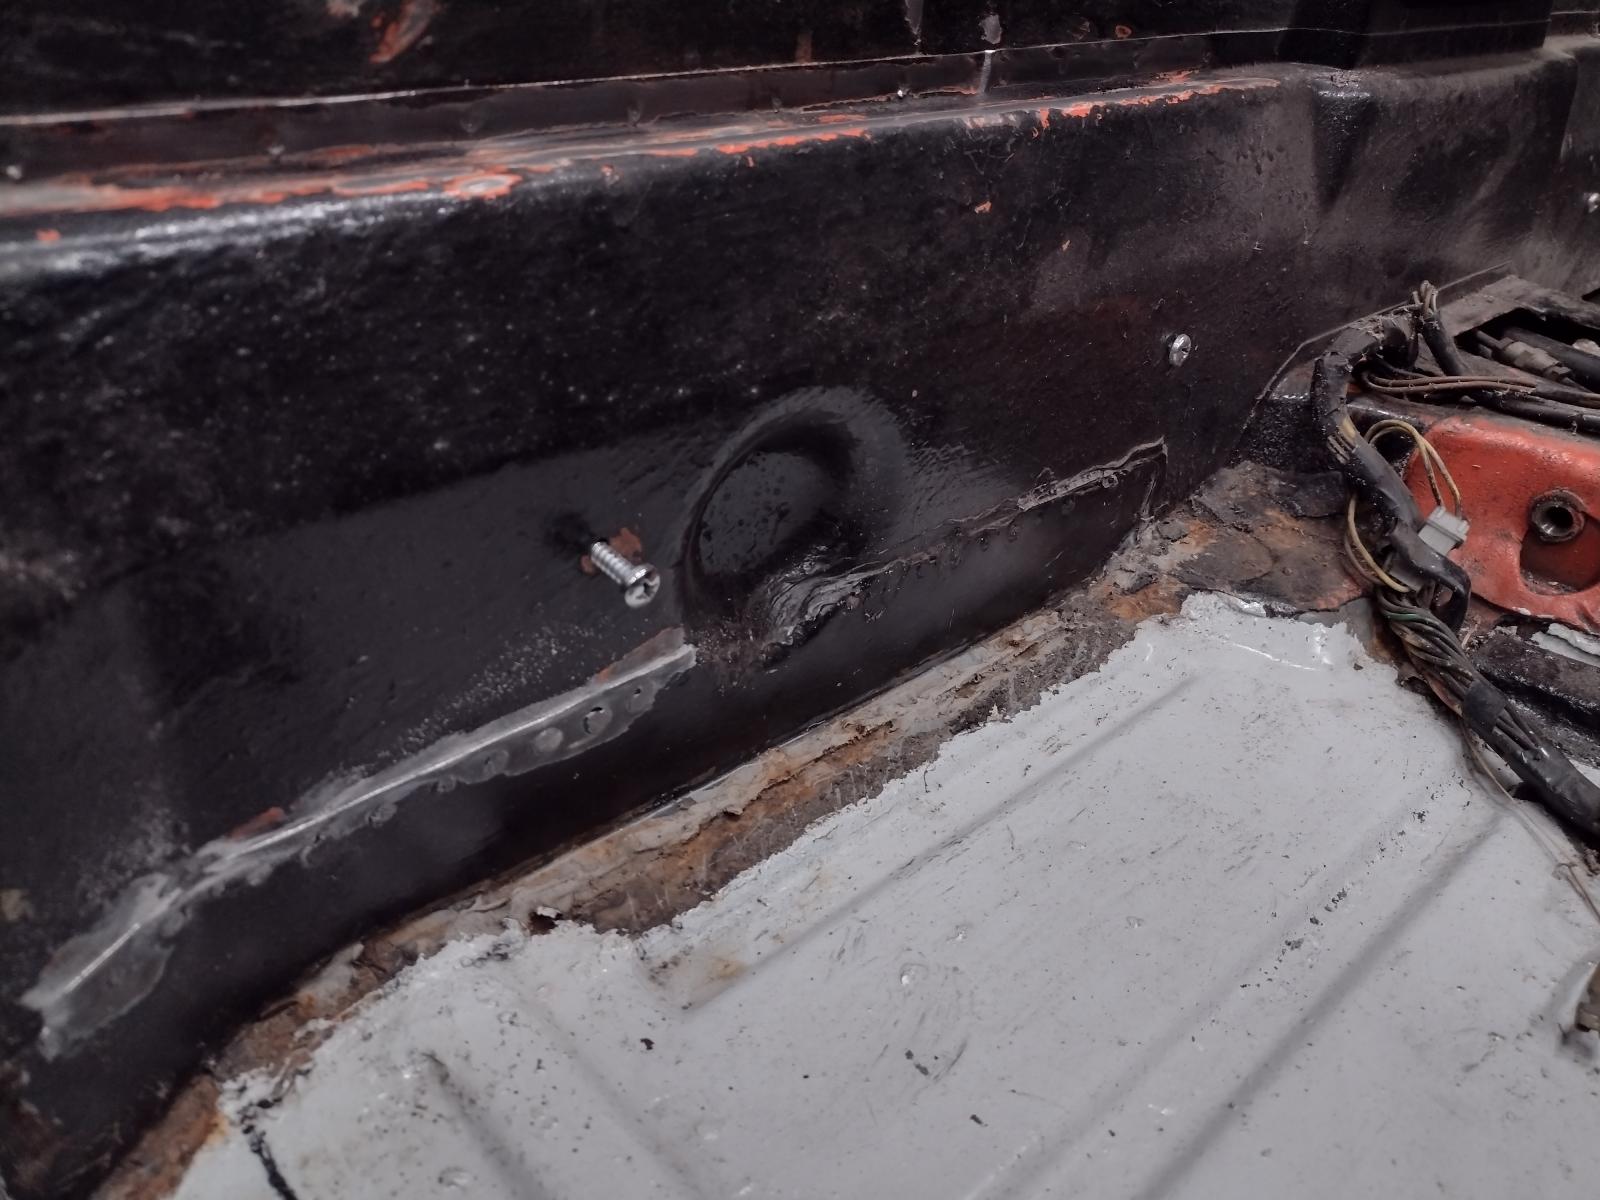
So, as I said, before going further, I repaired properly the firewall part I did cut.
It had a "repair" with metal over rust...
So I made a patch :
And adjusting:
Ready to weld:
Tack welded and check:
Welded and check:
And grinded/planished:
Cheers
Antoine
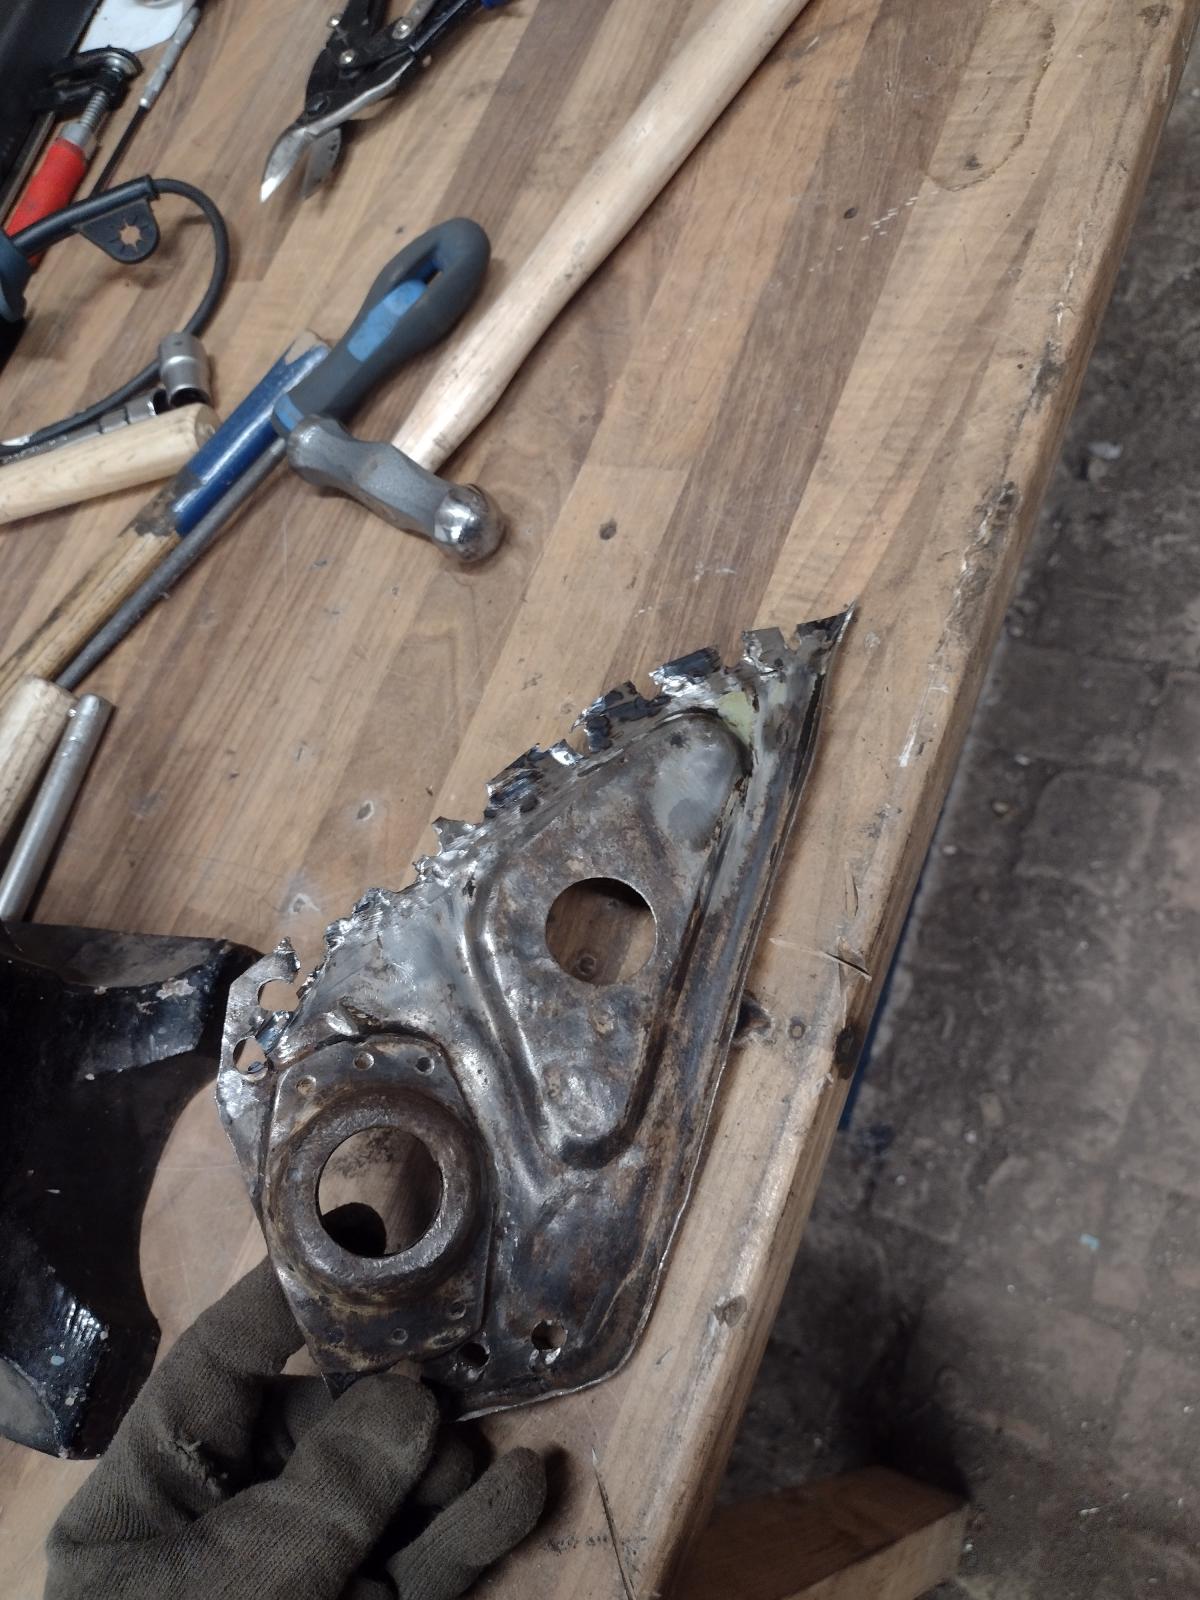
I removed the triangle at the back of the floor and it was damaged/poorly welded but still not really rusted so I decided to save it.
Before:
During:
After welding and beadblasting:
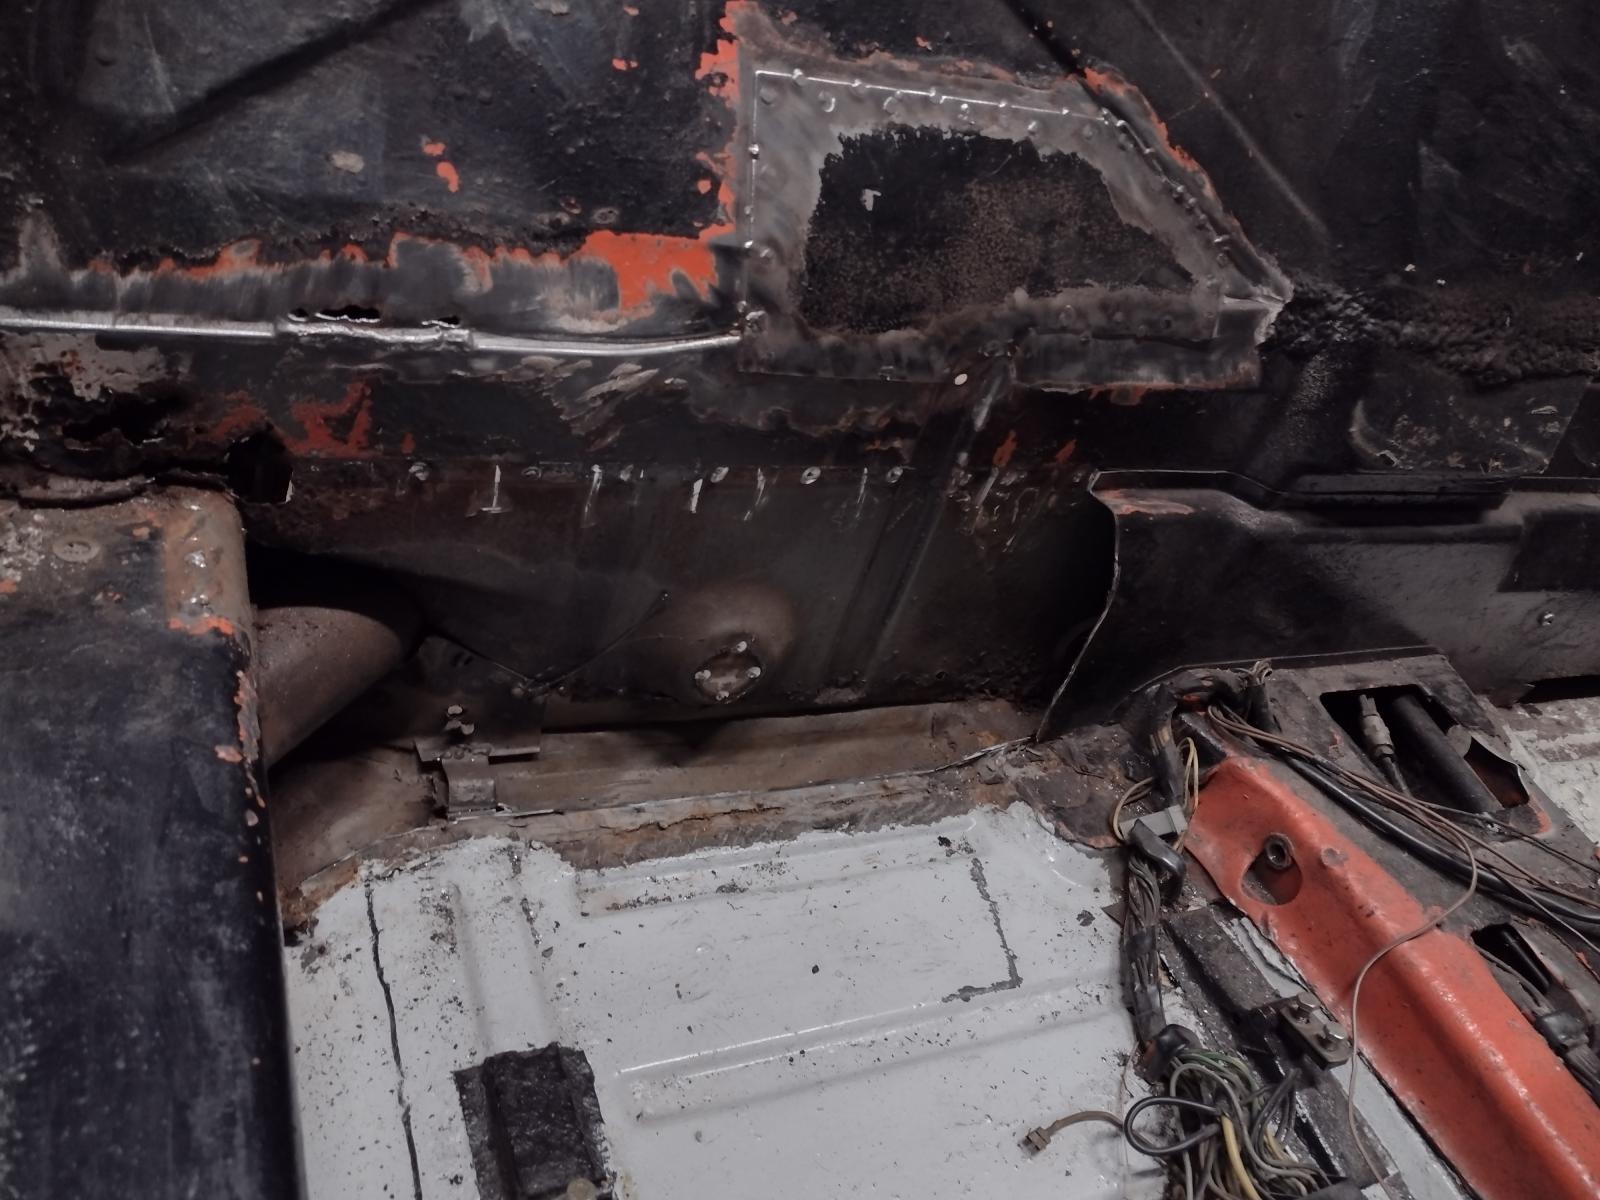
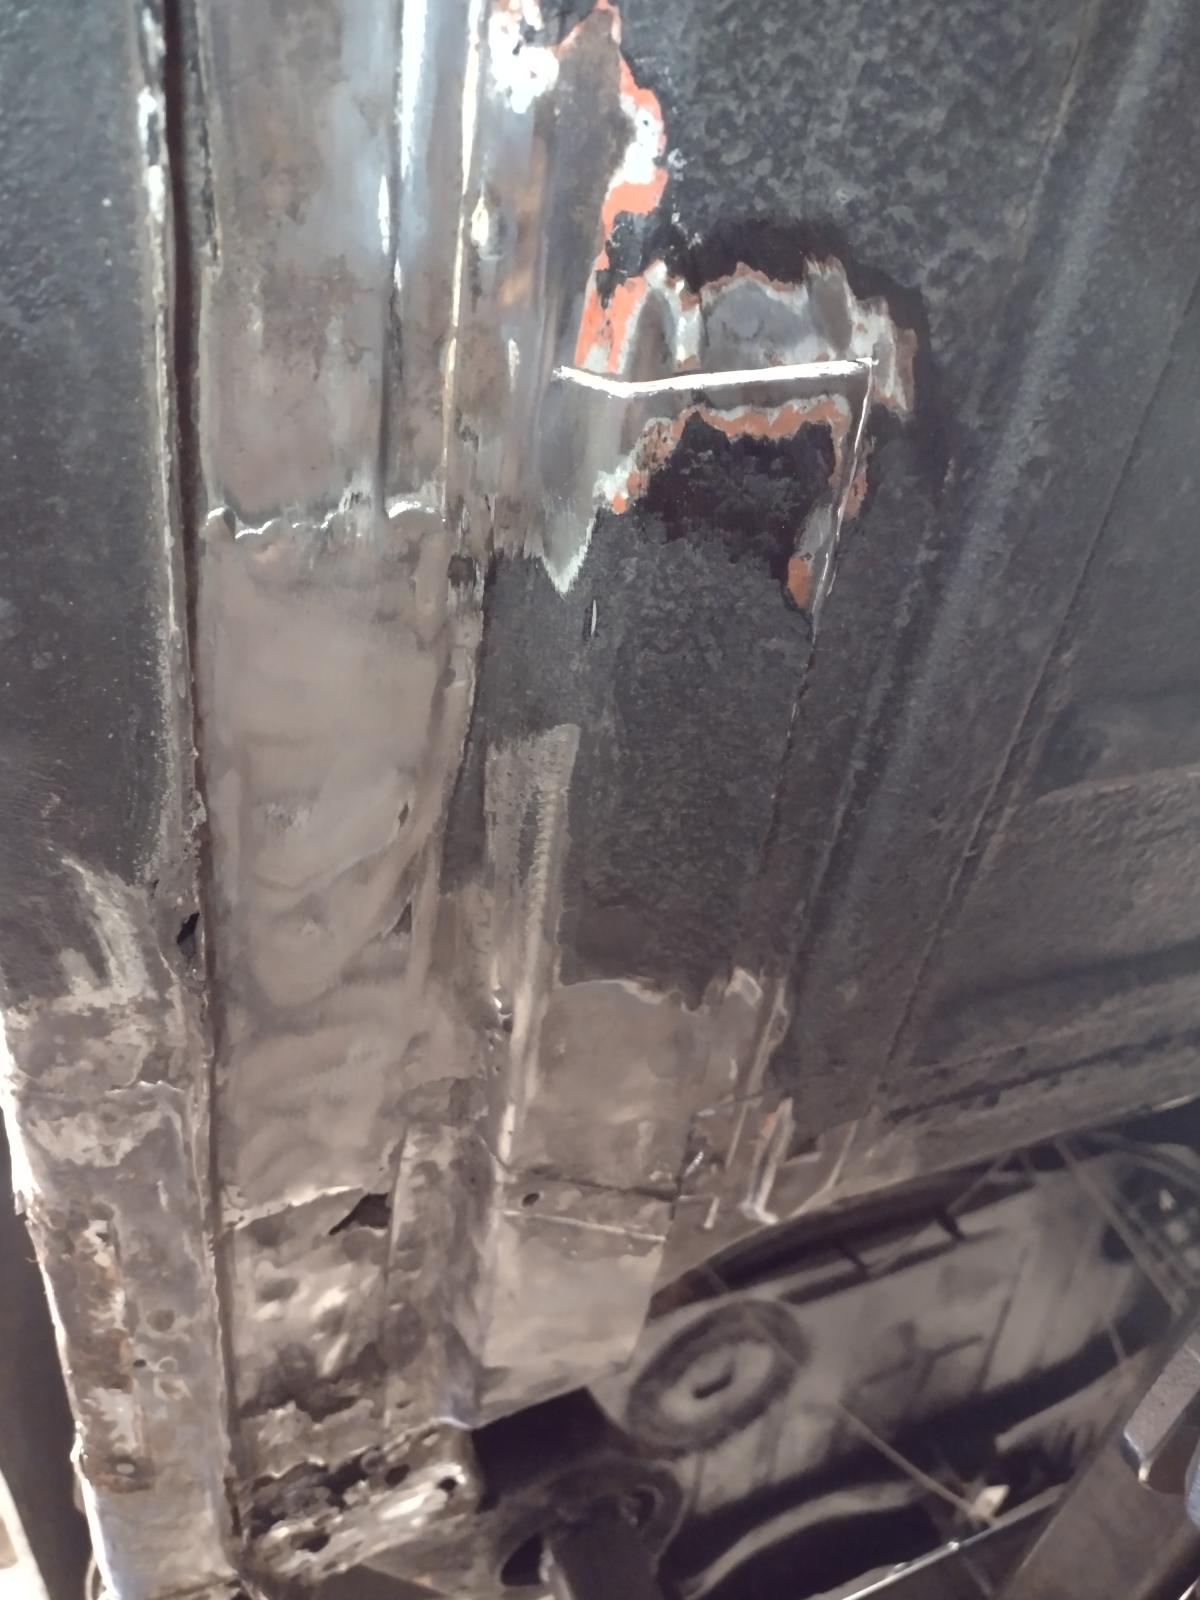
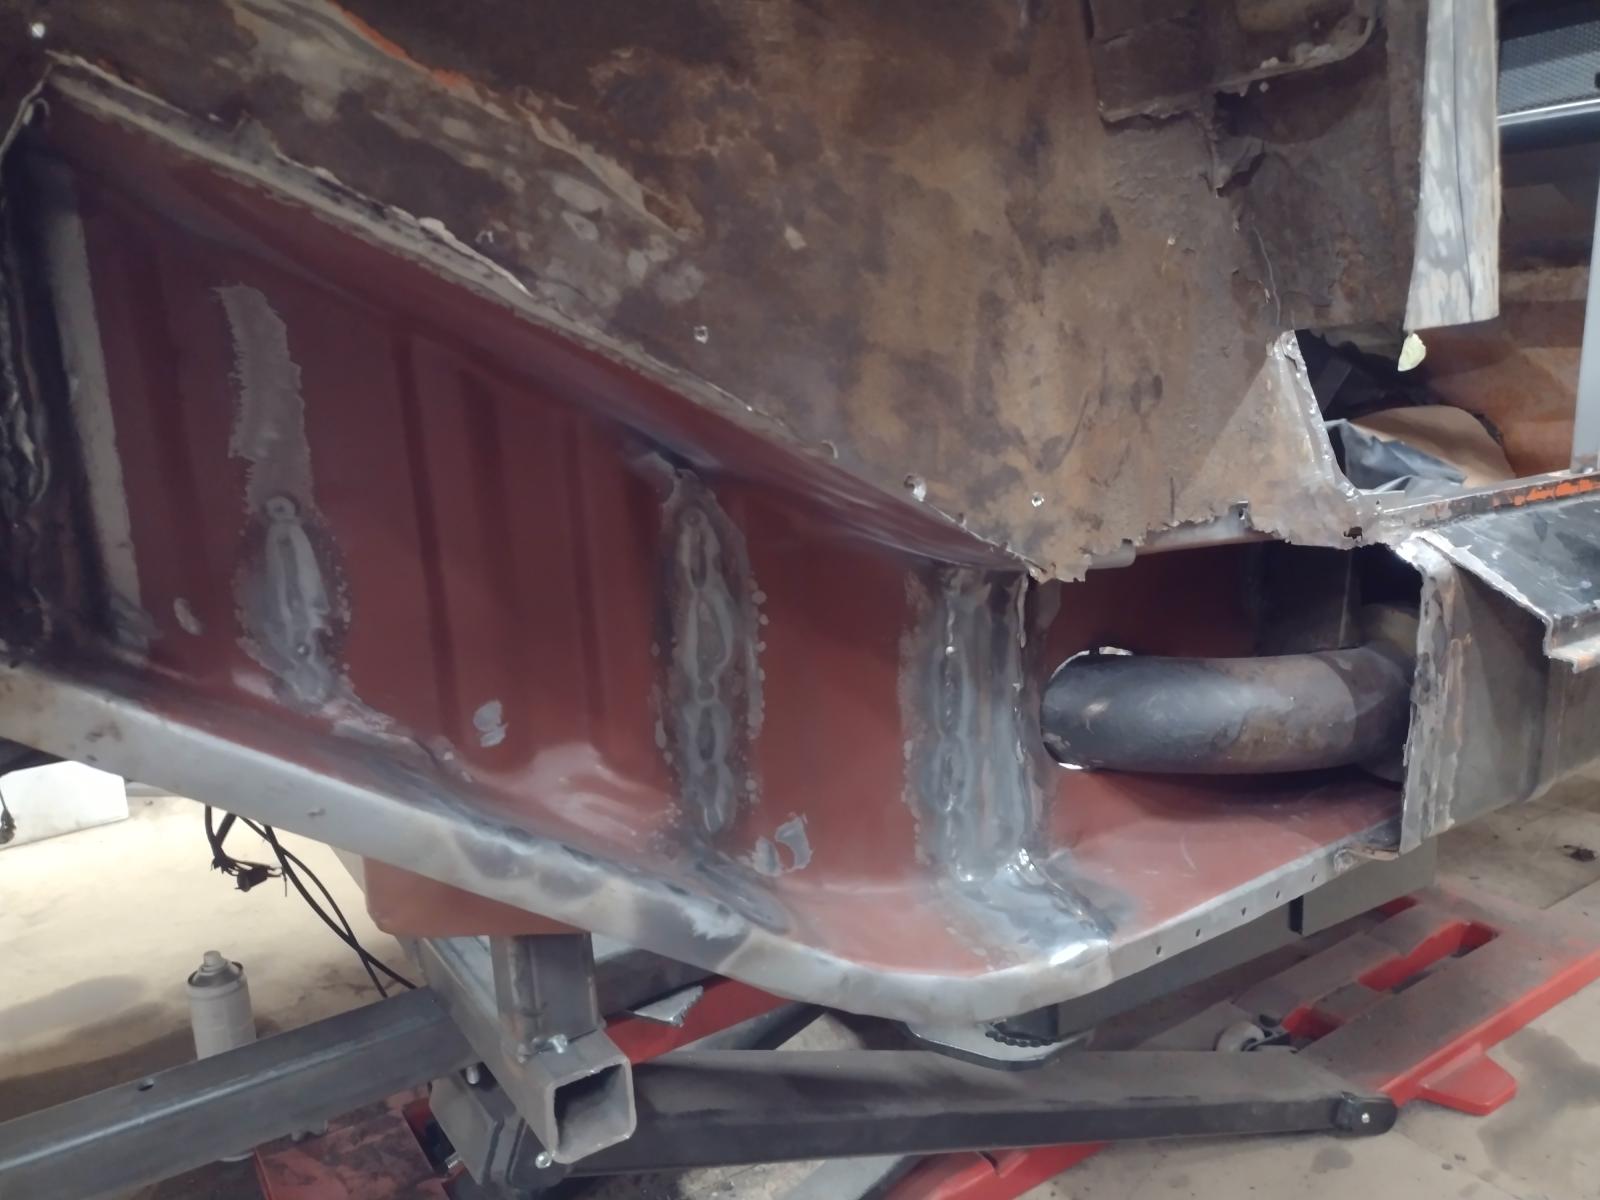
Then it was time to make some space to work on the long. Rust damages were there:
And when removing you see the old "repair" with metal over rust:
So let's make some space:
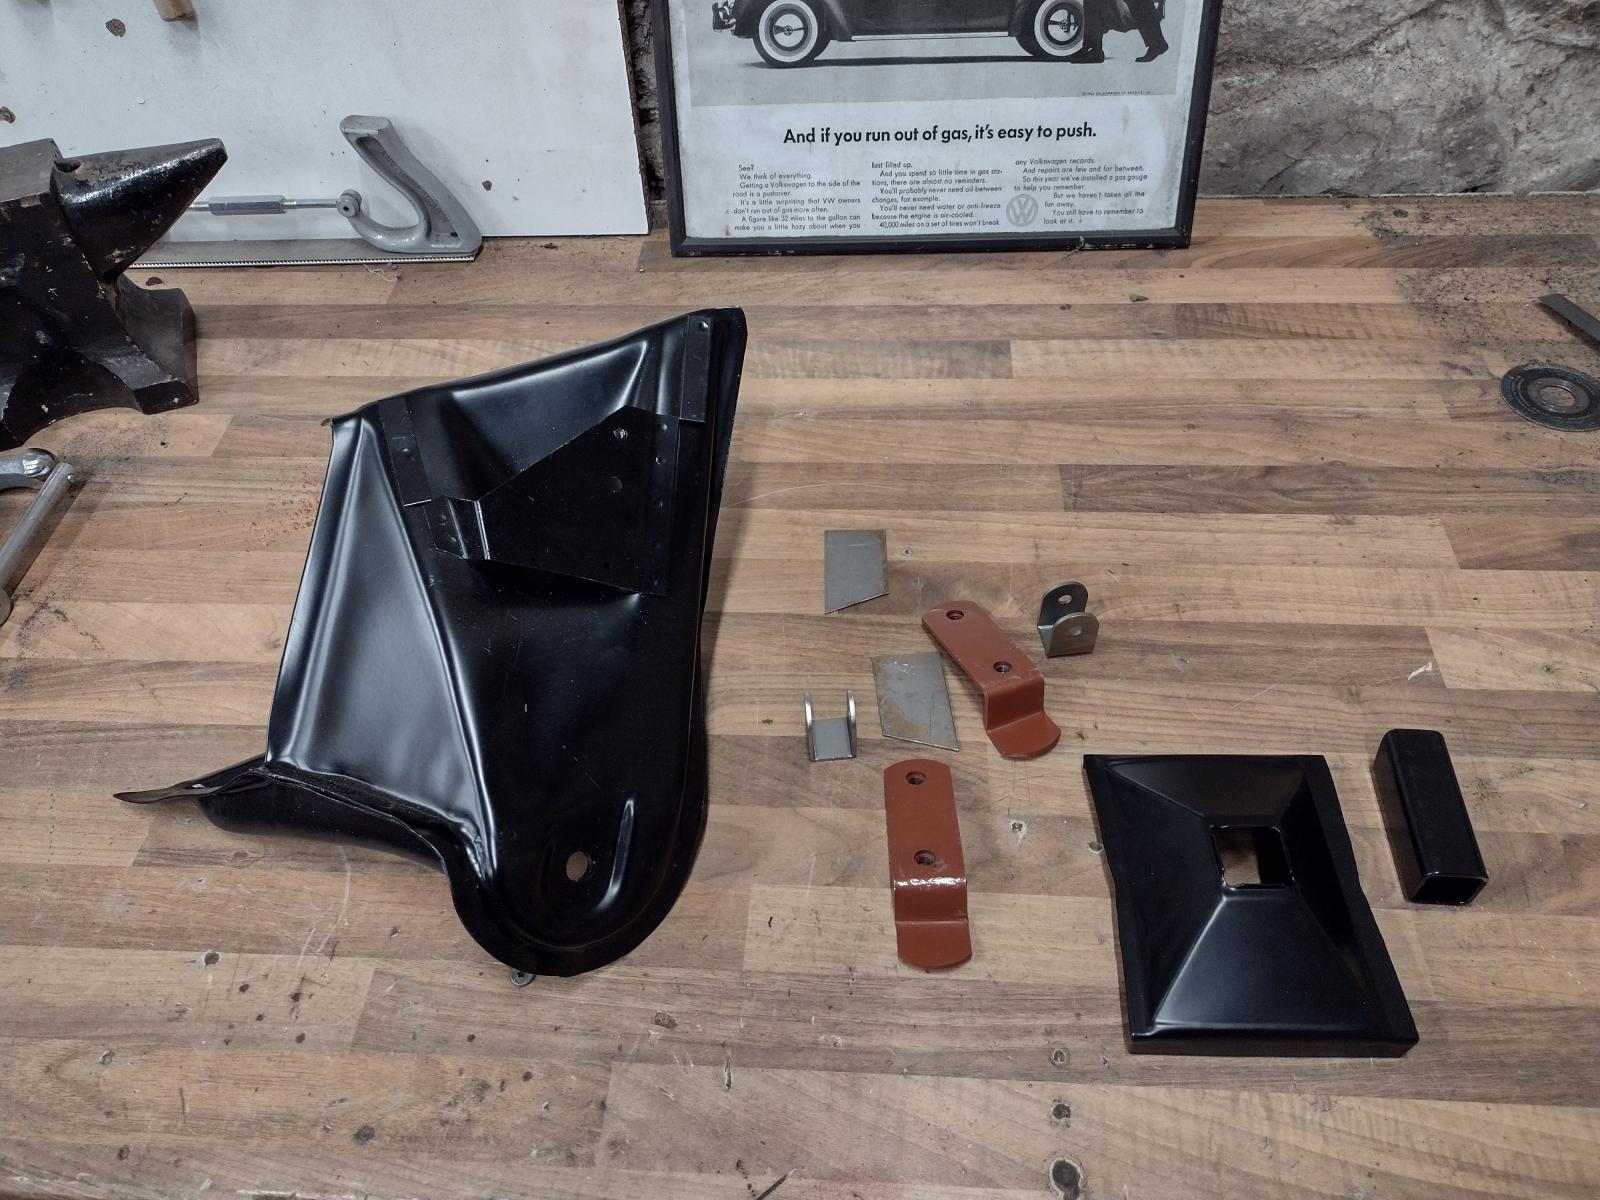
And start to make the repair pieces:
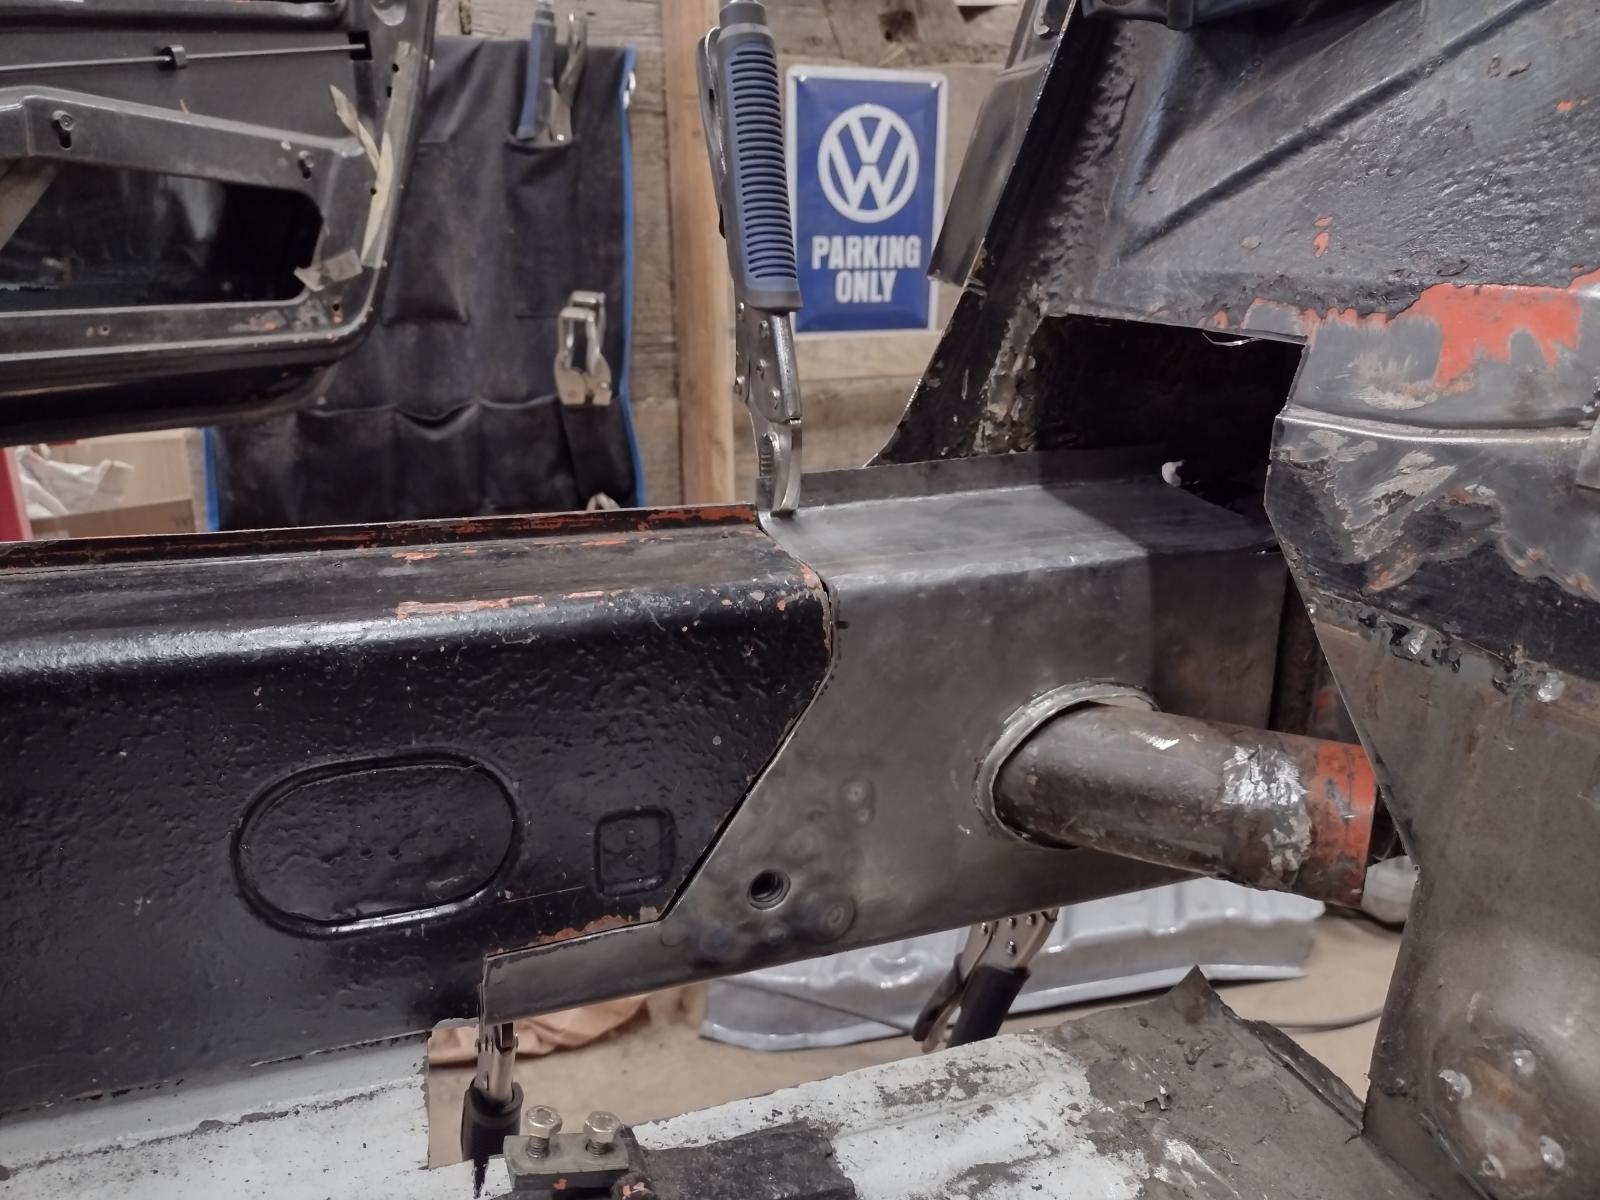
Test checking in position :
And soon all of this will be welded together:
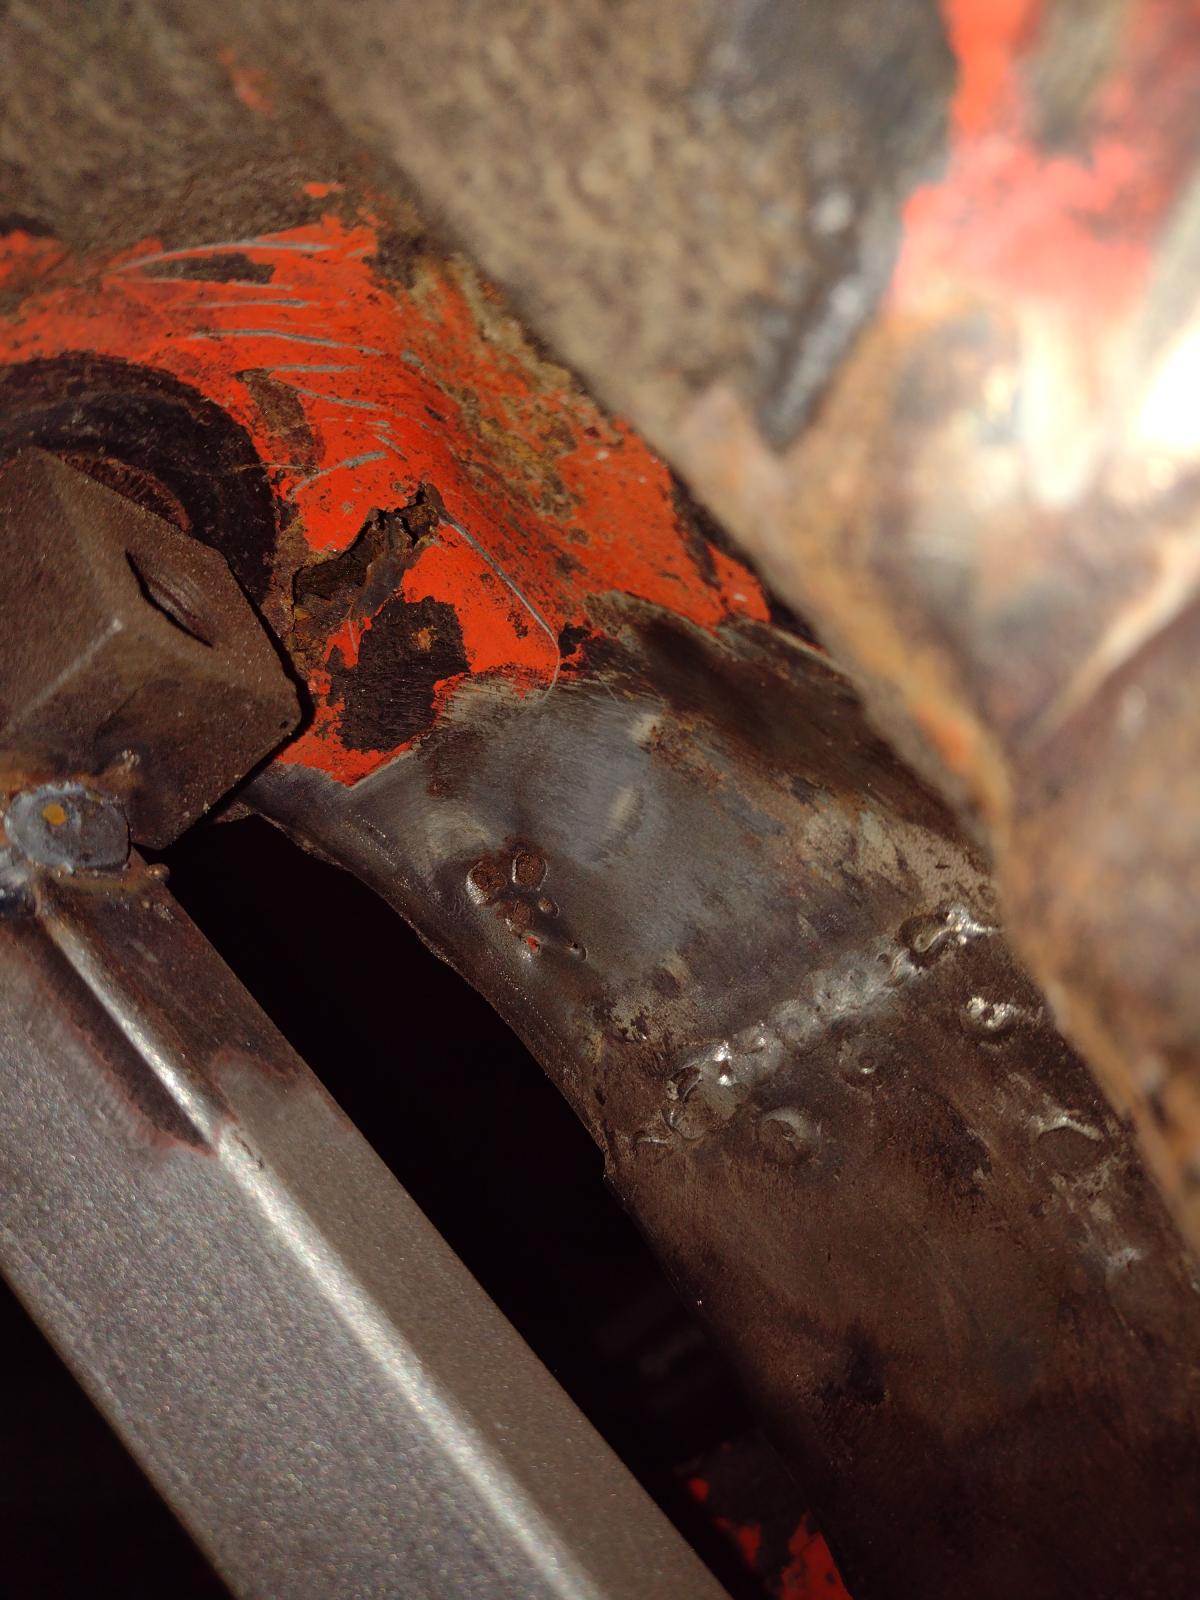
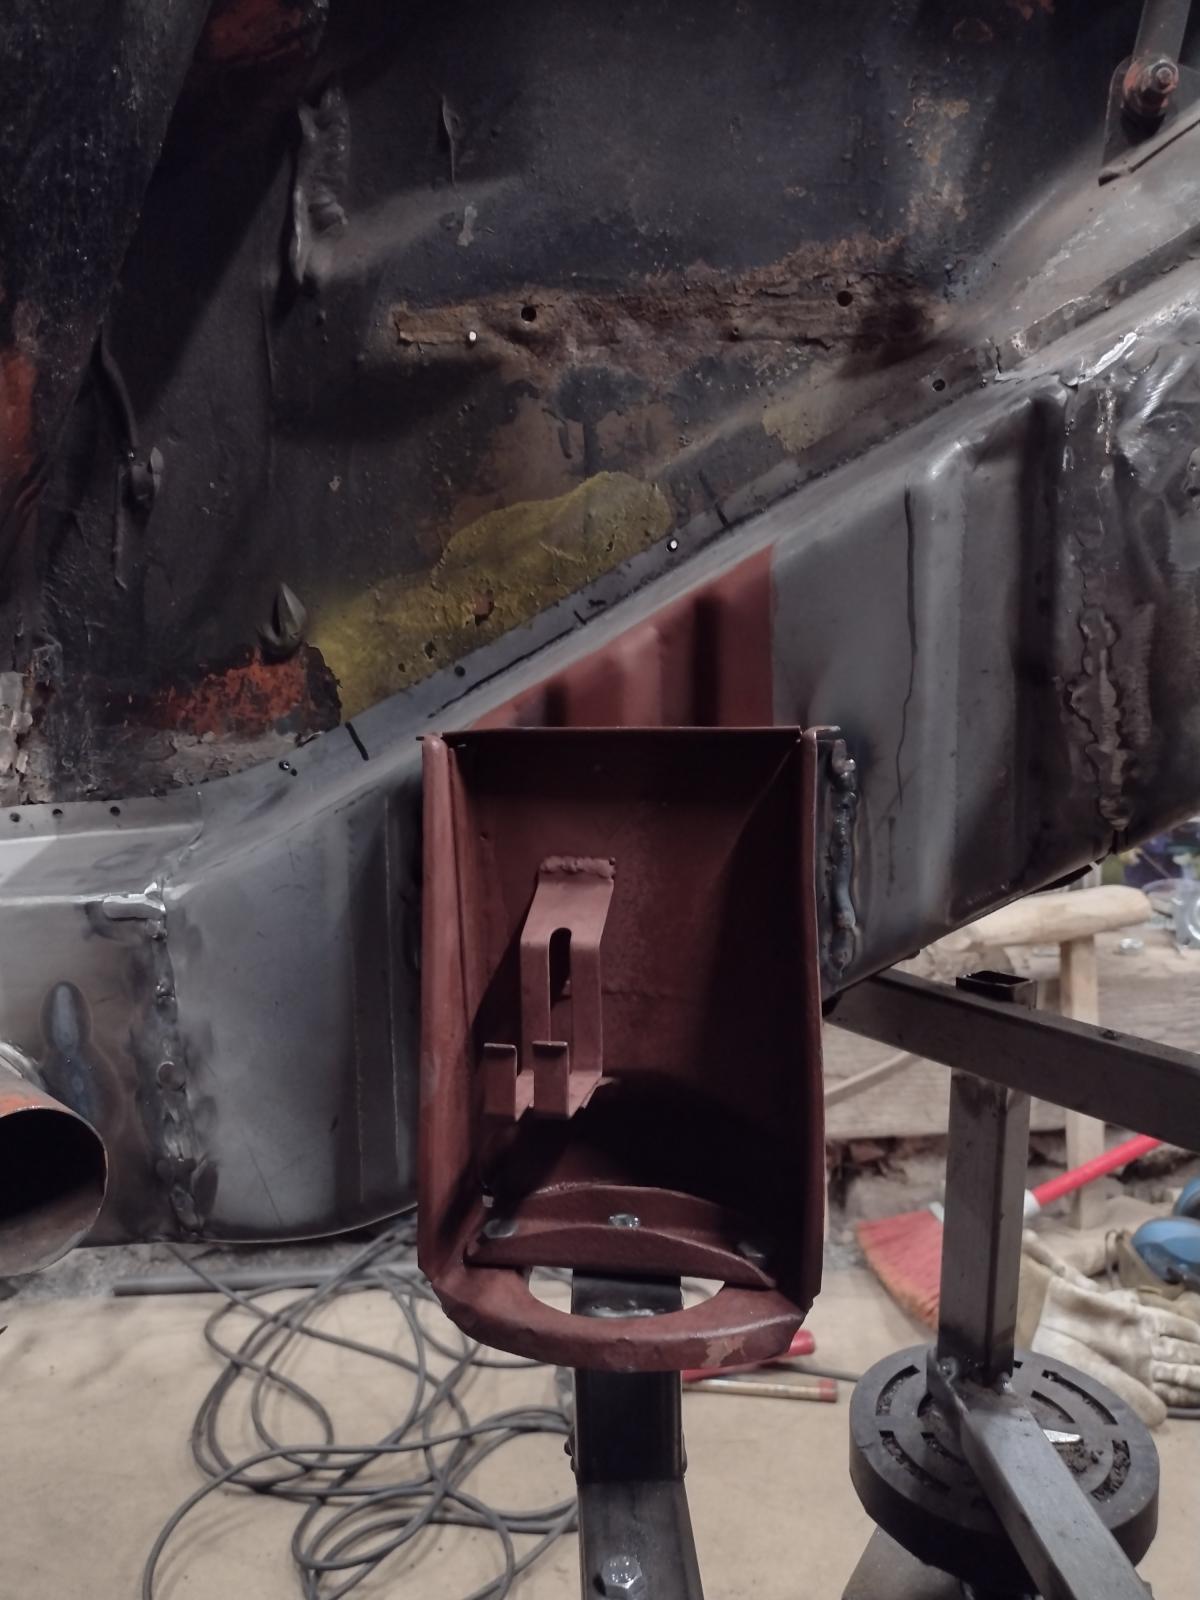
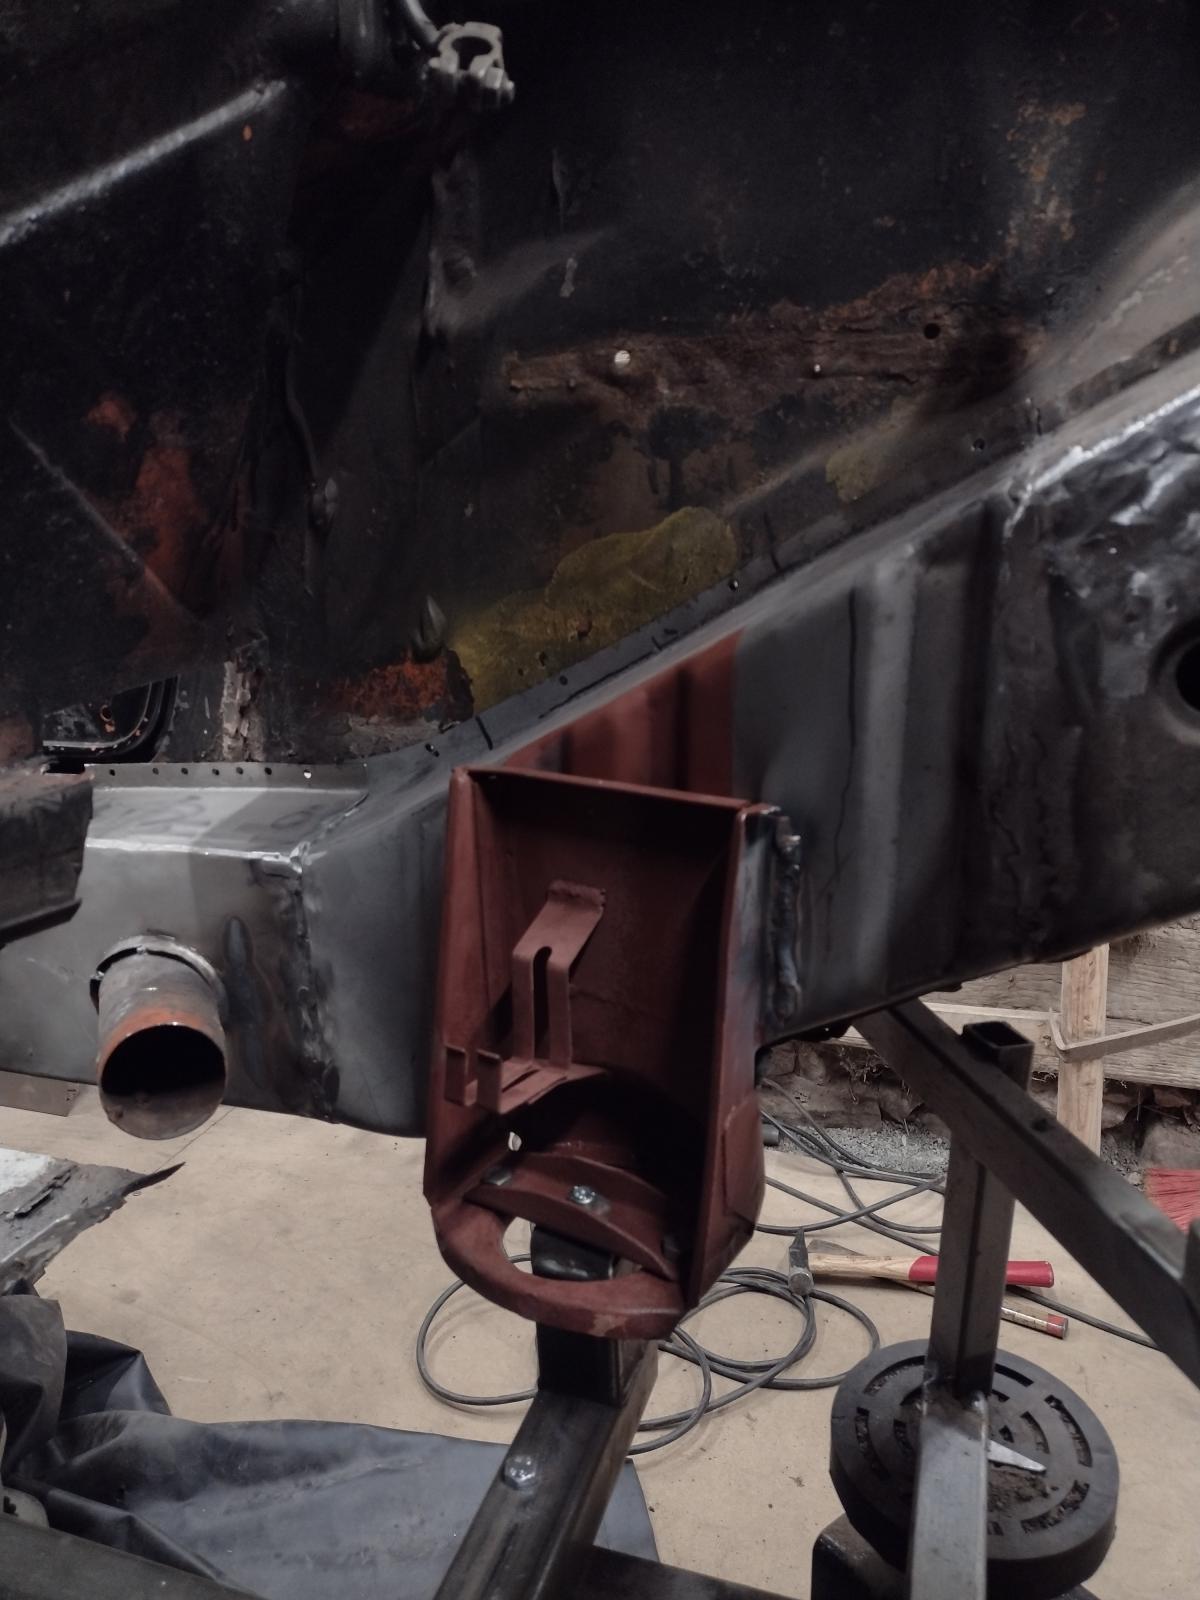
I finished welding the seat belt mounting point and adjusting my home made part of the long:
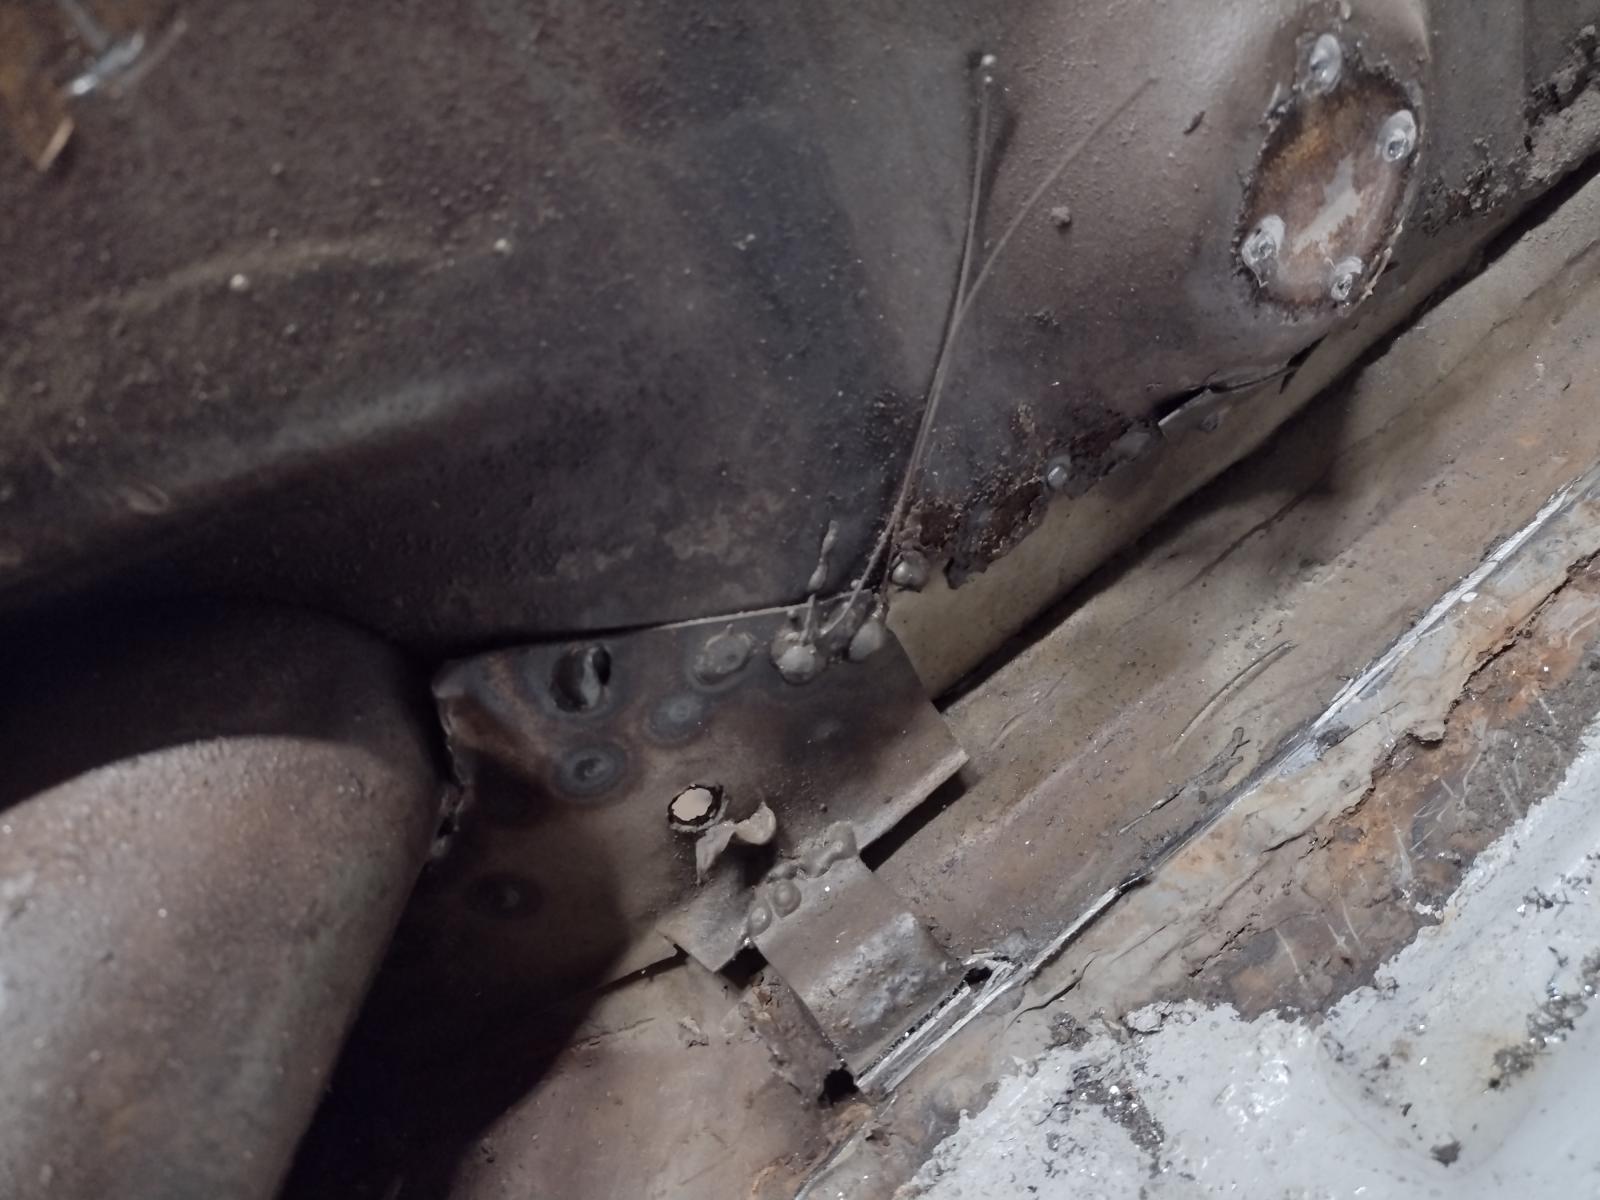
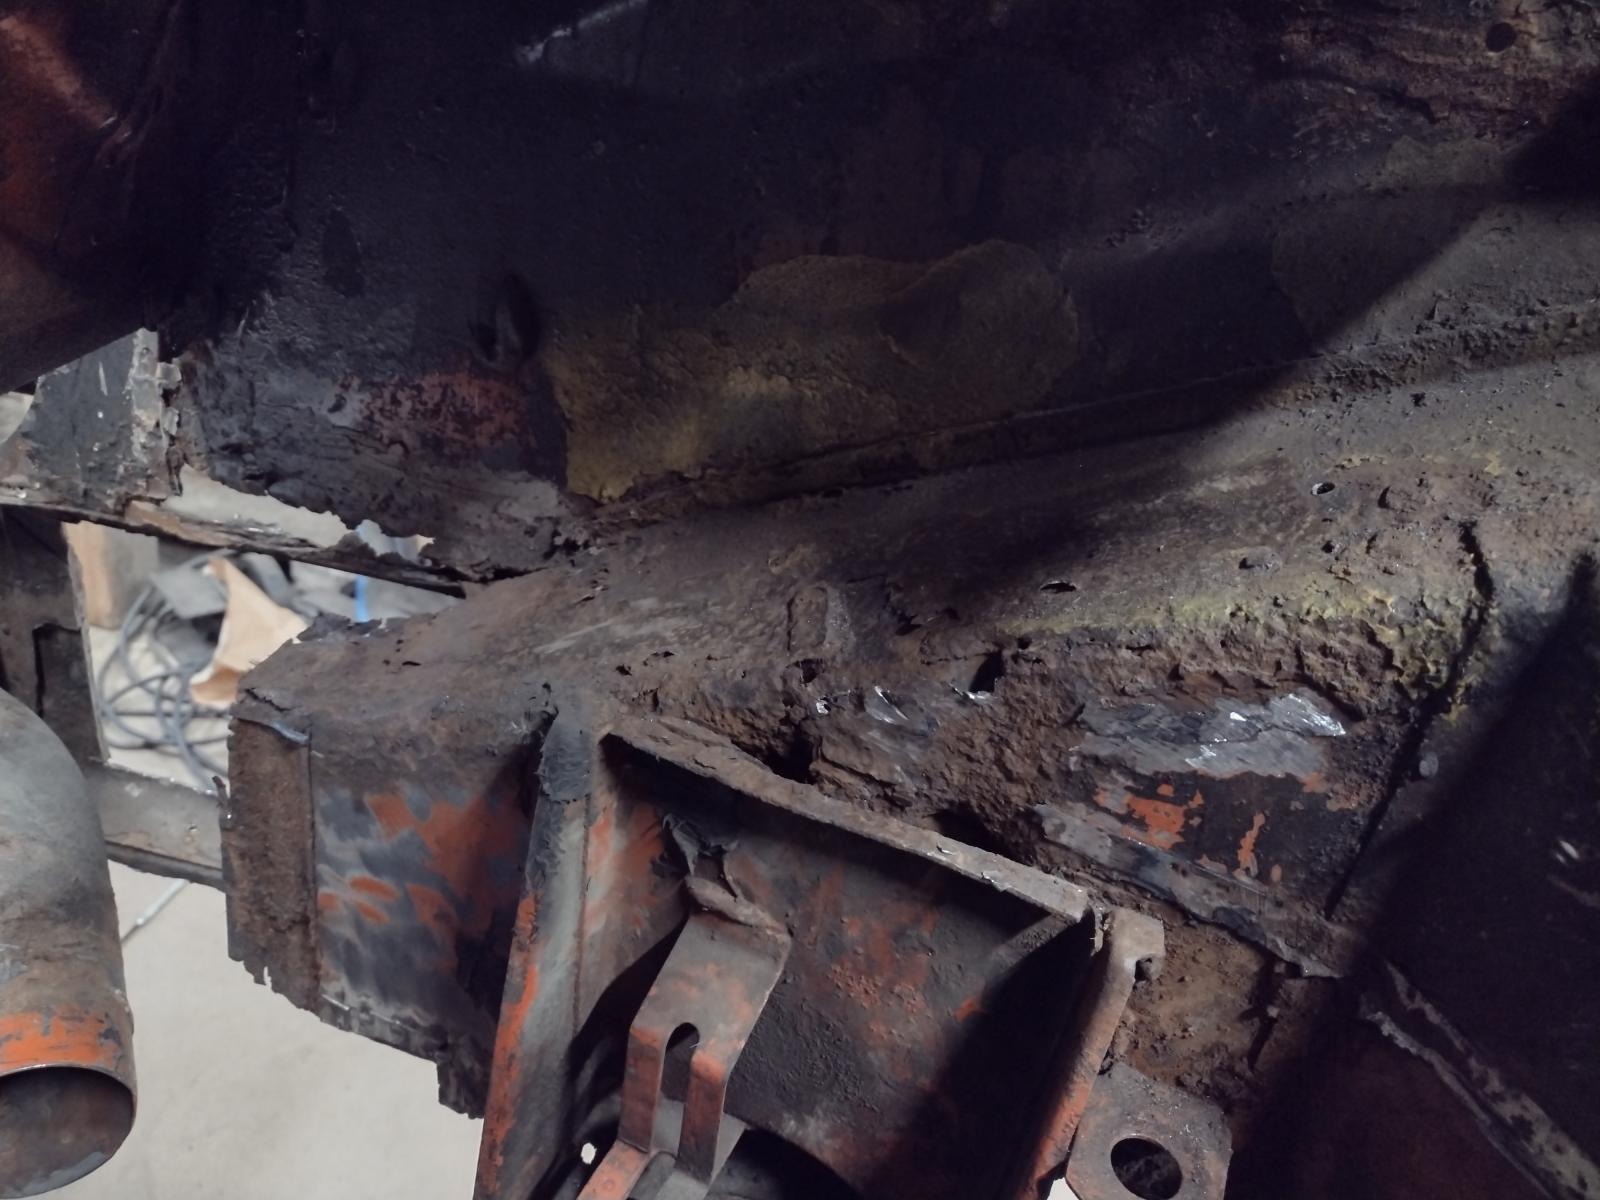
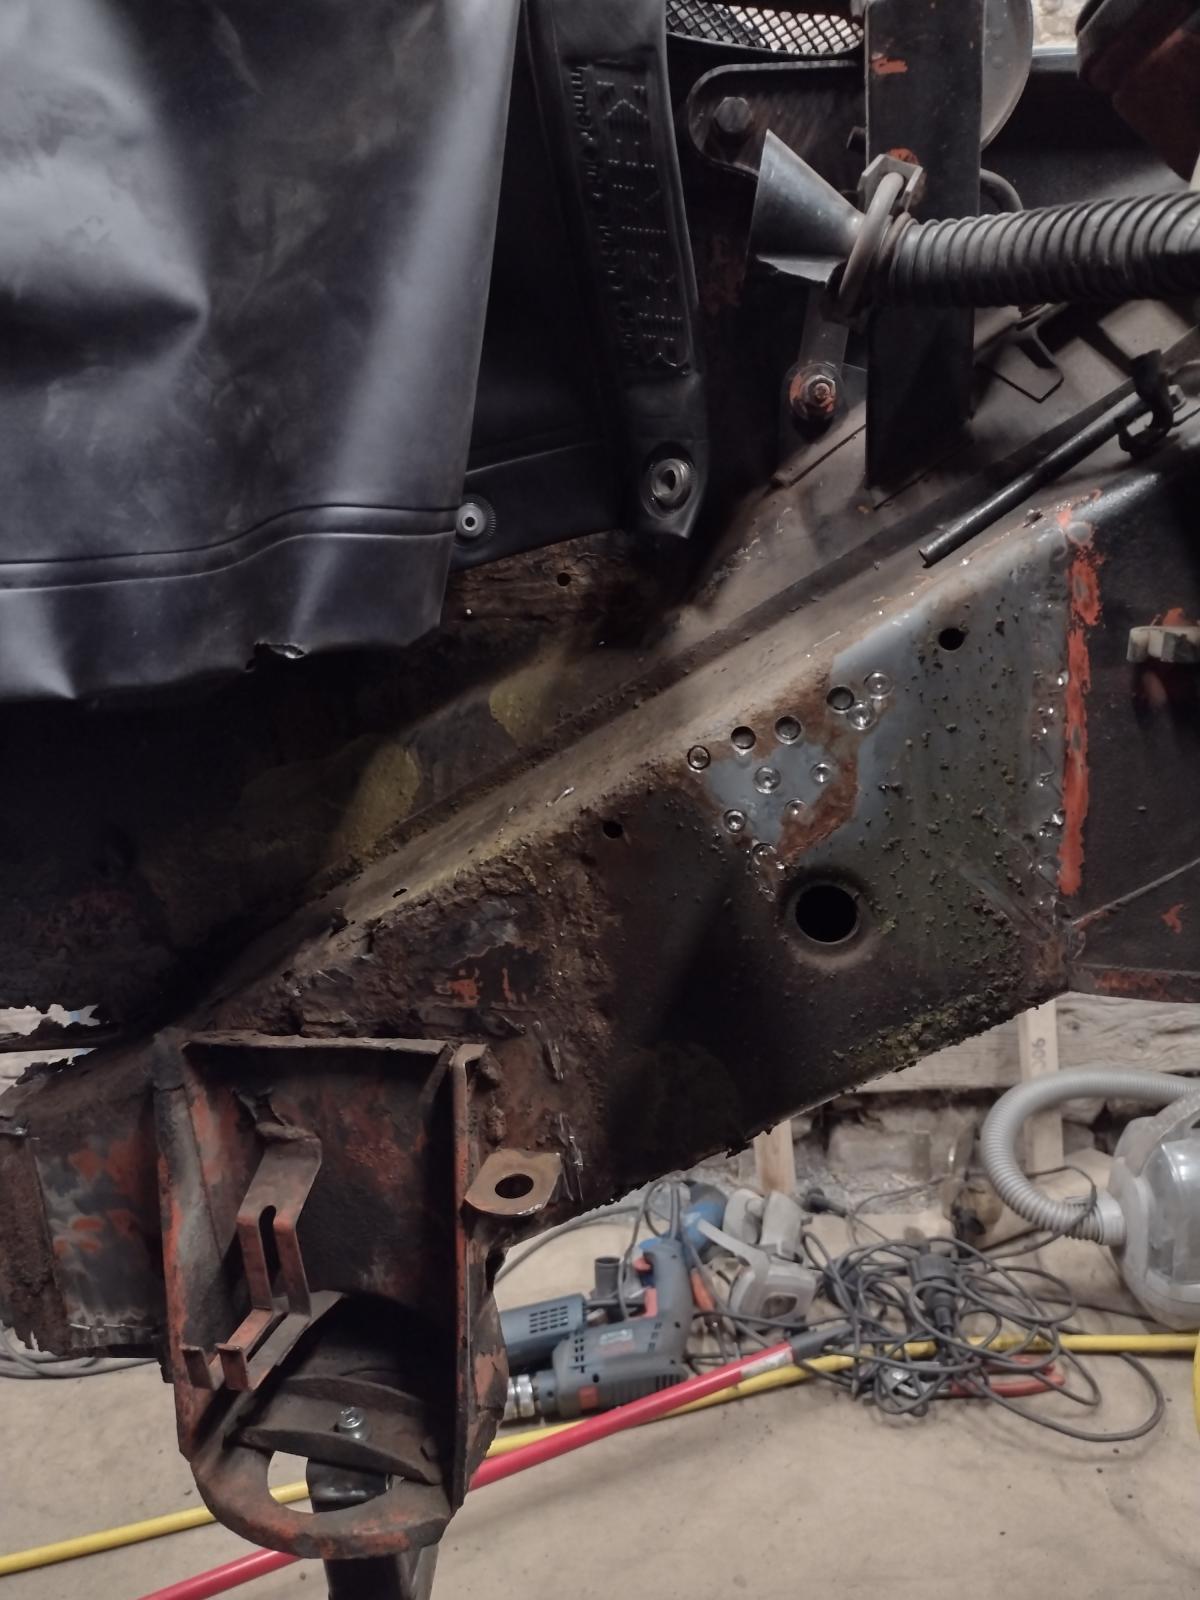
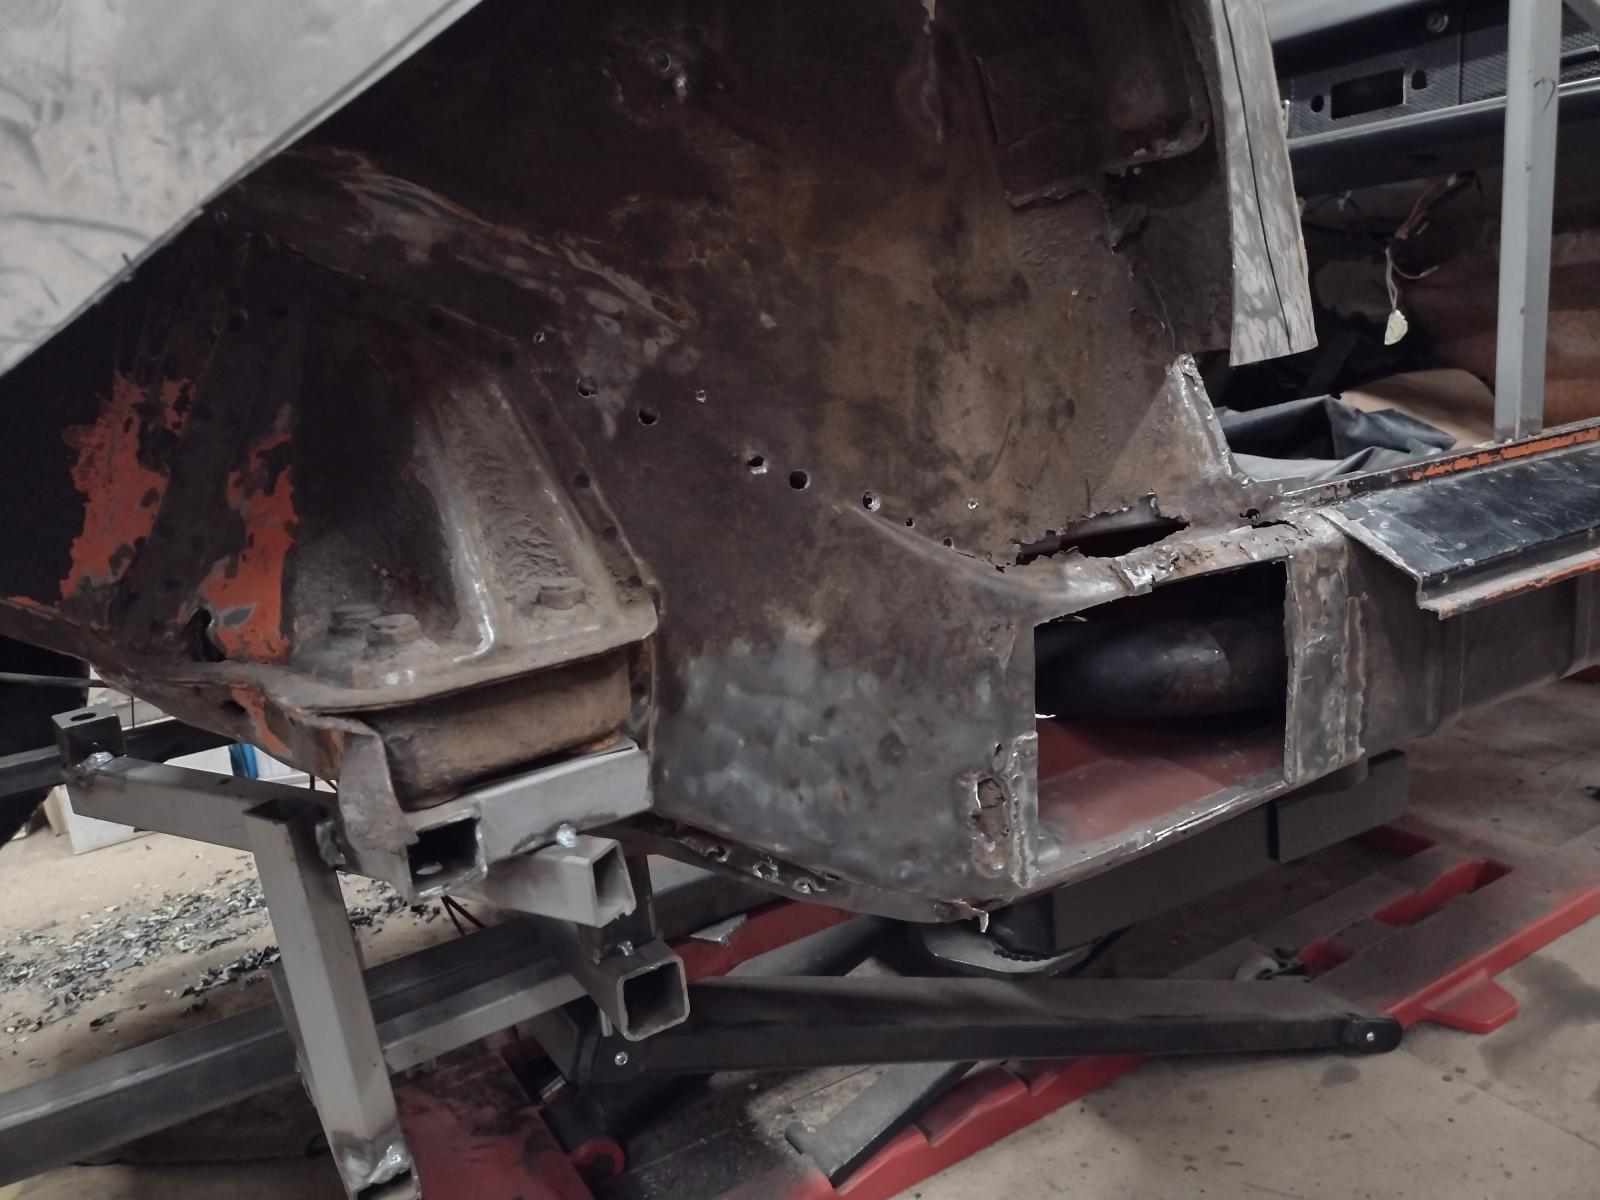
Then time to start on the back part. Plenty of rust:
Inner suspension console has some rust, see here the holes:
Some bad repairs with metal over rust, and looks like the long's rust gets up to it :
So decision was made to remove it to repair correctly..and I opened again a can of rust..
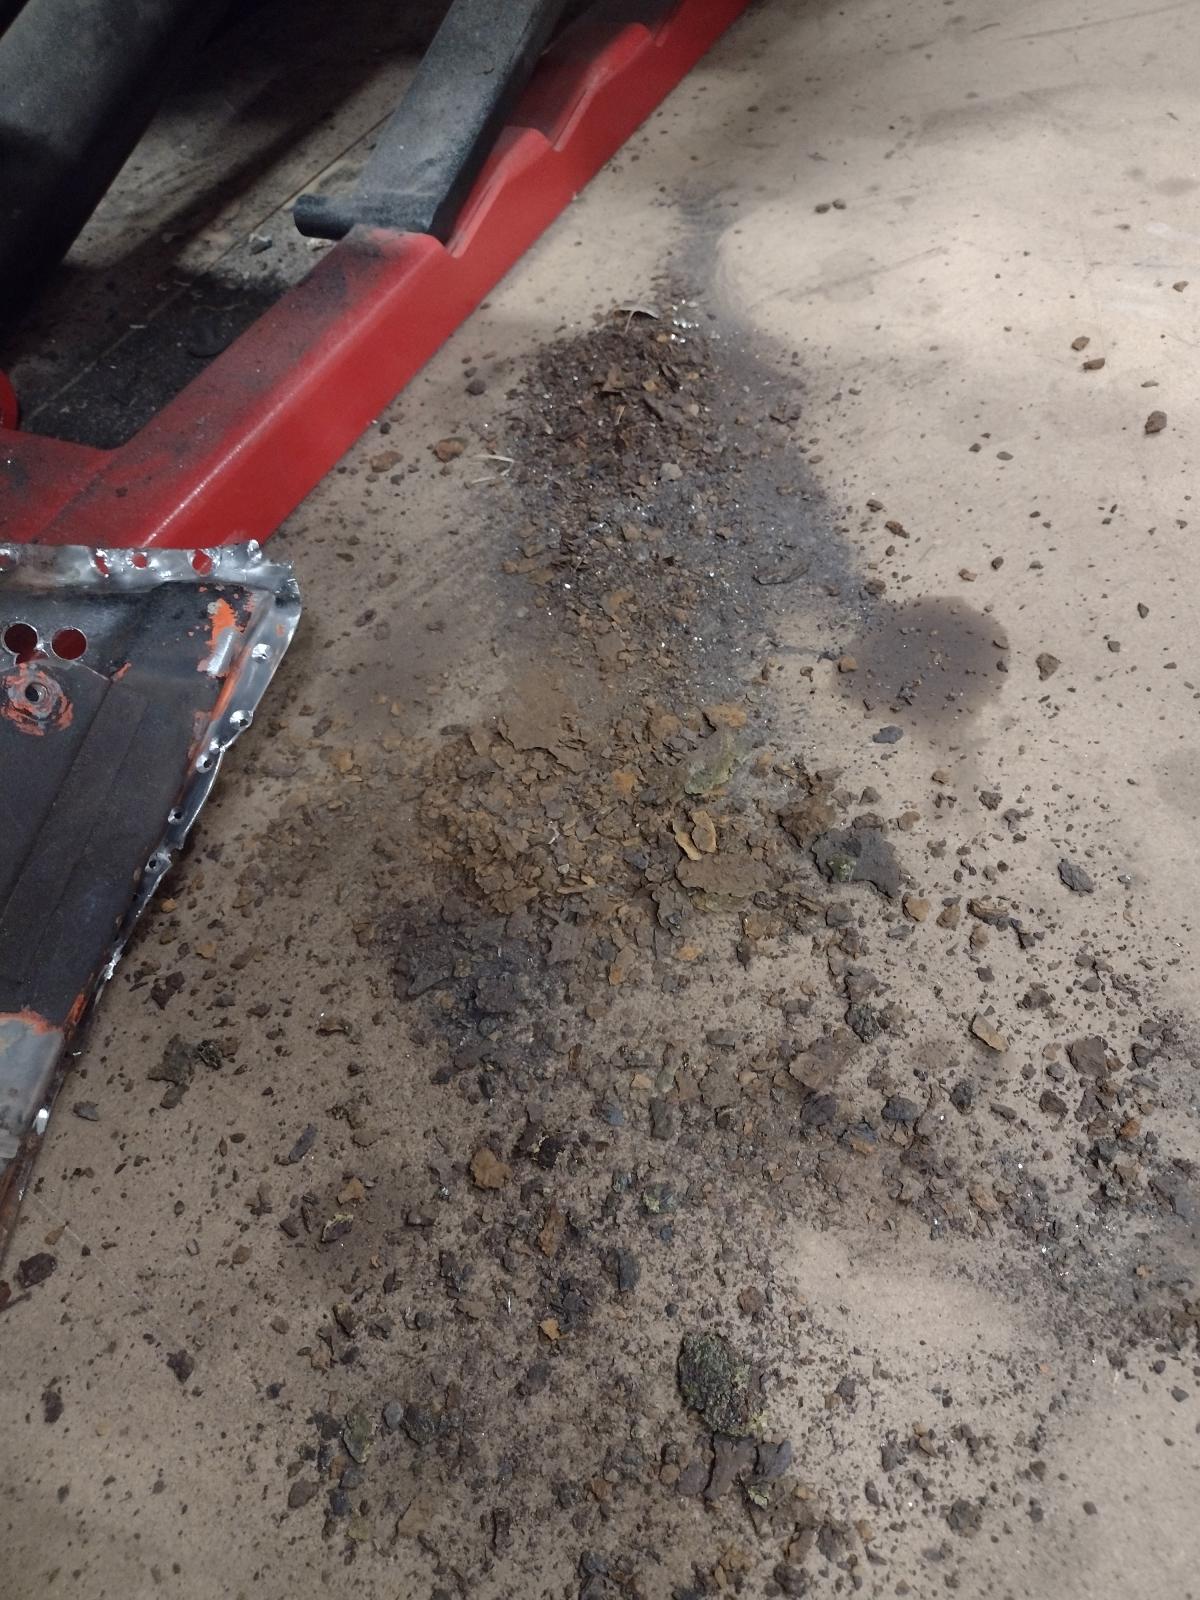
So it's now removed:
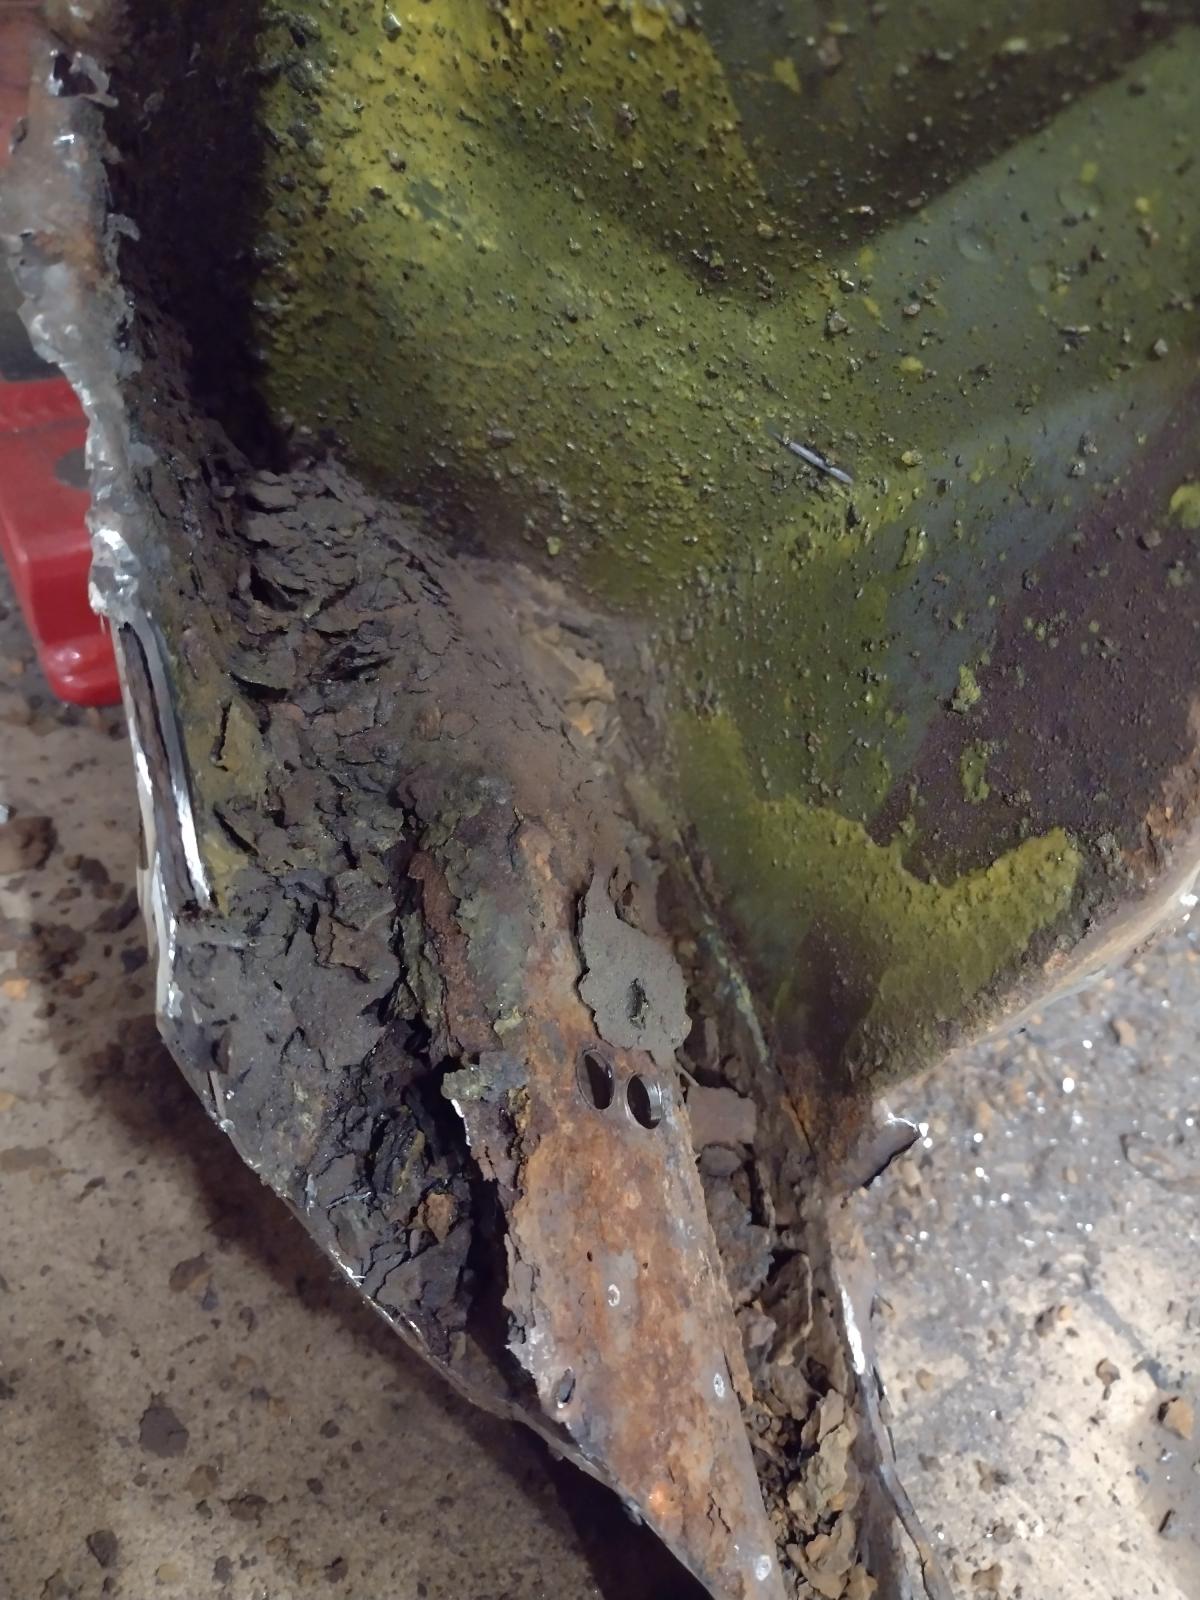
But it is really rusted through on several places and poorly repaired on others..
I think I will order a new one instead of fixing it..will be cleaner, efficienter and easier!
Just for fun made some assembly :
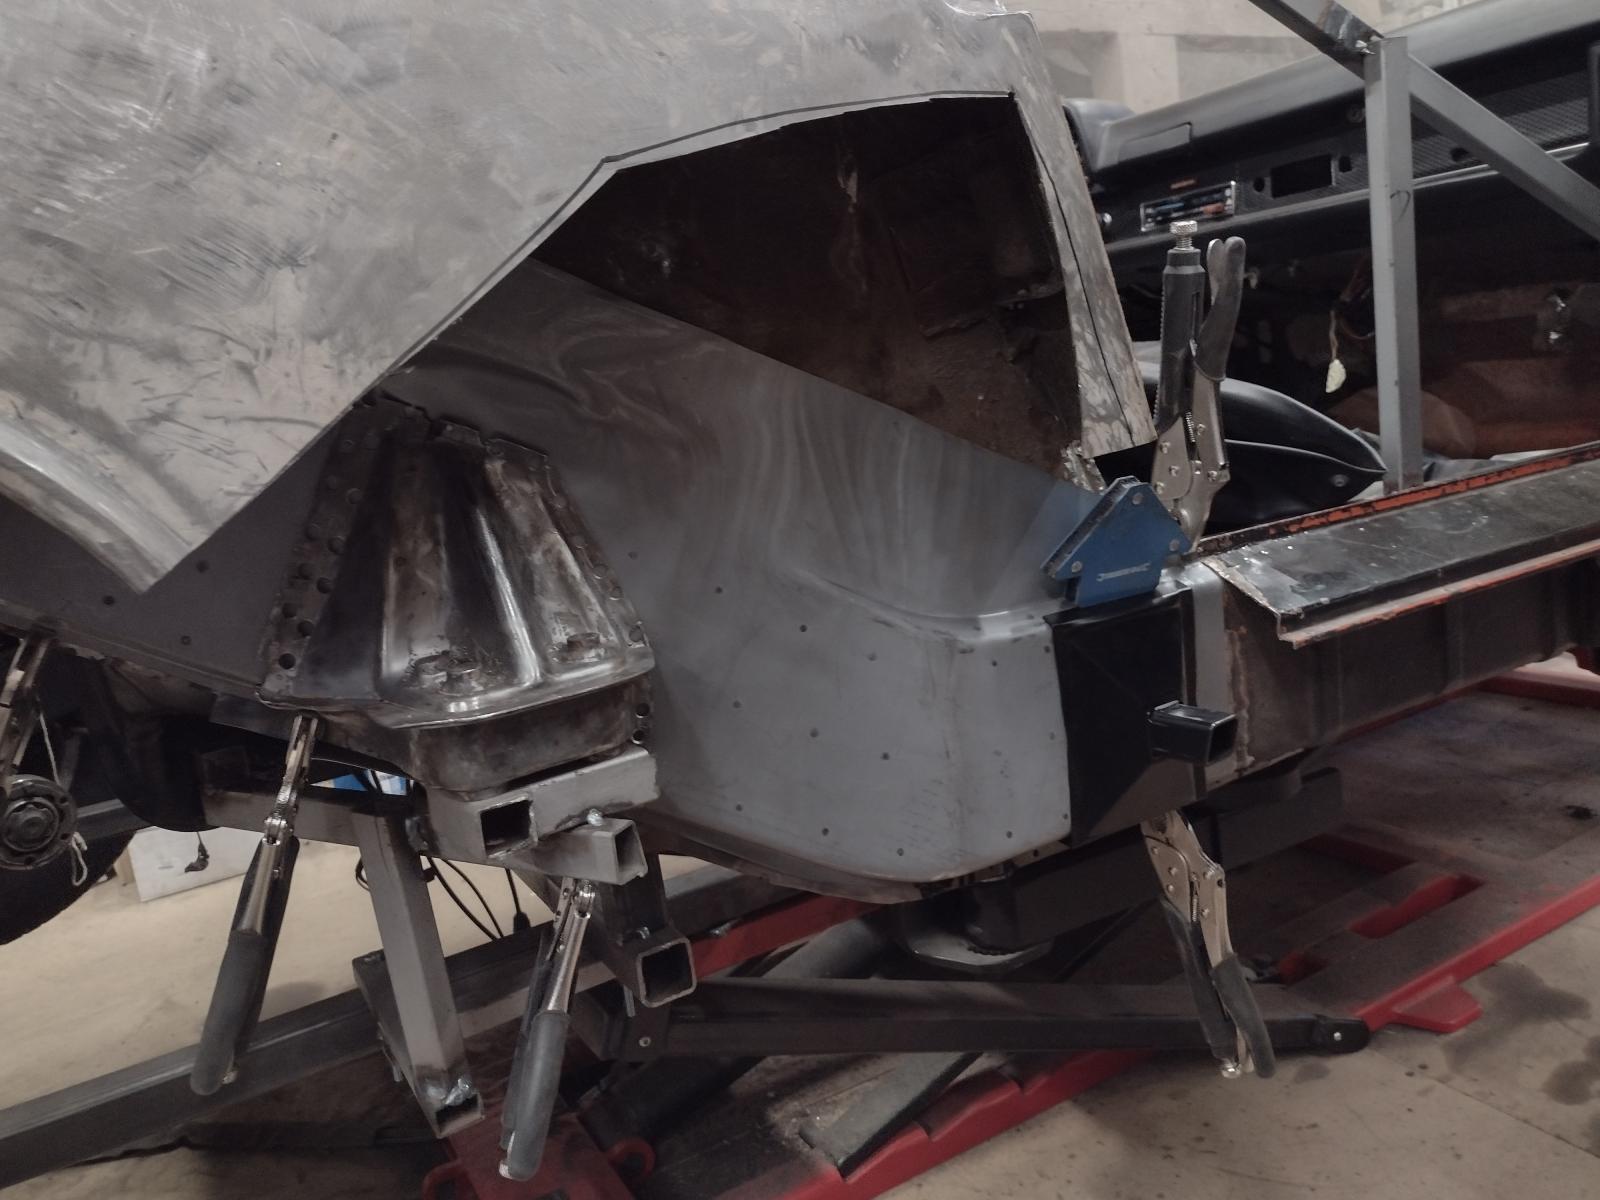
Then it was time to remove the rusted long. My plan is to remove the rusted part of the inner long, weld the new one in (including engine mount and inner suspension console), and then remove the outer long with part of the wheel tray, and replace it. Even if everything is braced, I feel safer to make it one after the other to keep some sort of stability and measure points. Please tell me if anything speaks against it, I am still new in the 914world!
So here we are:
Time to remove the engine mount:
Rust behind it:
And out:
The long was really at the end of its life:
And now the parts ready for blasting:
And blasted:
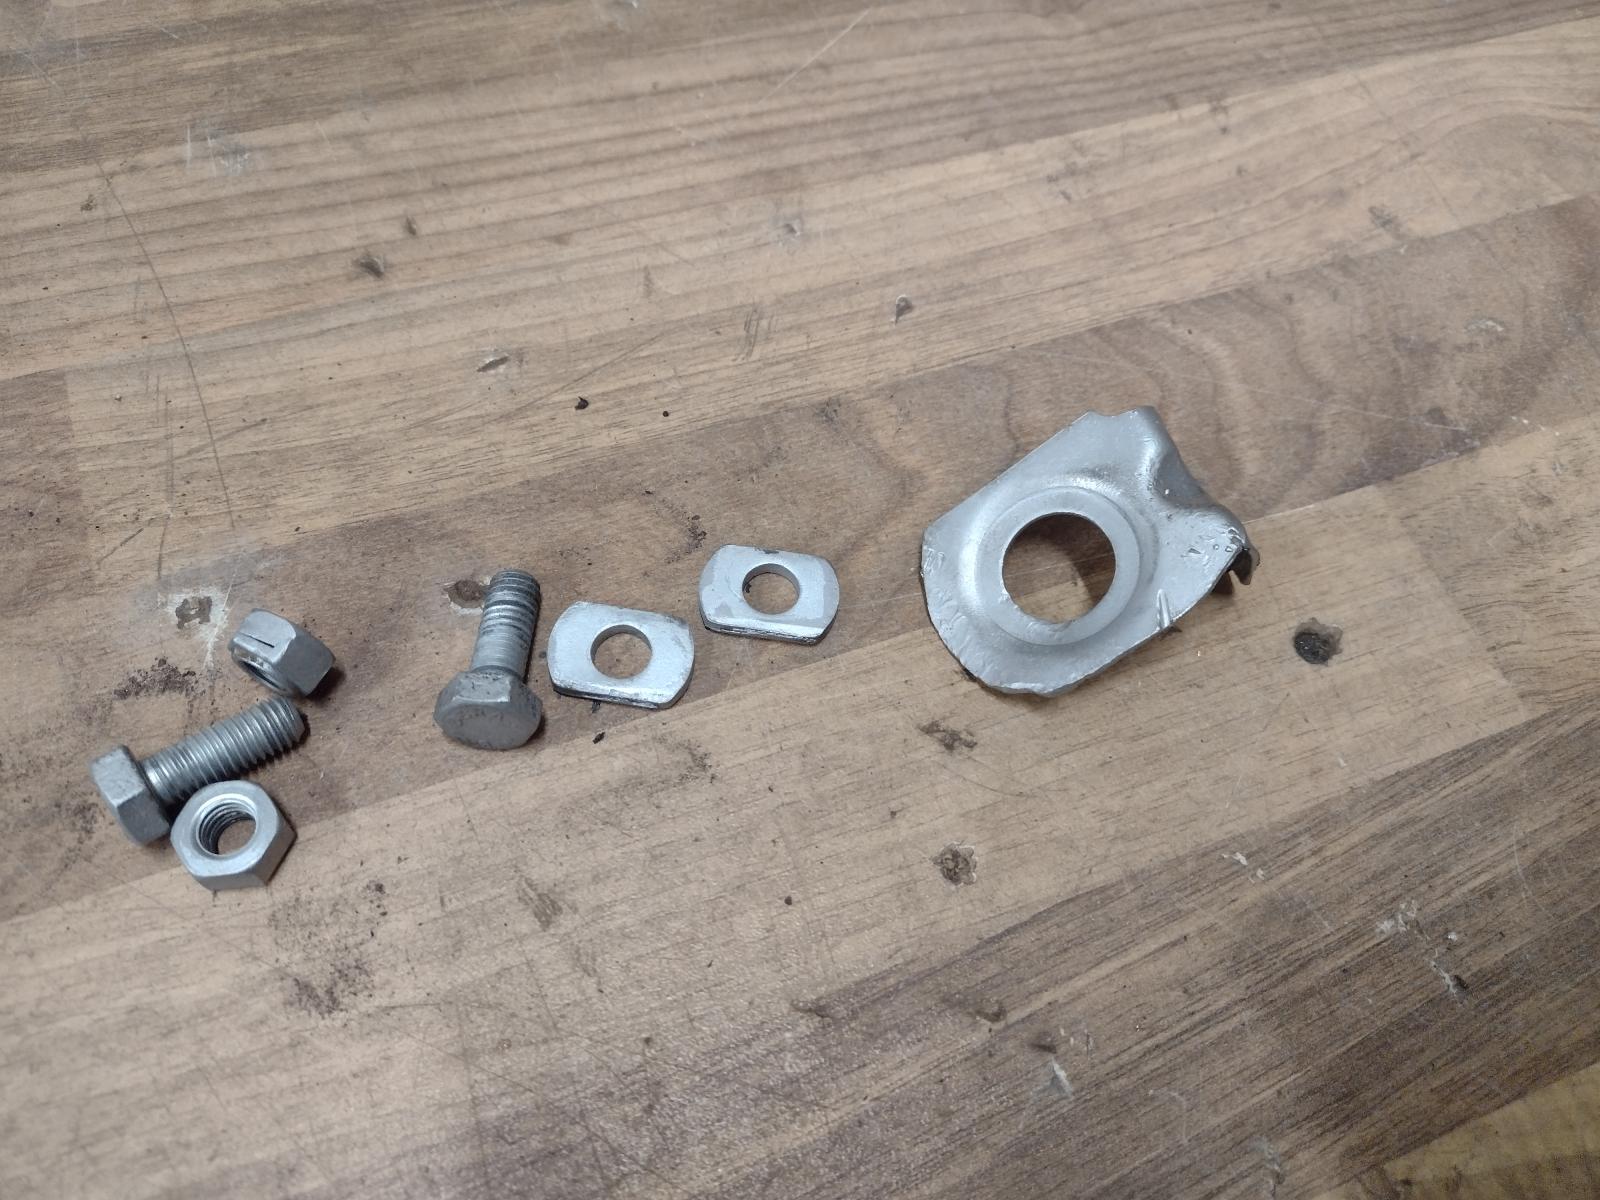
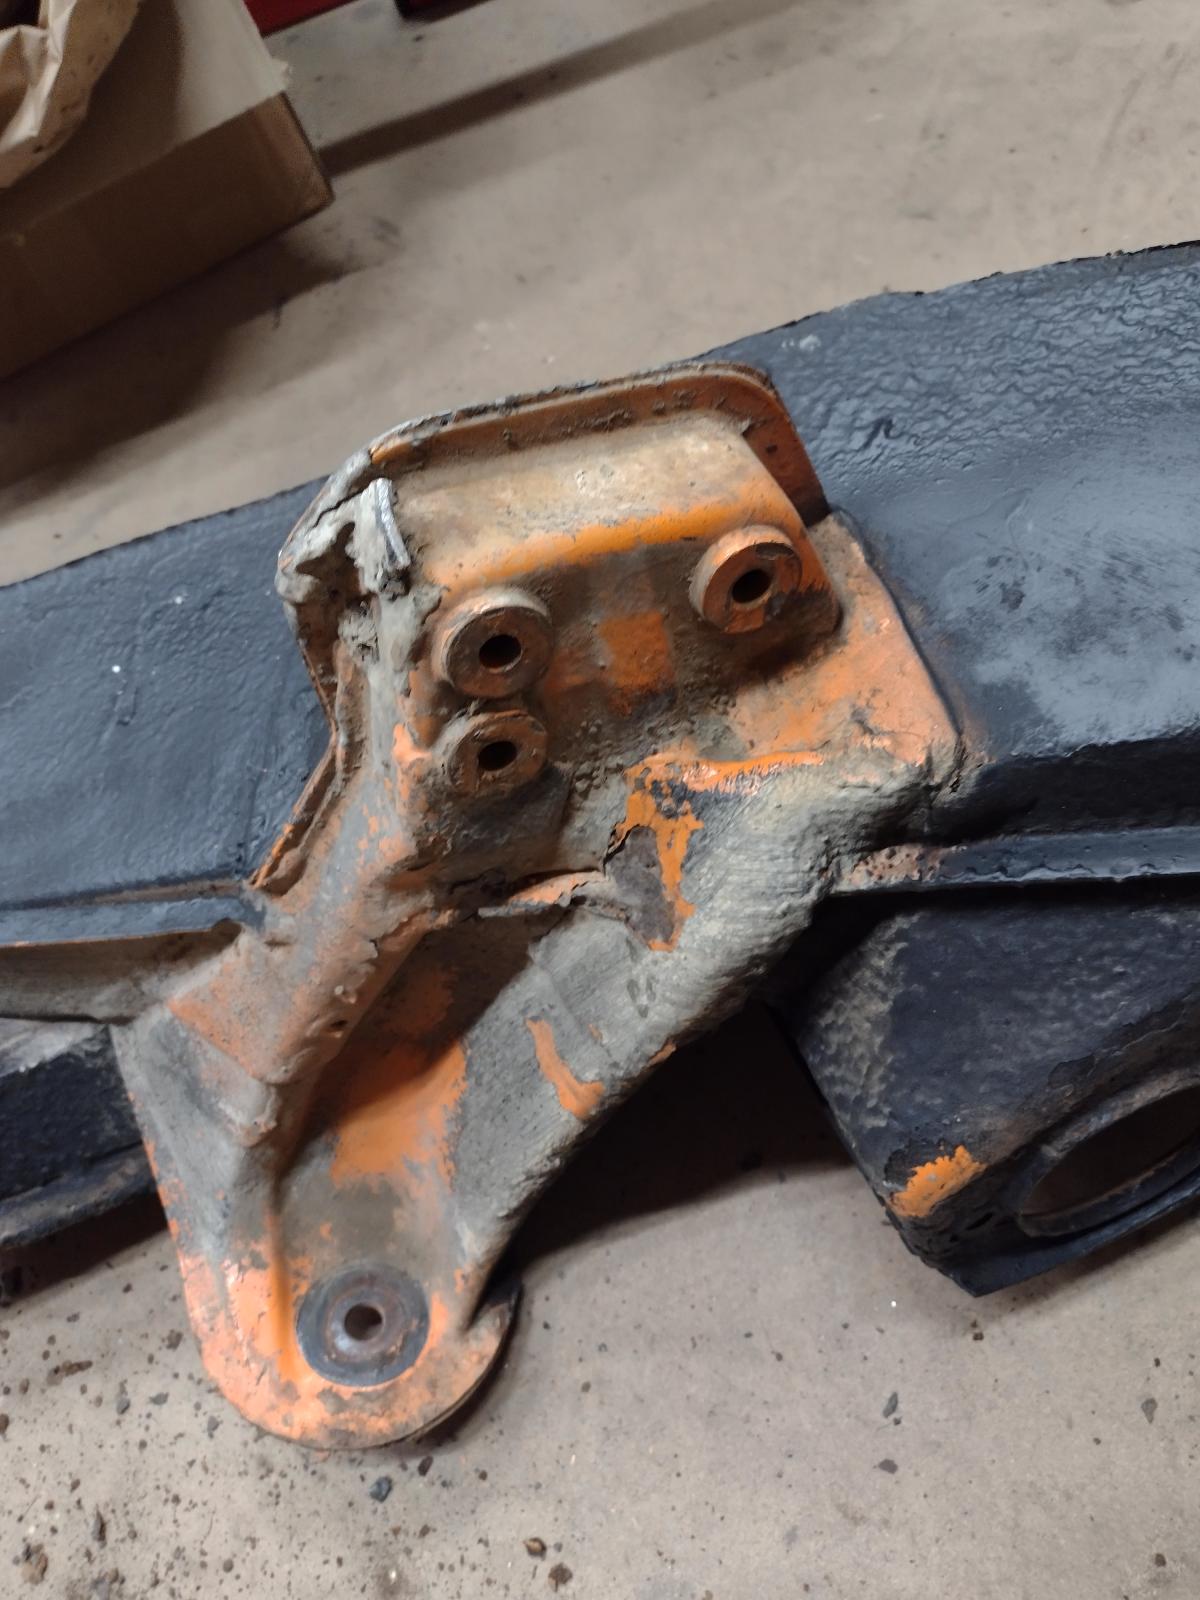
The engine mount showed some issues :
So let's fix it:
Ready to weld:
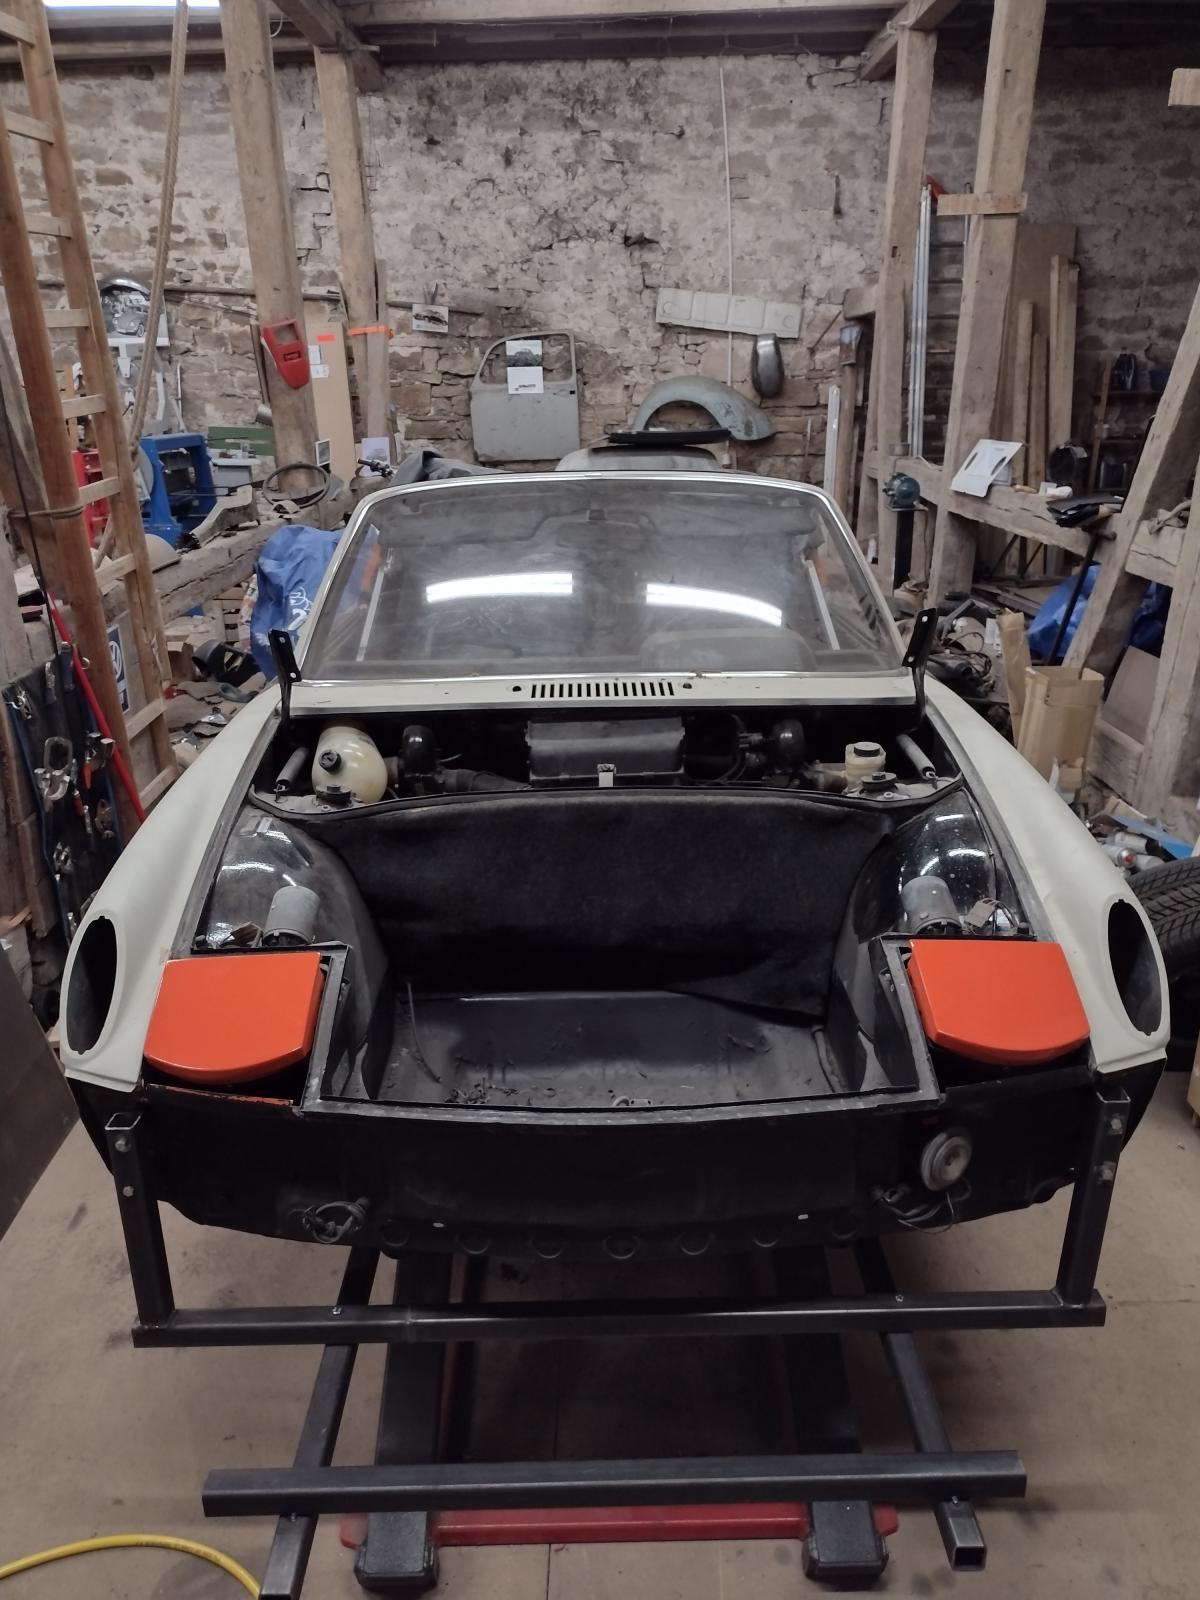
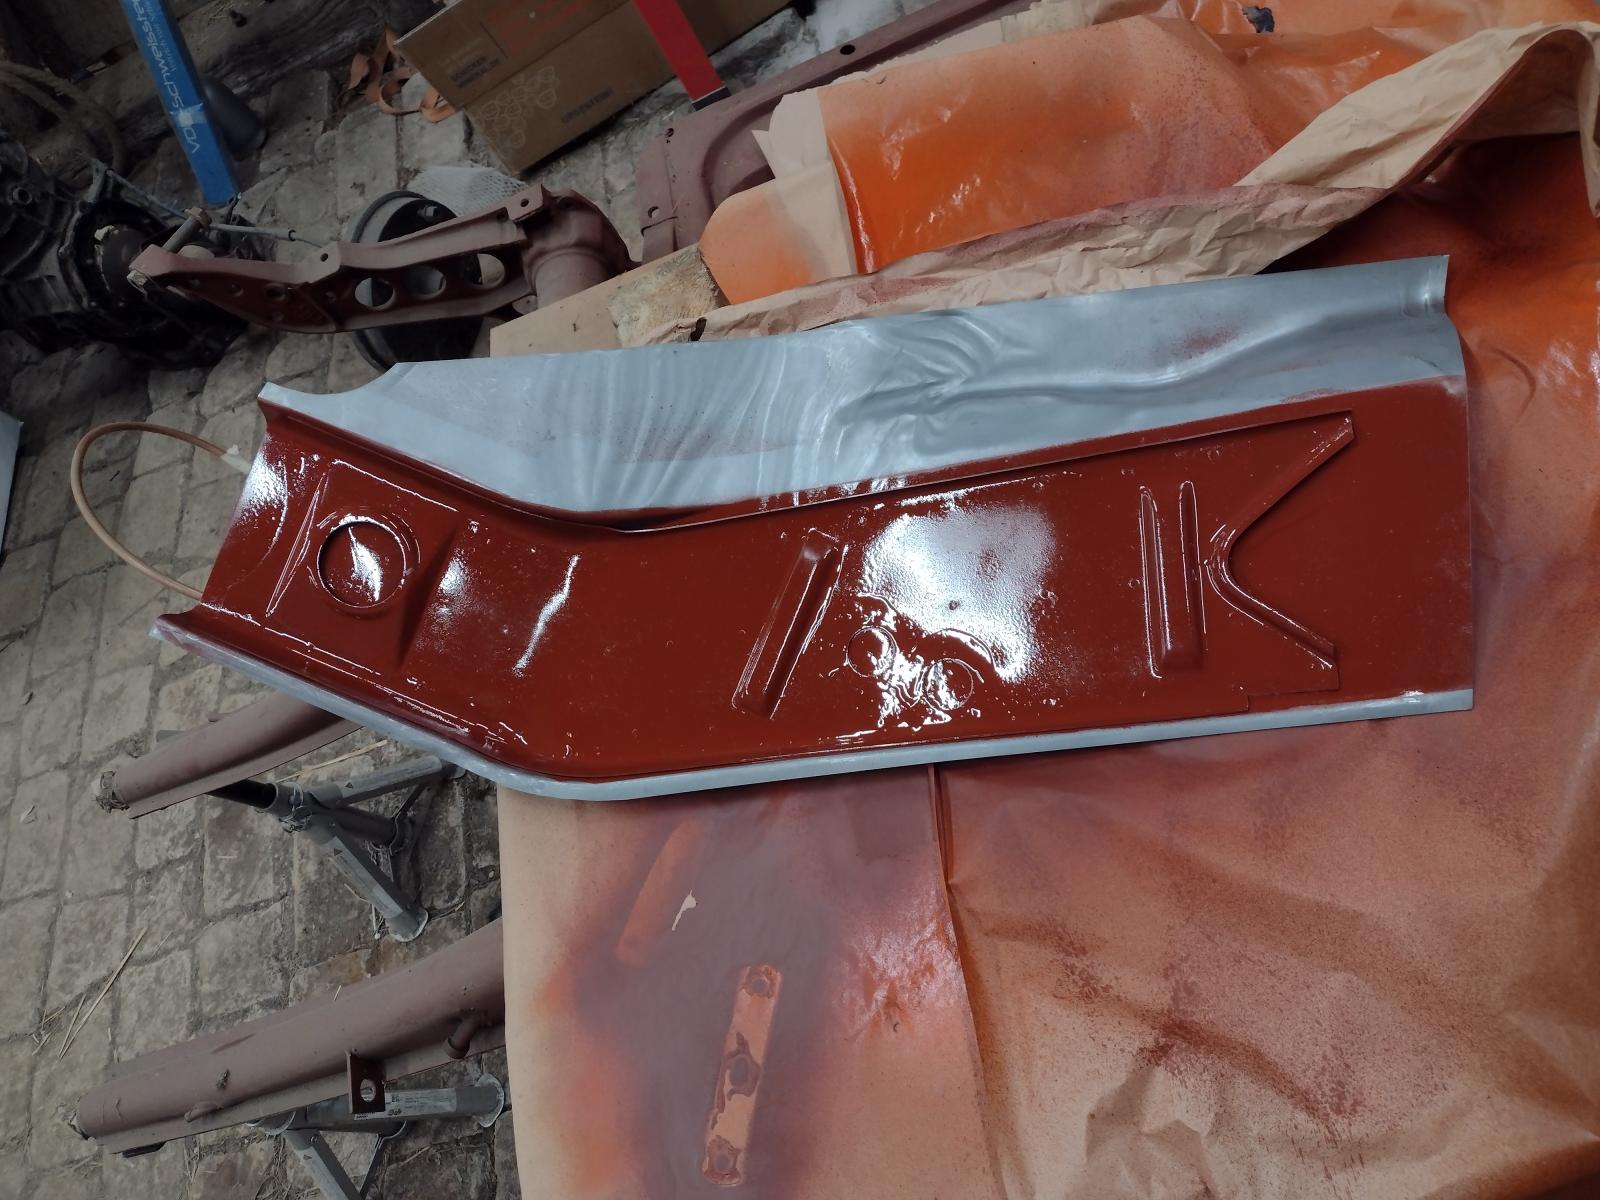
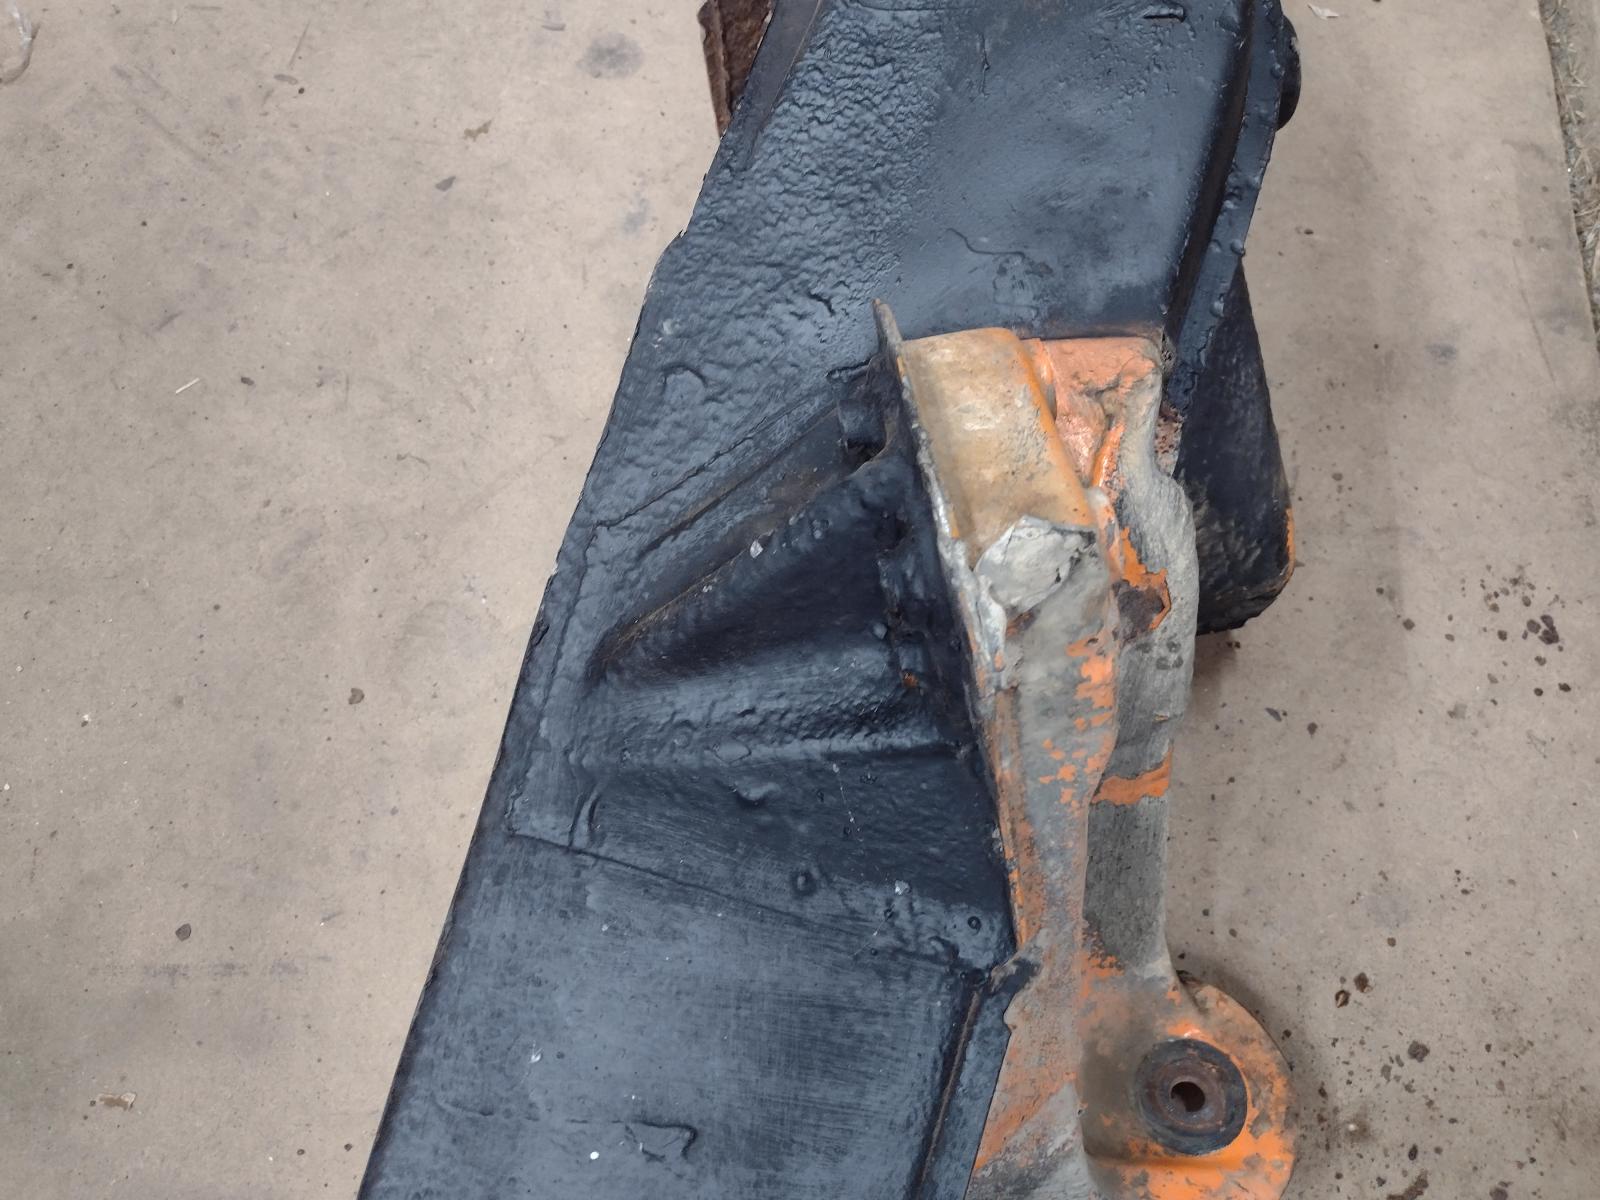
One picture with a hint of the color, good for the motivation !
I welded the repair part on the engine mount, now it's ready to be put back on
Then I started the adjustment on the inner long. First I put a lot of thoughts on were to make the connection and here was the best place I think, so let's cut:
And adjust:
I made a lot of trial mounting, checking with all the elements,..Like here:
and now I am ready to weld it.
Last pictures, preparation for future welding done with welding primer where it will be welded in the future and rust protection paint everywhere else :
Bests
Antoine
I received a small order:
This suspension console looks a bit better :
Then it was time for one last adjustment, check..and to get the welder out!
Couple of welding points:
One last check:
And everything is welded:
We have then a welded in engine mount:
And I got a "new" outer suspension console..well just need to disassemble it :
I disassemble my new to me outer suspension console and cleaned/blasted it :
The inside showed only some surface rust :
Except these small holes:
That I welded shut :
I then treated the inside with some rust protection :
And some paint.. won't move anymore !!
Then after 1000 measurements, checking, positioning,....I welded the inner suspension console ! (And the small bracket for the brake line):
And treated the inside of the long with rust protection product and some paint..here again it will probably last longer than me!!
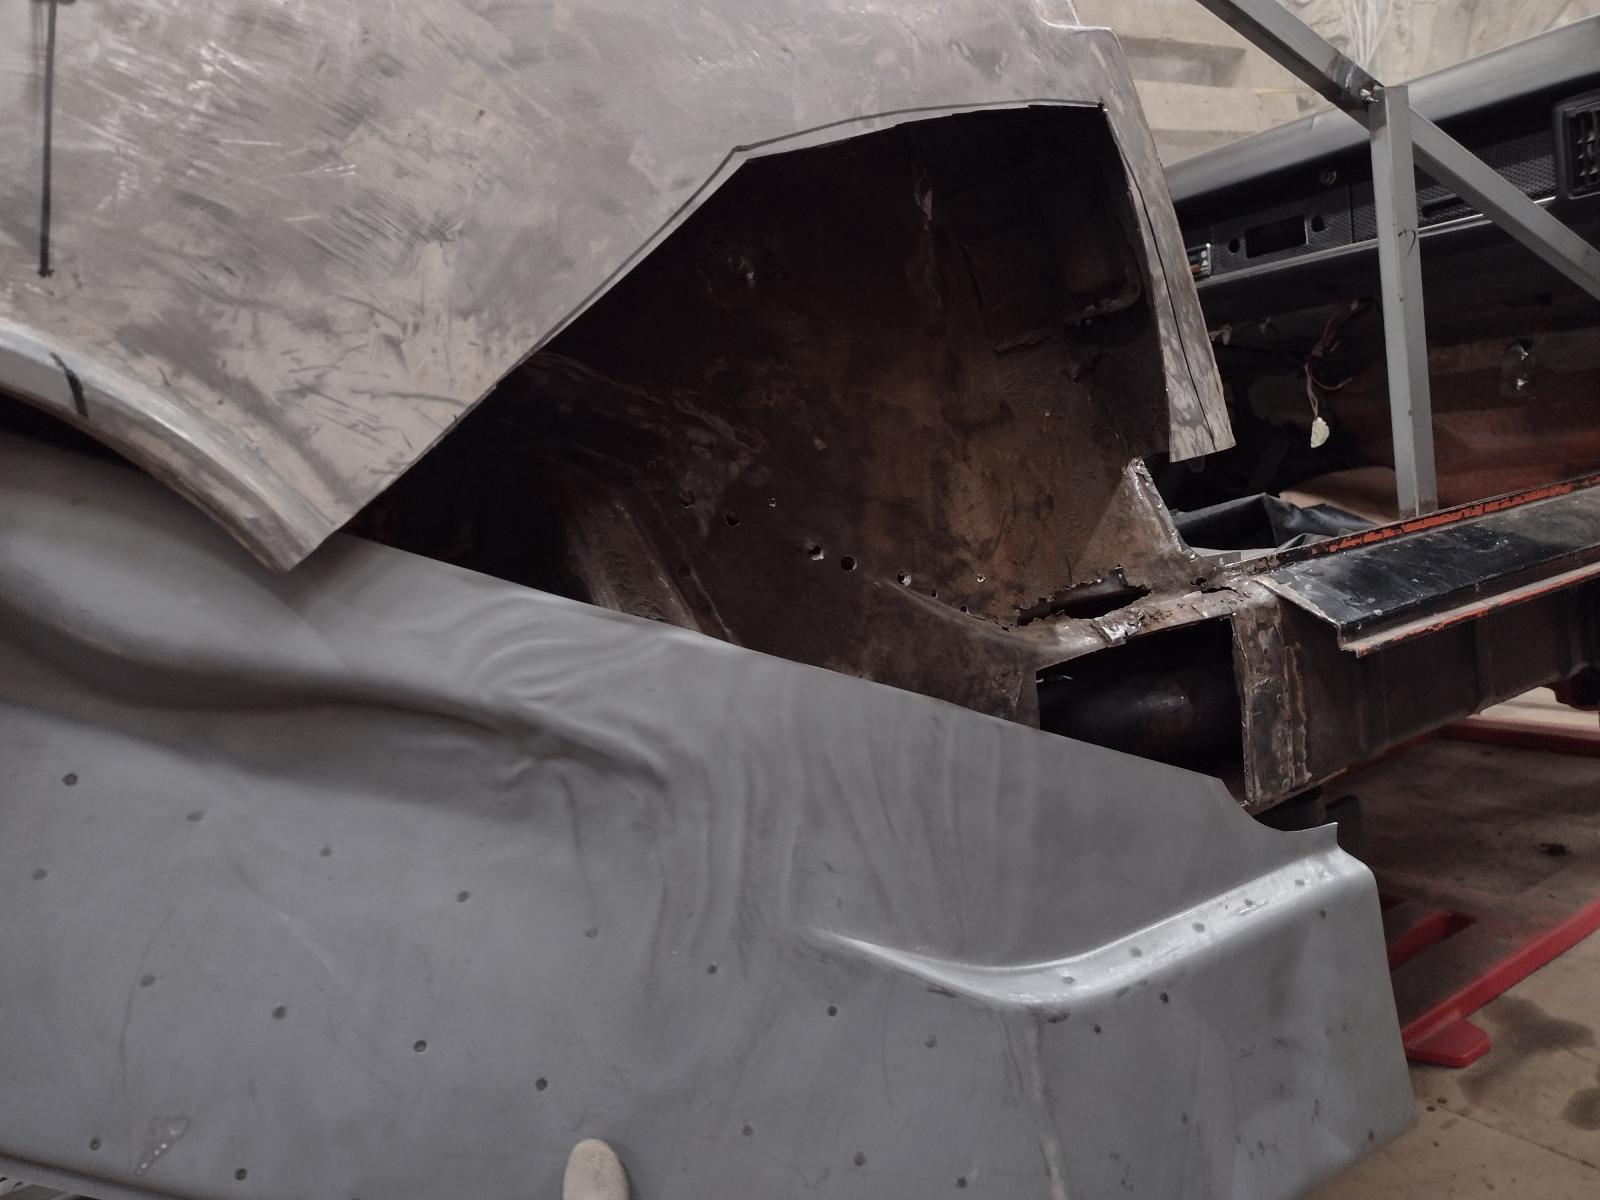
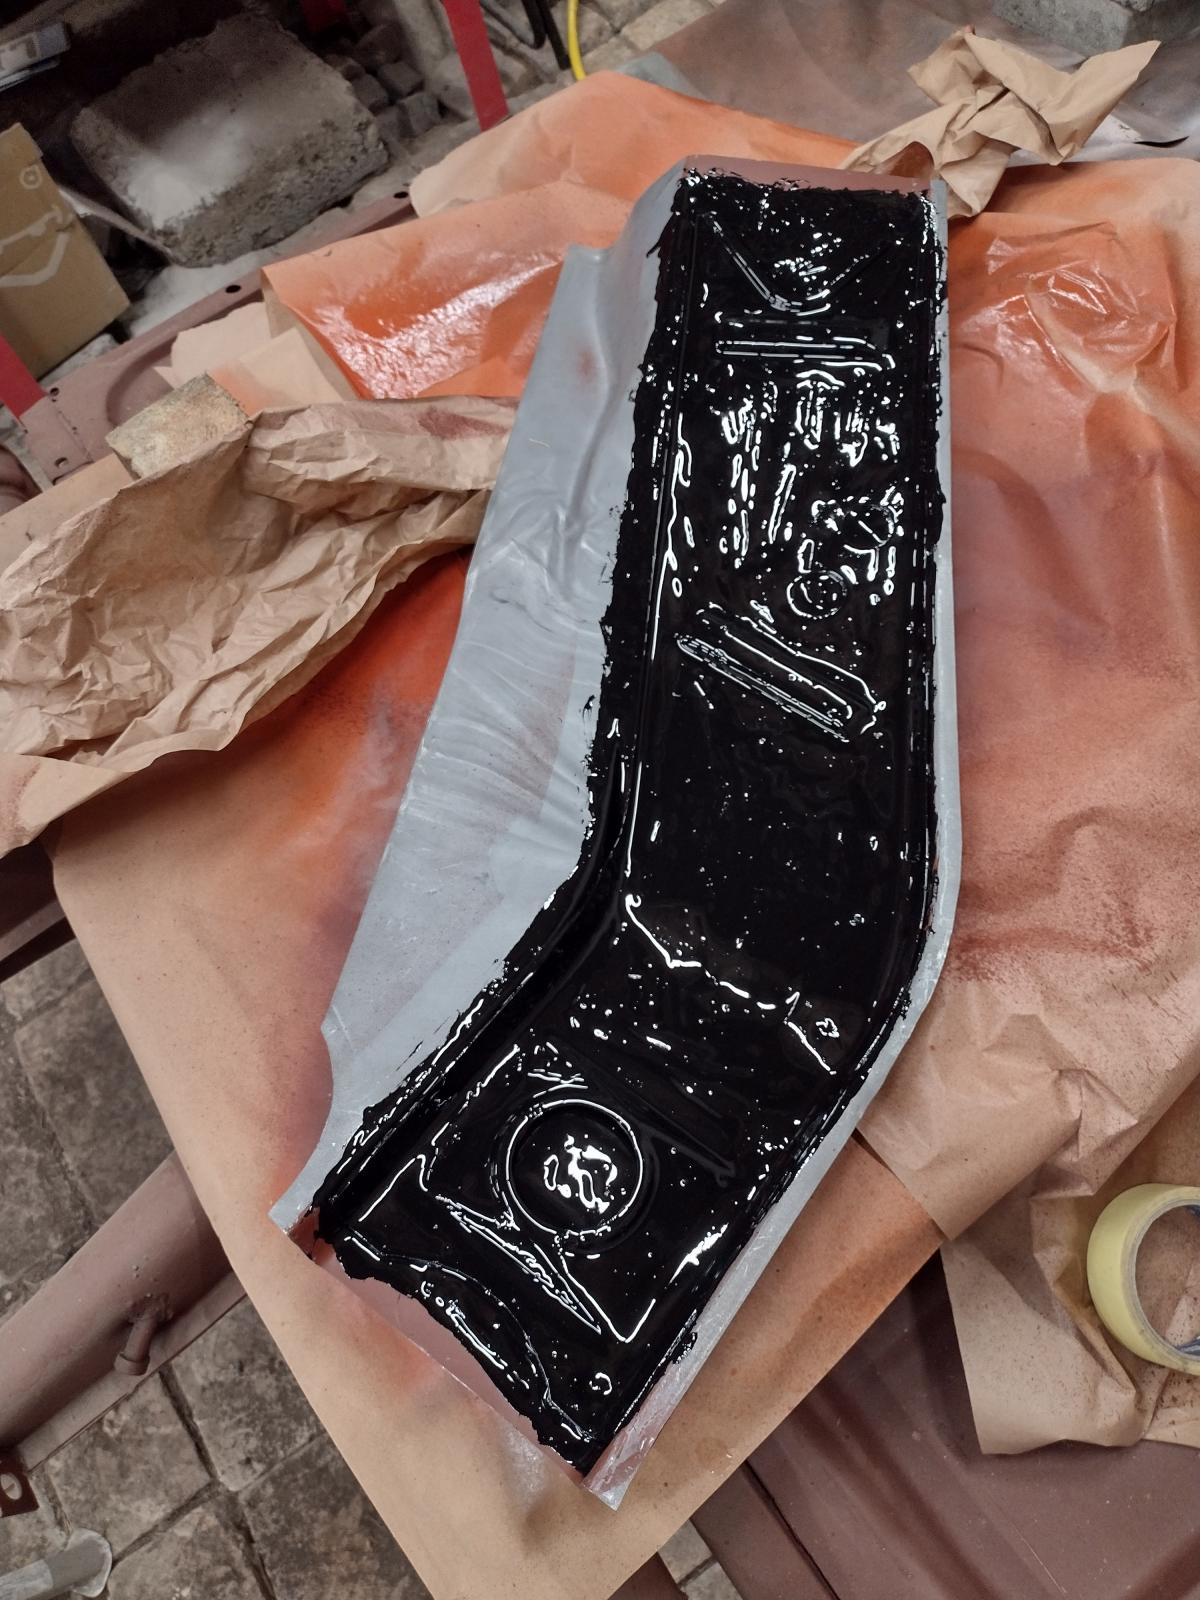
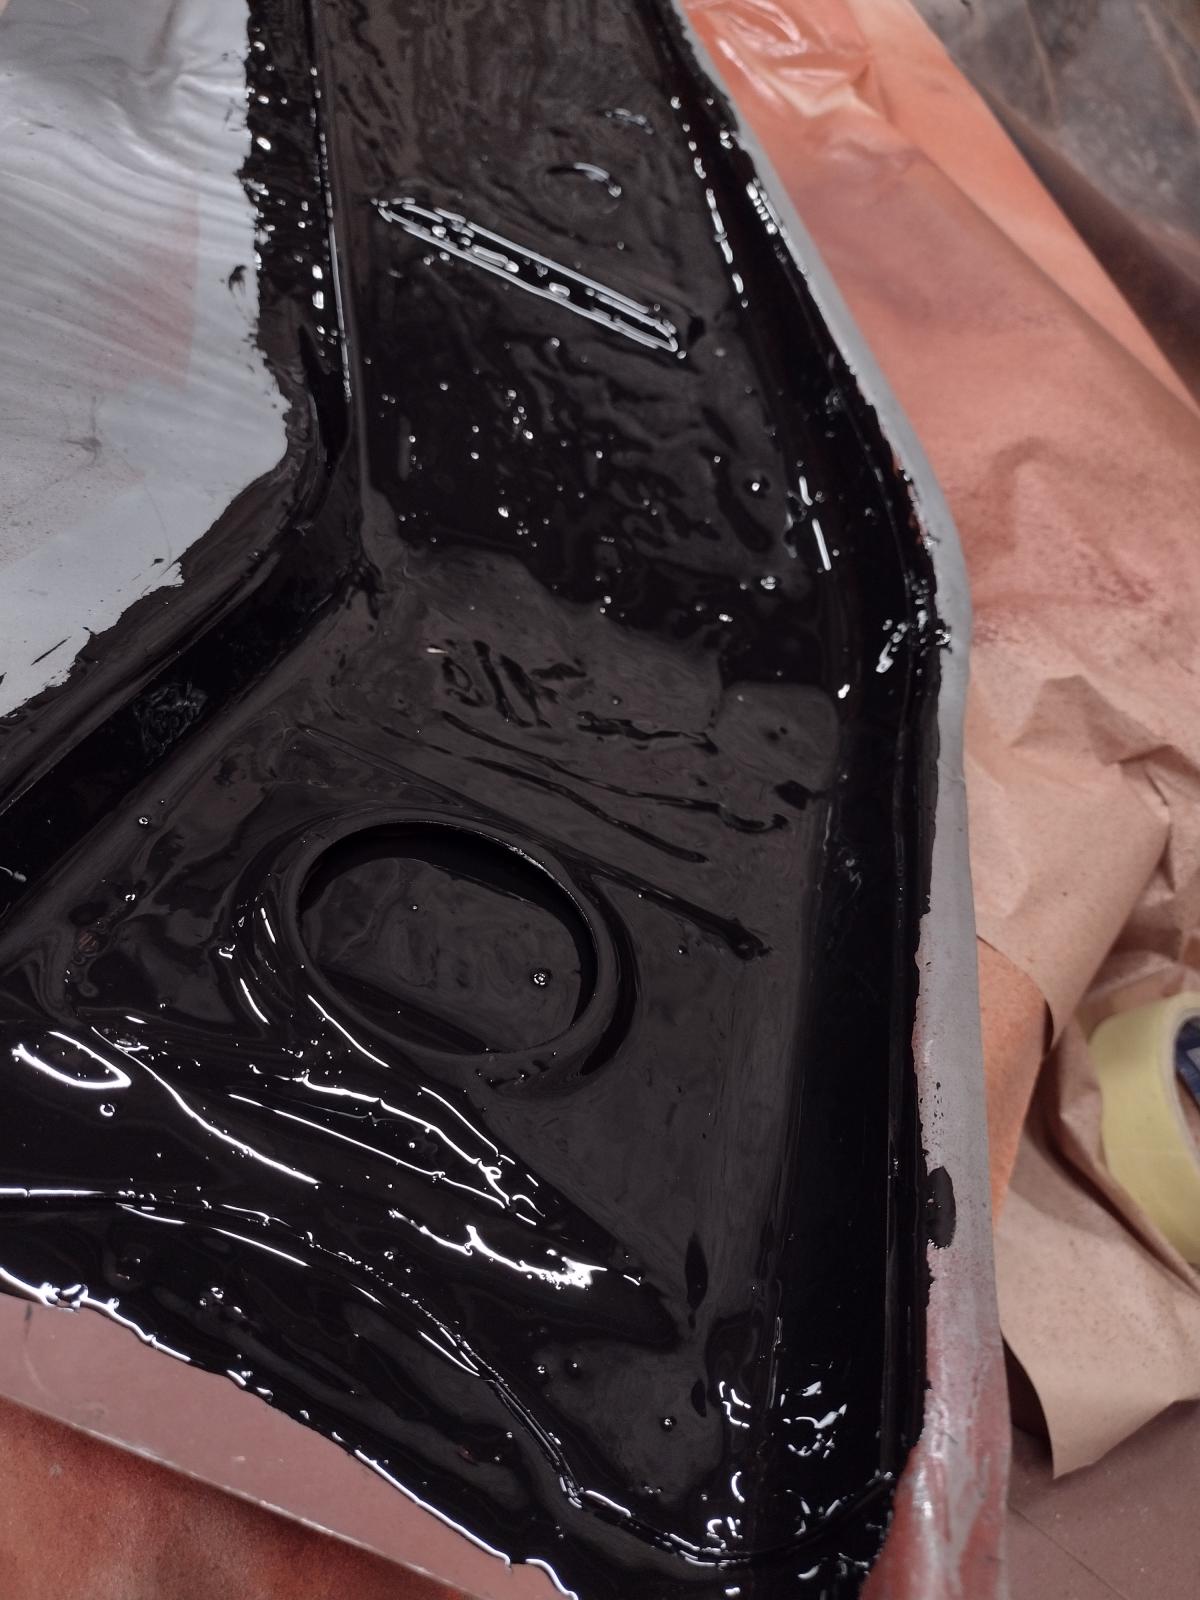
Then it's time to start on the outside :
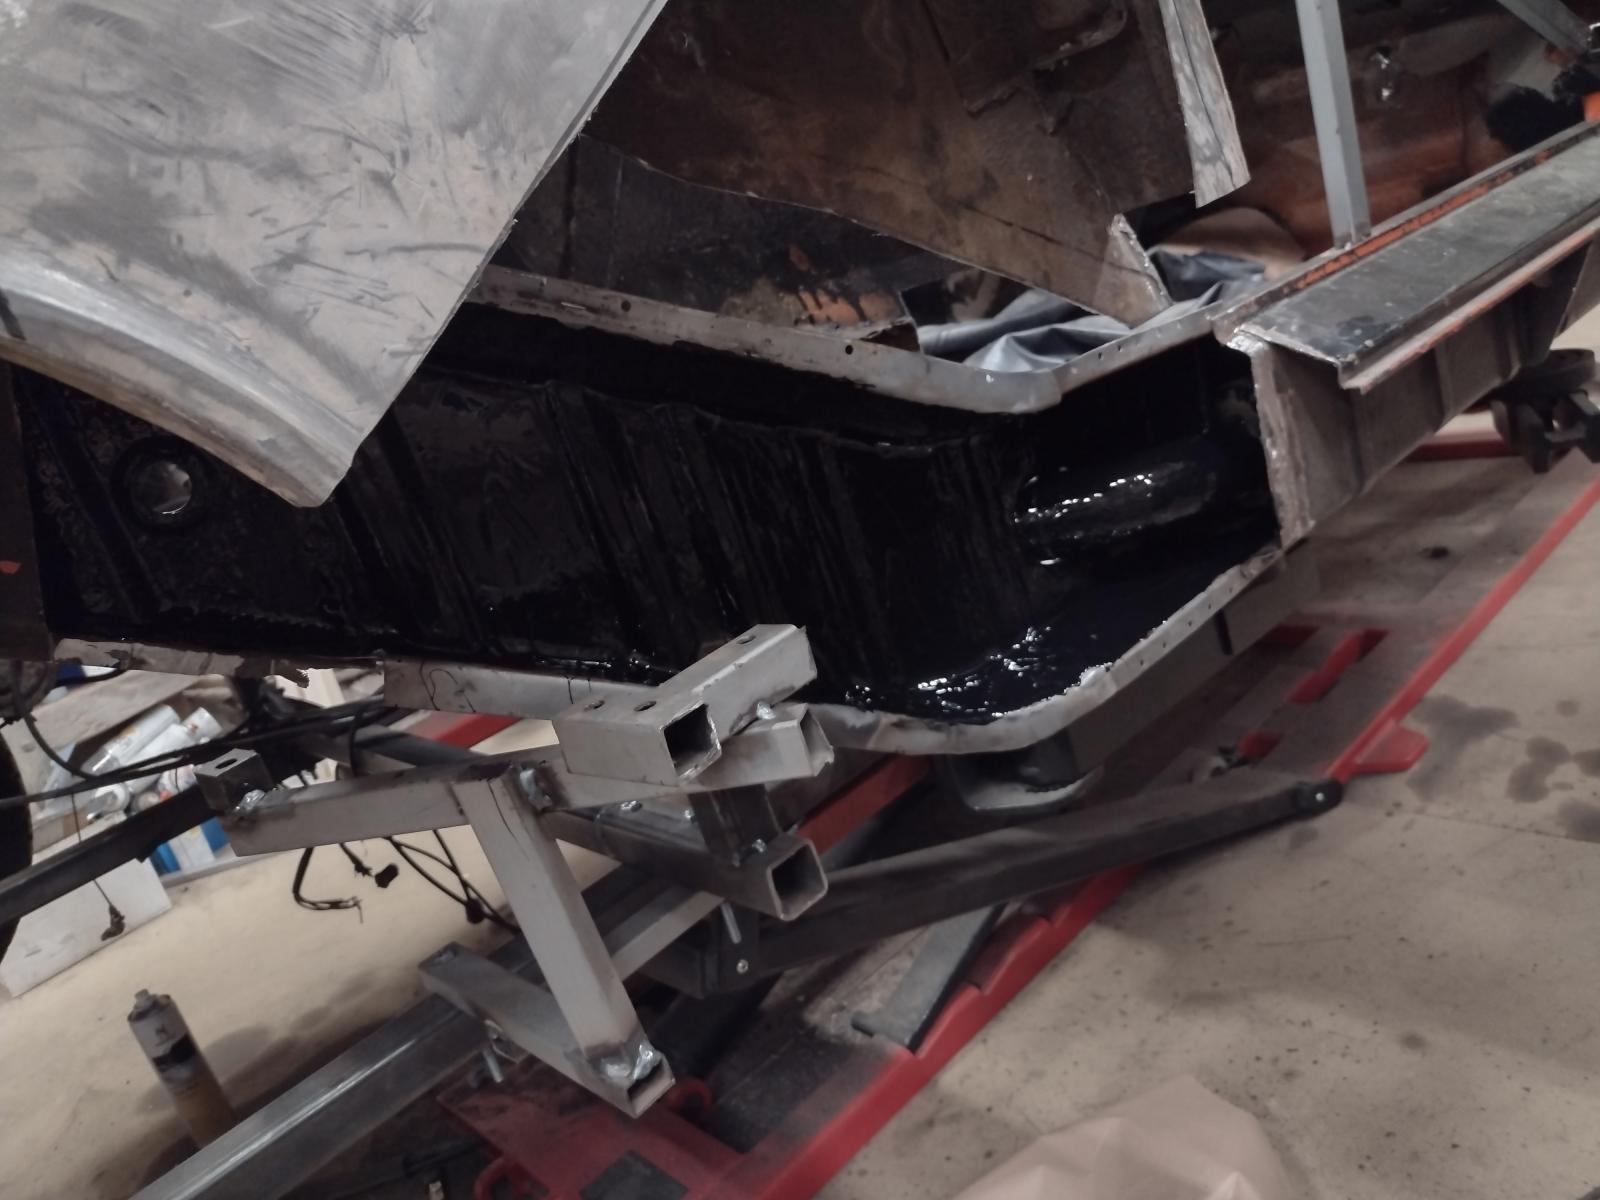
First I treated the outside part with some rust protection primer (I even diluted some to make it fluid enough to go between the layers..):
And then some rust protection paint (also made it fluid to flow everywhere possible as a first layer, then thick over it)
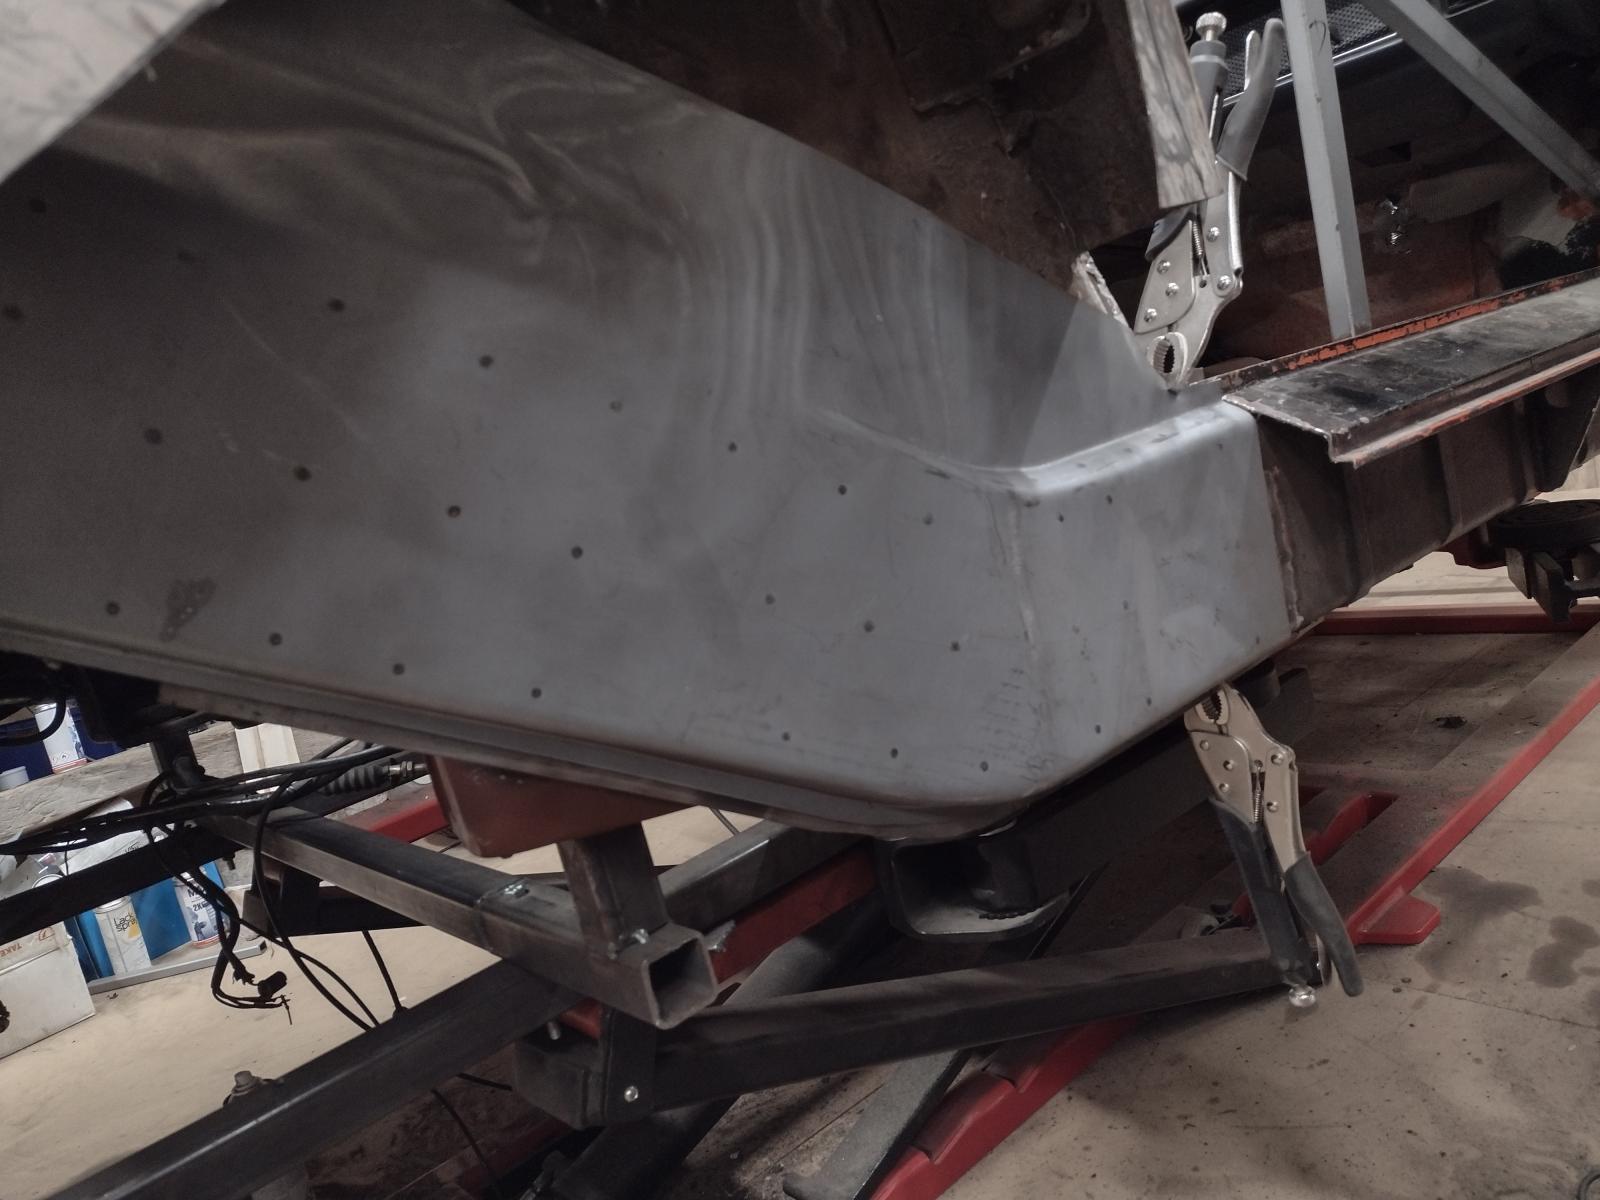
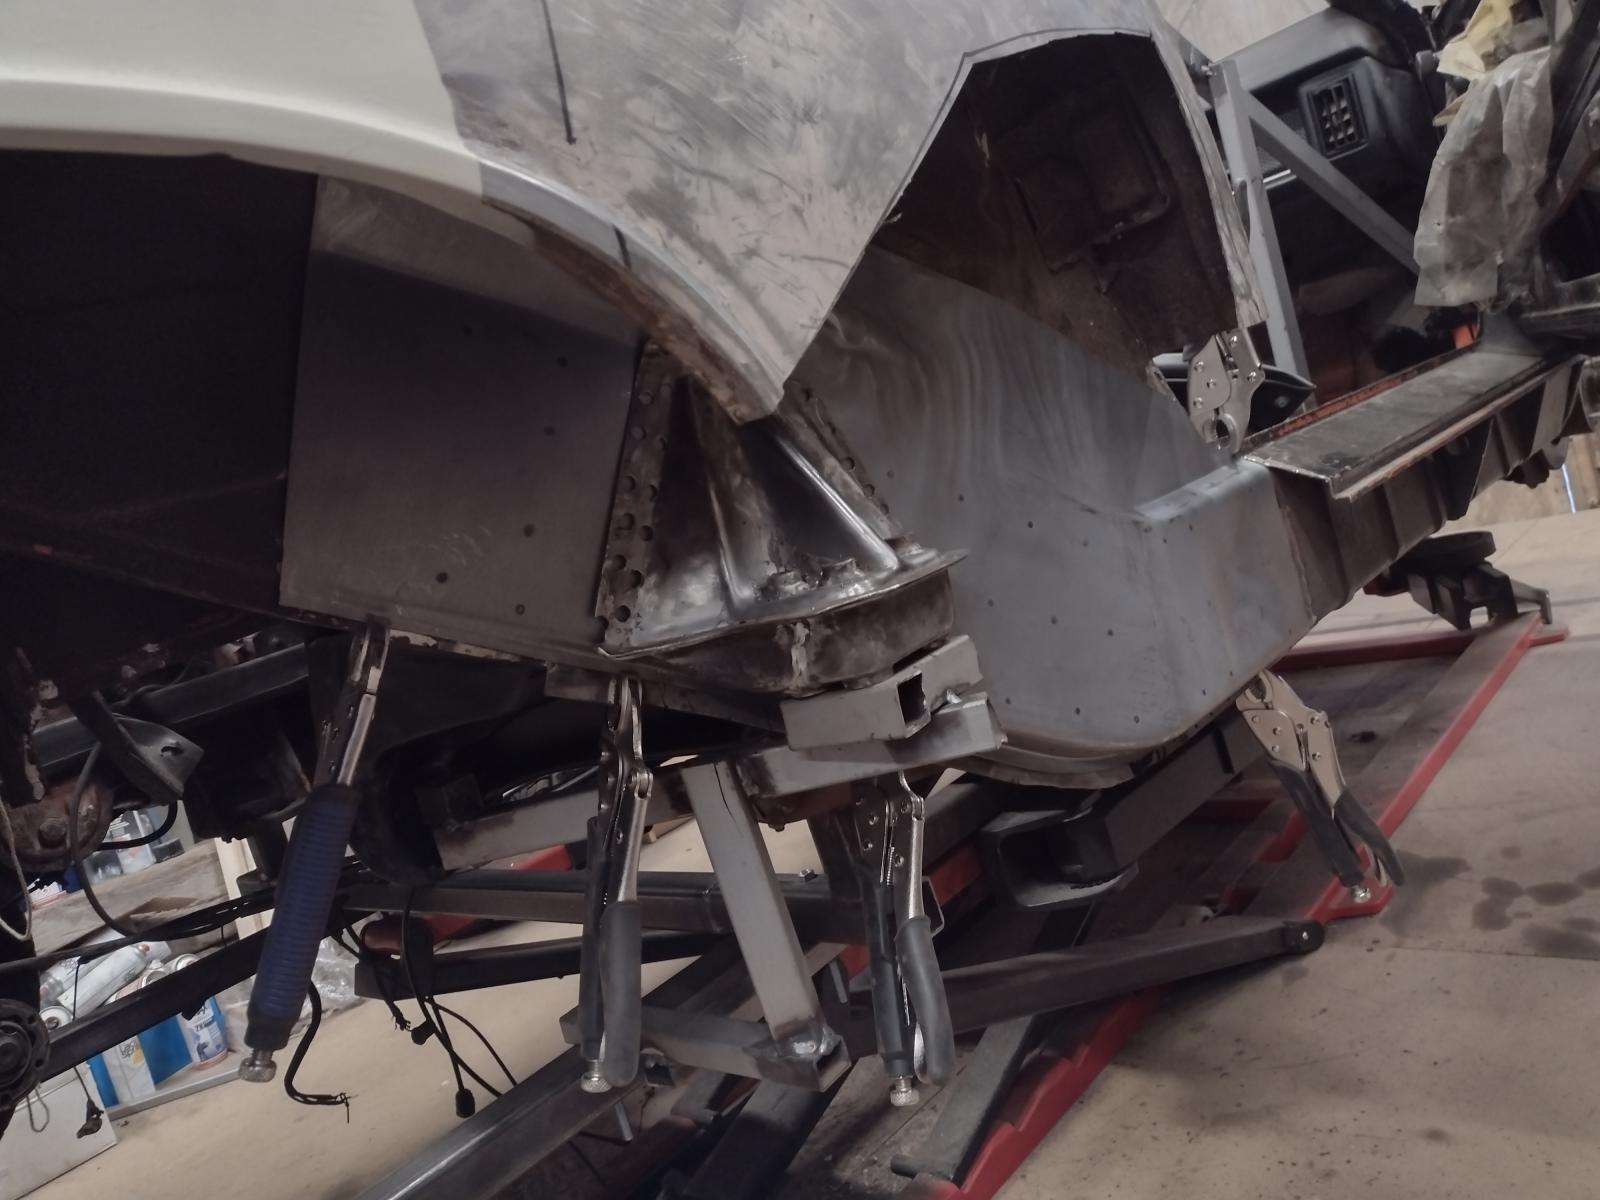
And time to start adjusting:
Lot of adjustment left but the motivation picture:
Stay tuned
Antoine
 Posting Permissions

 Reply With Quote