What a great project! Fantastic job!


What a great project! Fantastic job!
Wow, wenn Du aber schon so weit gehst, würde ich mir überlegen den zu tauchen und KTL zu machen.
EZZ ist hier die Wahl, (günstiger als Carblast)
Grüße
Uli
Thanks a lot for the kind words guys!!
@Uli: I thought about it but decided against the full program..I have a ghia that I am restoring 100% with every nut &bolt restored, but the 914 is my fun ride.. l am doing "only" the necessary (which is/was a lot) to bring it back solid on the road, one "Driver quality" paint and go..Not removing/restoring everything (at least this time!)..
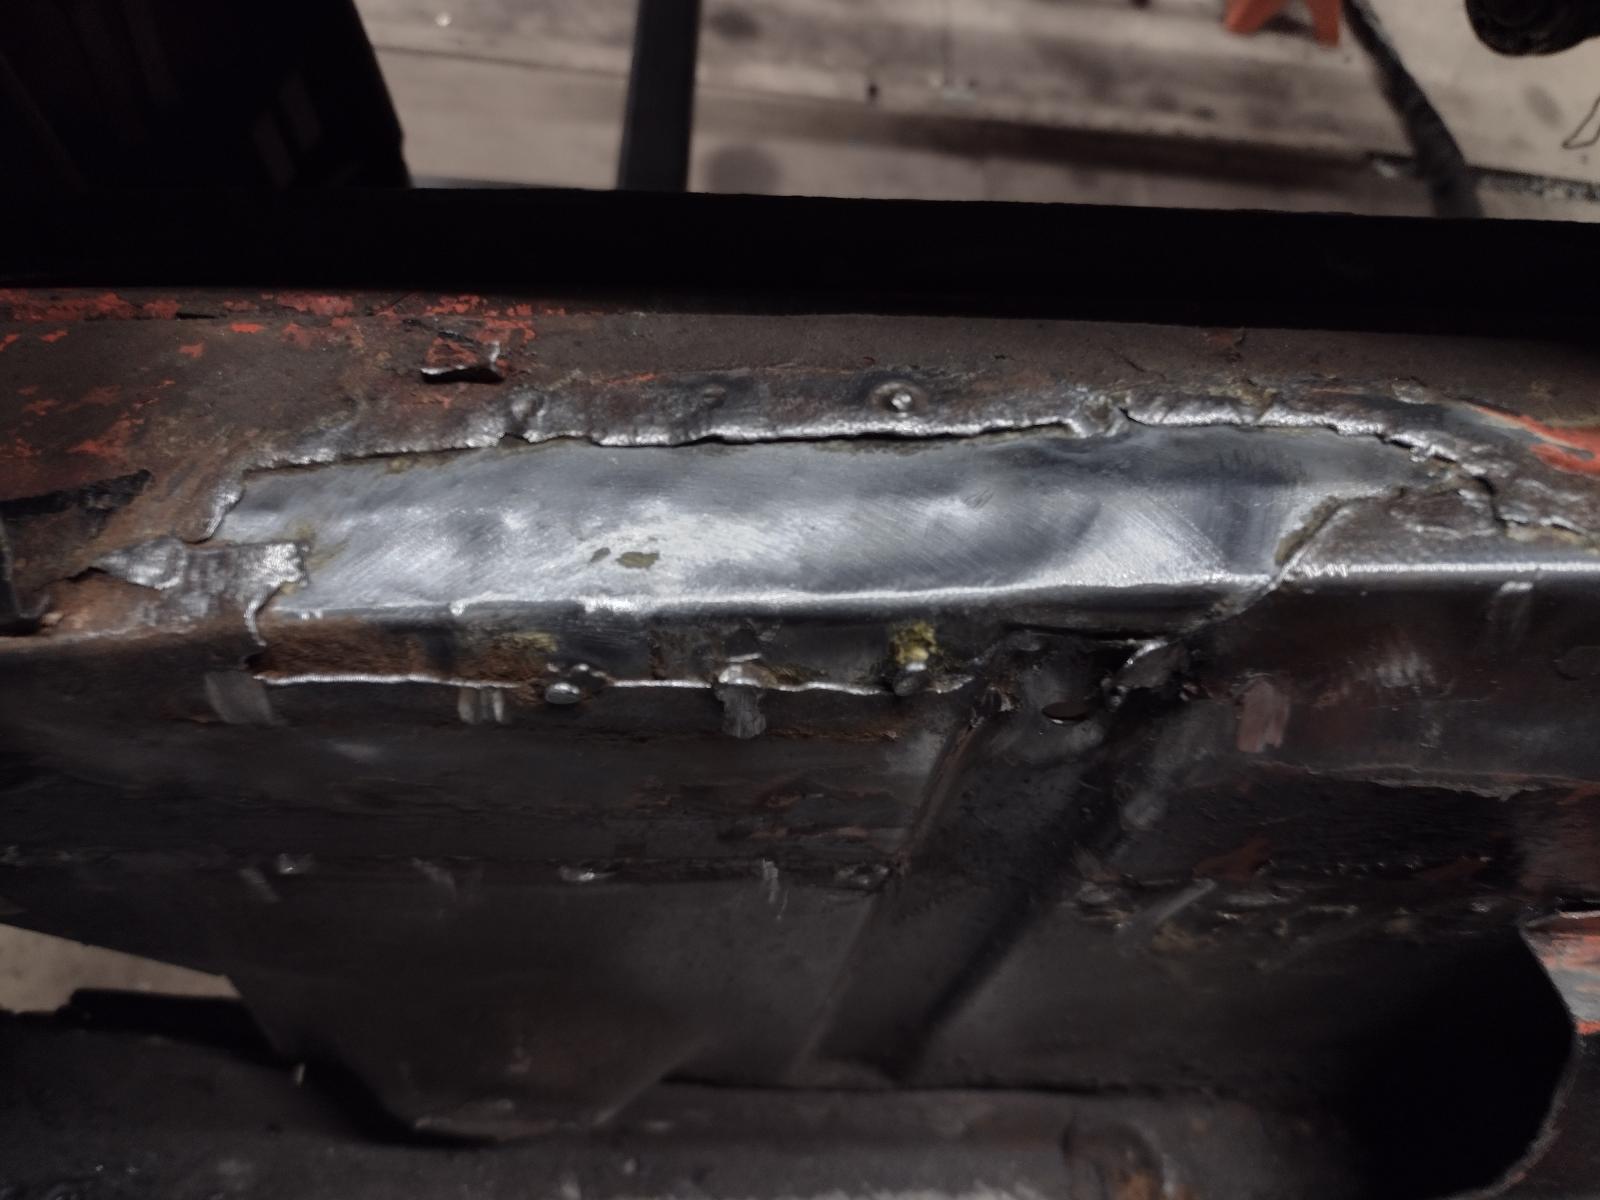
More adjustments, measurements..and welding here:
And fully welded:
Now adjusting the suspension console :
And all welded including the connecting parts between the consoles:
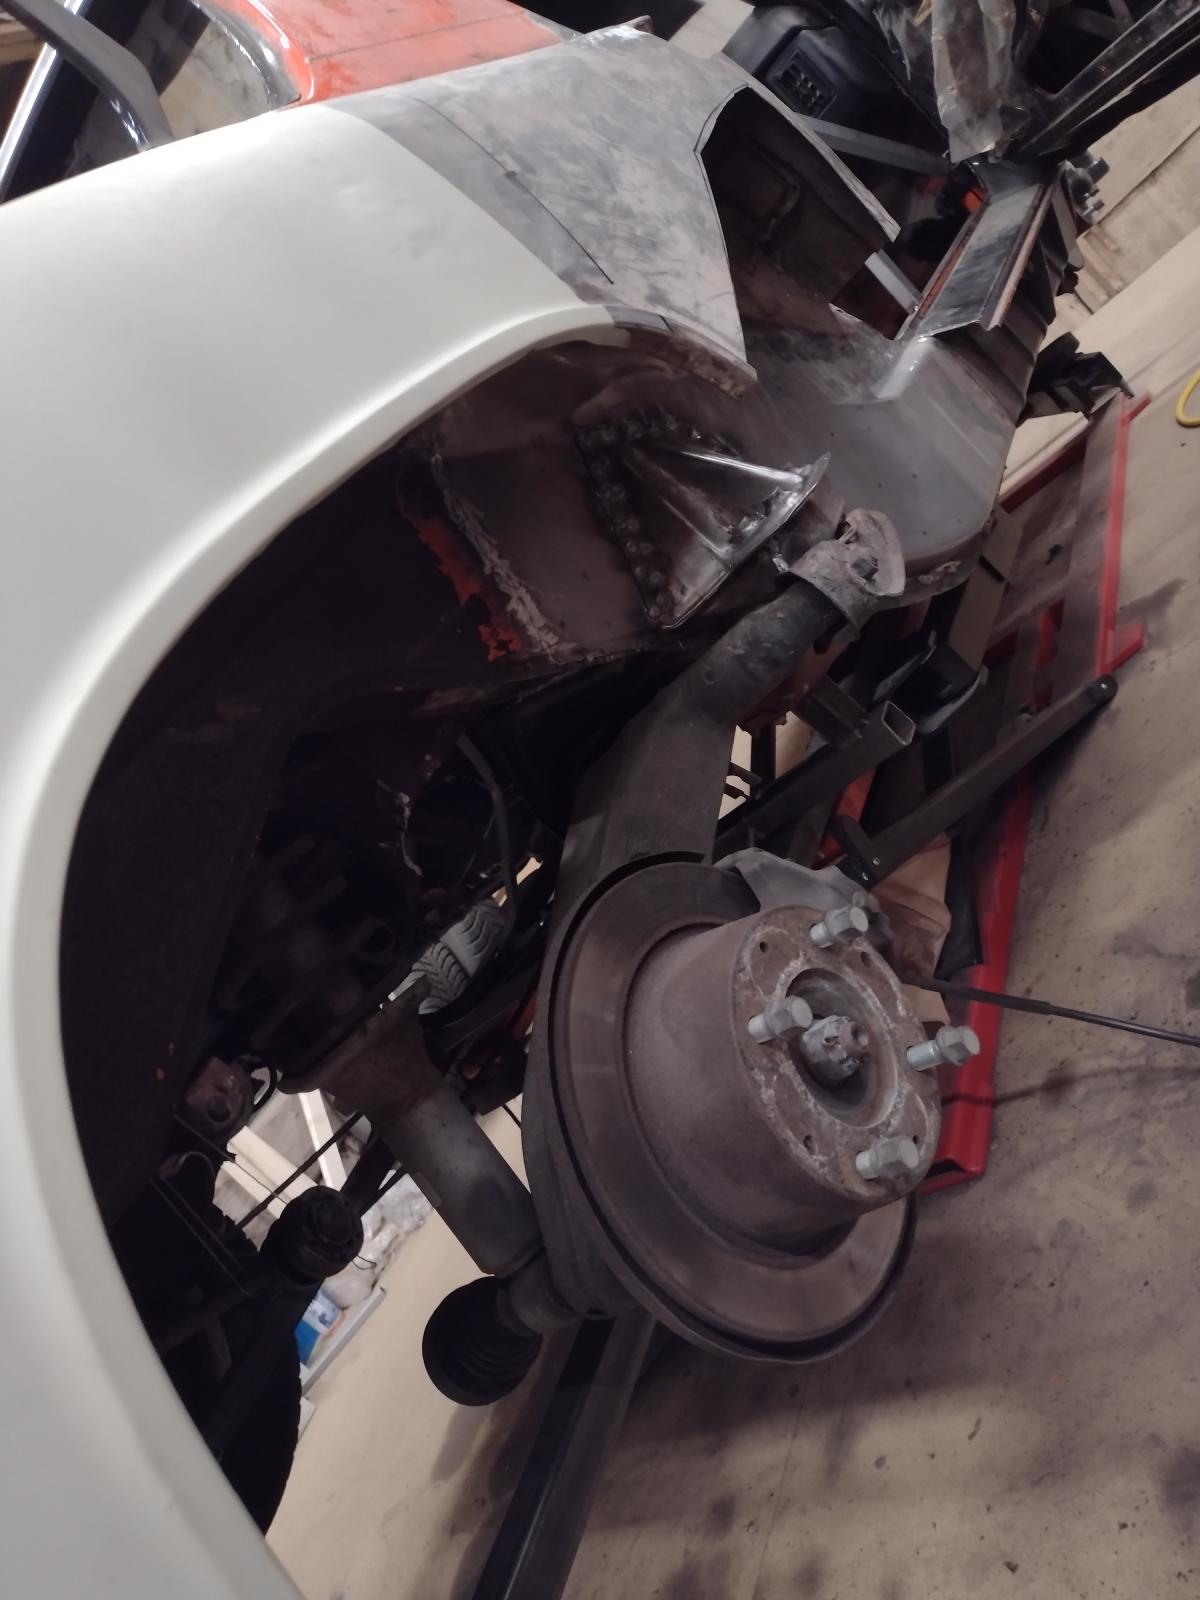
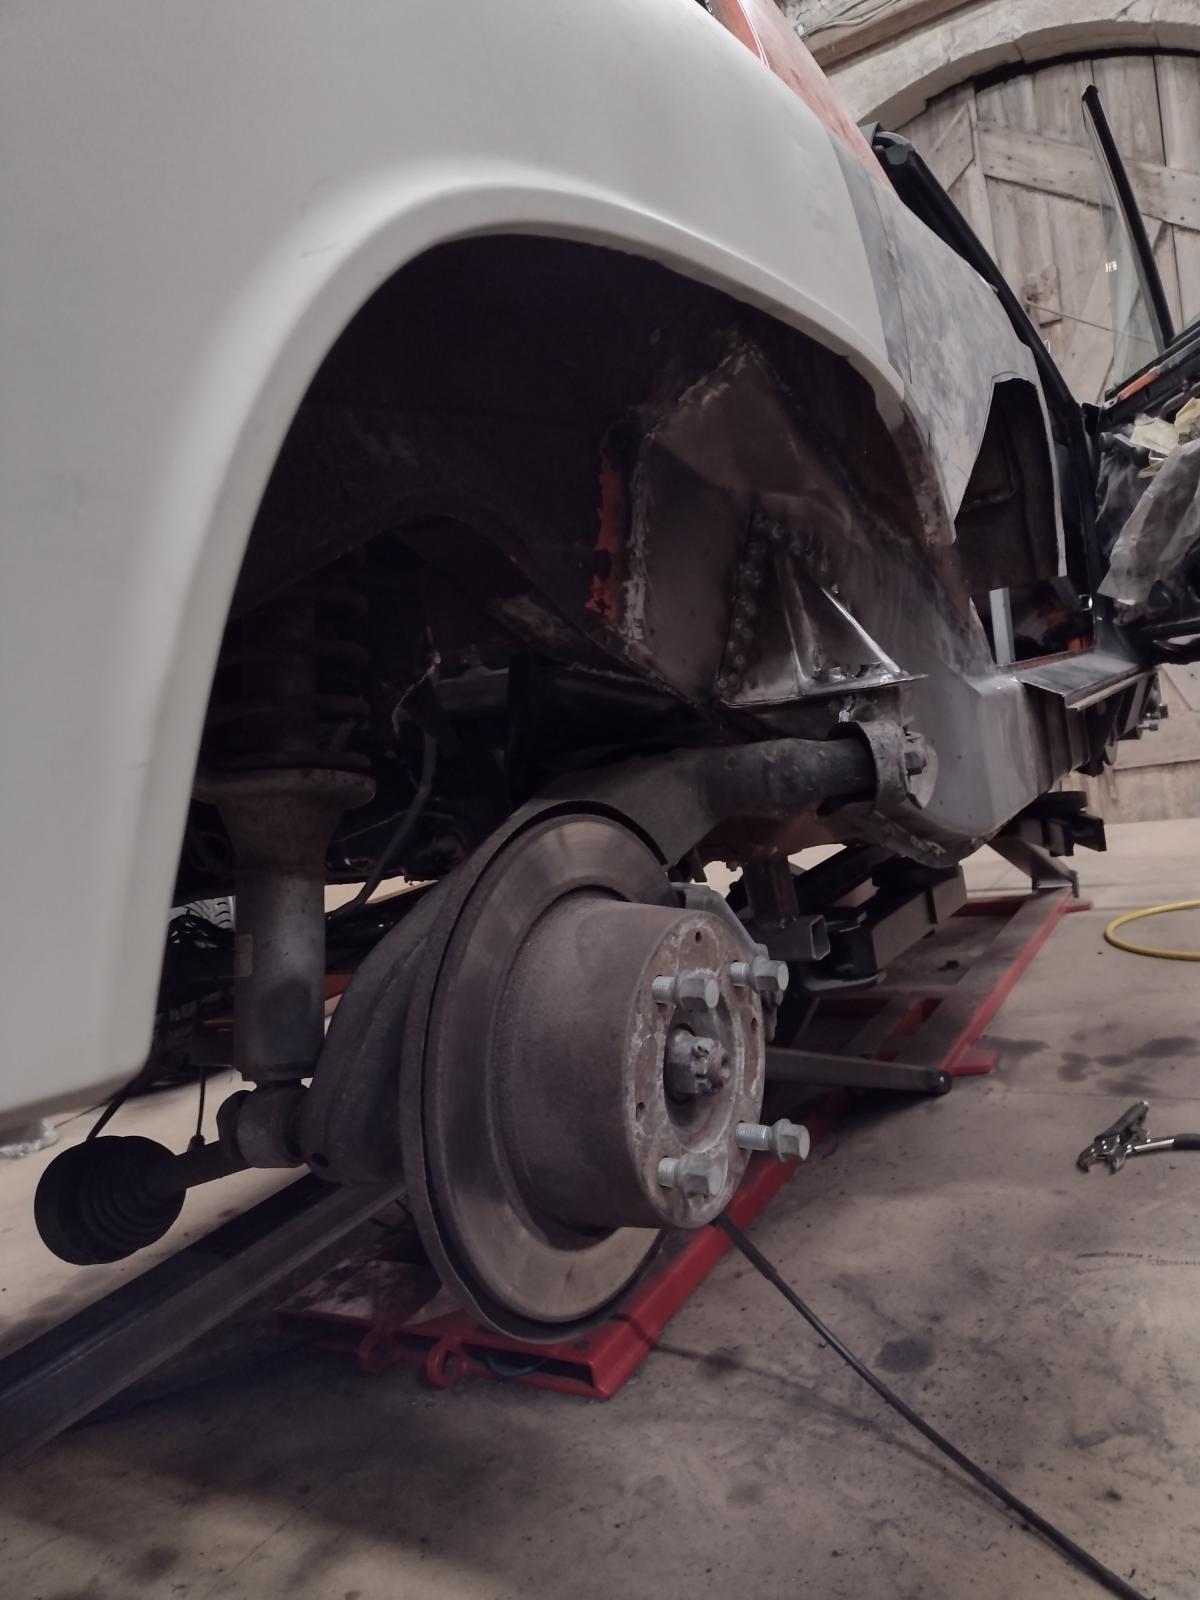
All measurements are ok and the arm felt right in place:
I can tell you that this view was a real relief !!
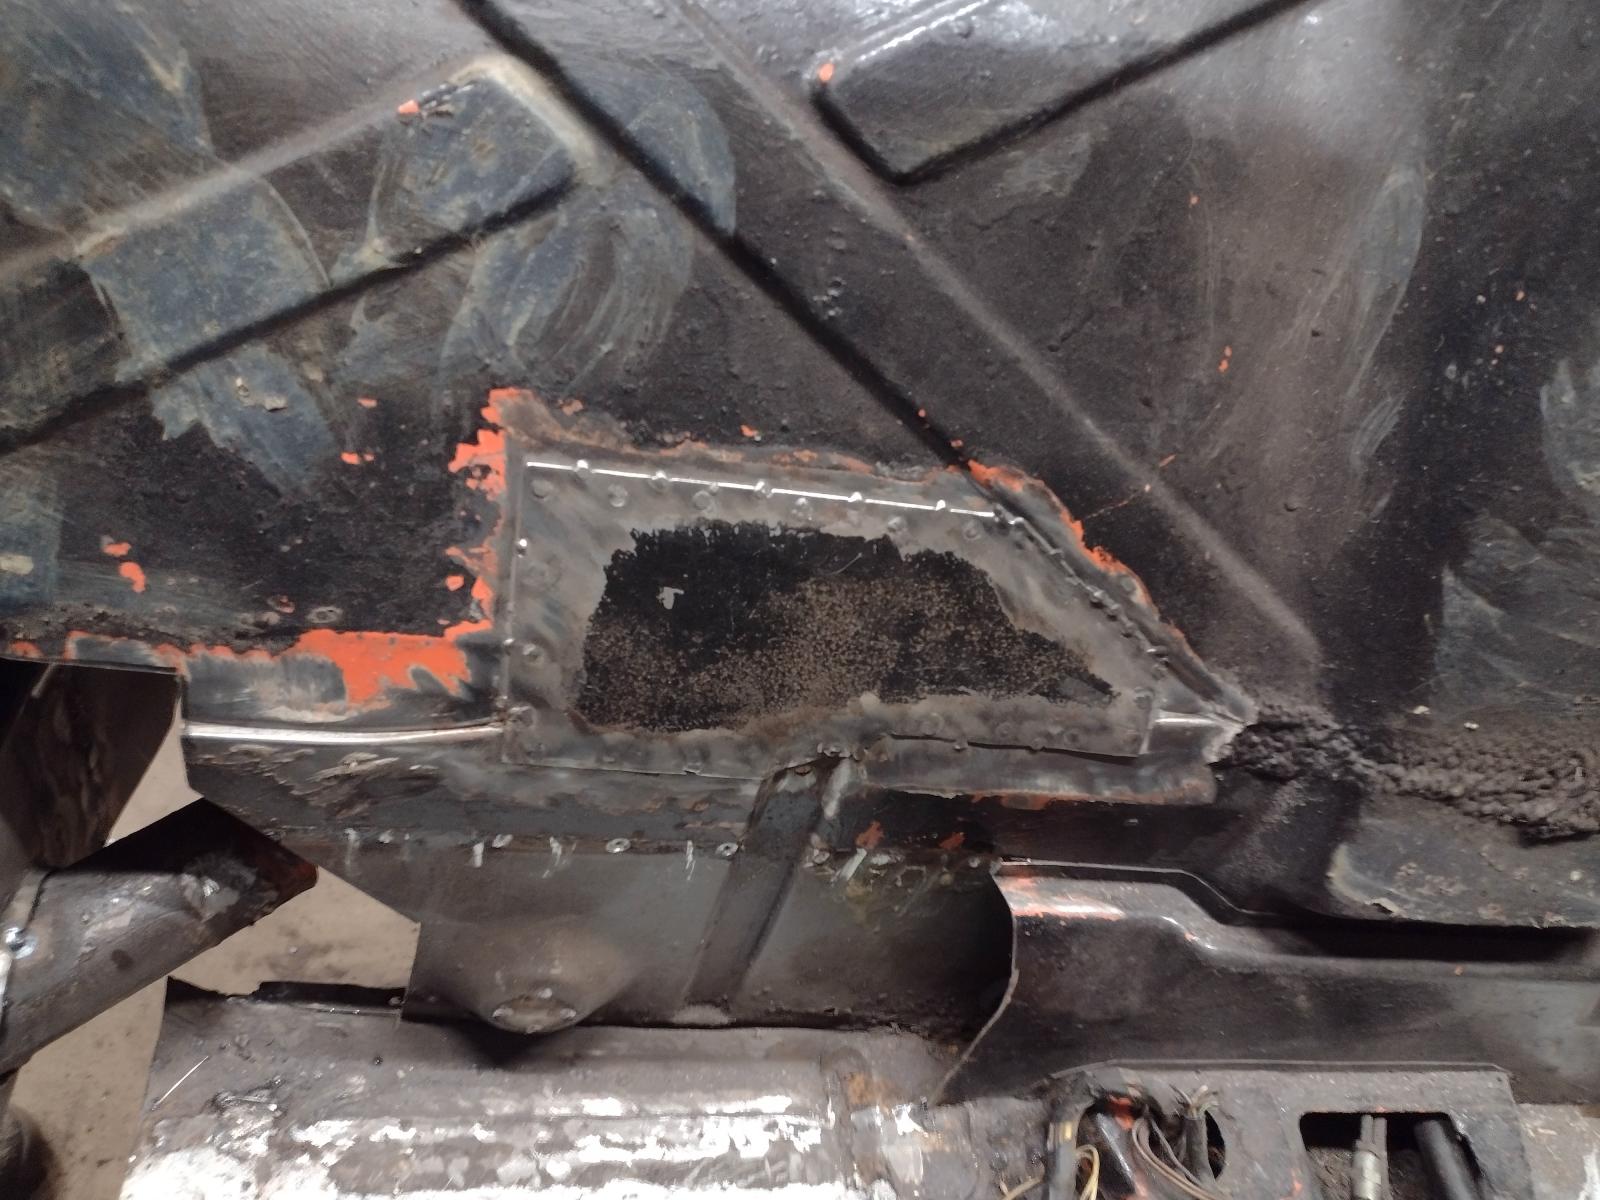
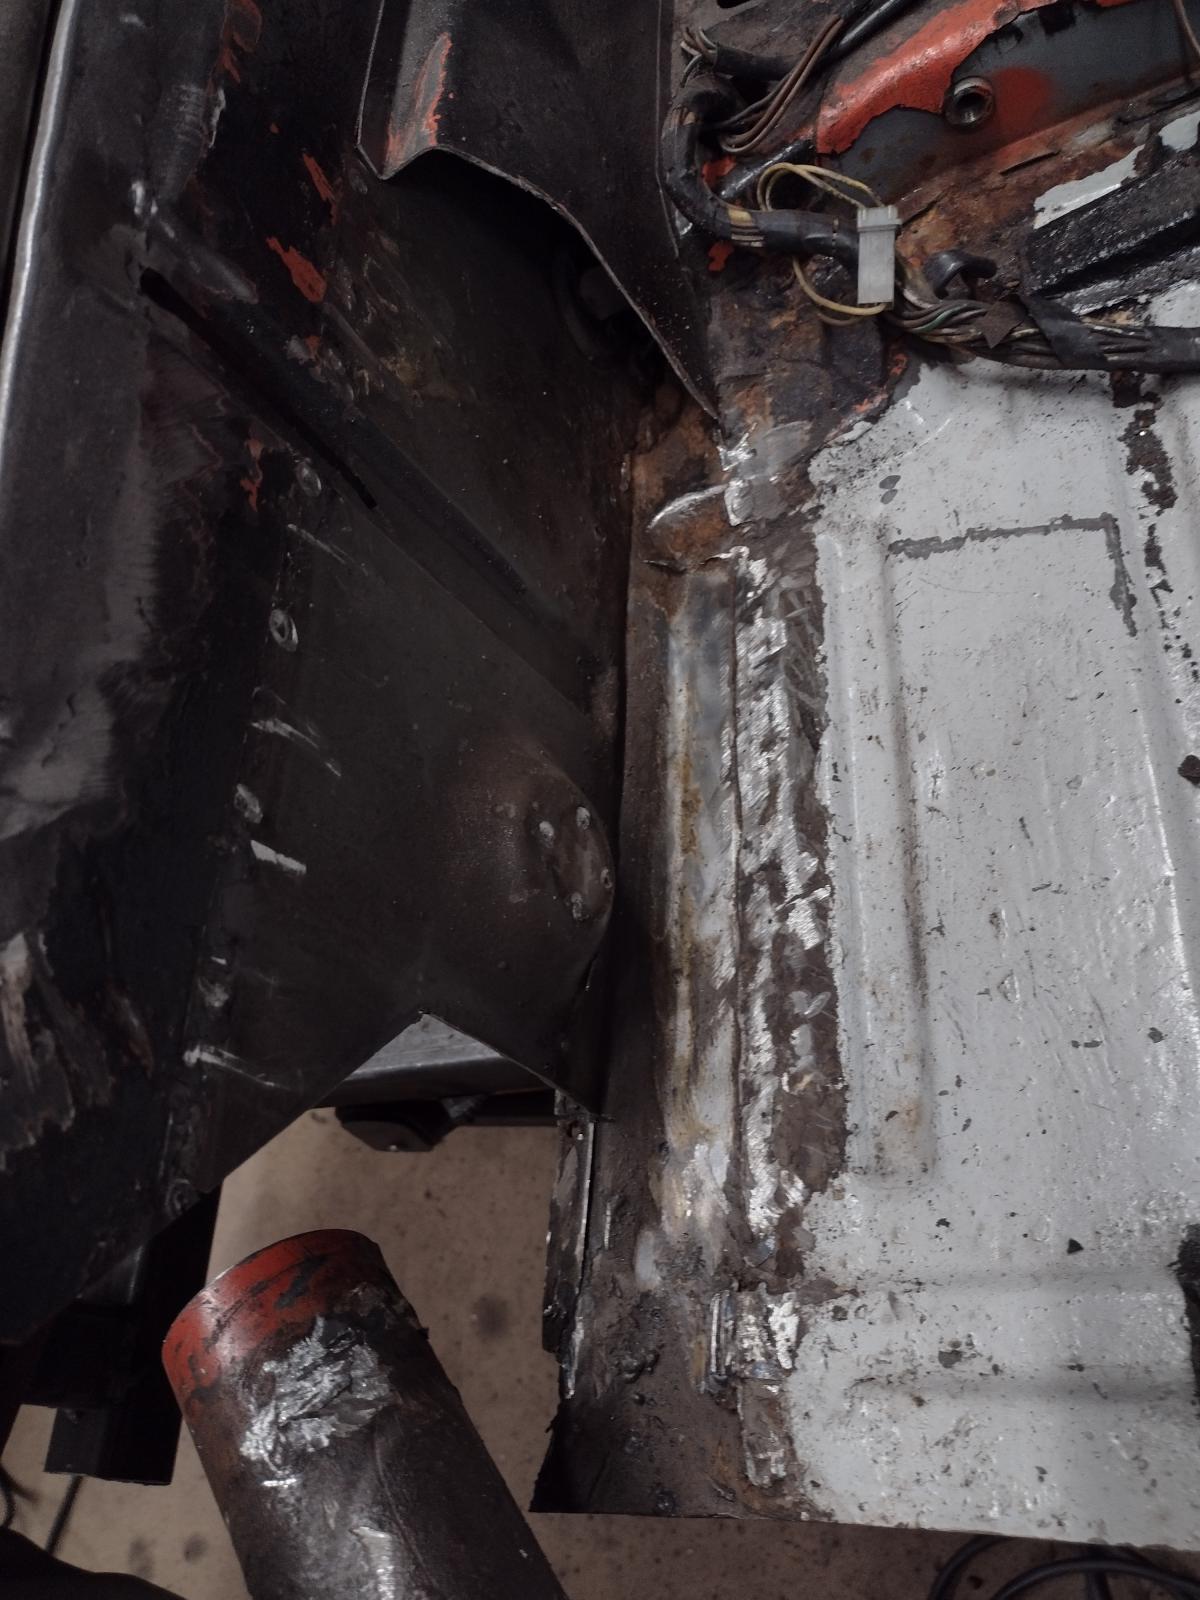
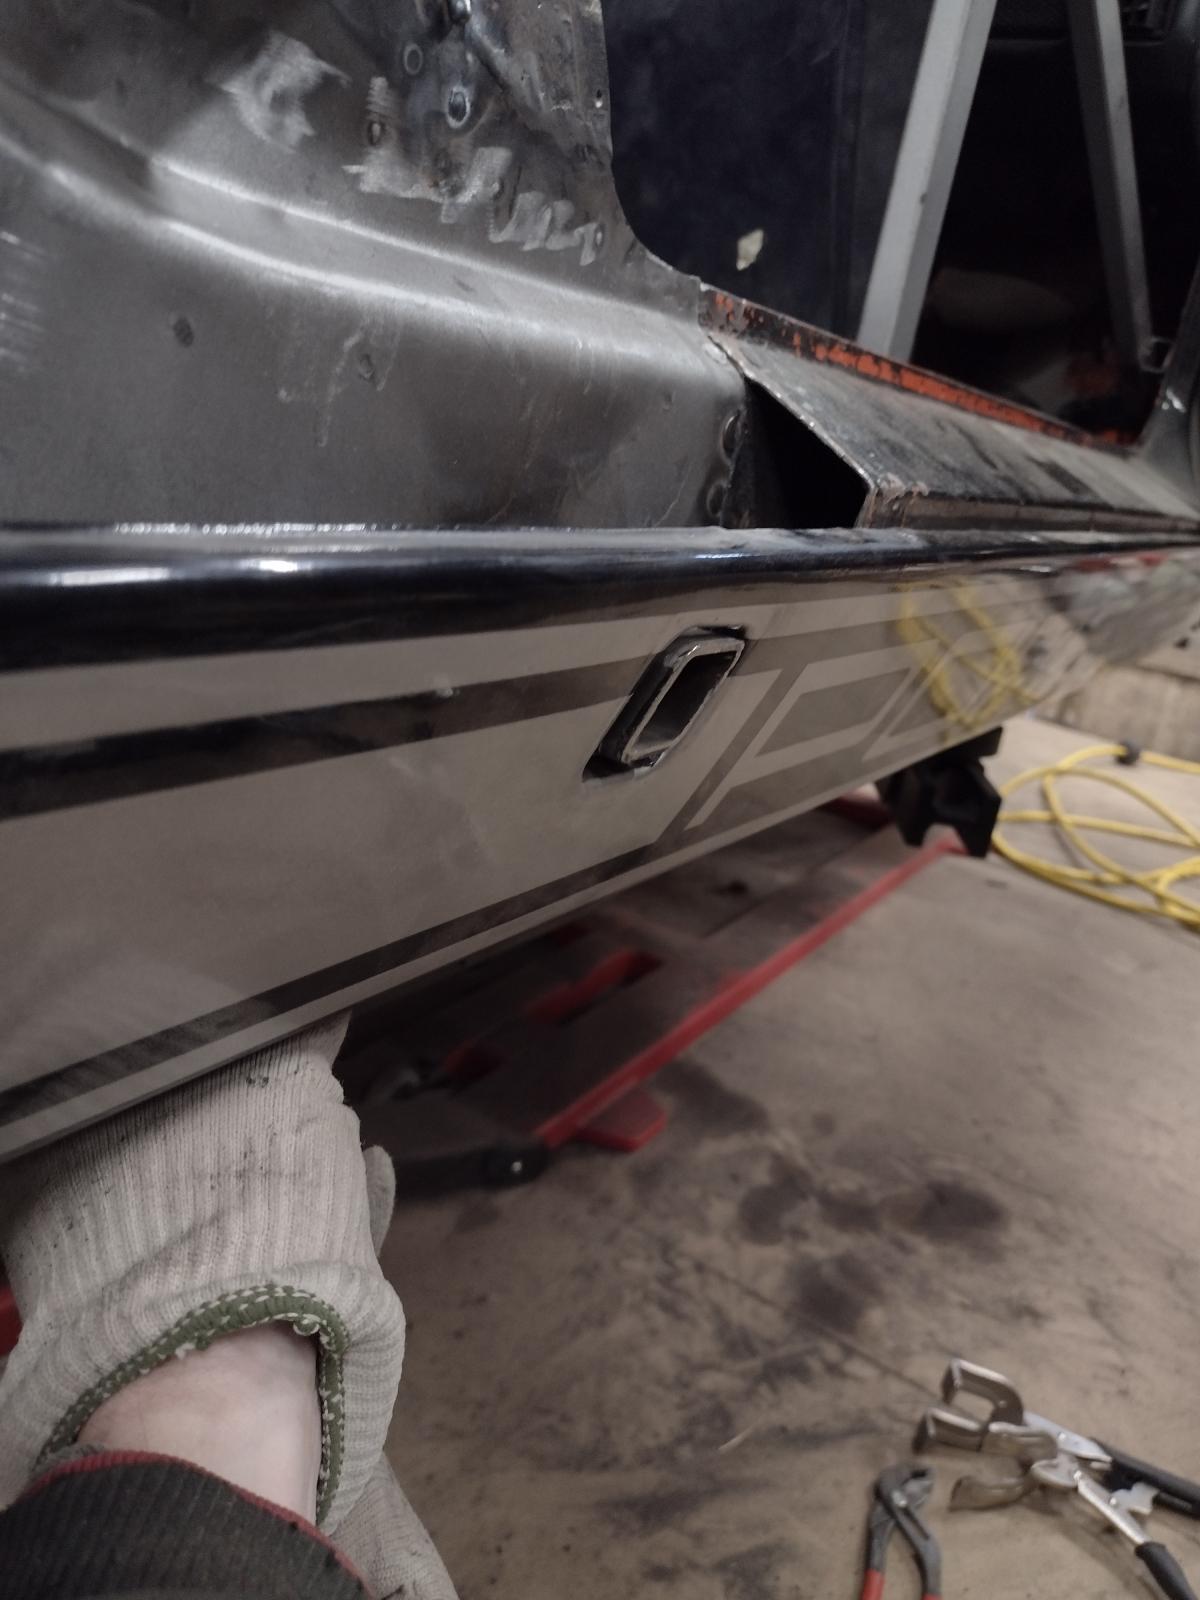
But still lots to do, like here with this poor repair:
And behind it some metal put under the rust..
So big cleaning :
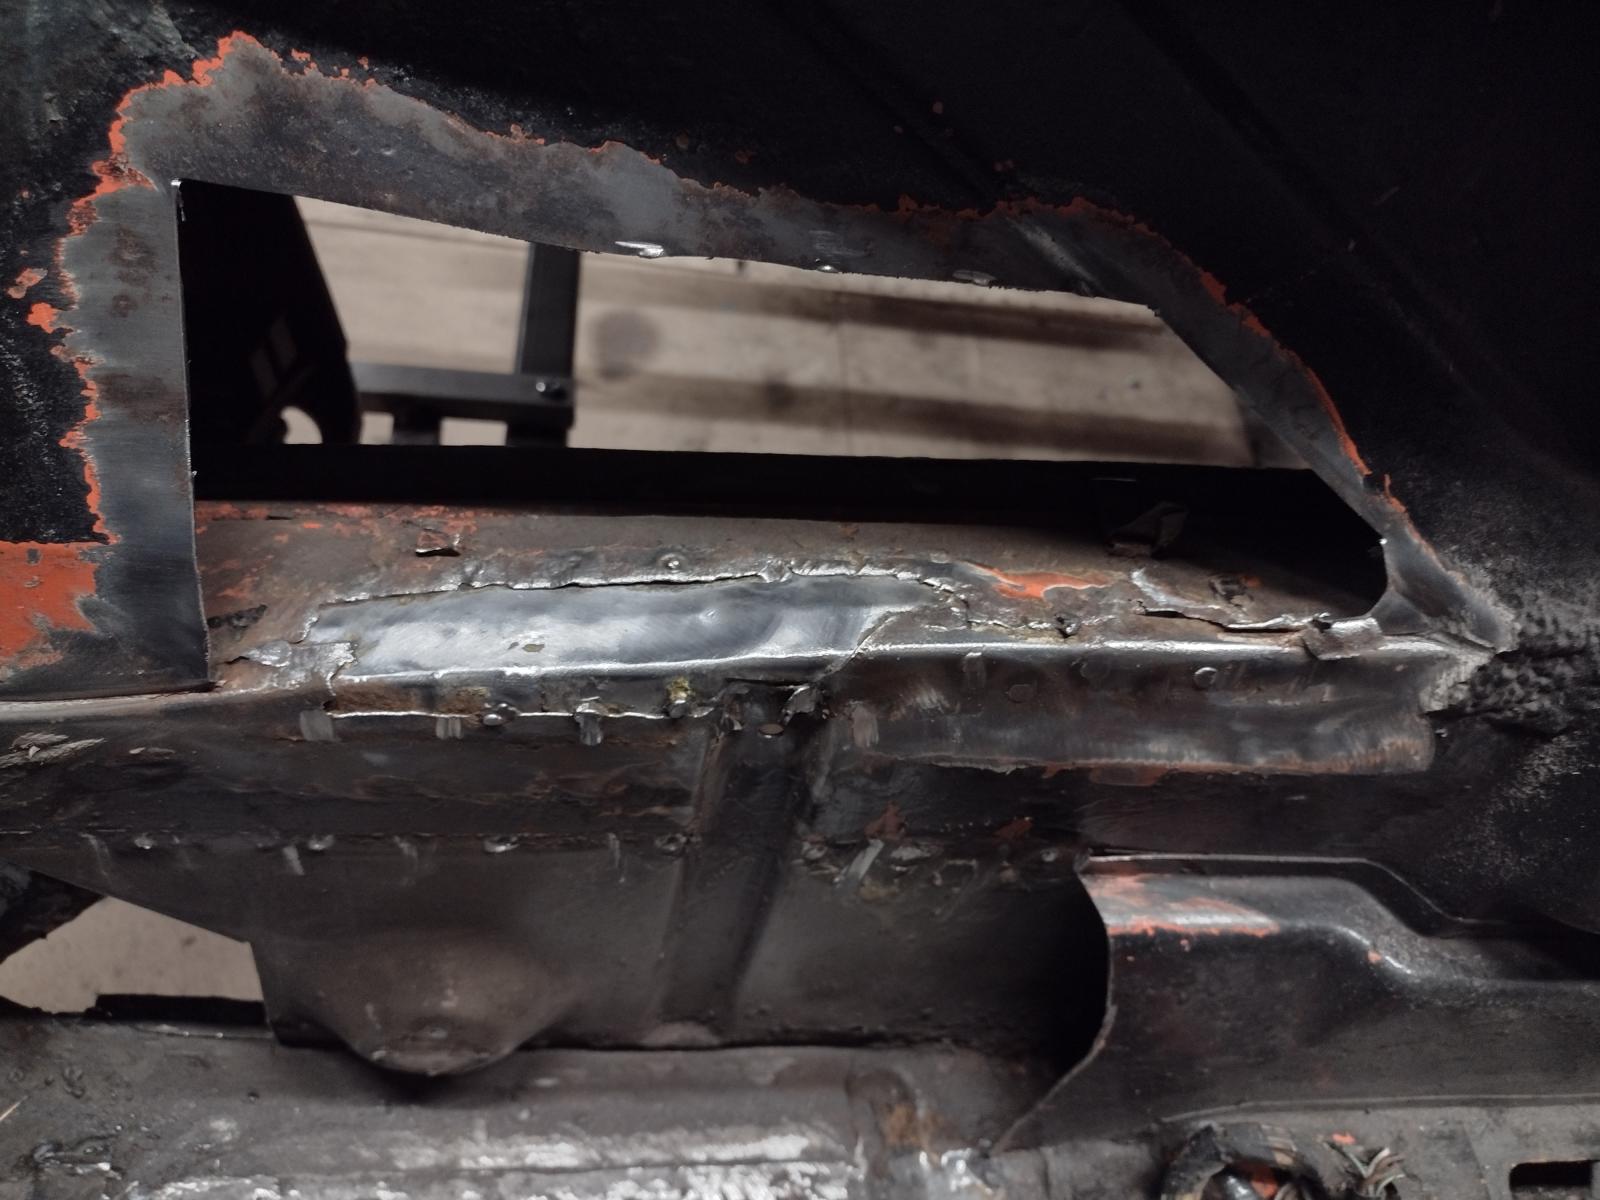
Adjusting the bottom part:
And welded:
And the top part:
And welded:
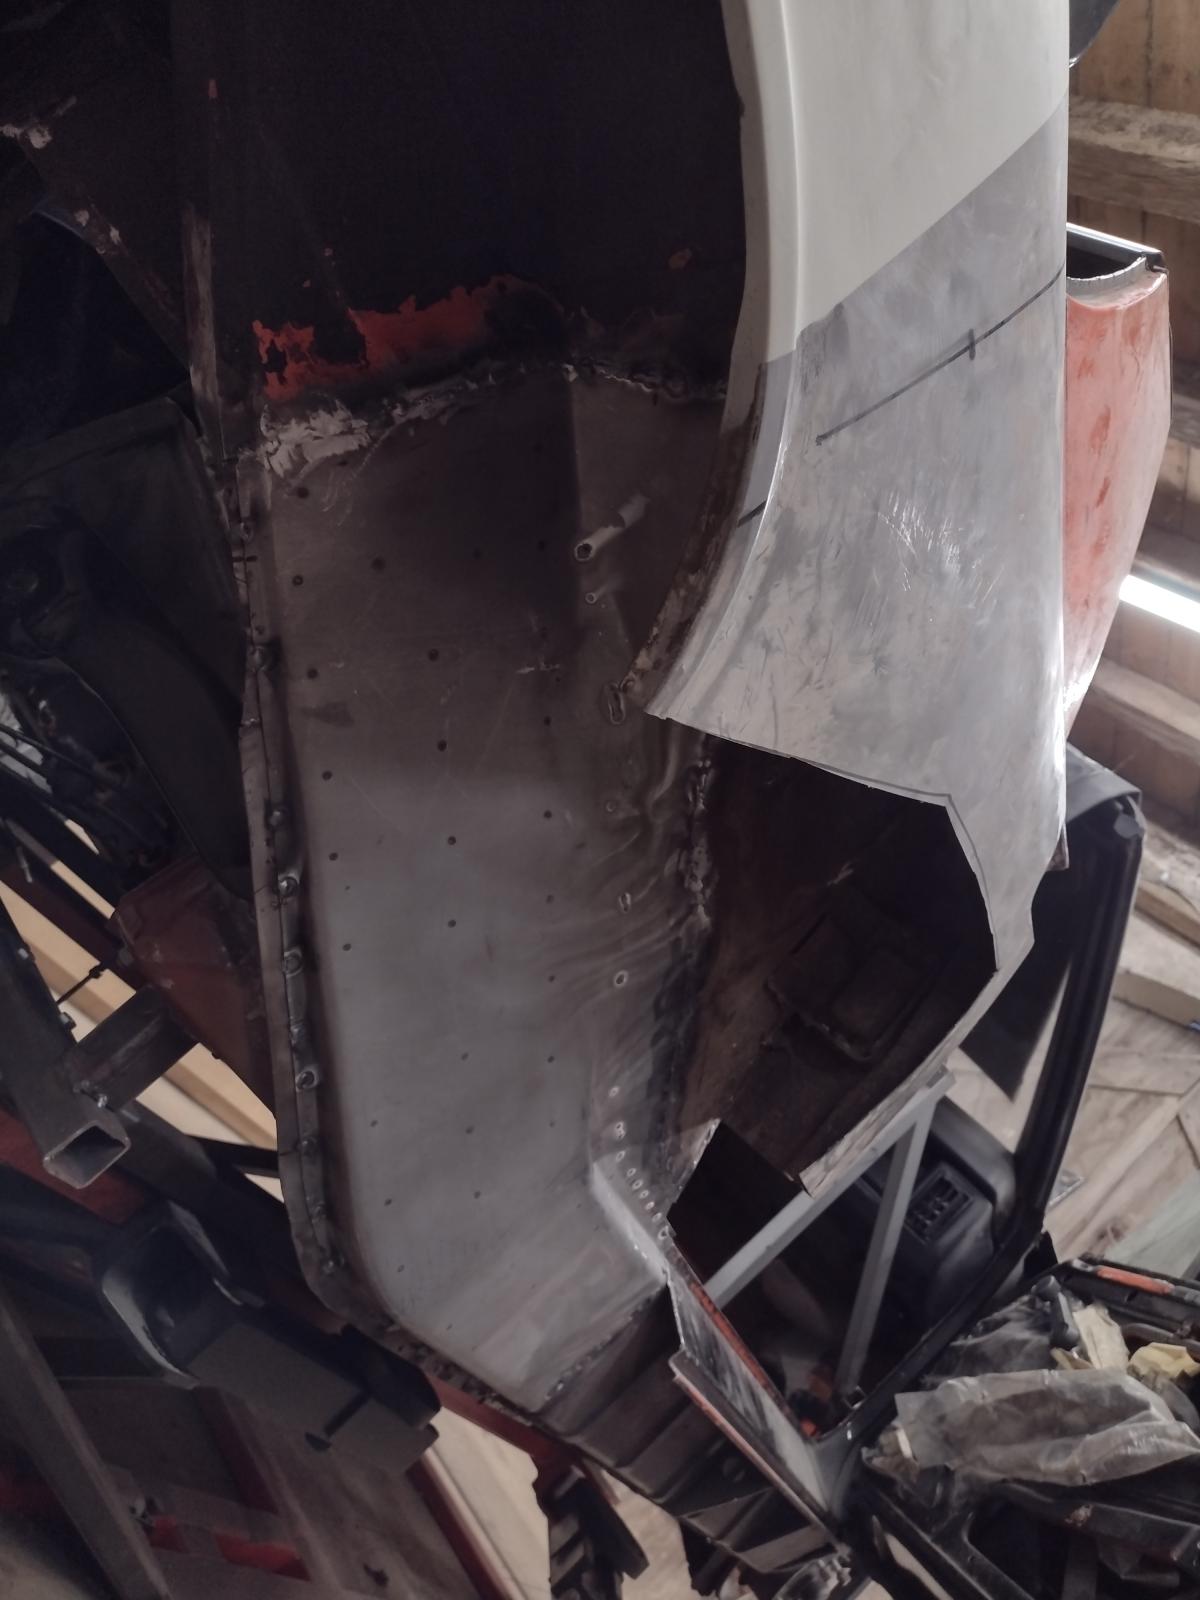
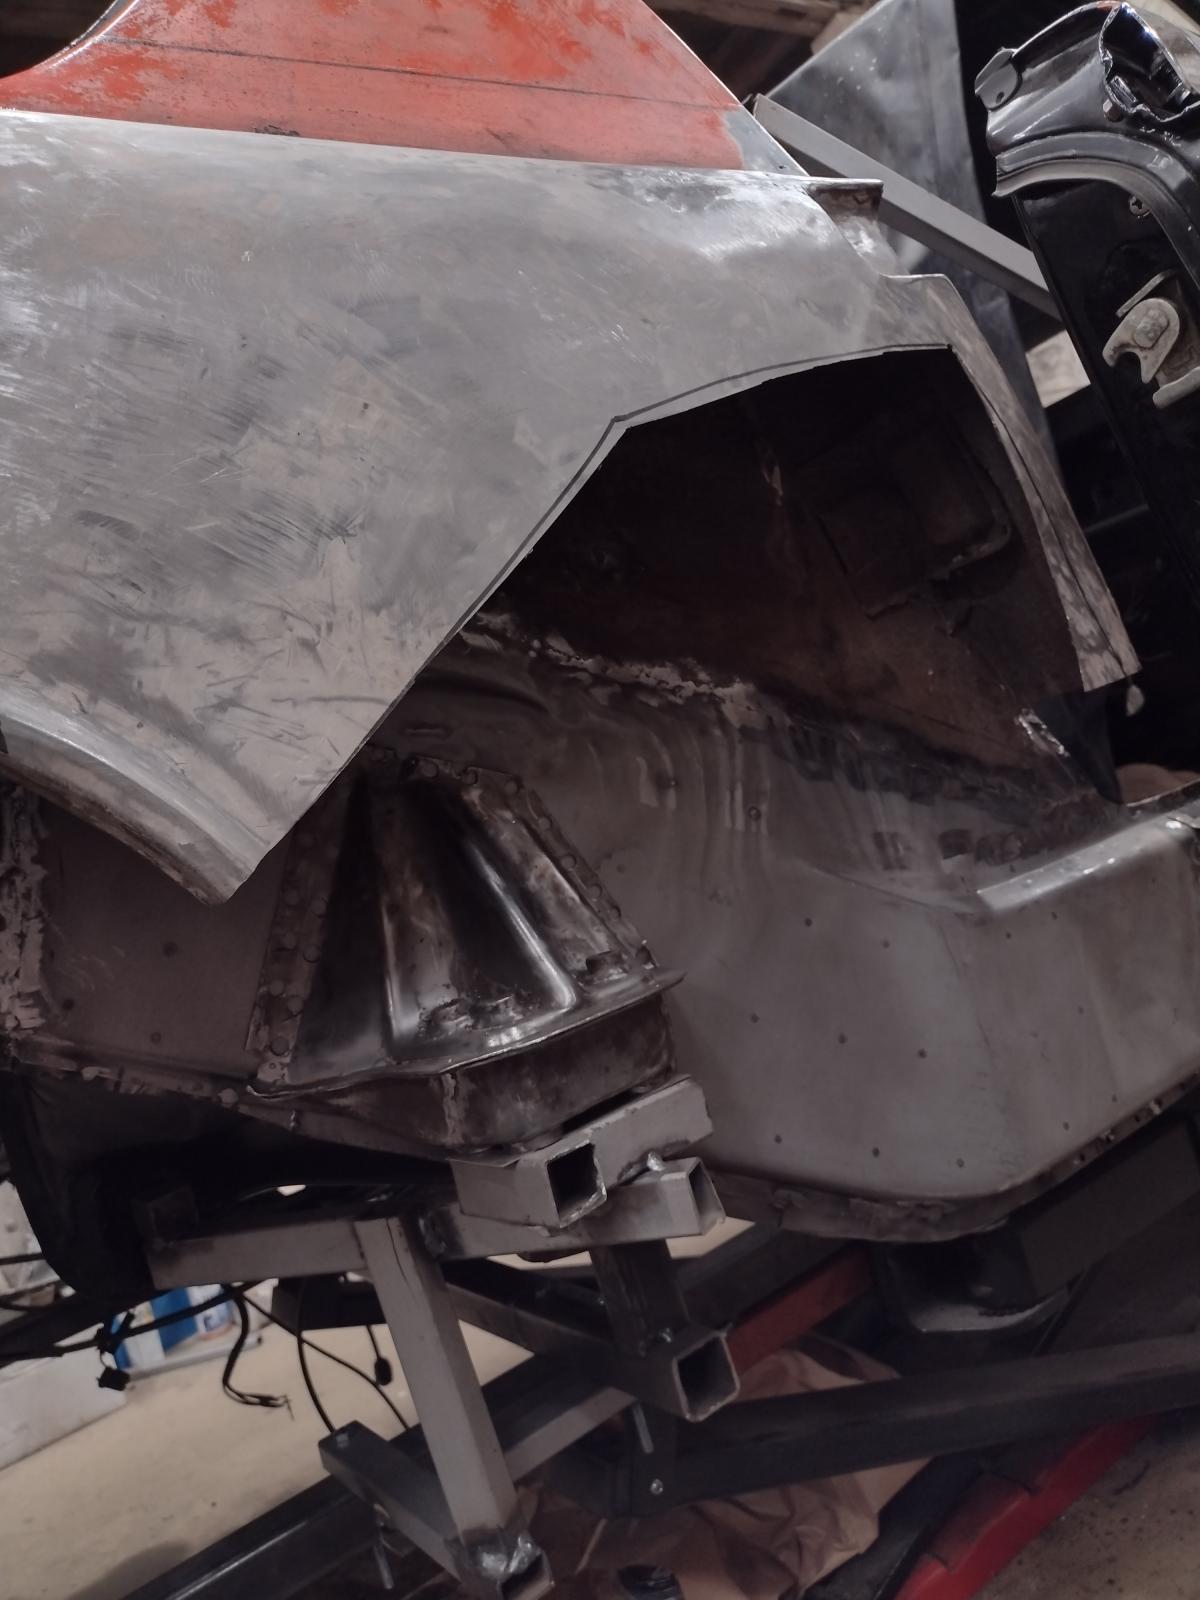
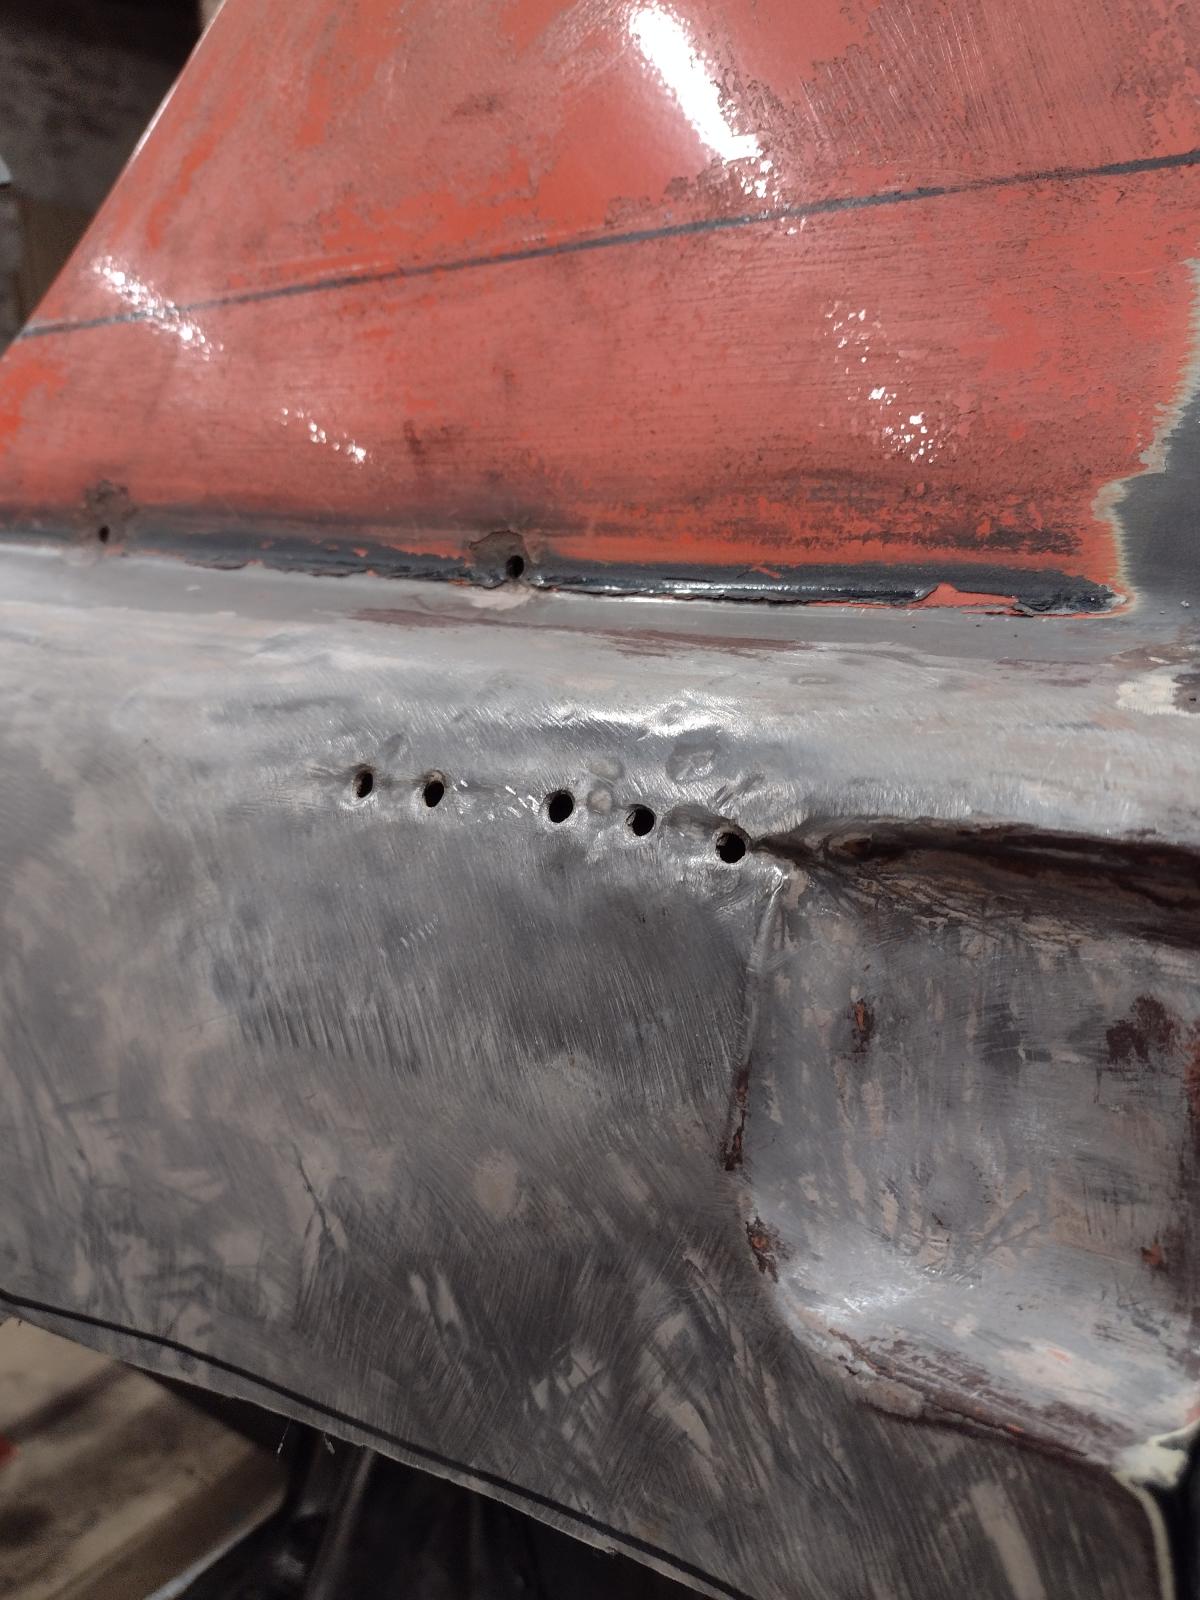
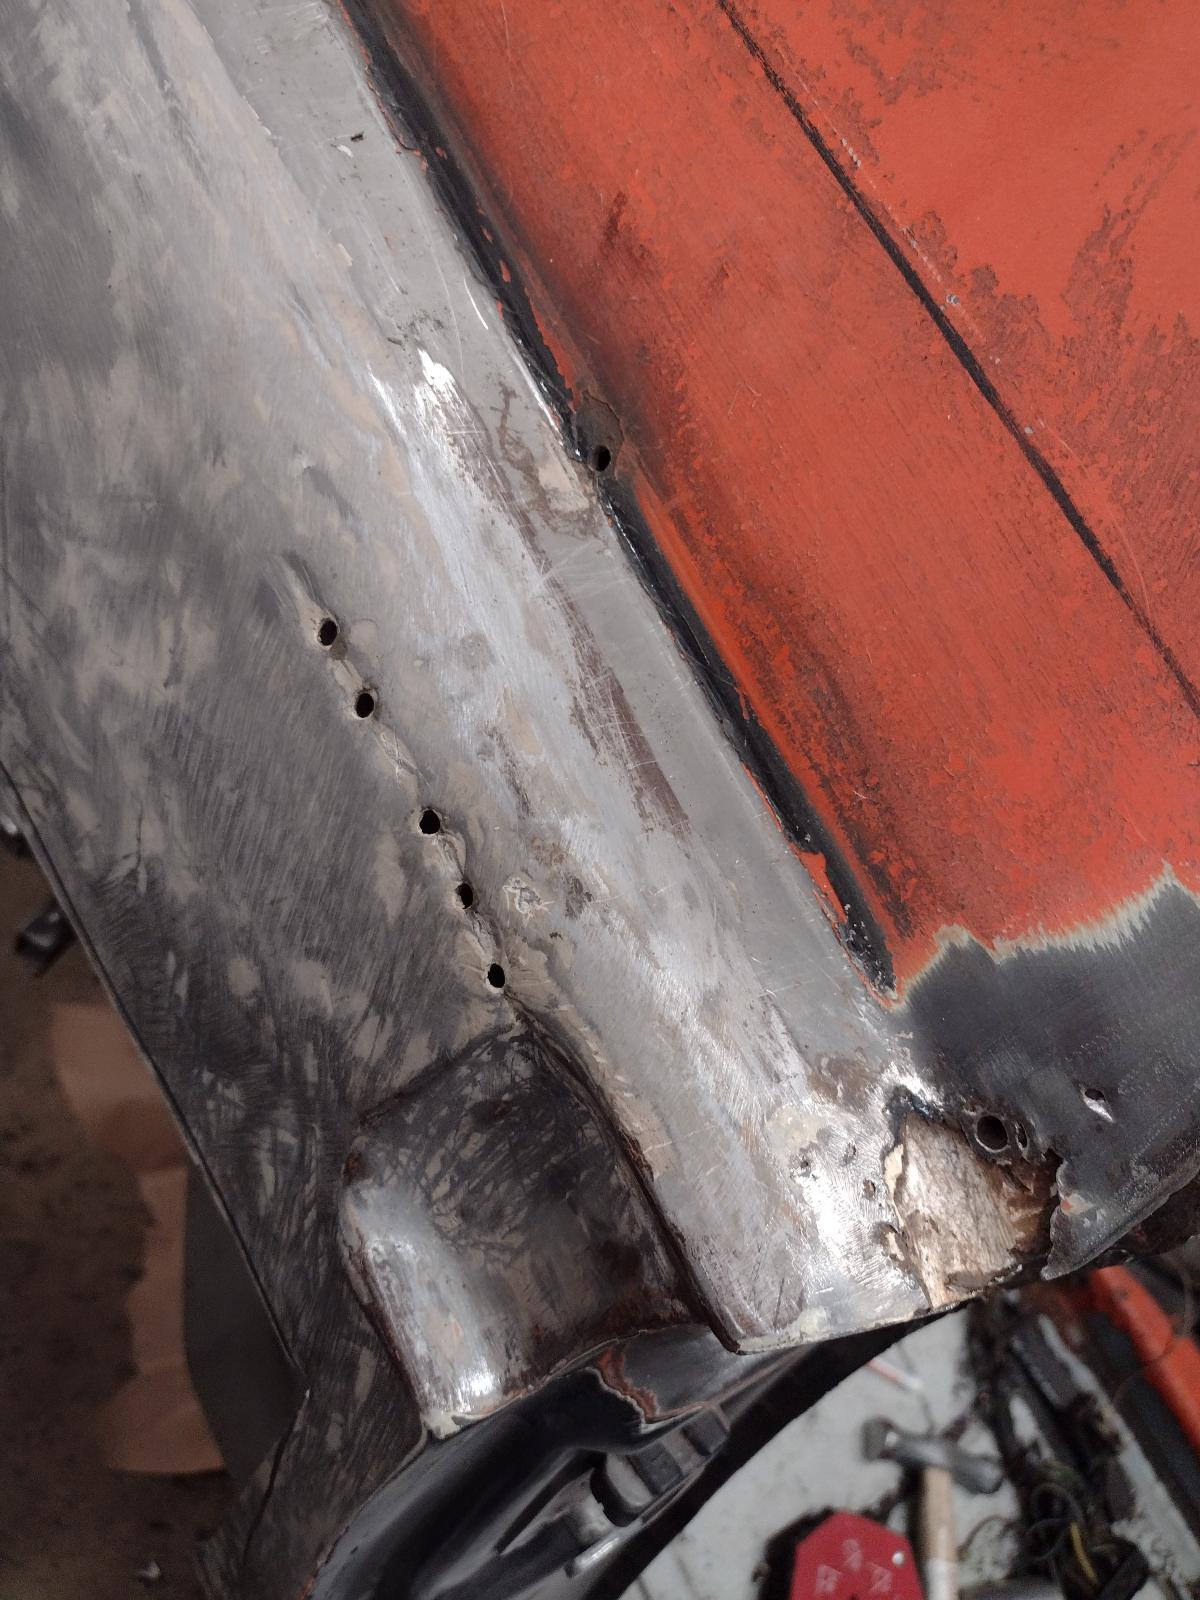
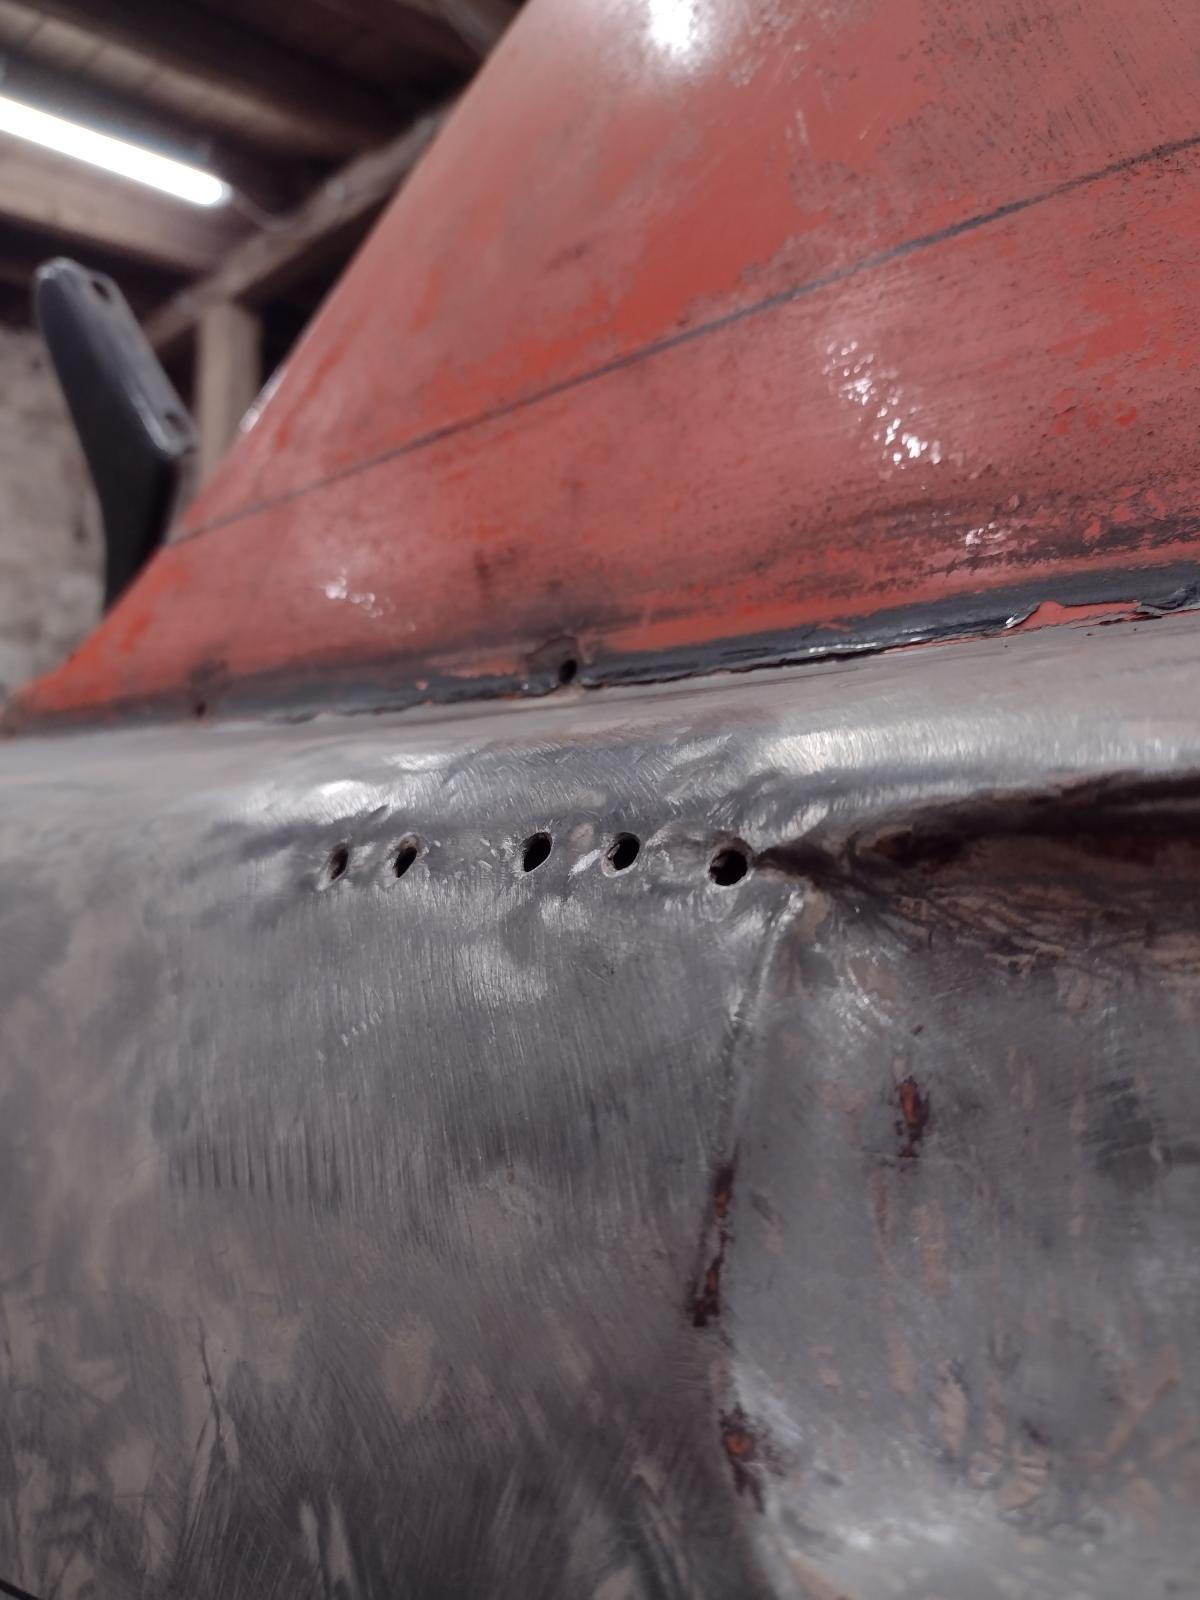
Before taking care of the bottom of the passenger rear quarter, I thought I will see what I can do with the top part with the holes and dents:
I first planished it roughly with hammer and dollies:
And welded the holes shut. Some smoothing left but already way better:
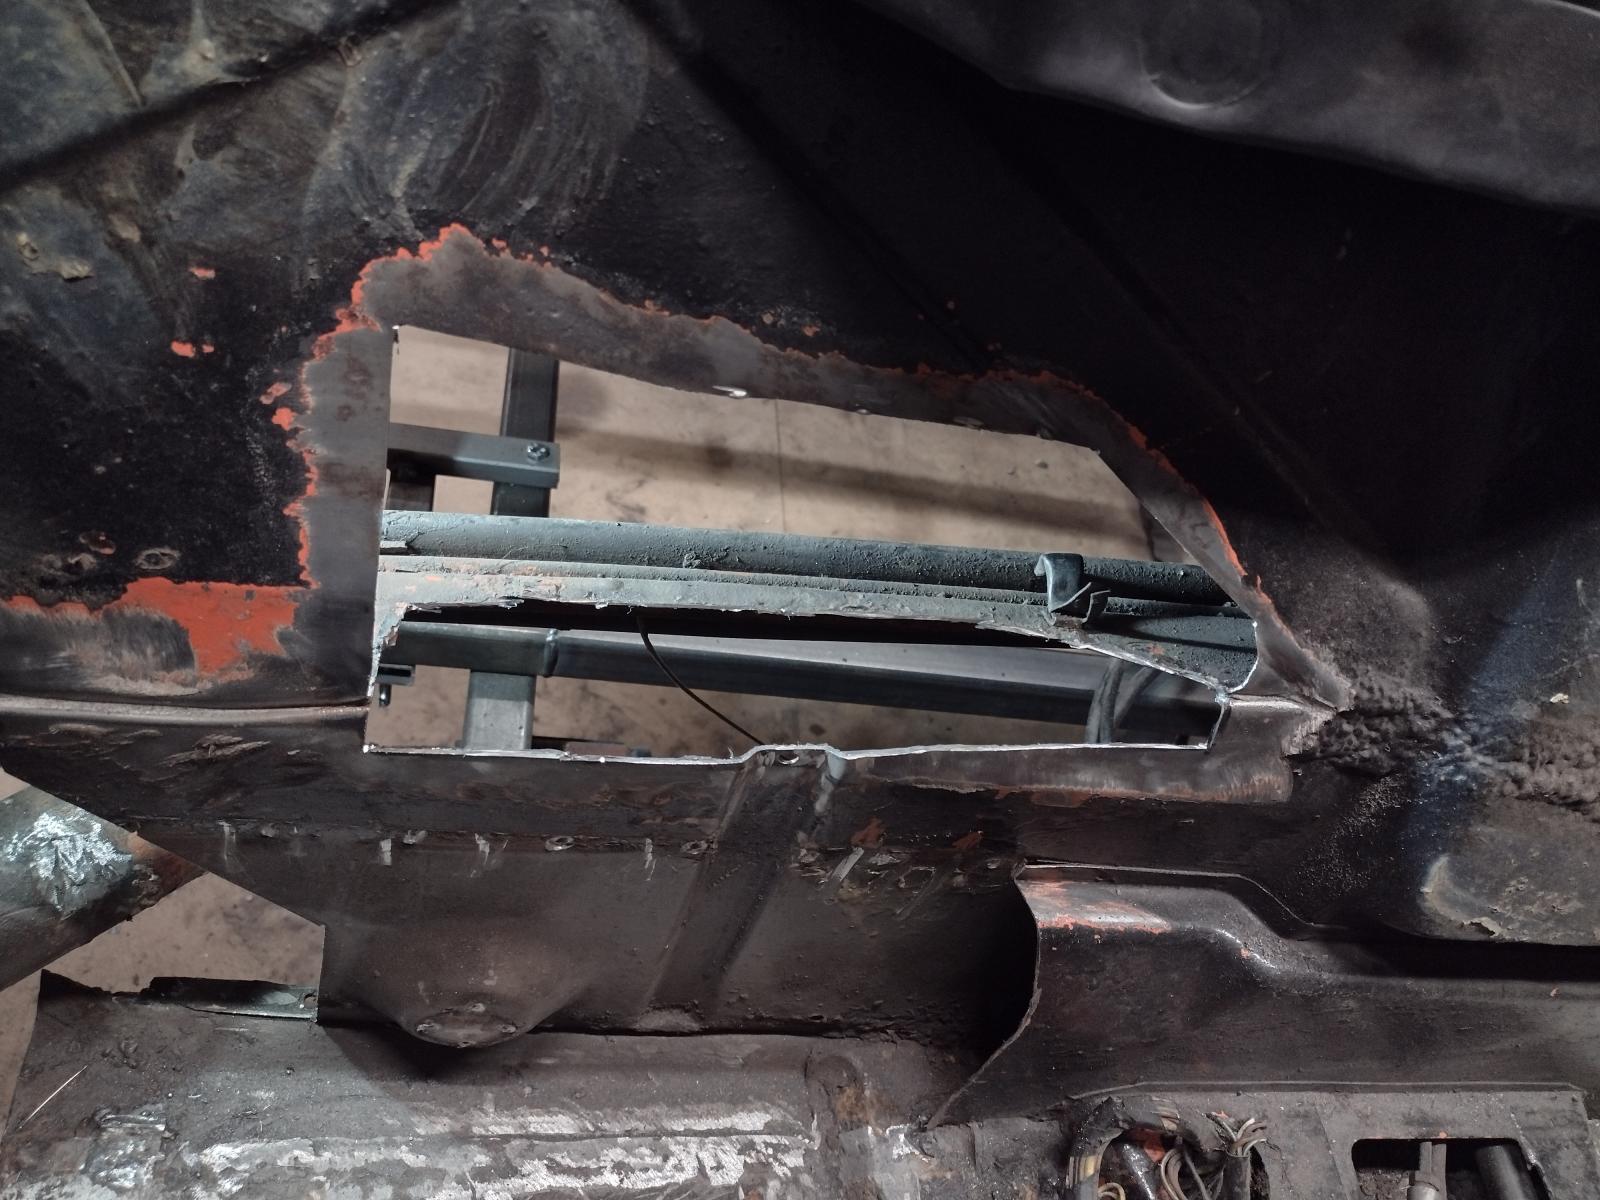
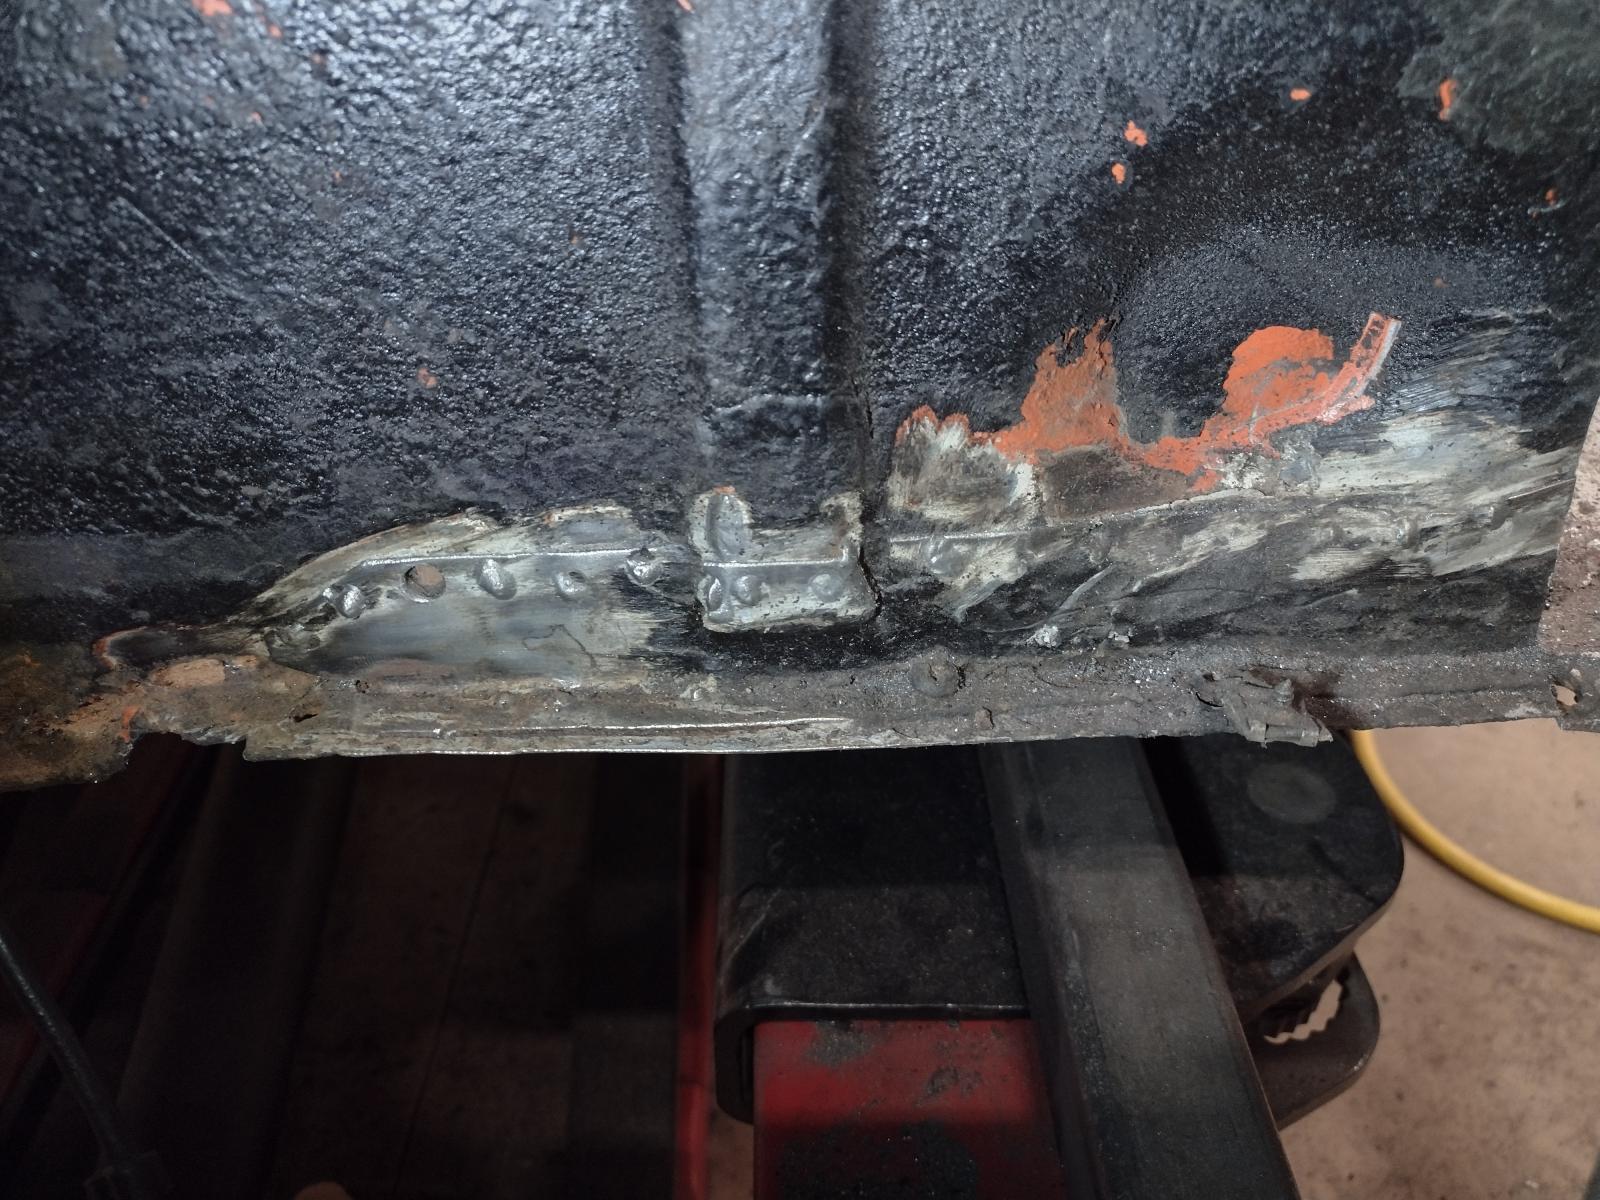
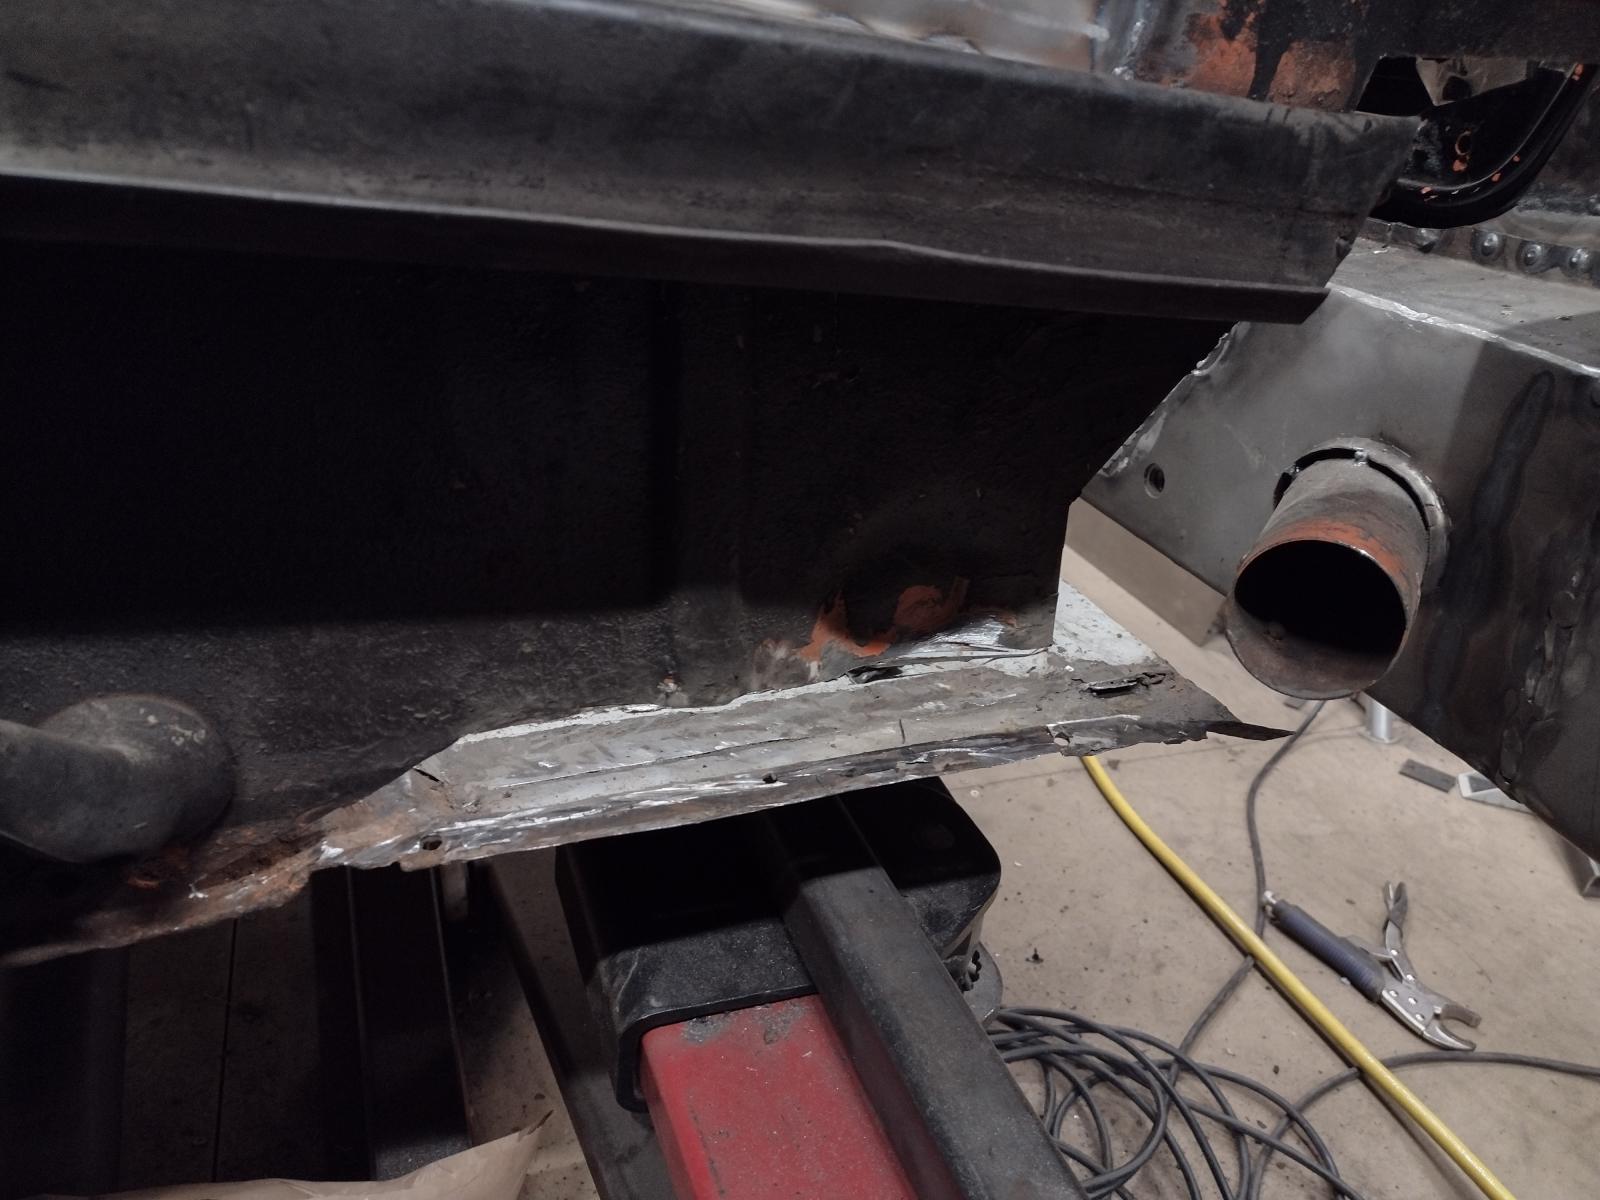
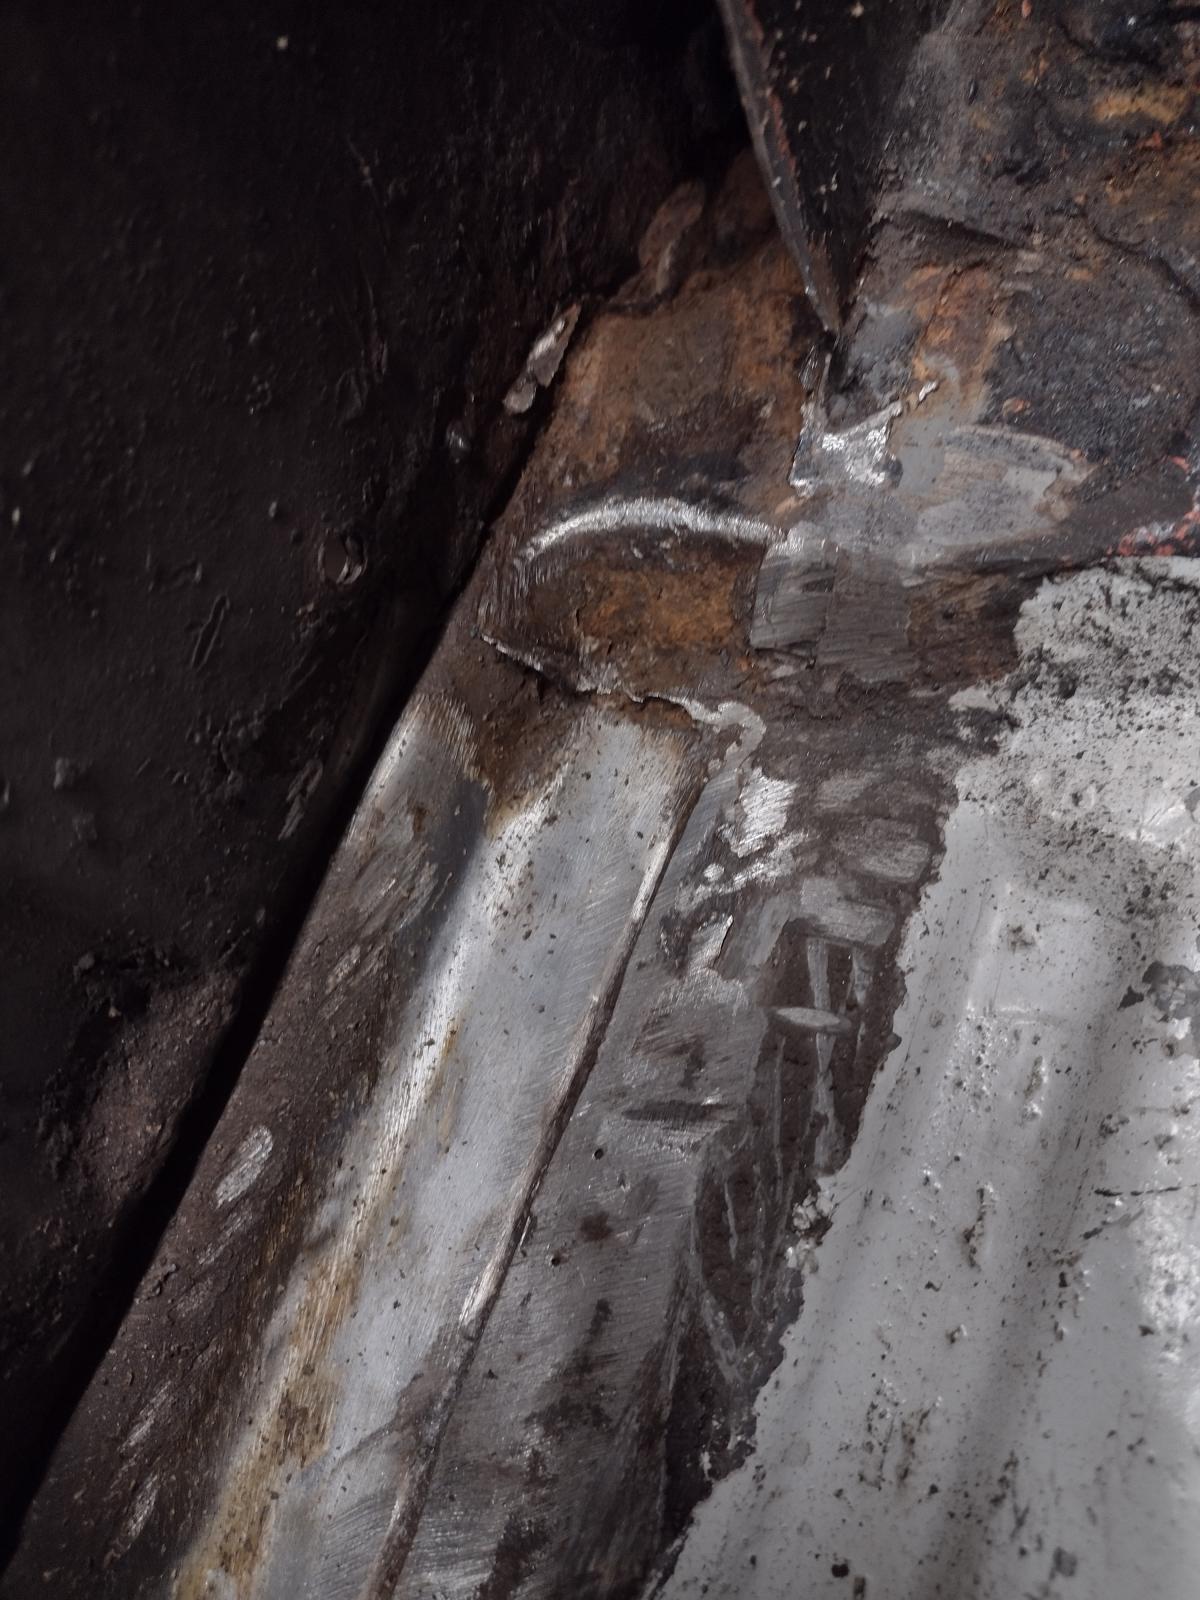
Then I decided to continue on the firewall..first taking care of this old terrible repair:
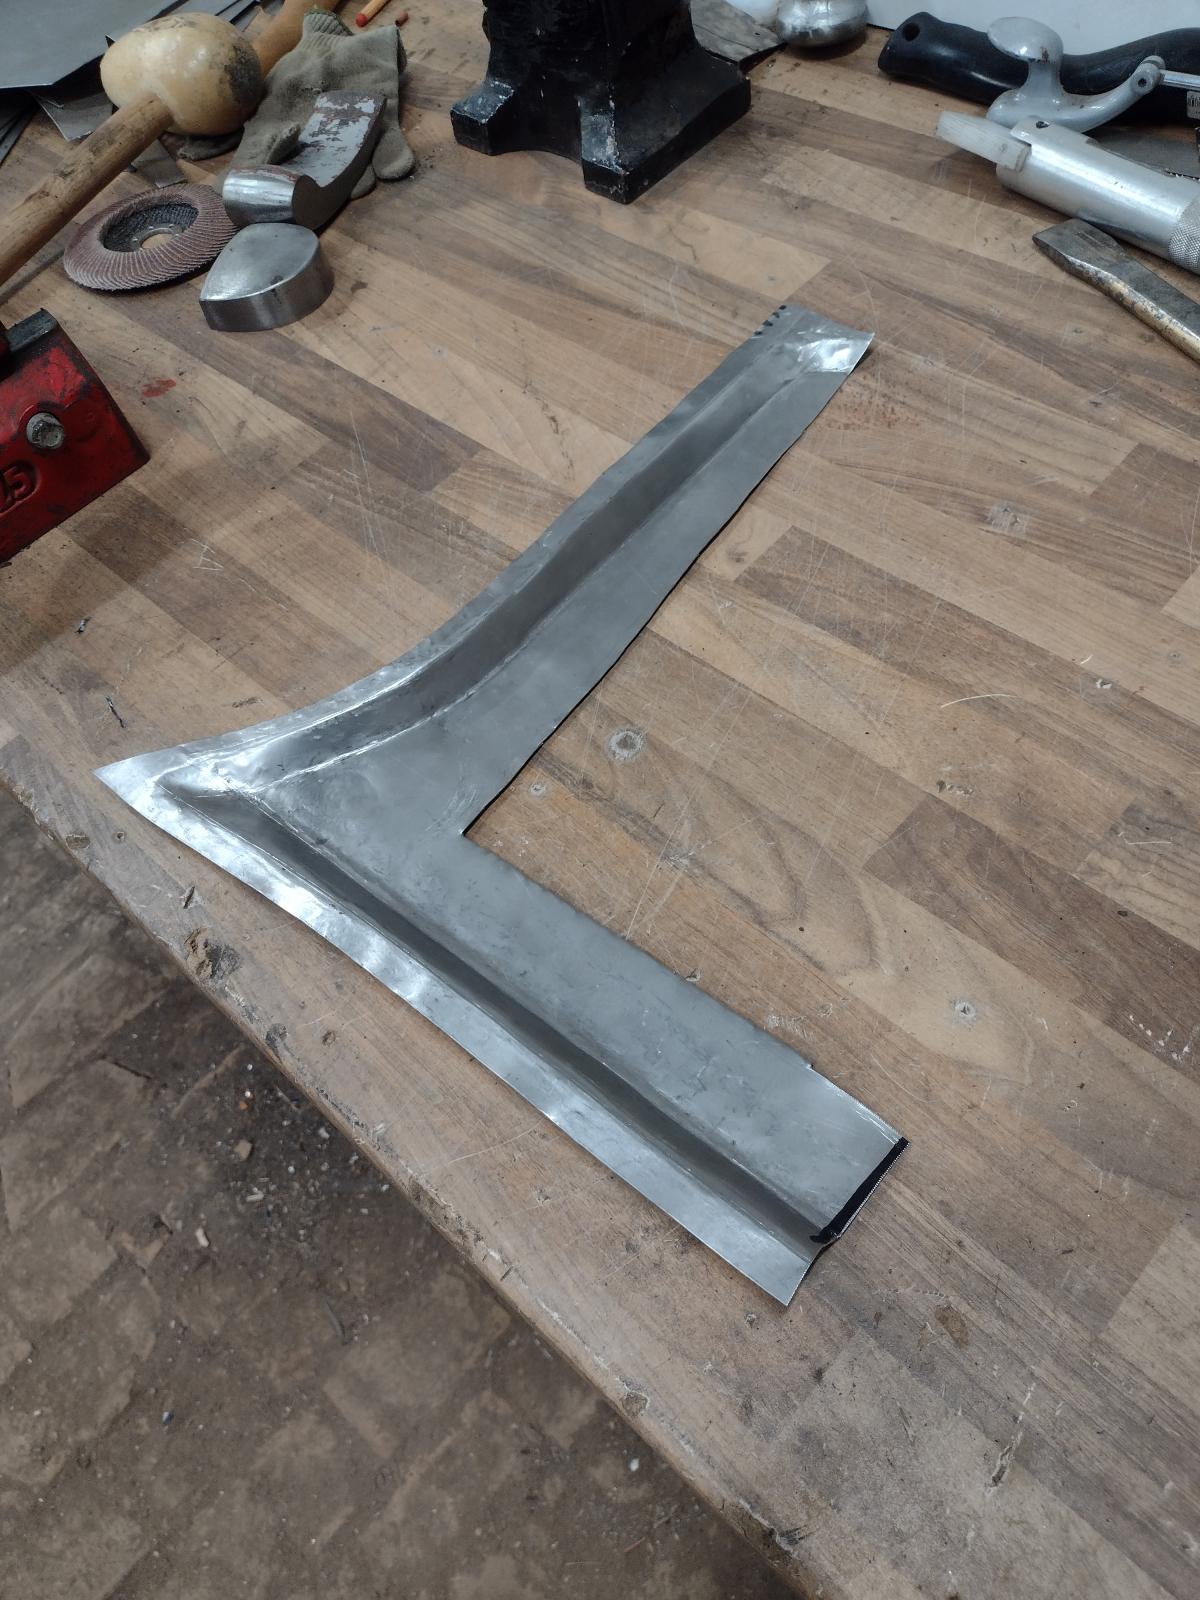
I decided to replace this part:
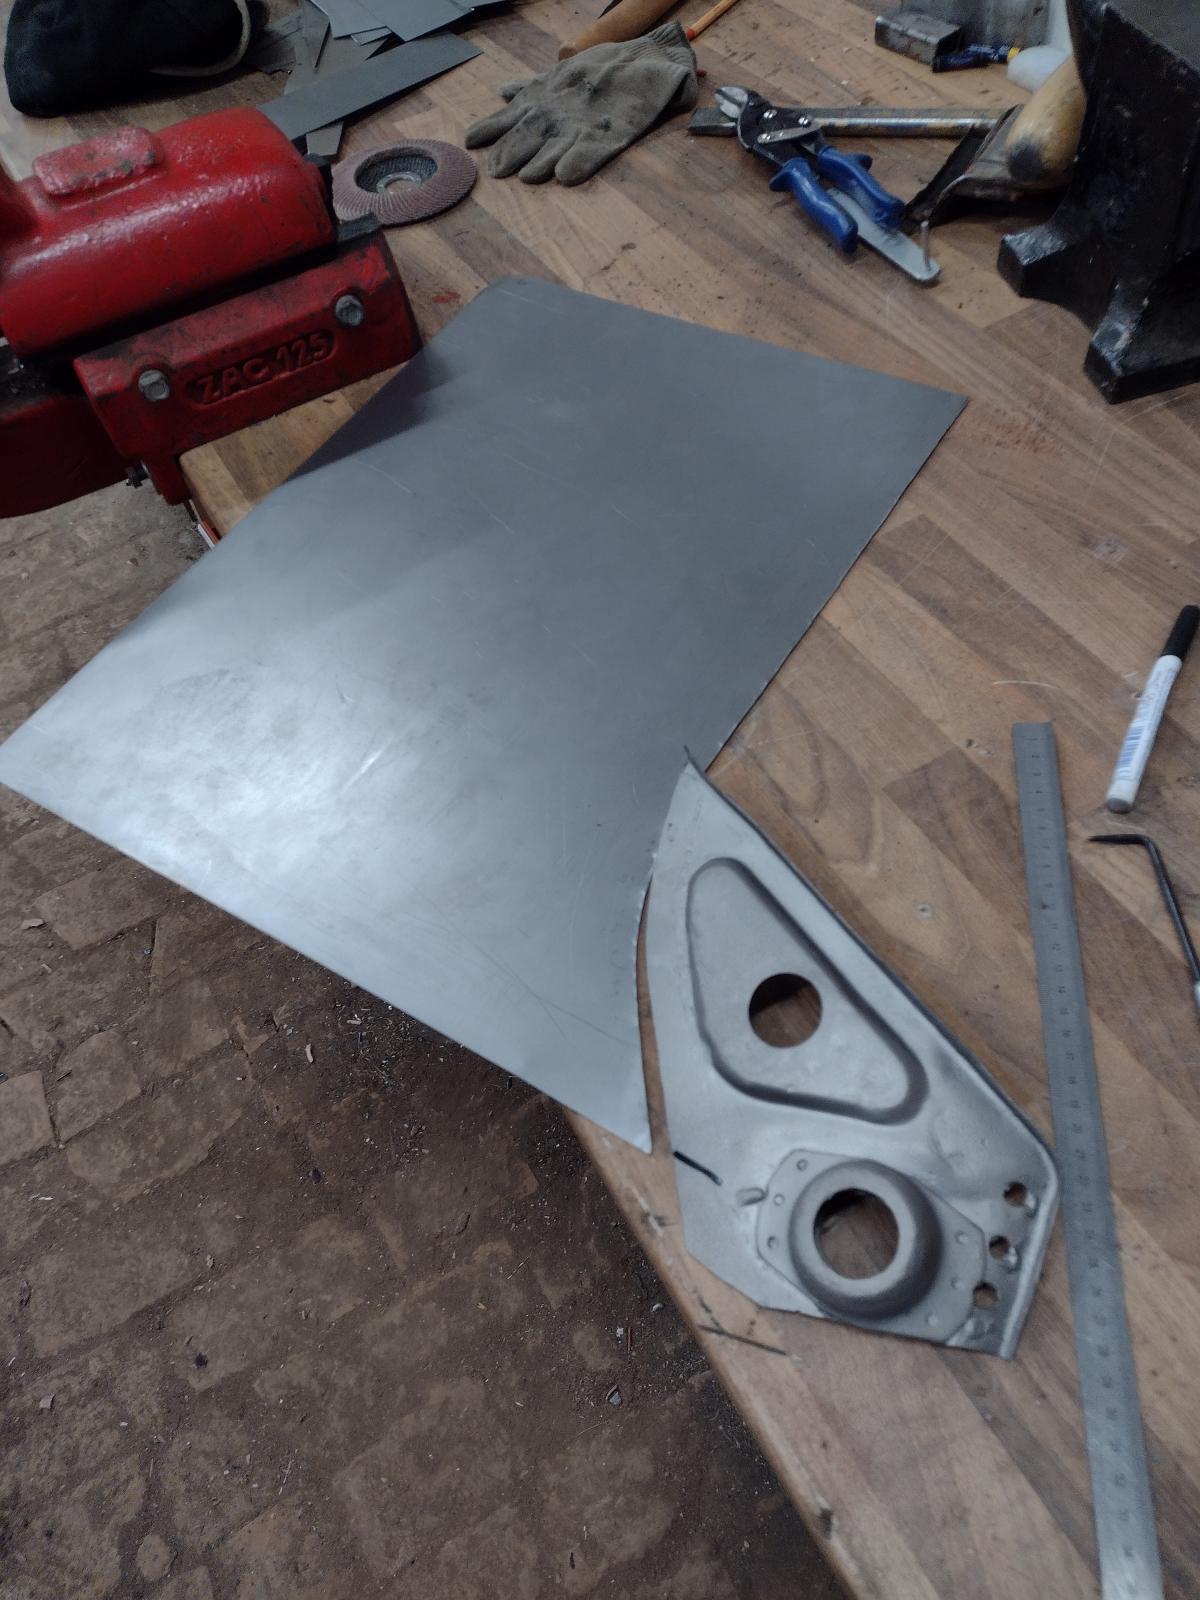
Making a template:
And the patch :
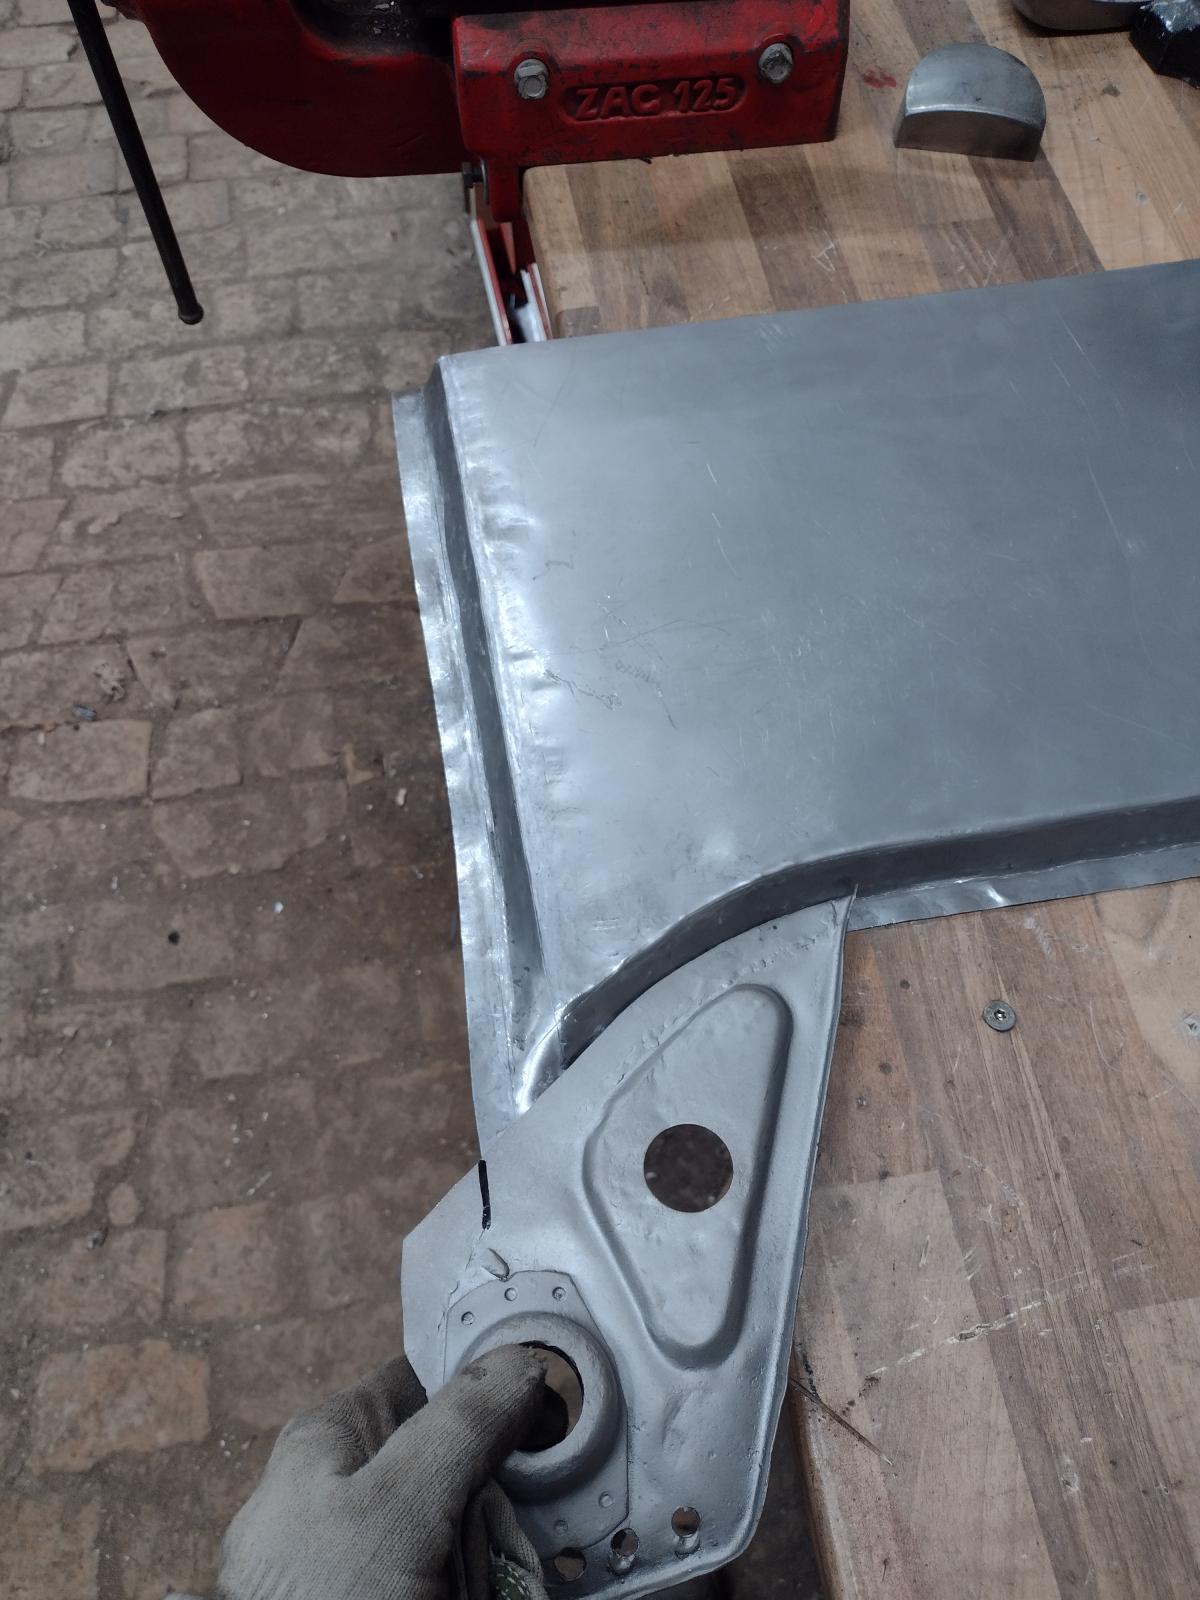
Cut out the wrong repair:
Adjusting:
Welding:
Et voilà:
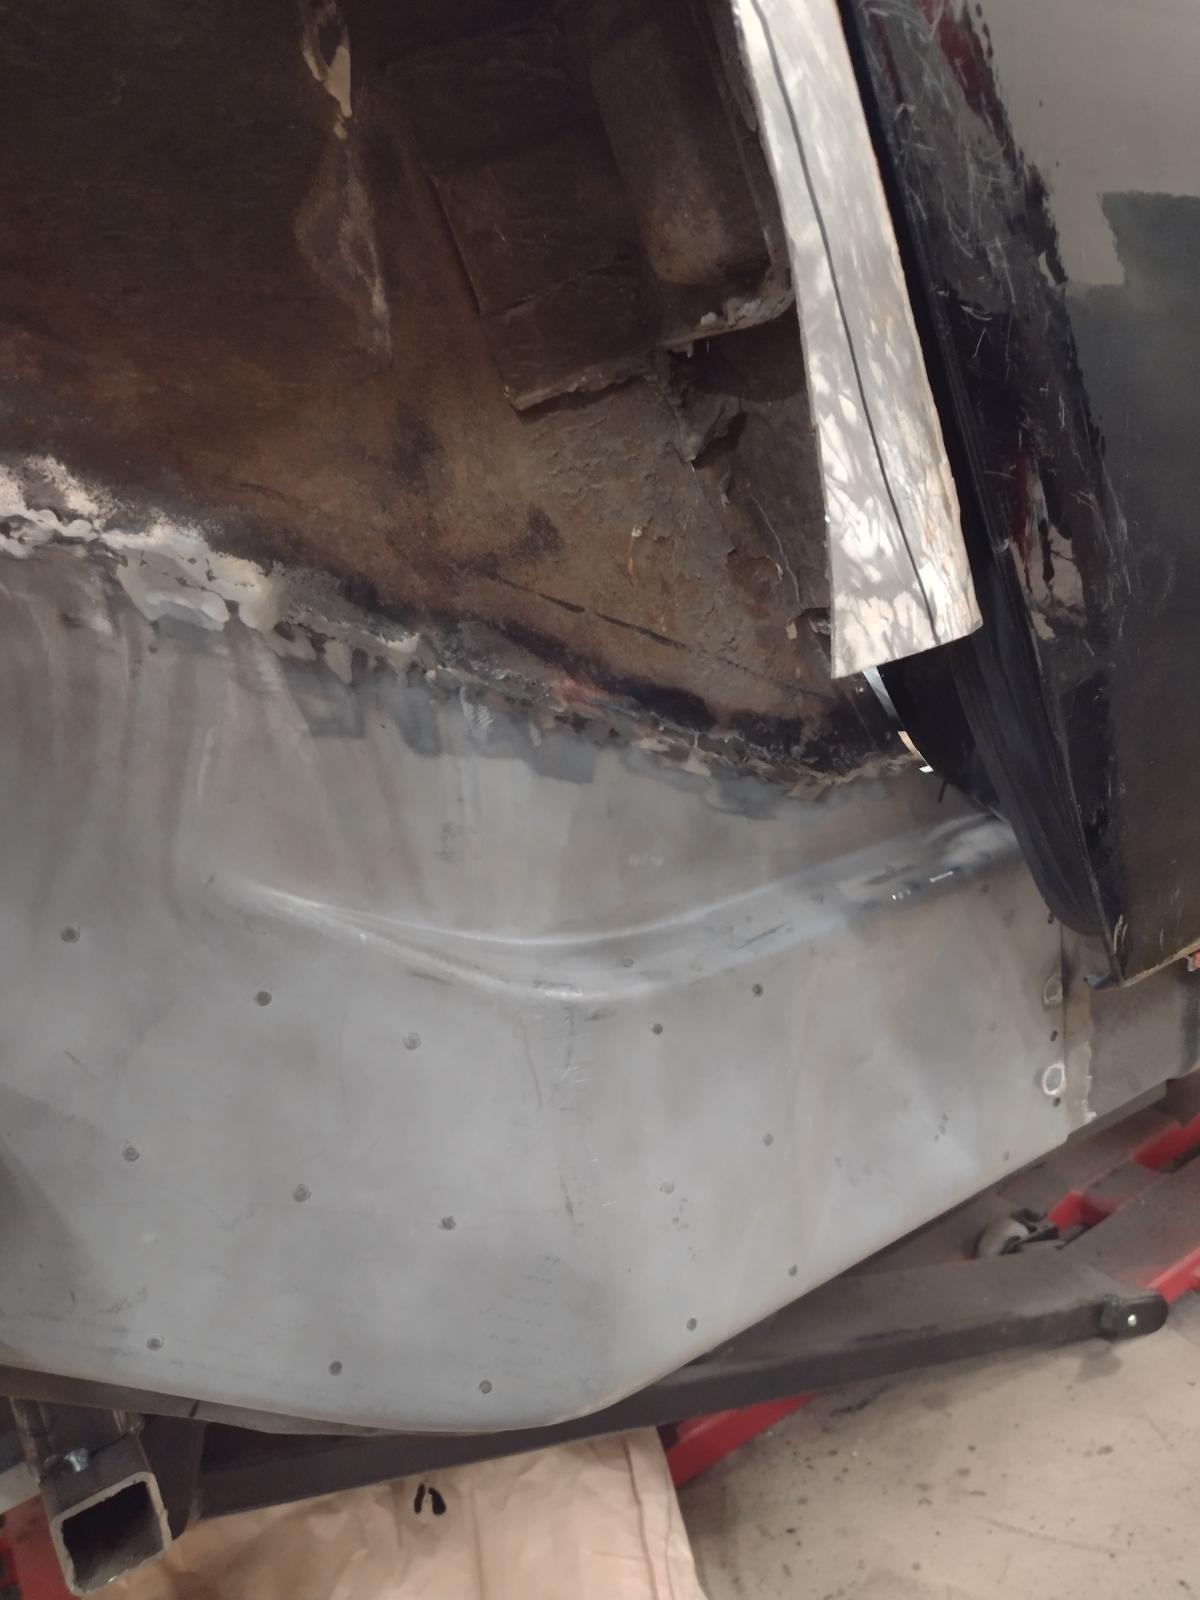
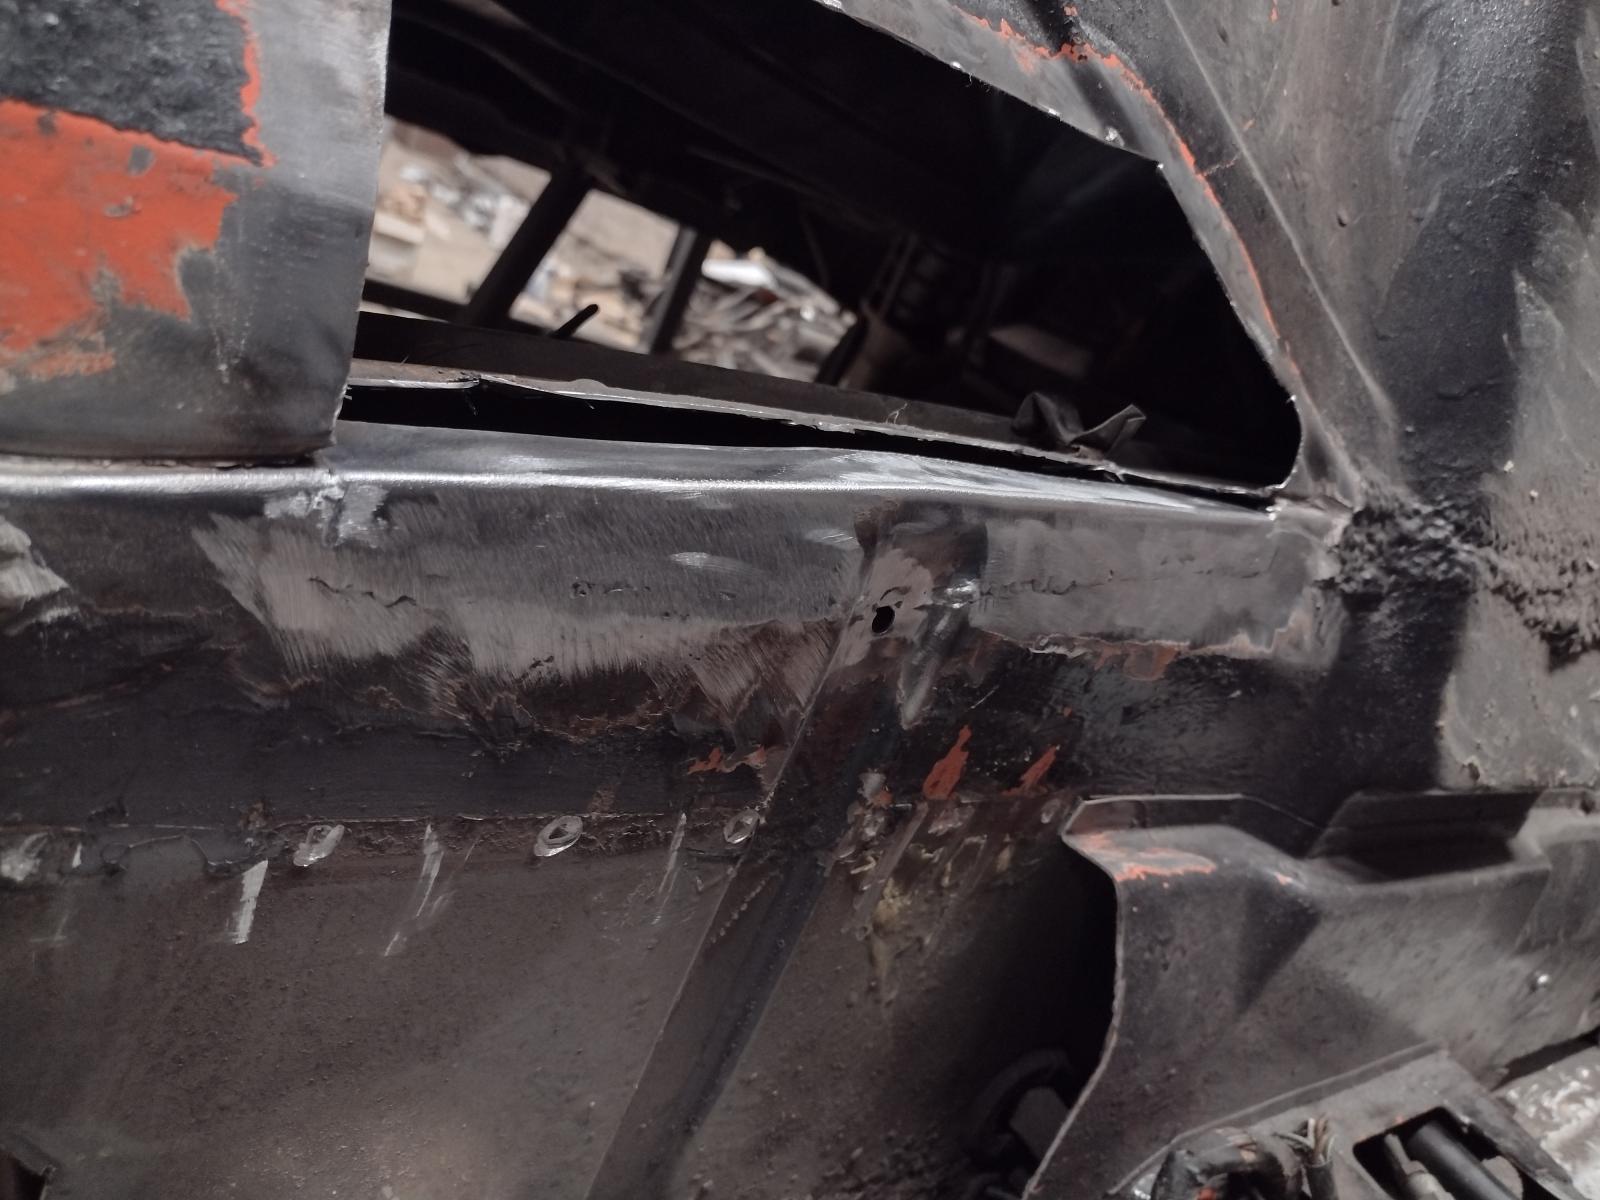
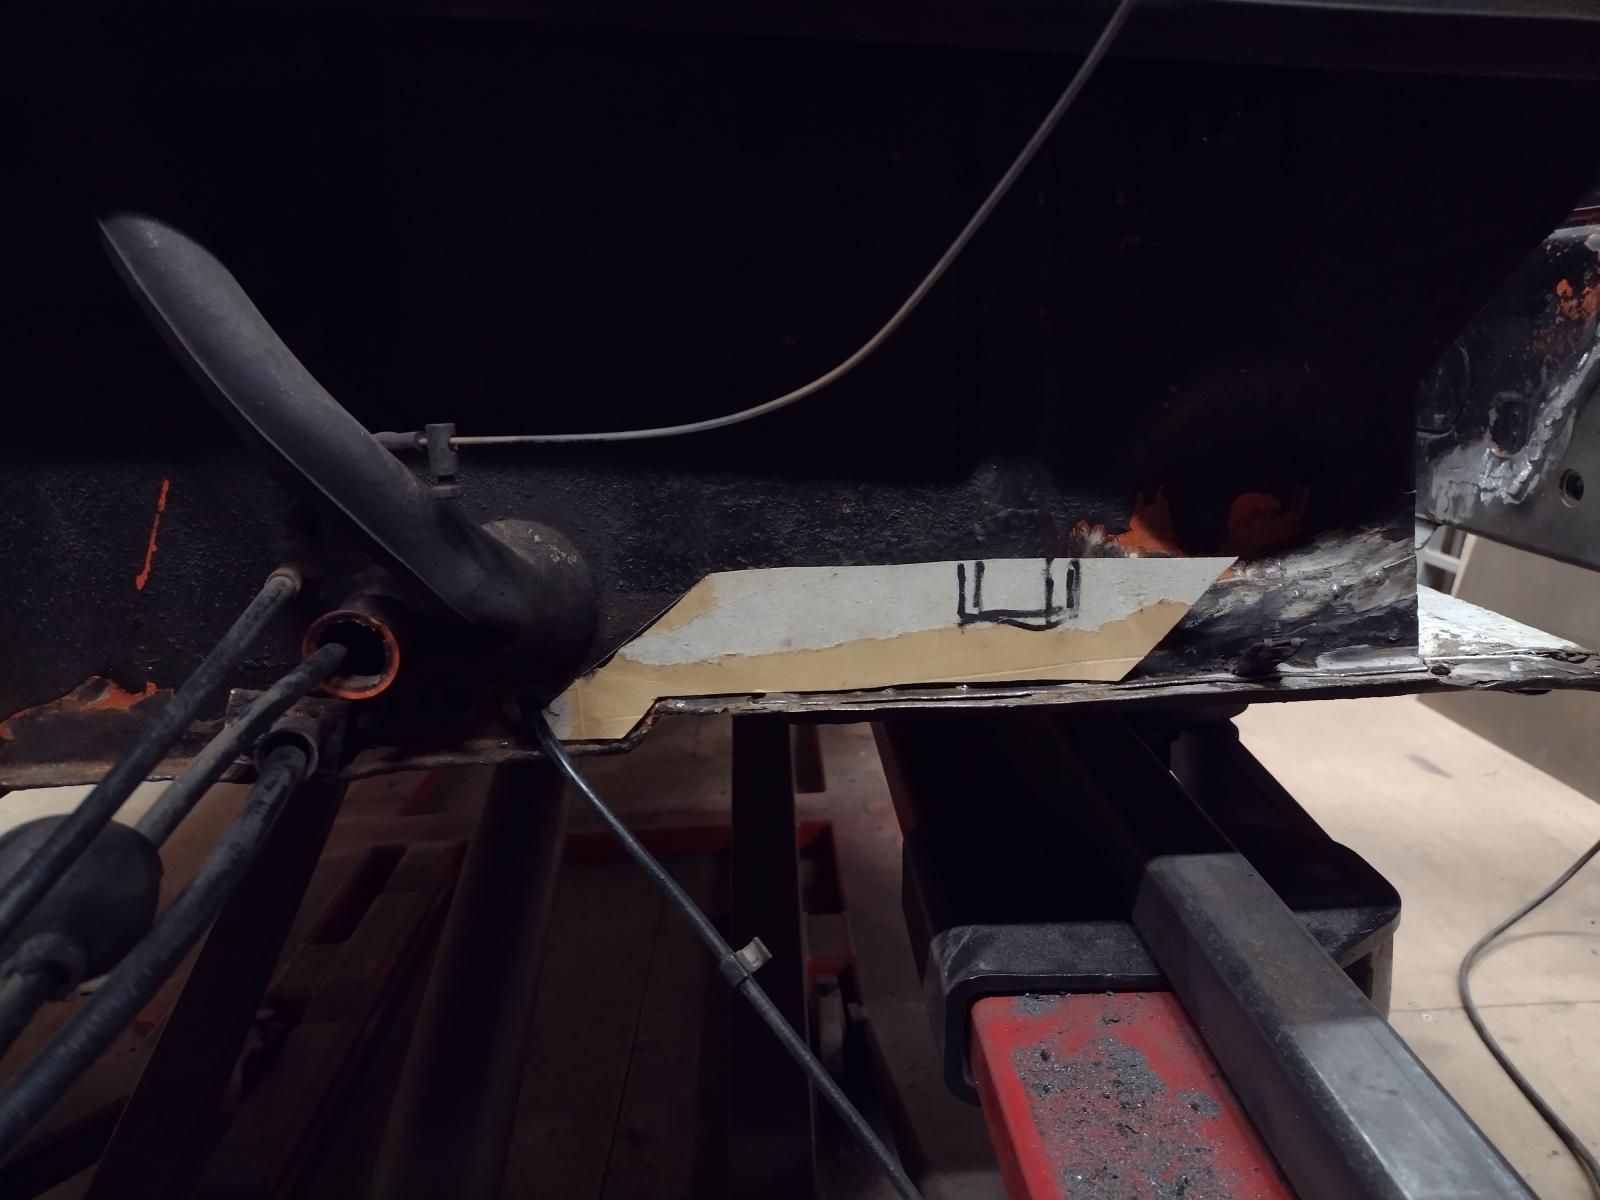
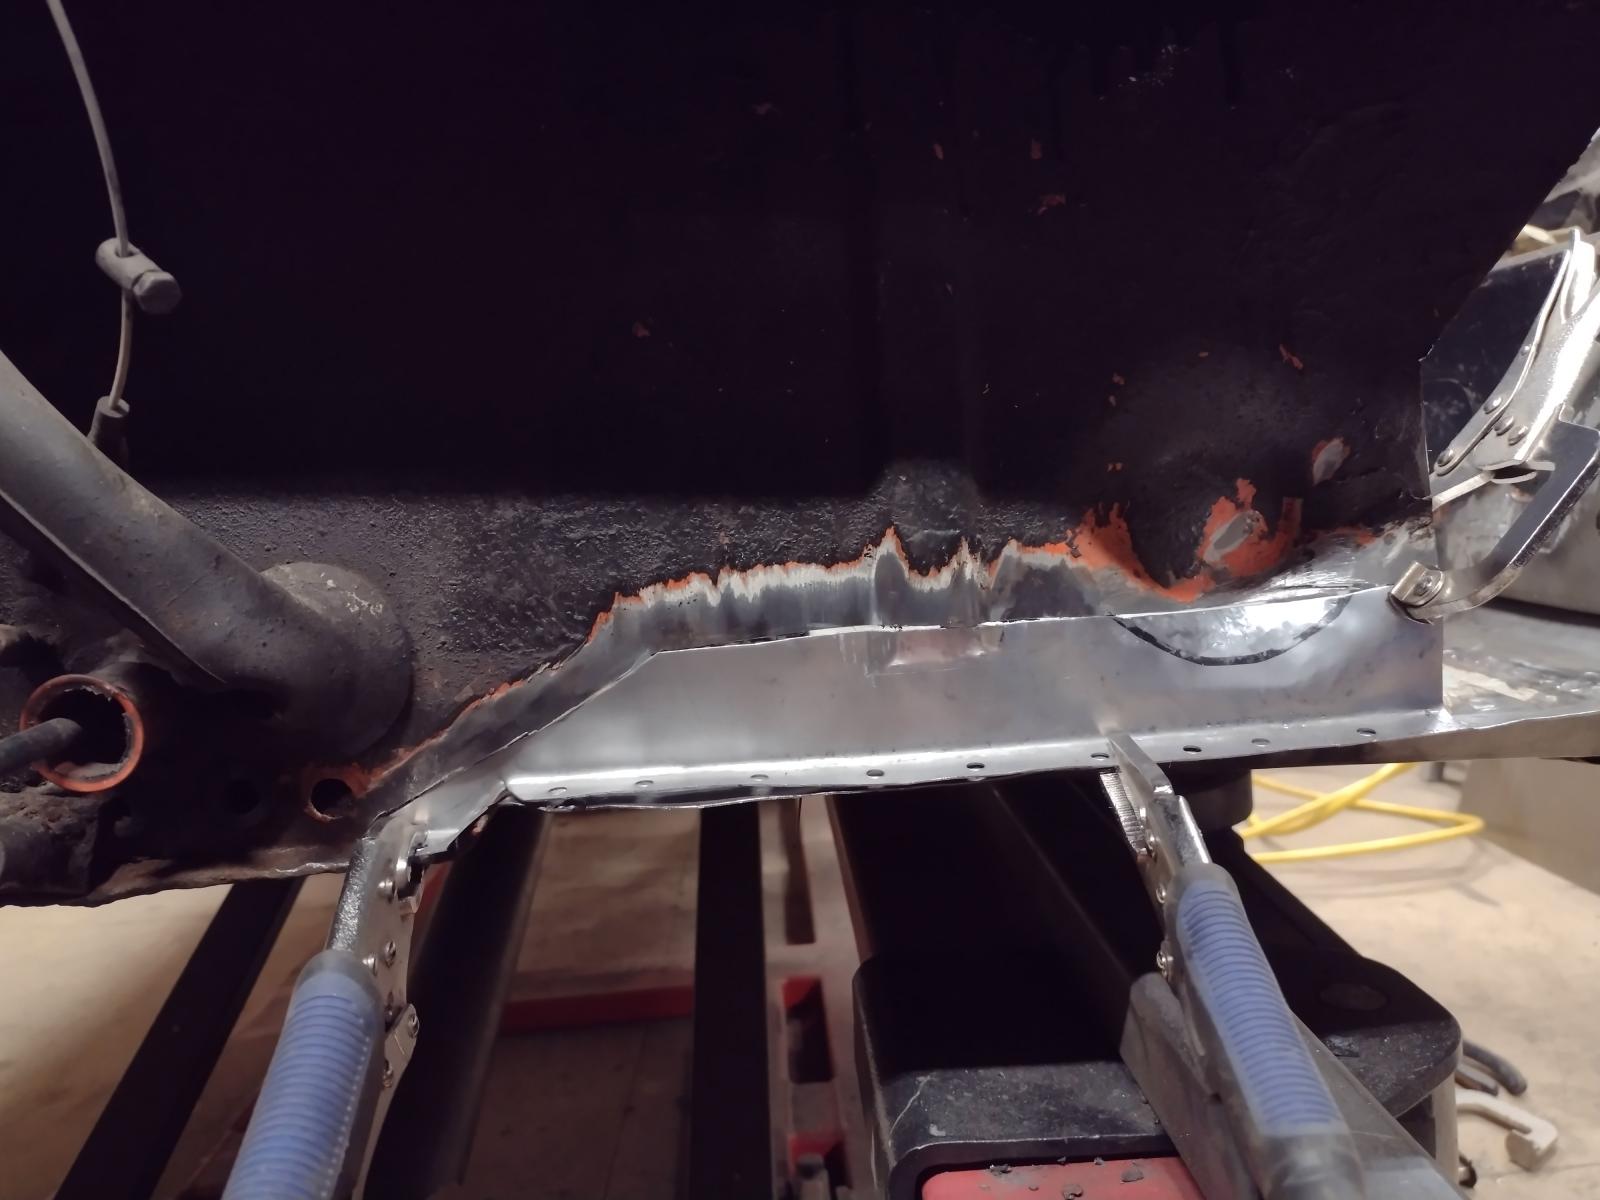
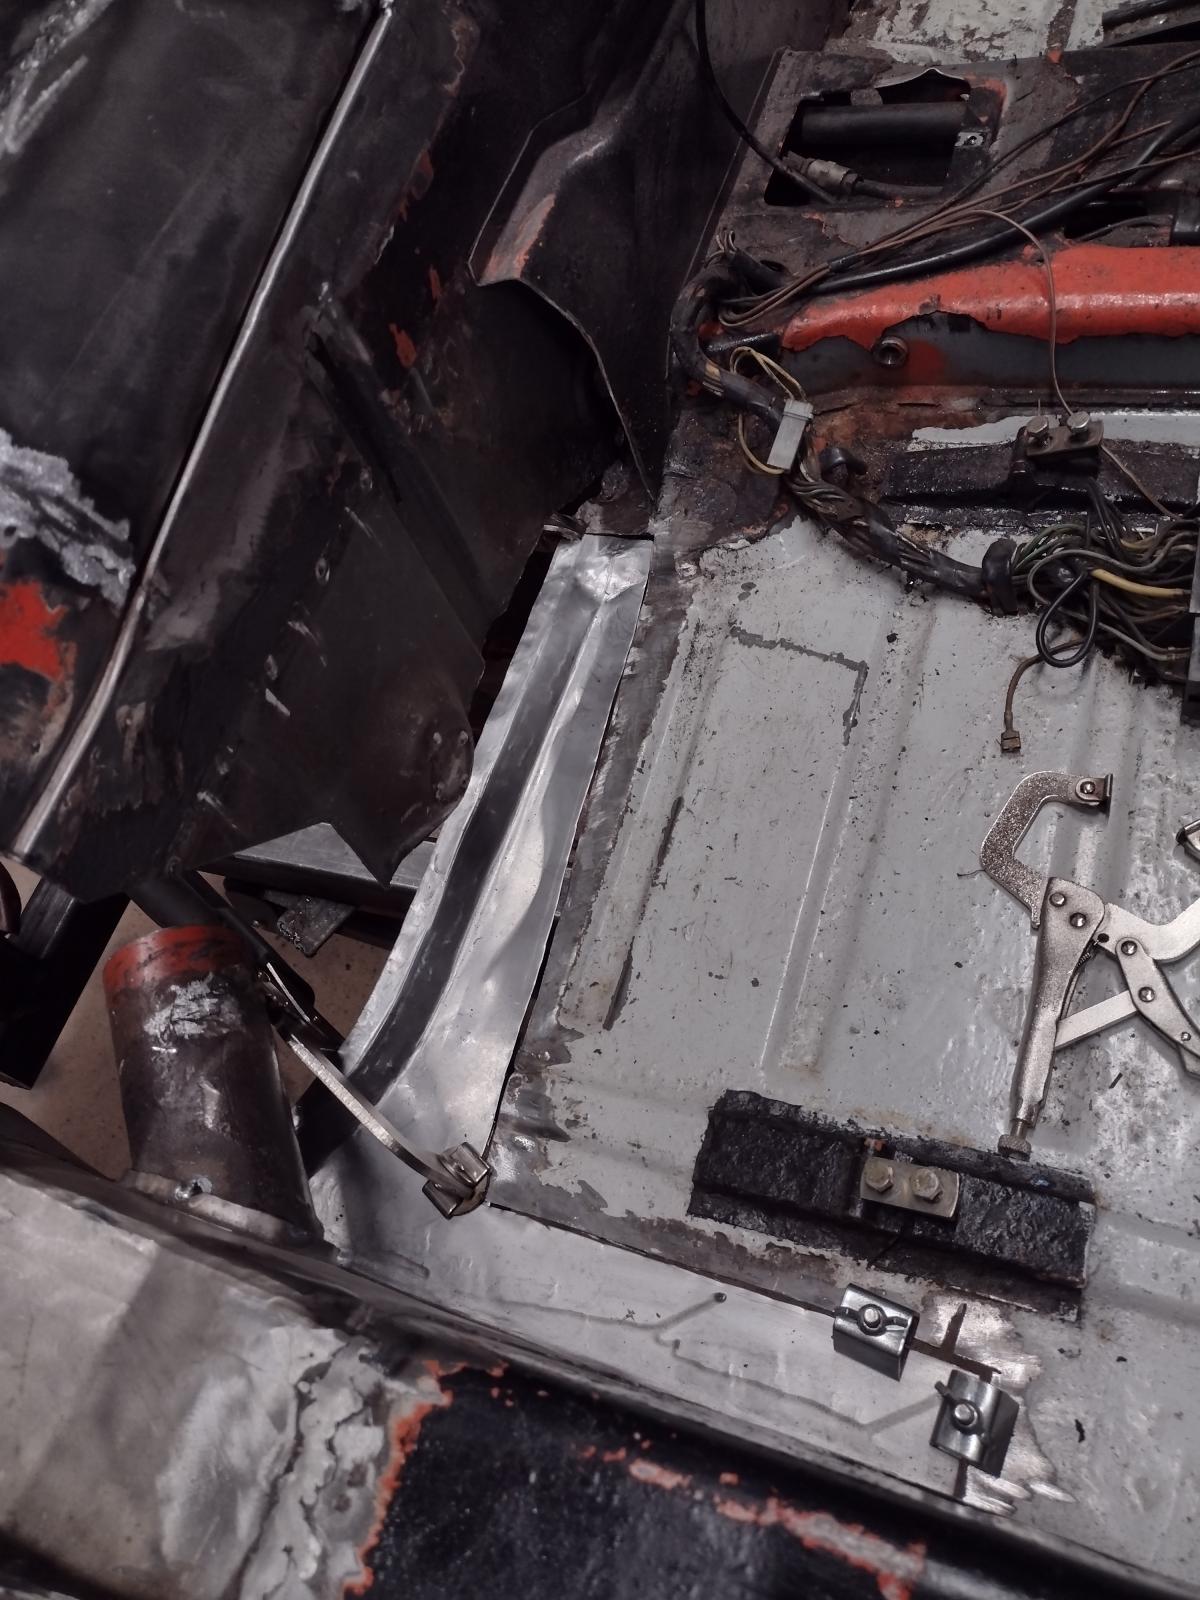
And in between, I had noticed that the floor was also repaired with metal over rust, what I can't stand so I also fixed that:
How it was:
Starting the shape:
Verifying the fit:
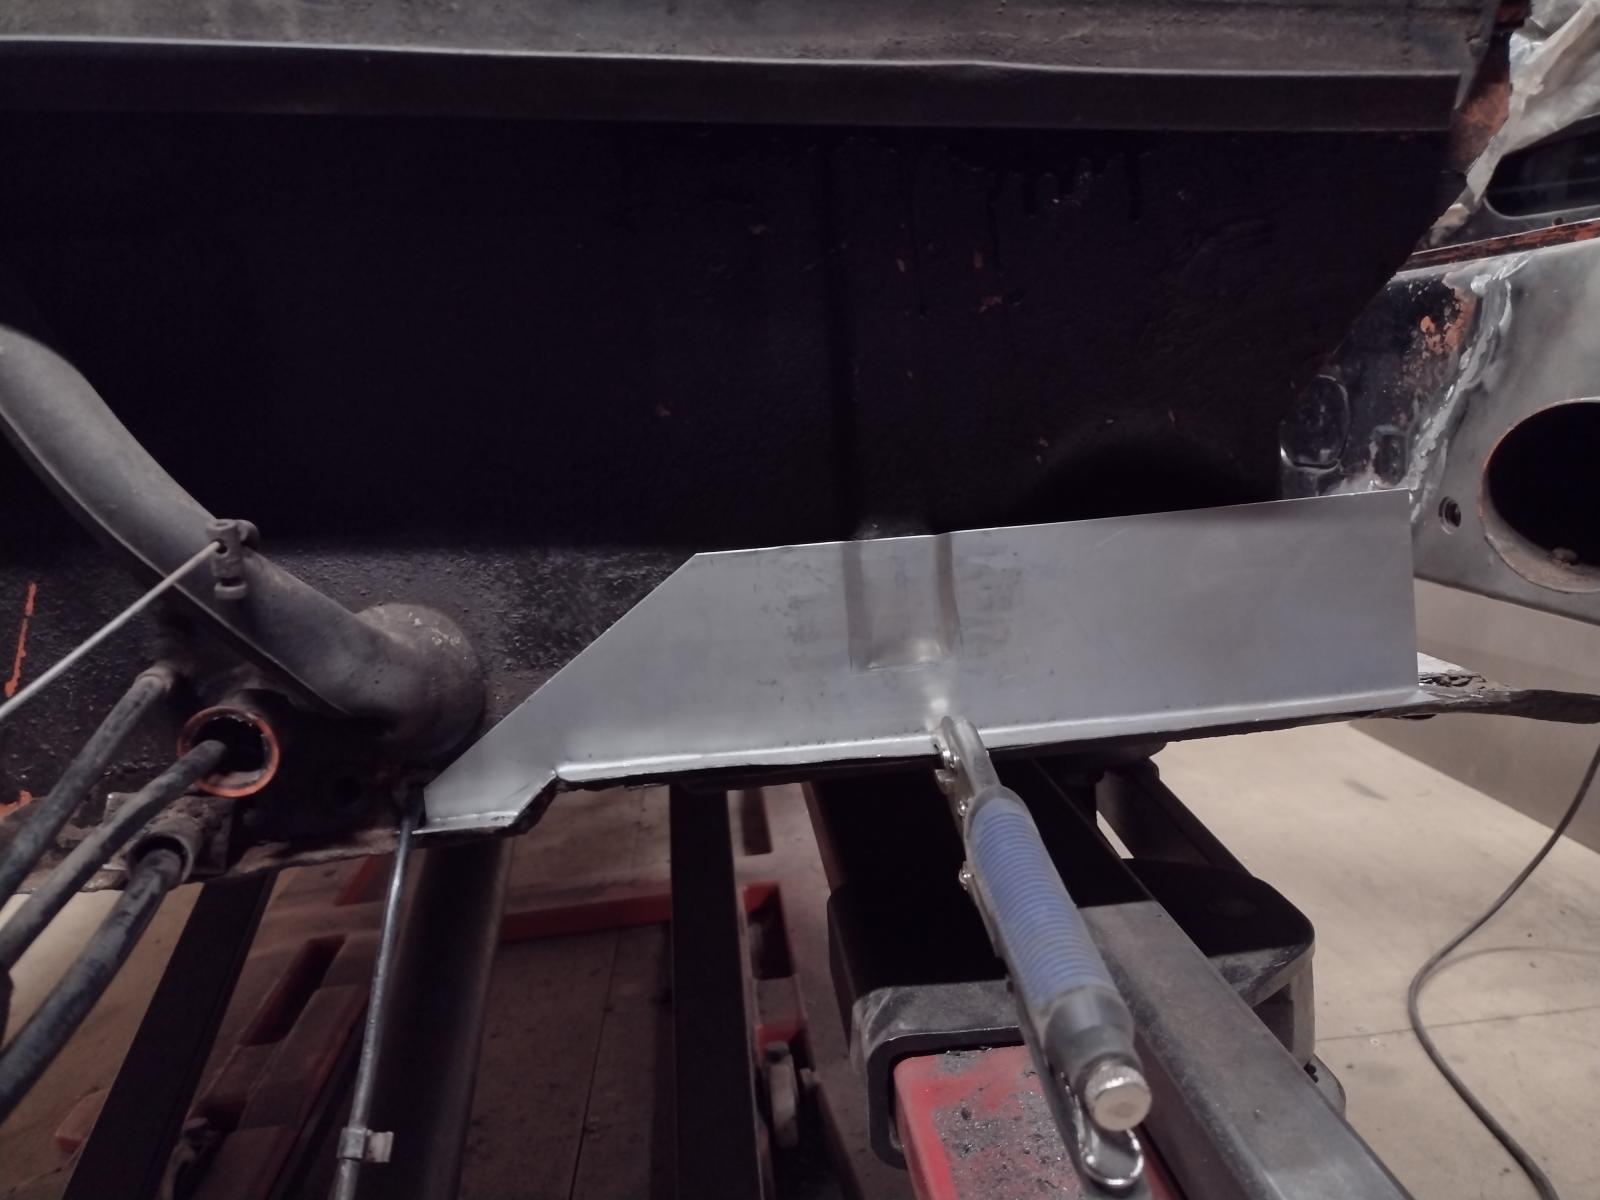
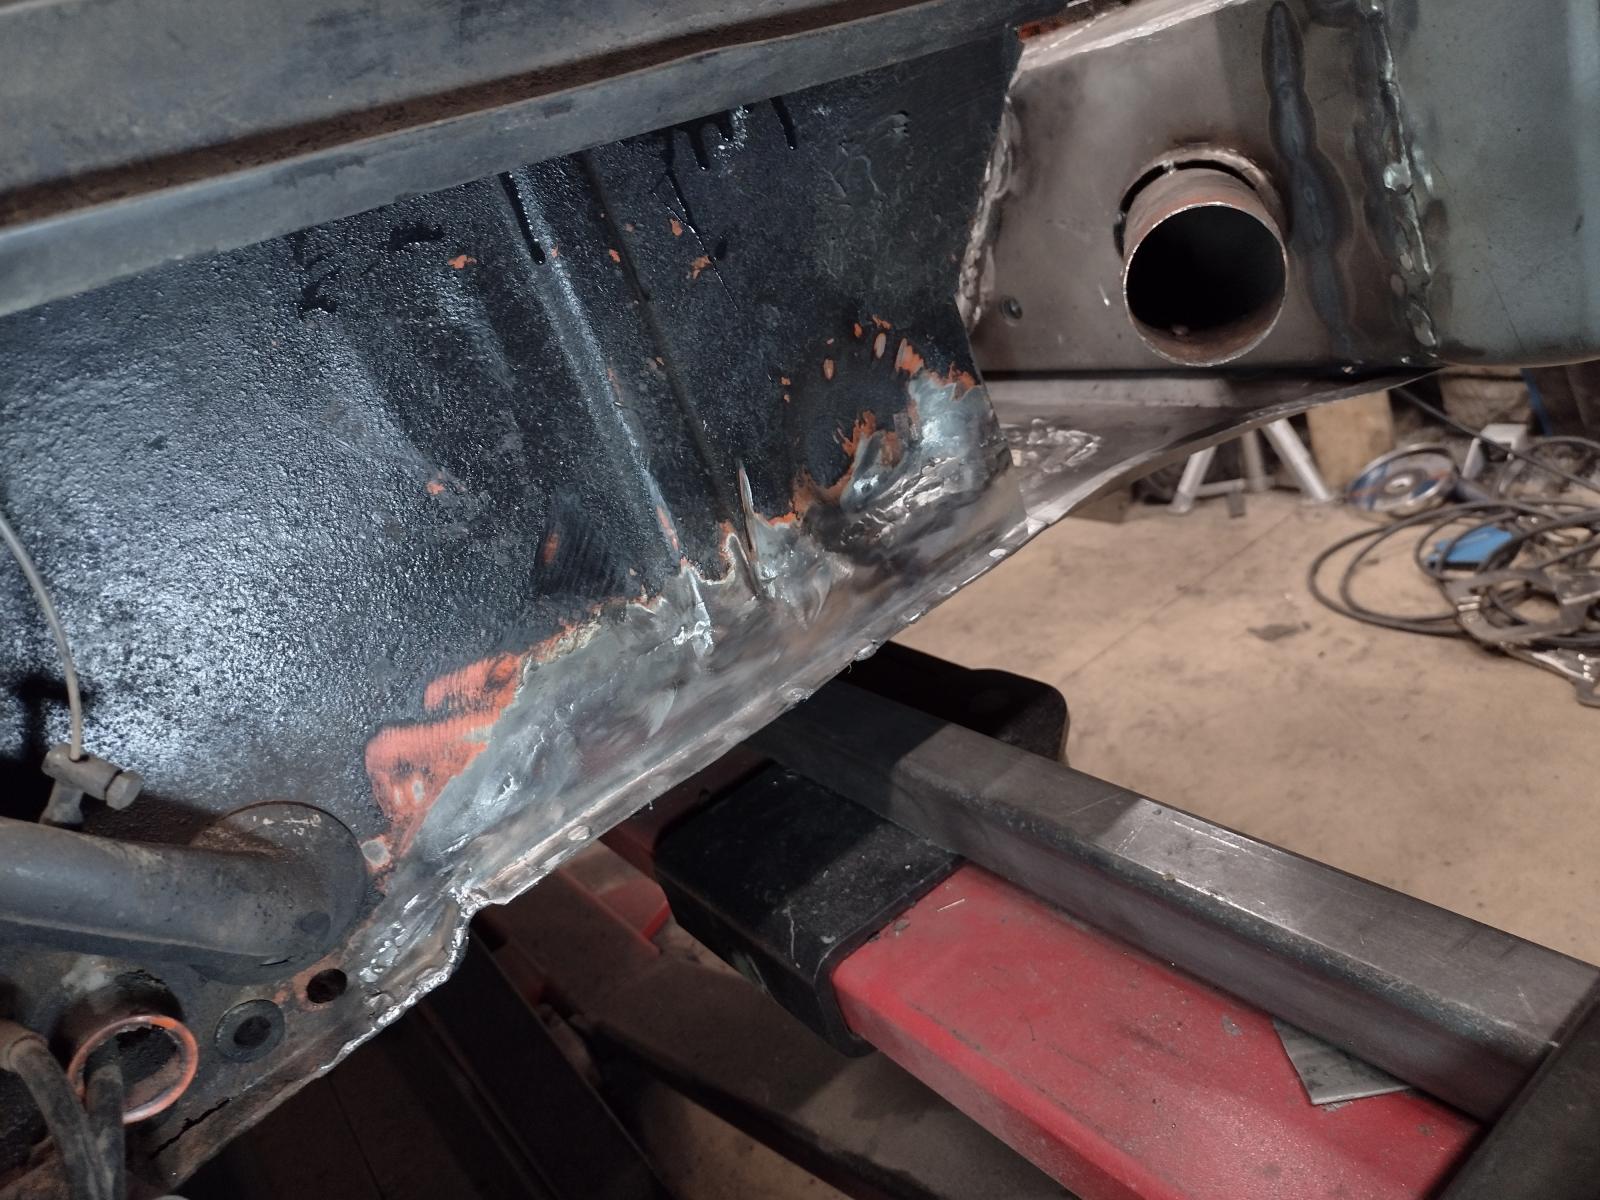
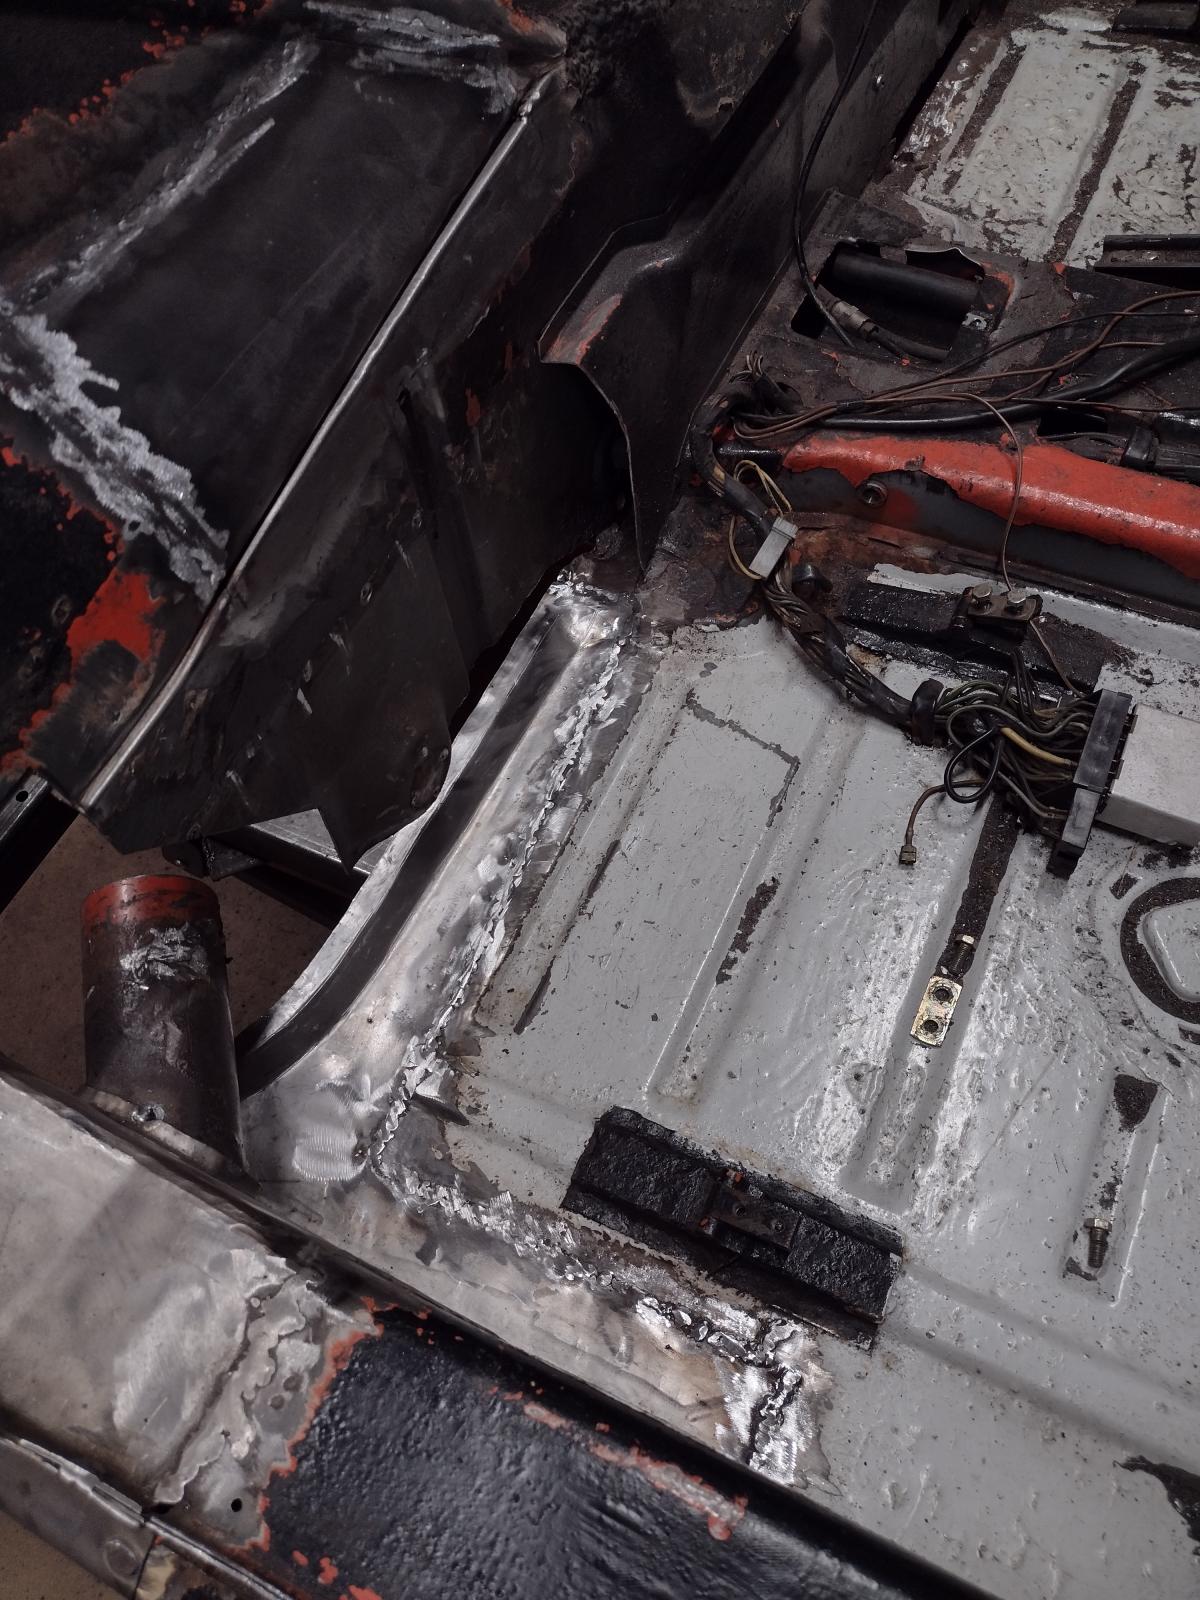
Whole shape:
Test-fitting:
Cutting and adjusting:
And welded:
I did not over-grind it..the weld is under the front part of the firewall and robustness is more important!
Stay tuned, I have more to share!
Antoine
Fantastic progress!
A part isn't purchased until paid.
The 9 Store LLC.
great progress and more importantly the lesson learned from the previous inappropriate repair.
very well donedespite old "repairs" that are a real pita
Light Yellow -74
@lagteknik
Great thread and love your enthusiasm
Look forward to seeing the project progress
Darren
72T 2.5 RHD - http://www.early911sregistry.org/for...l-Street-Racer - http://www.ddk-online.com/phpBB2/vie...p?f=10&t=56183
73 2.4E LHD - http://www.ddk-online.com/phpBB2/vie...p?f=10&t=44242
77 Carrera 3.0 RHD...to 74 3.0RS - http://www.early911sregistry.org/for...?147548-Flares
Early 911S Registry #2325
DDK #601
Thanks a lot for the support and the compliment, really appreciated ! So let's continue, I am still not up to date with the current status!
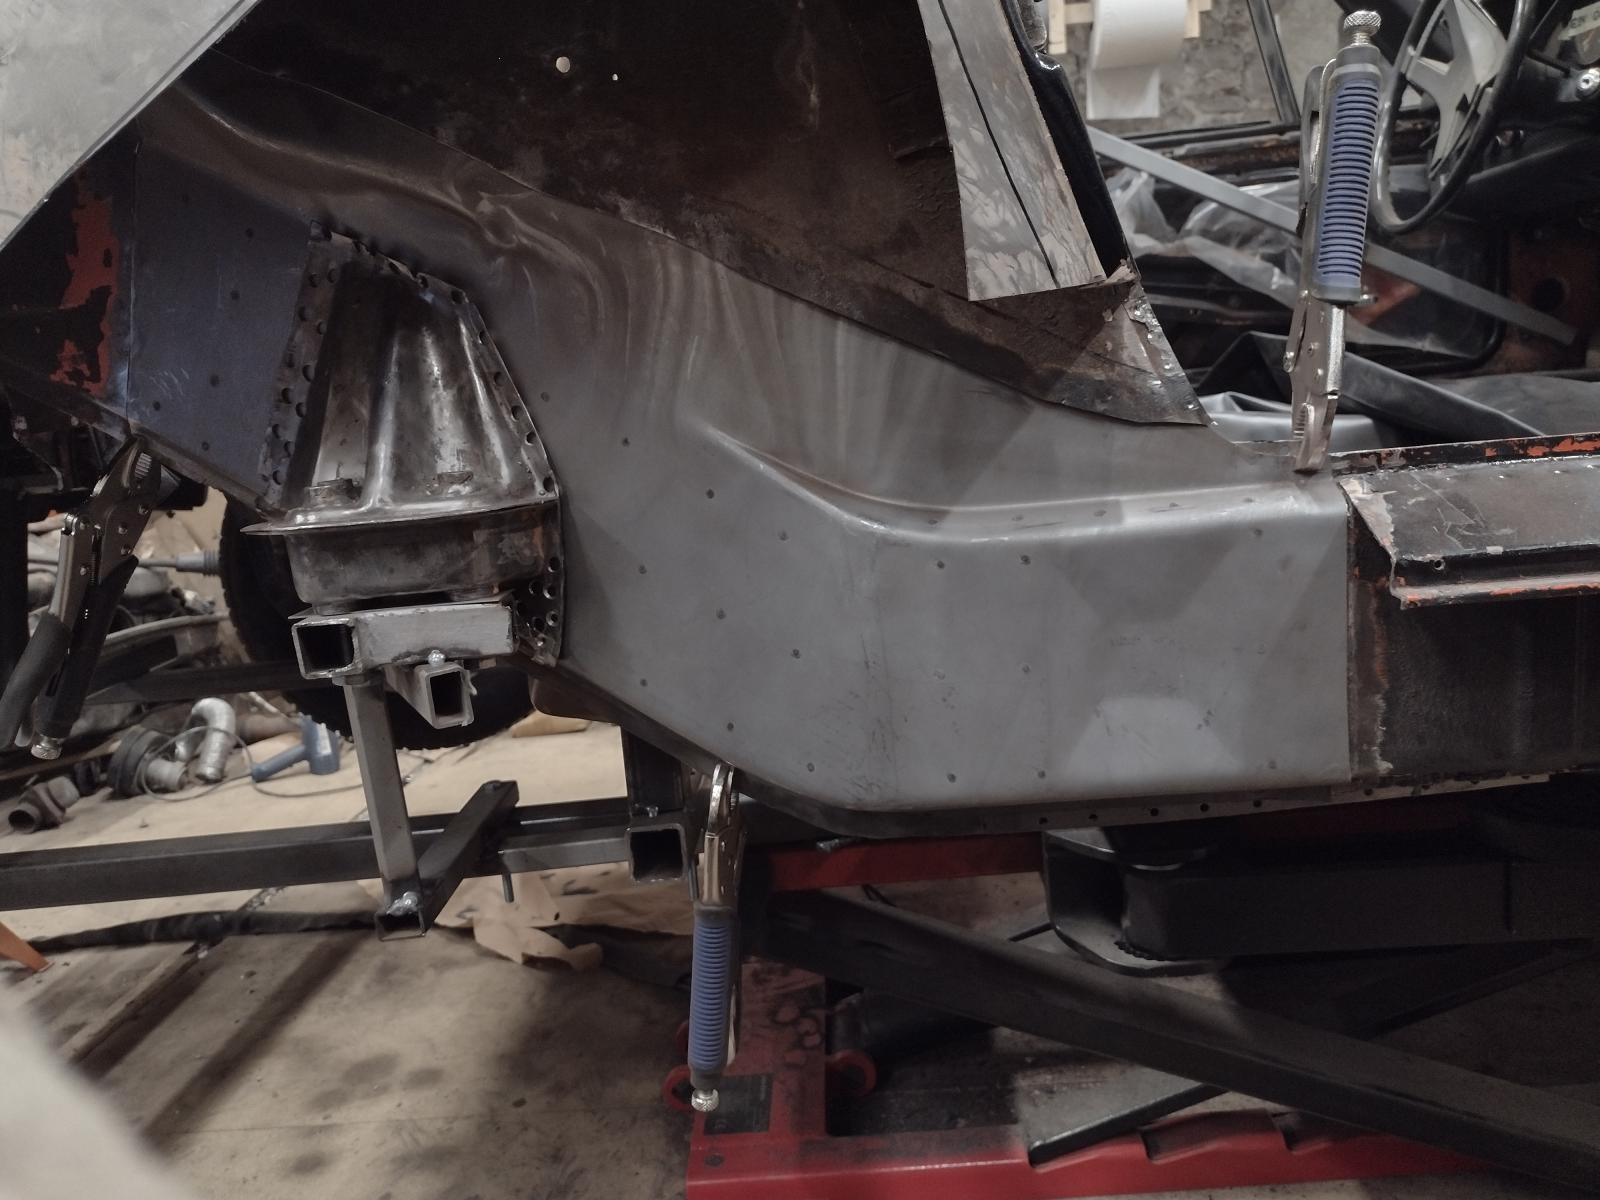
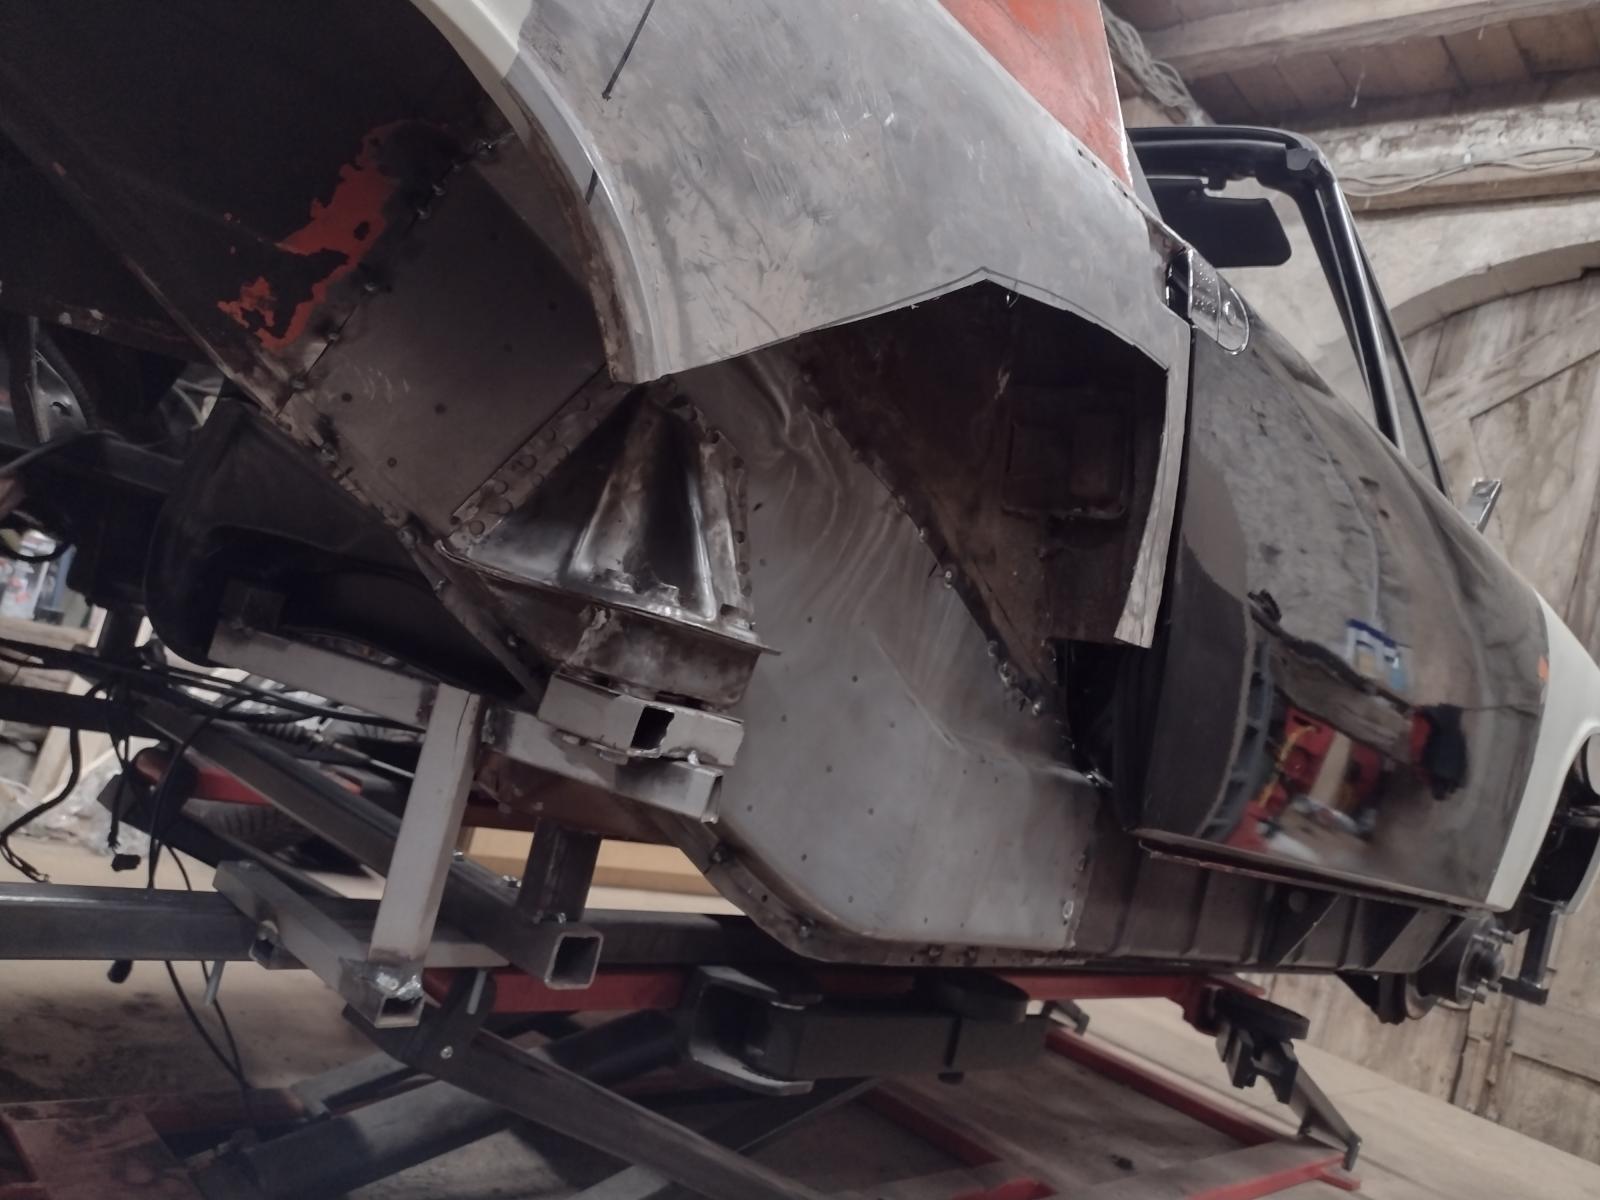
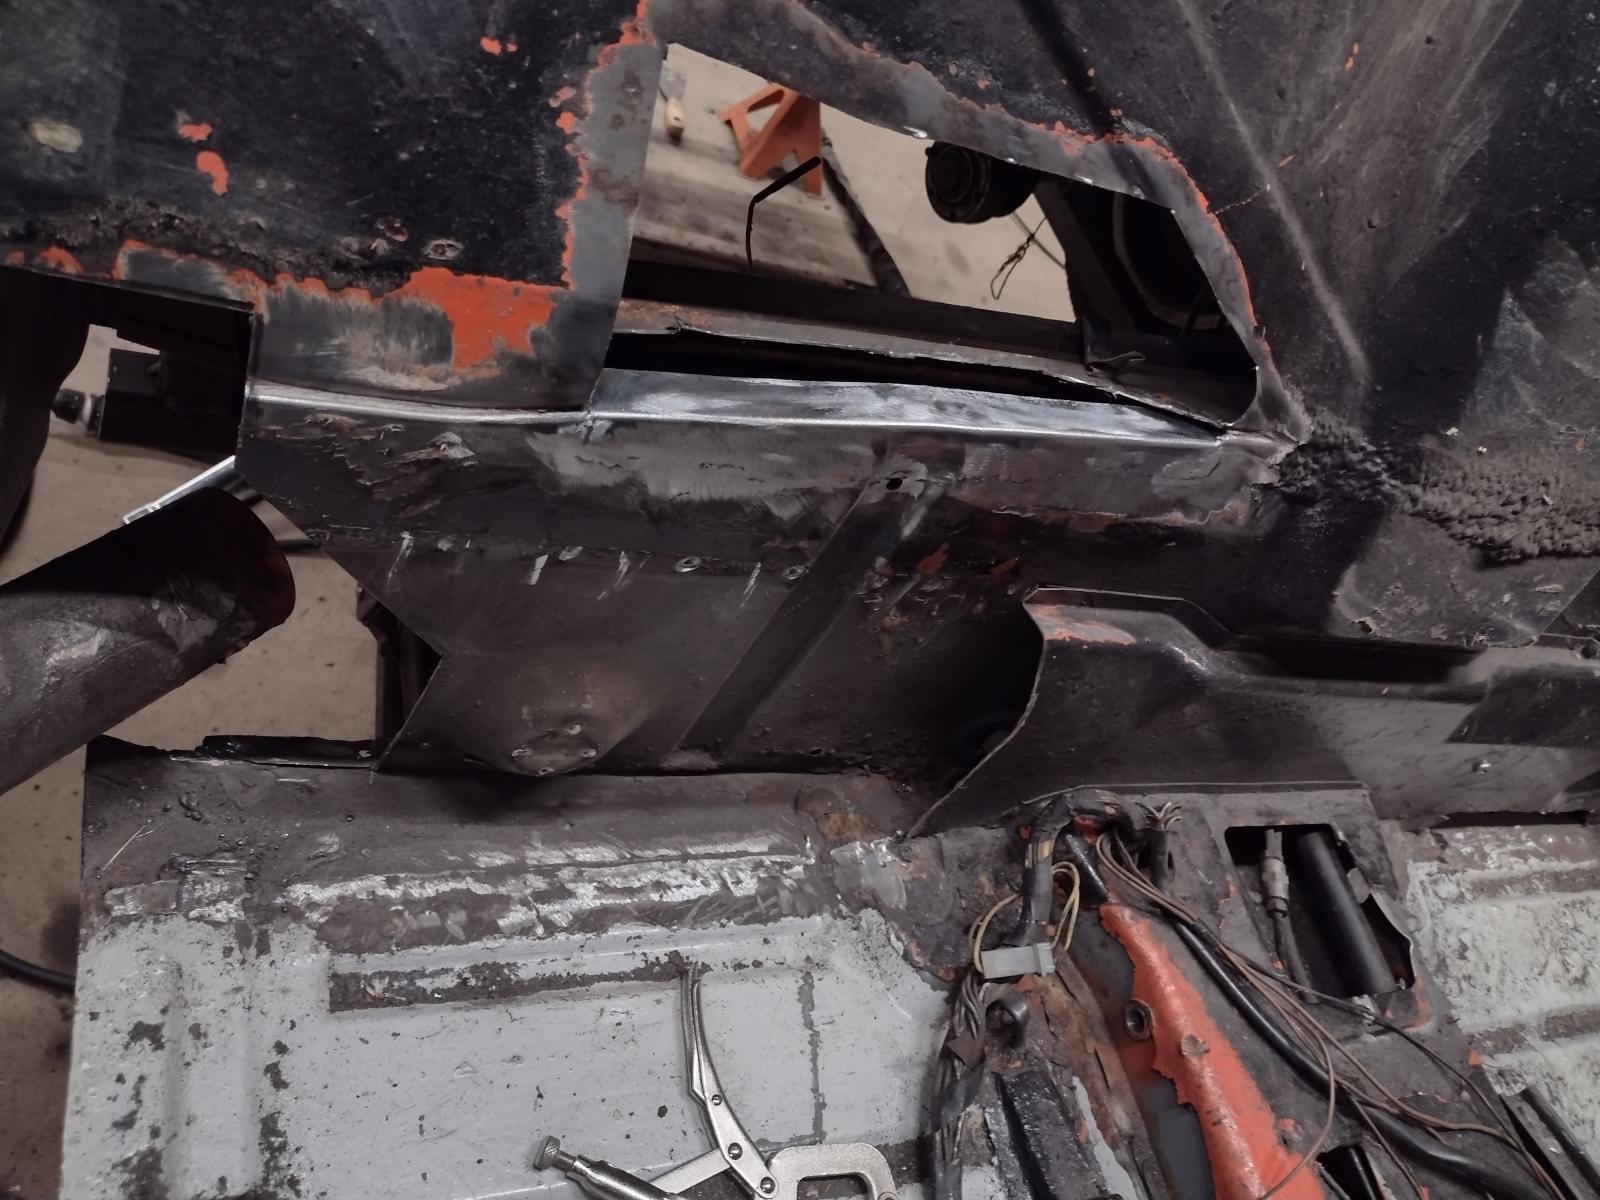
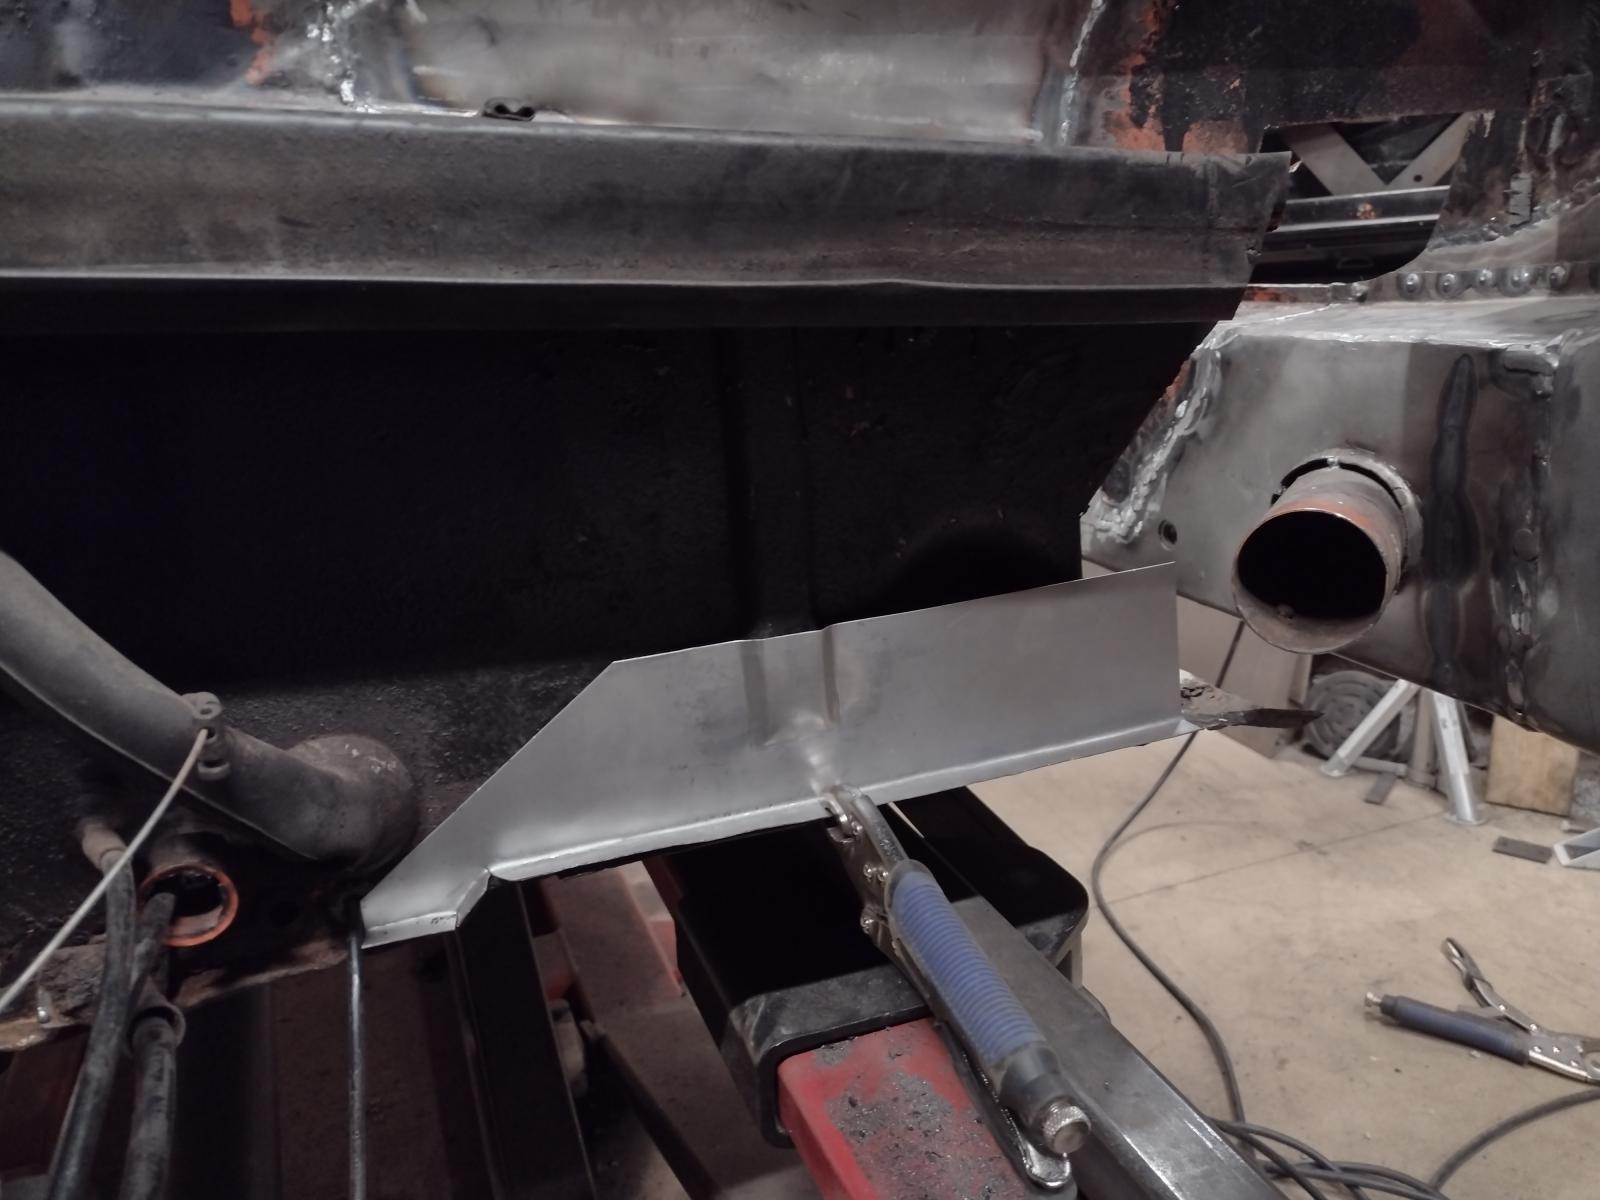
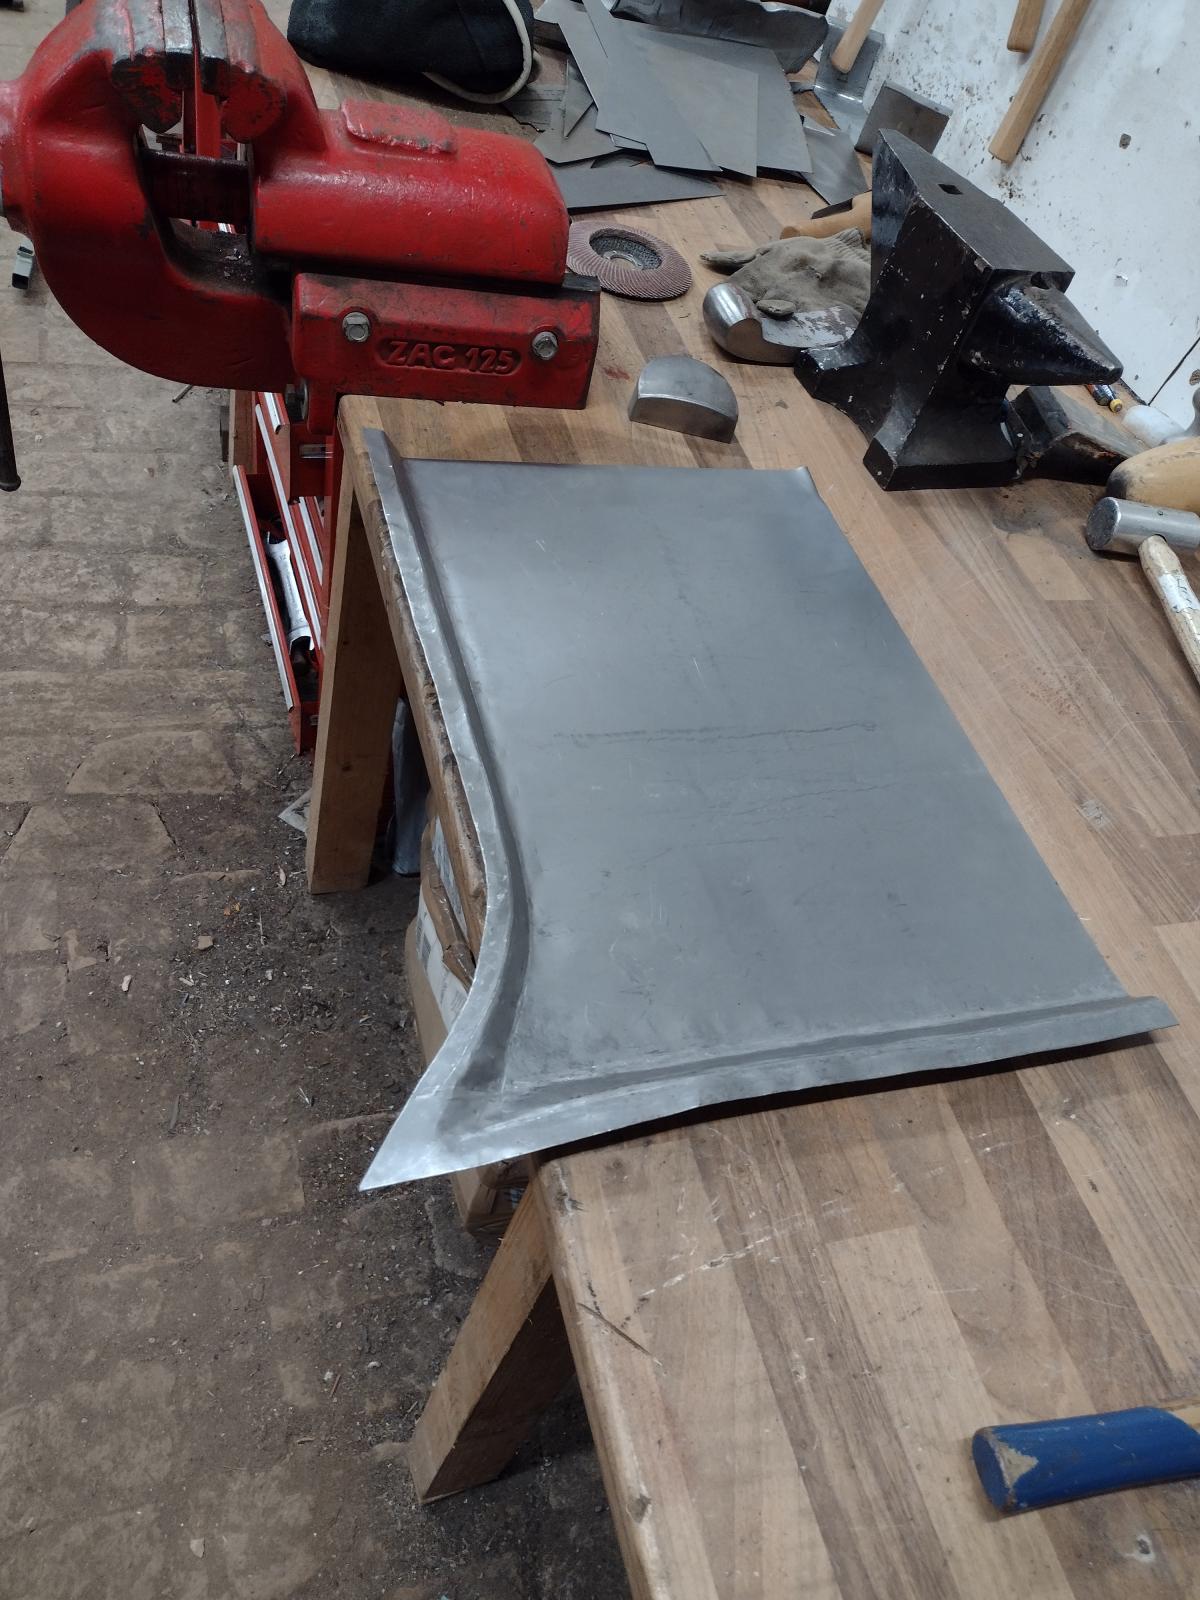
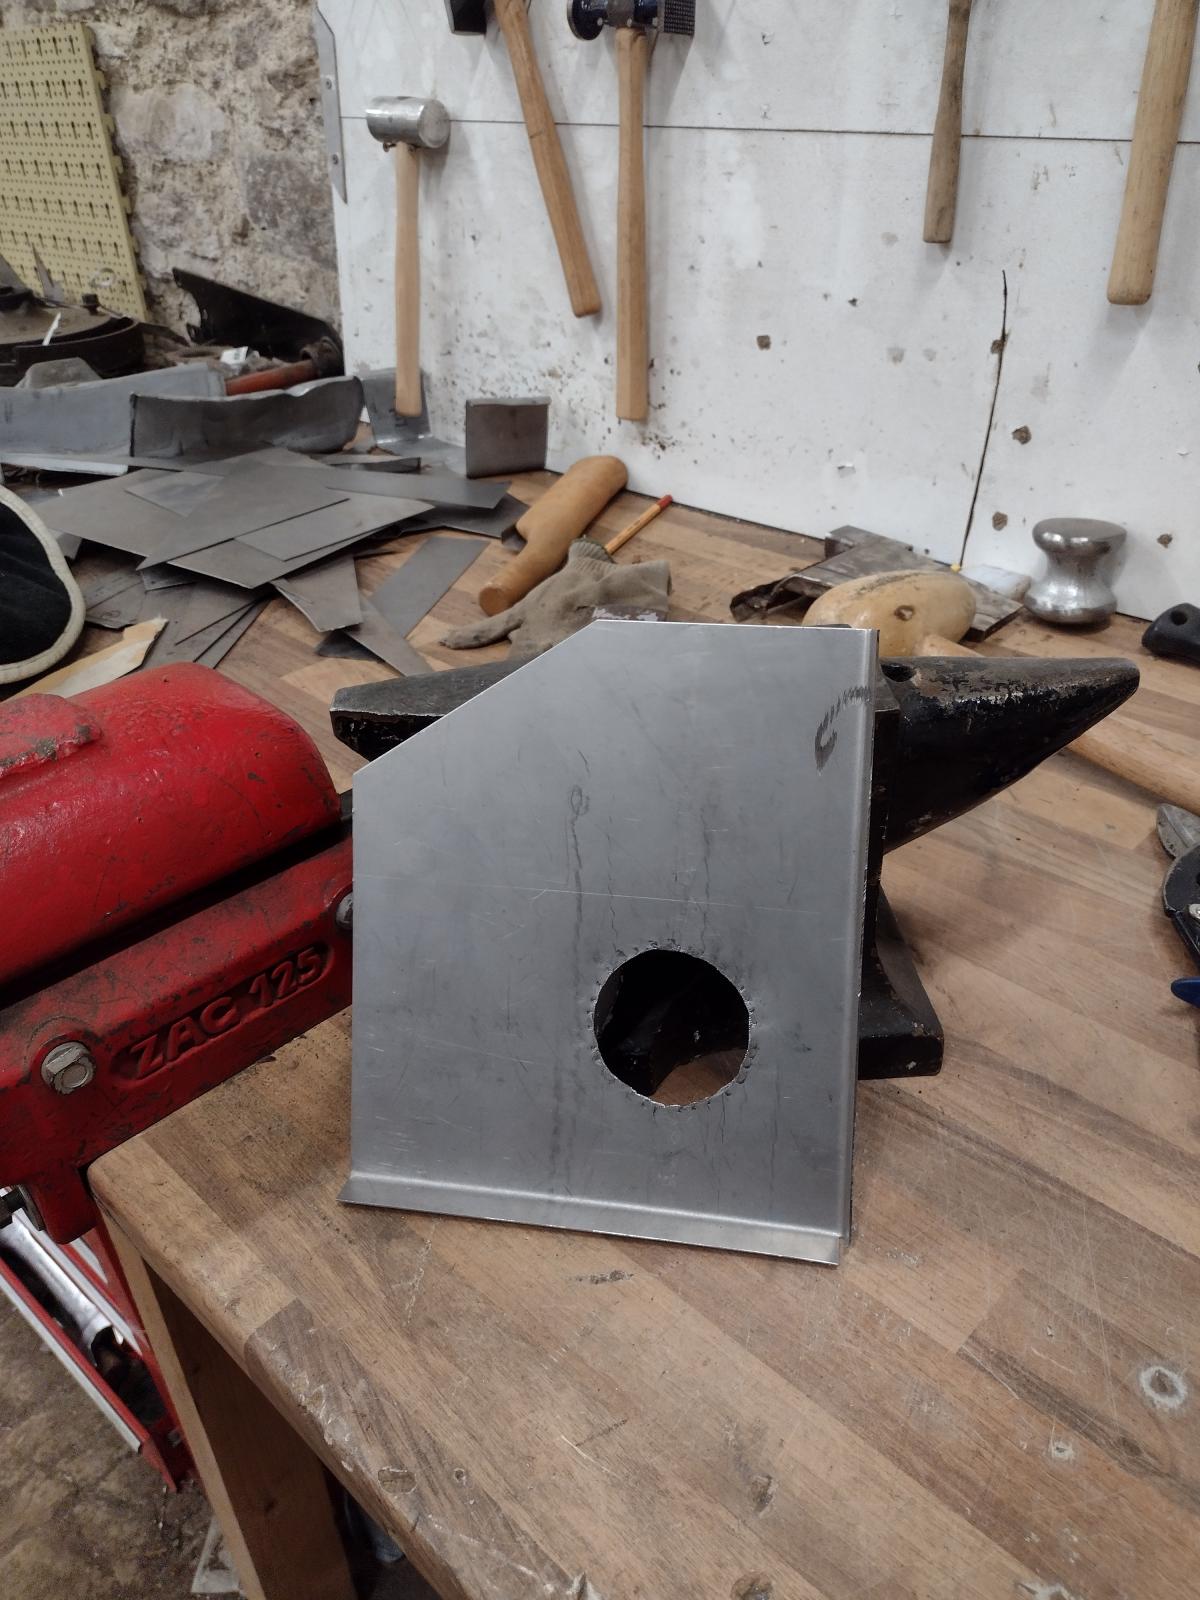
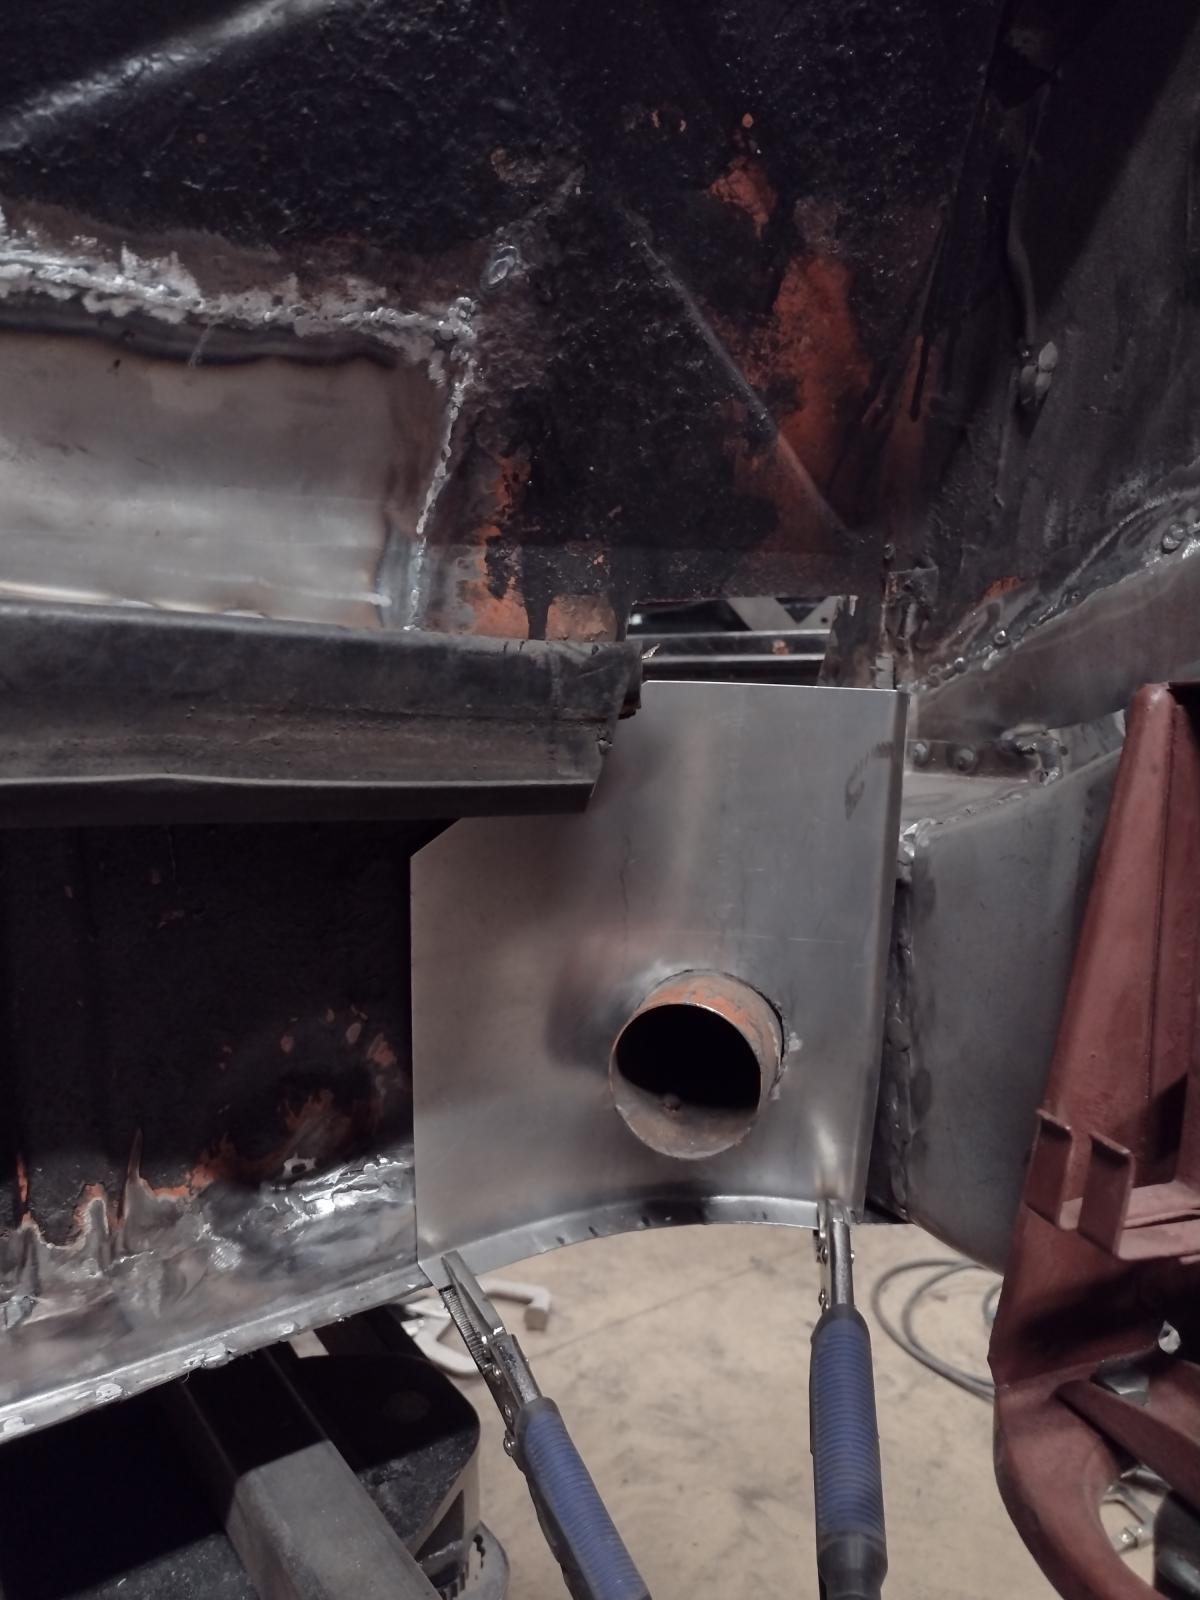
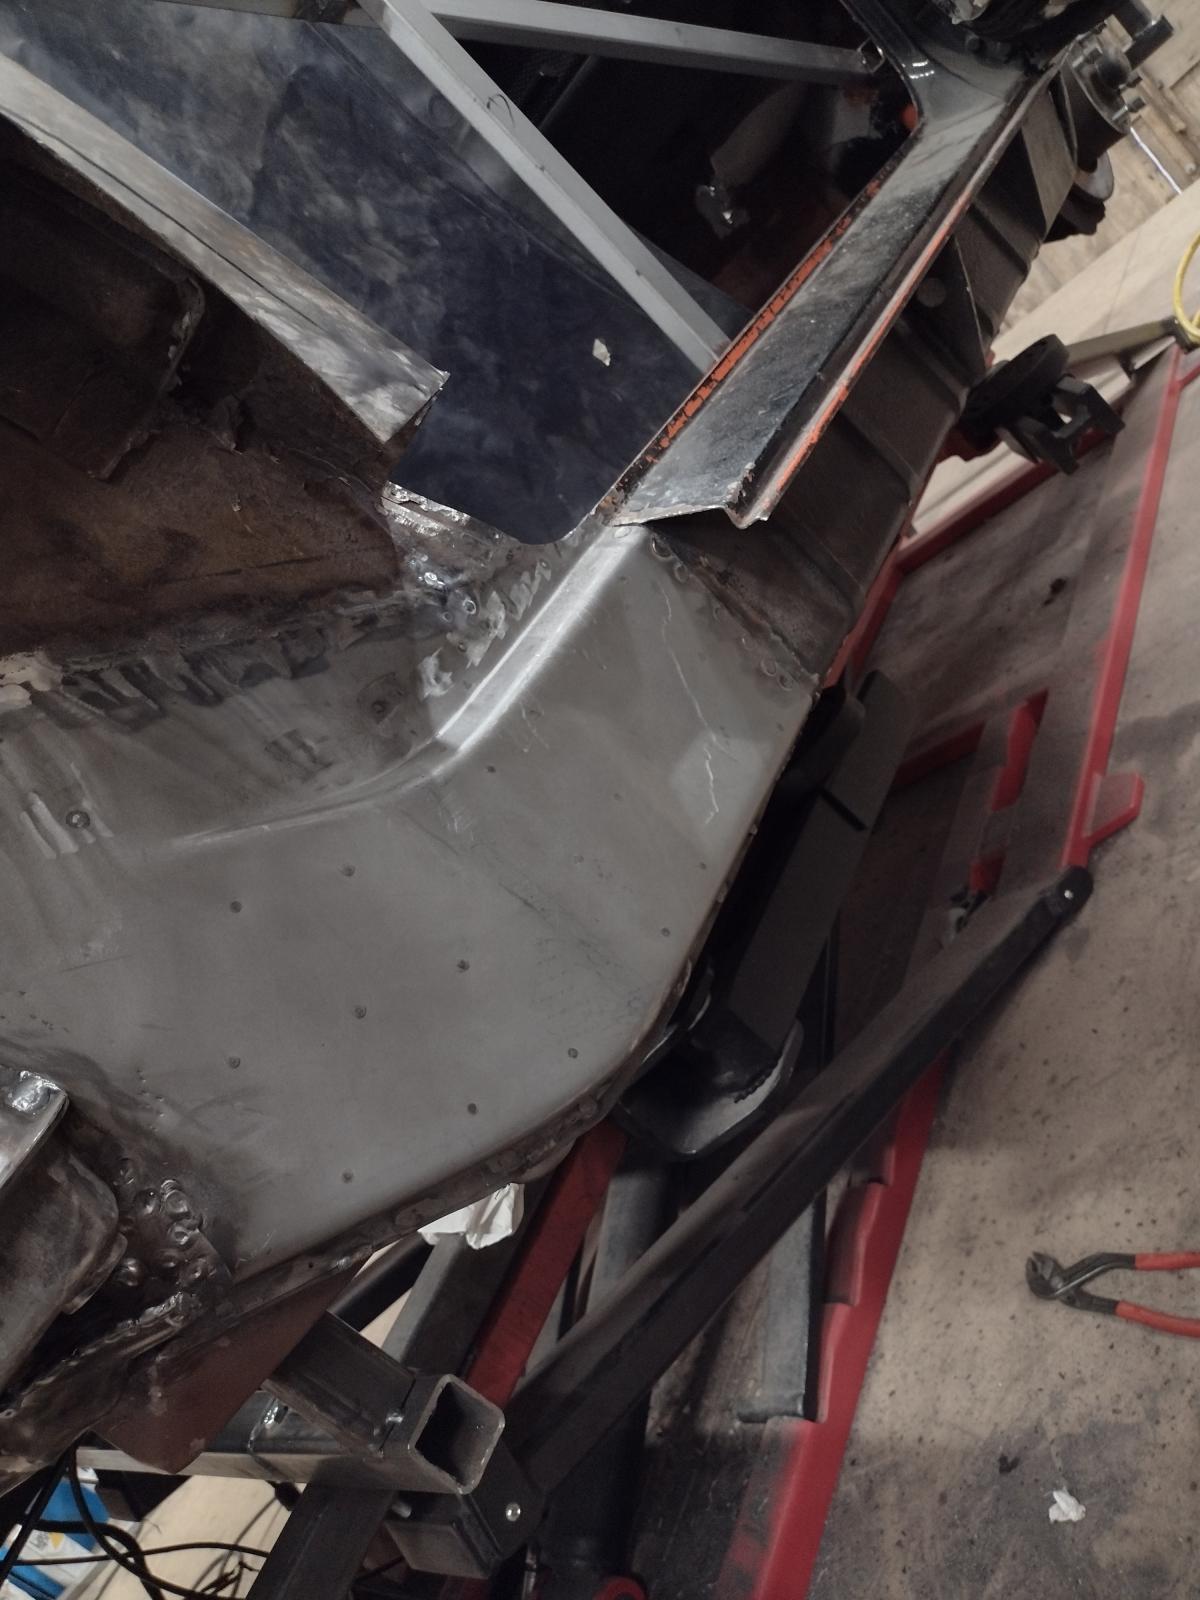
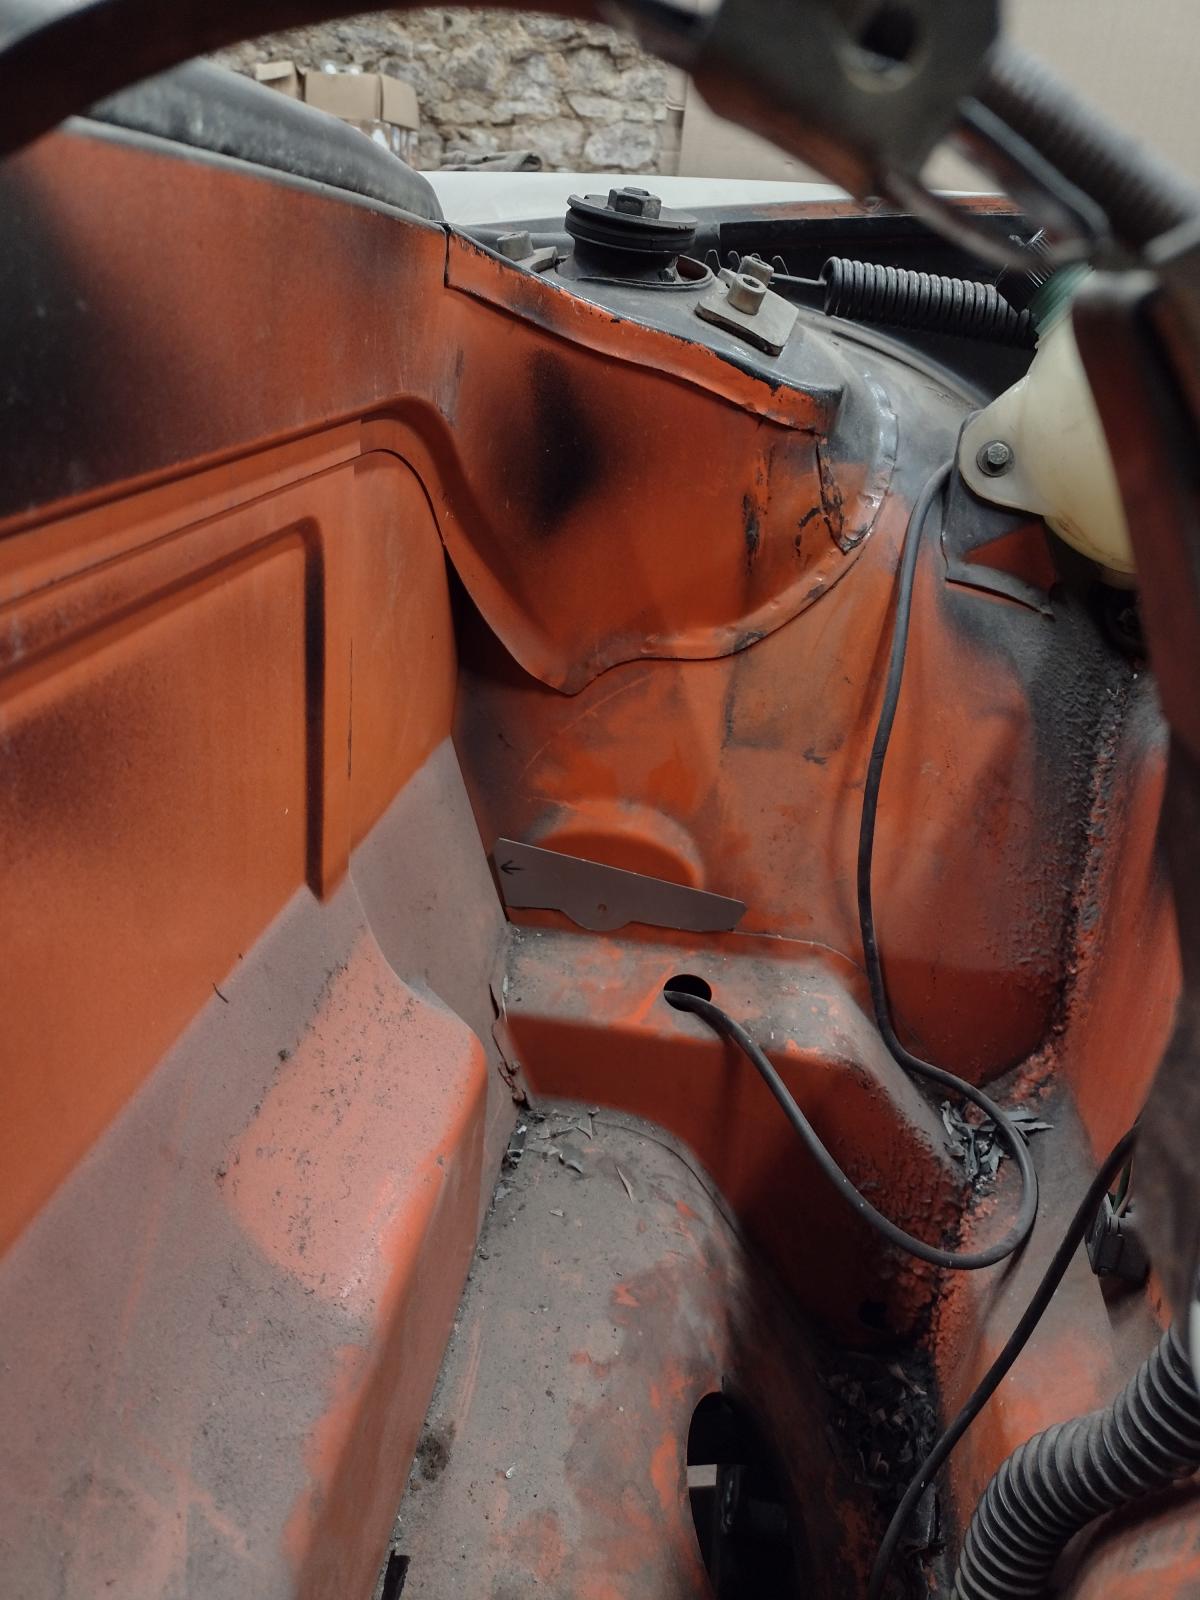
Now the goal was to close the firewall, so lets start!
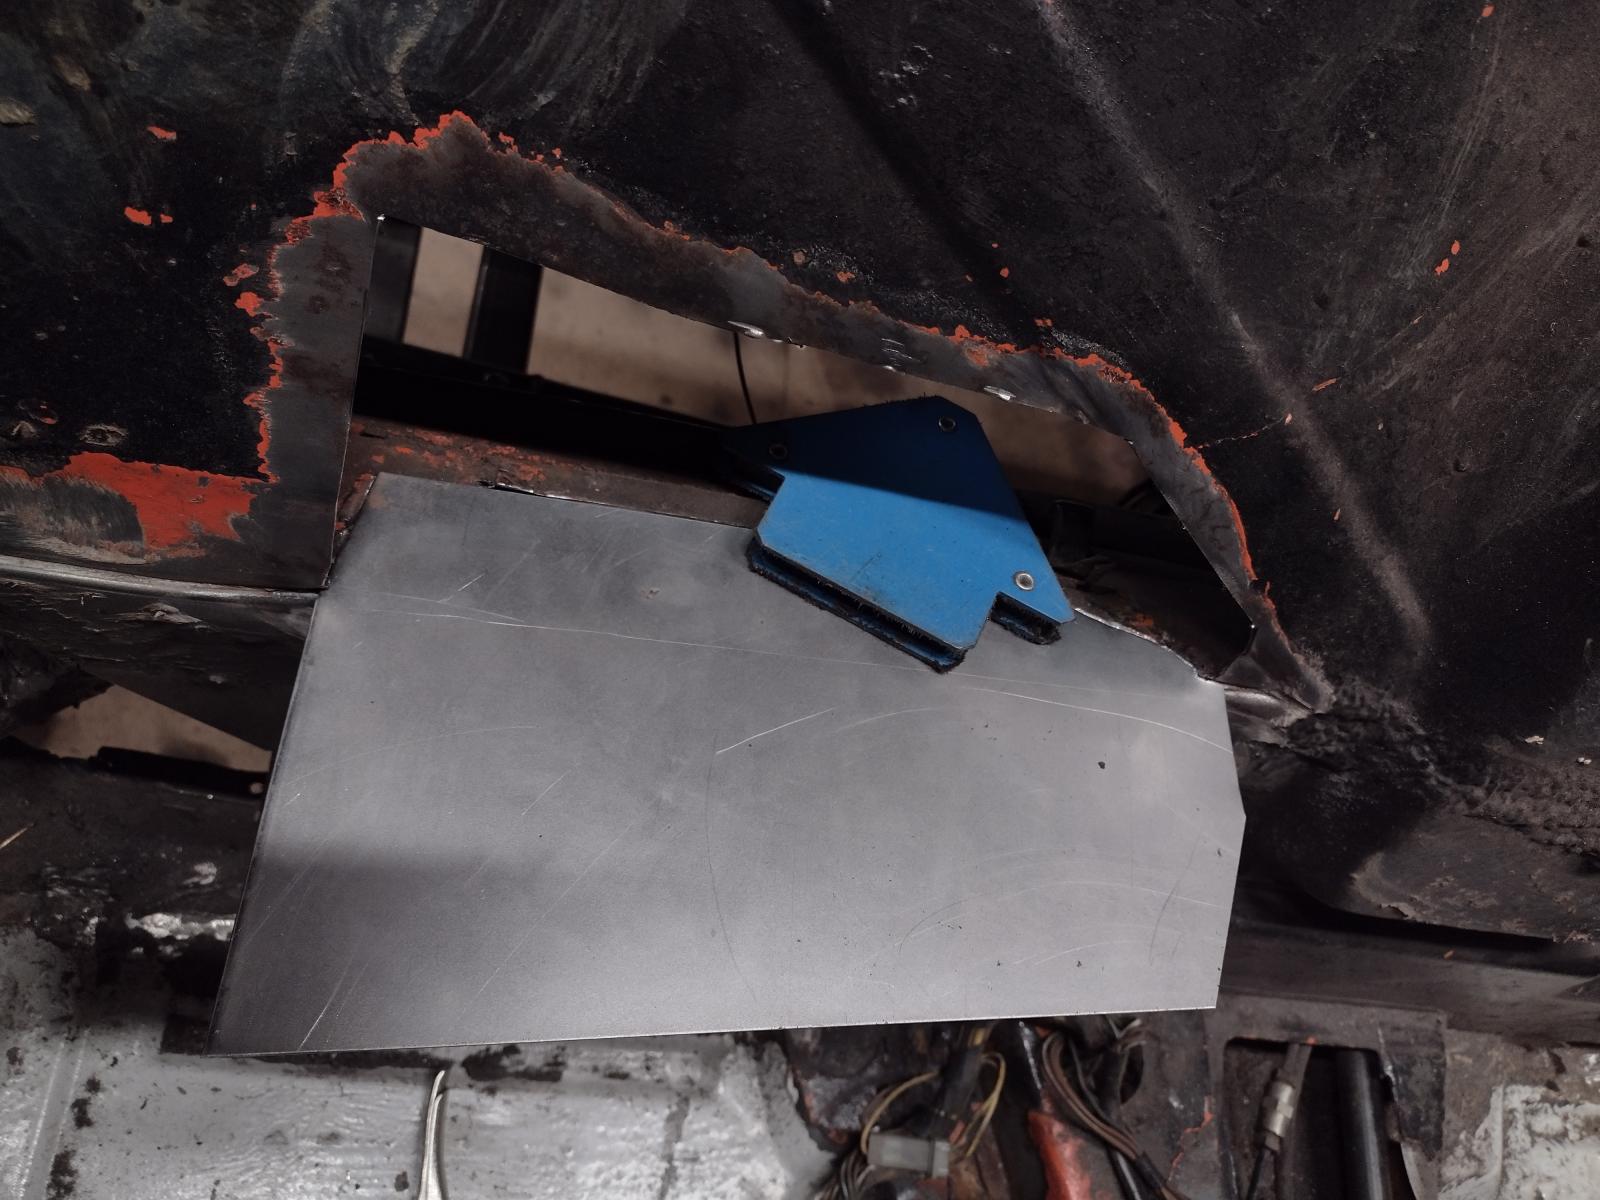
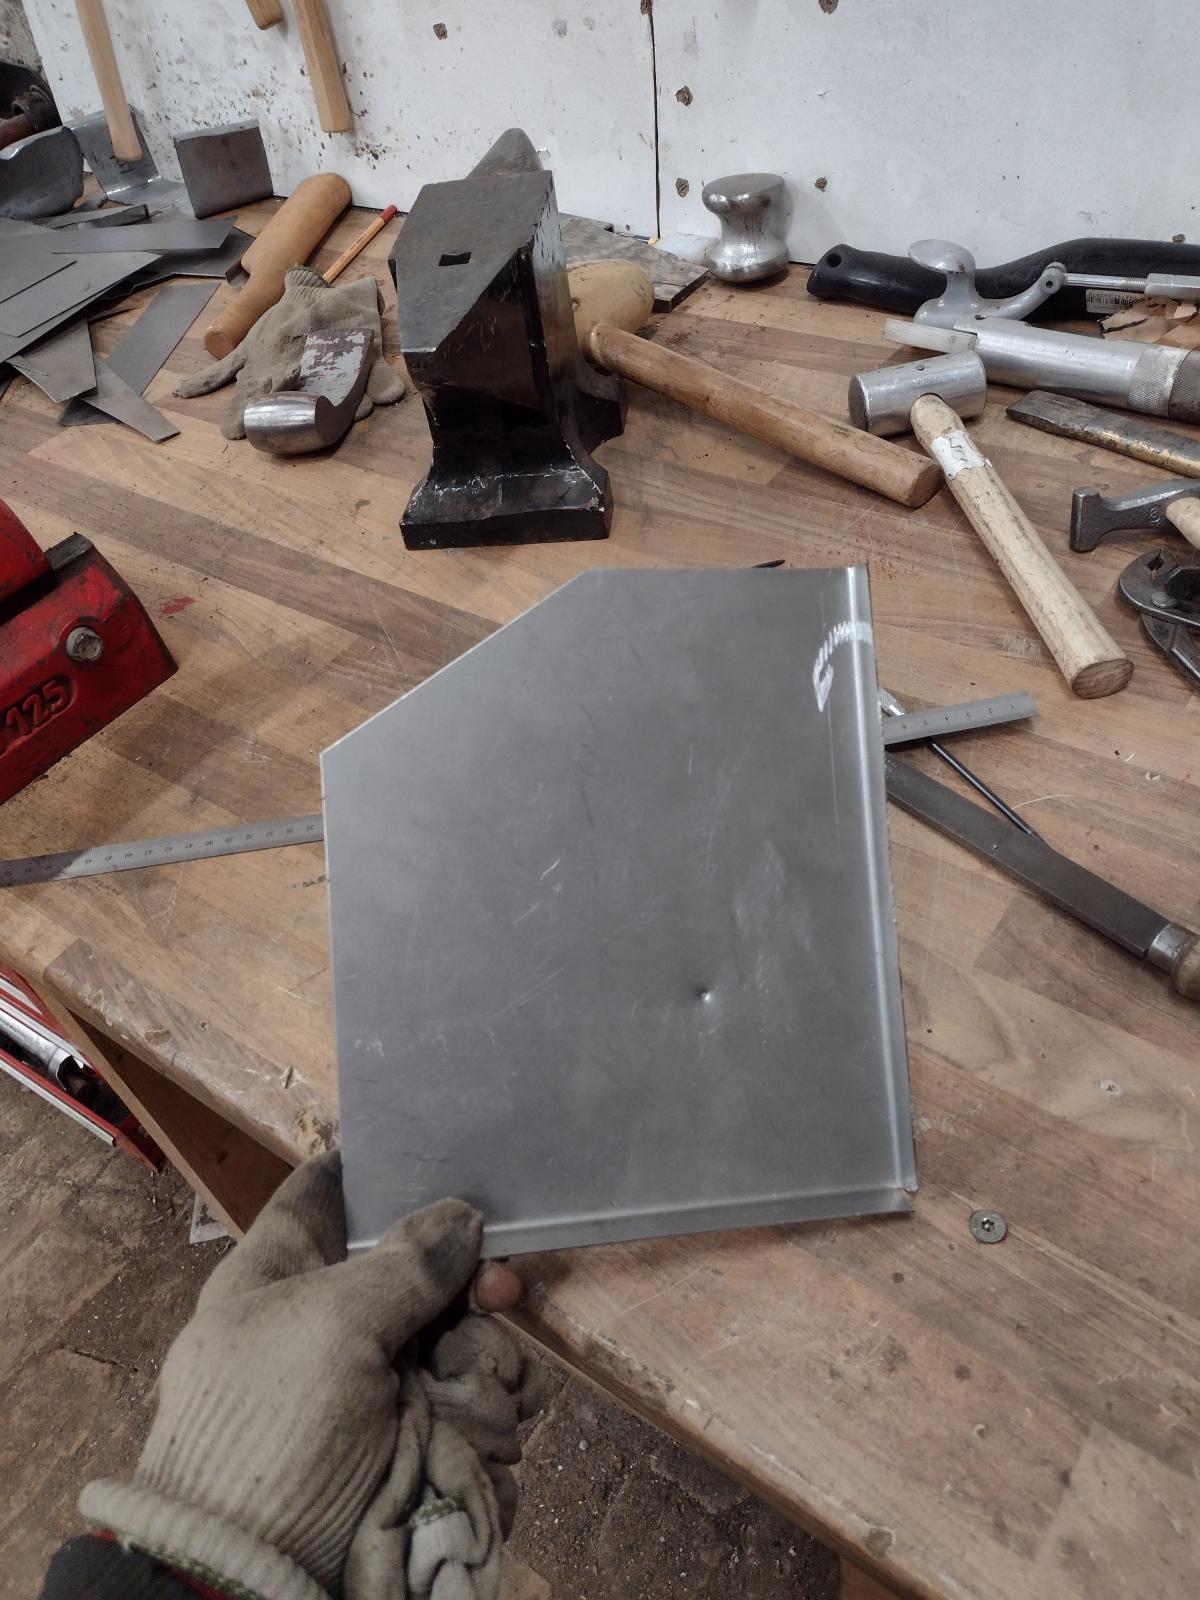
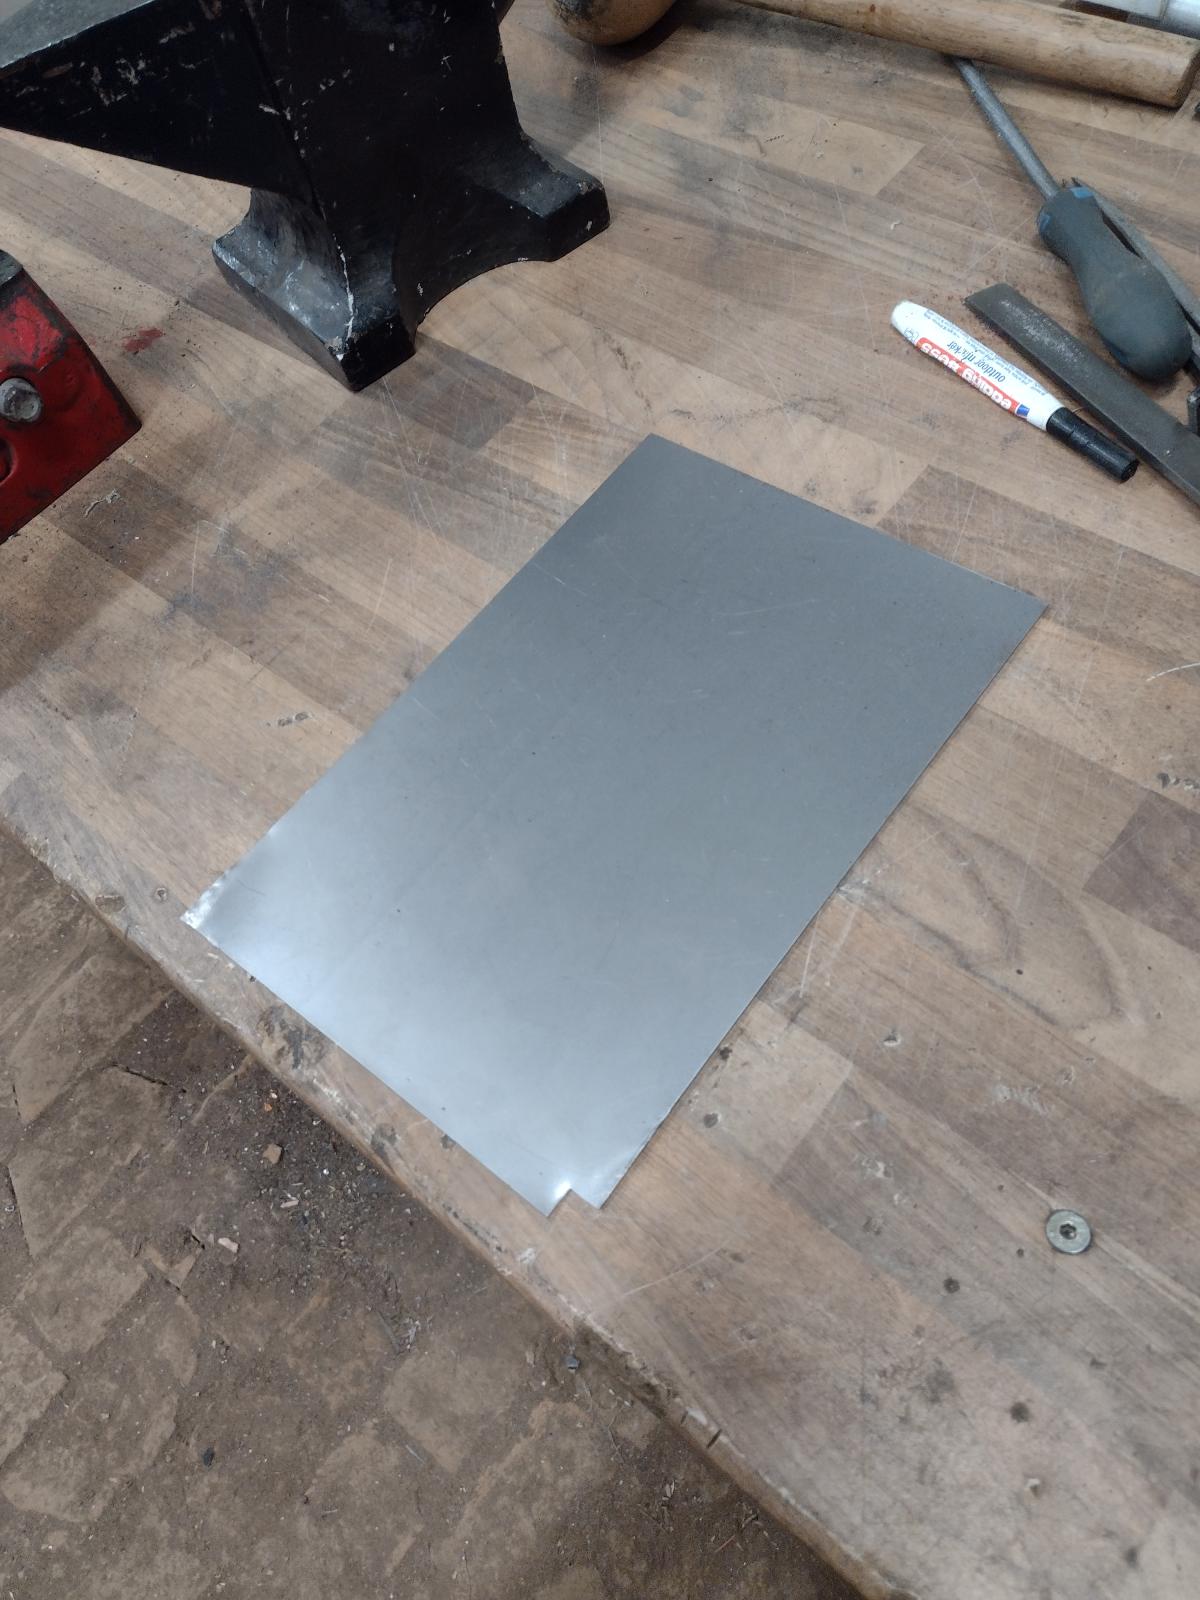
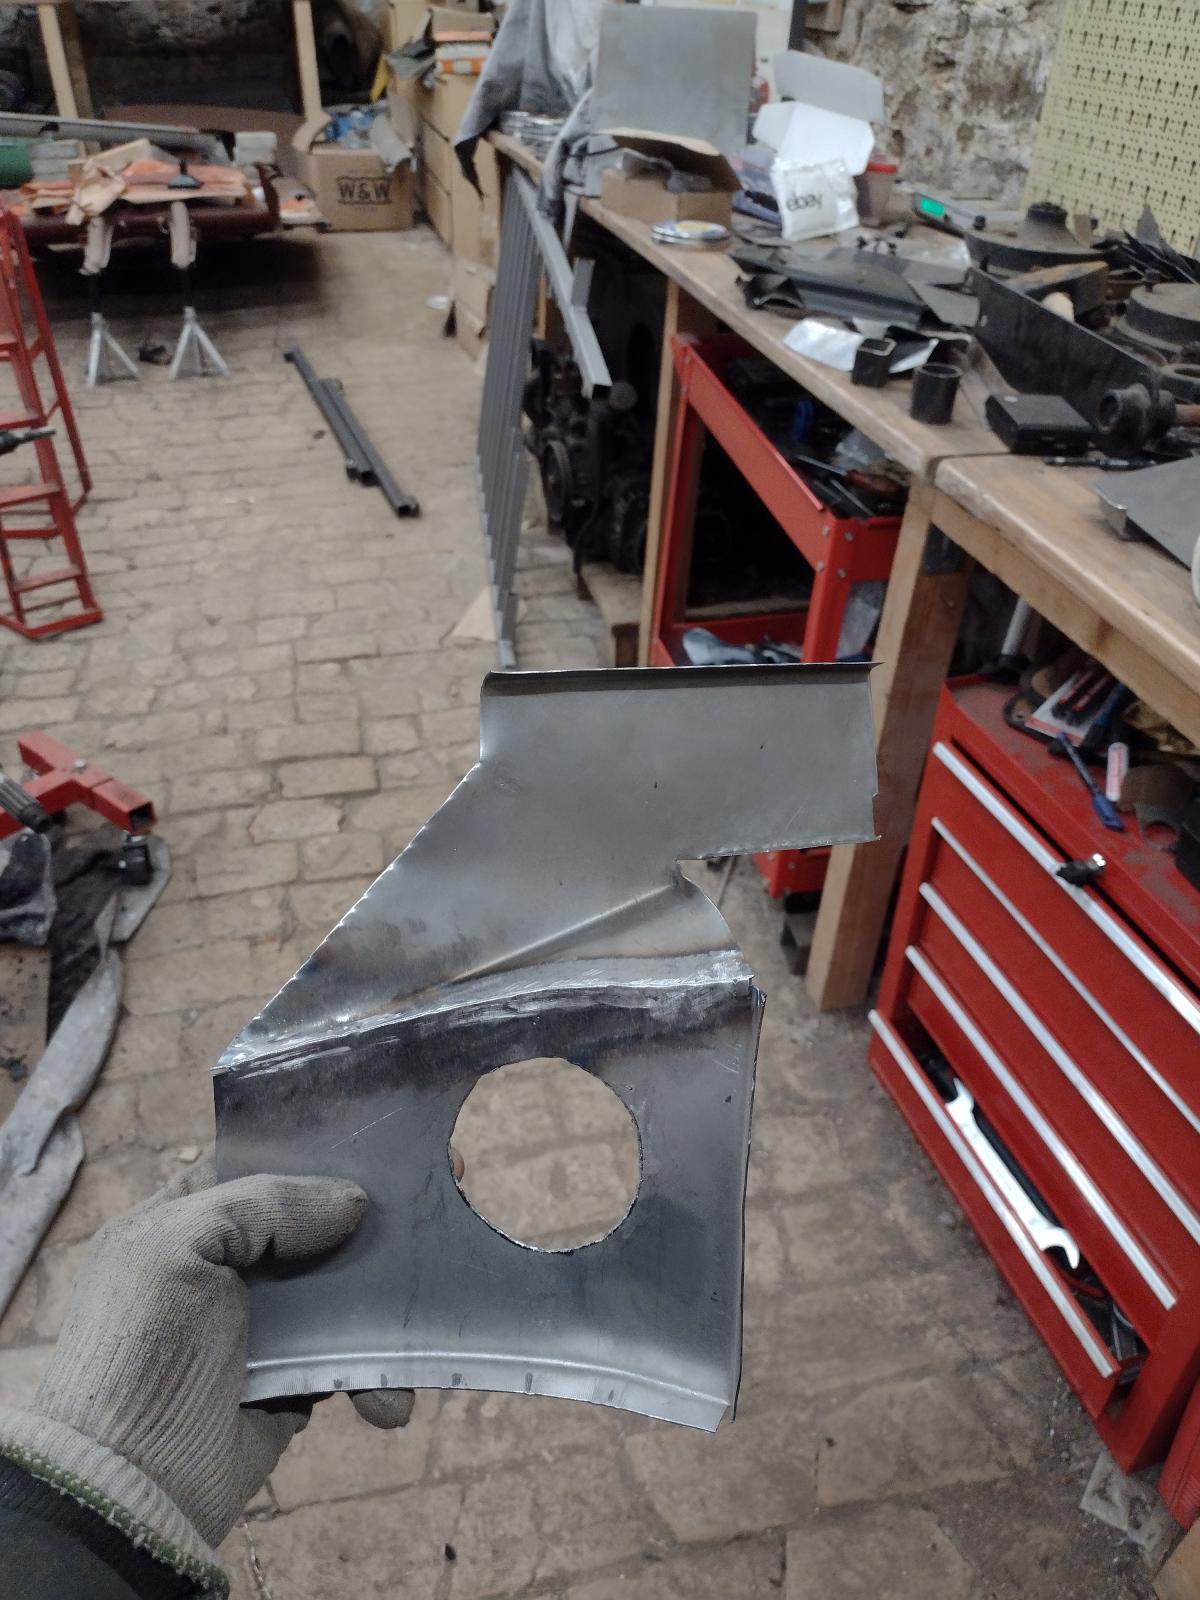
Making the part:
You see it coming?
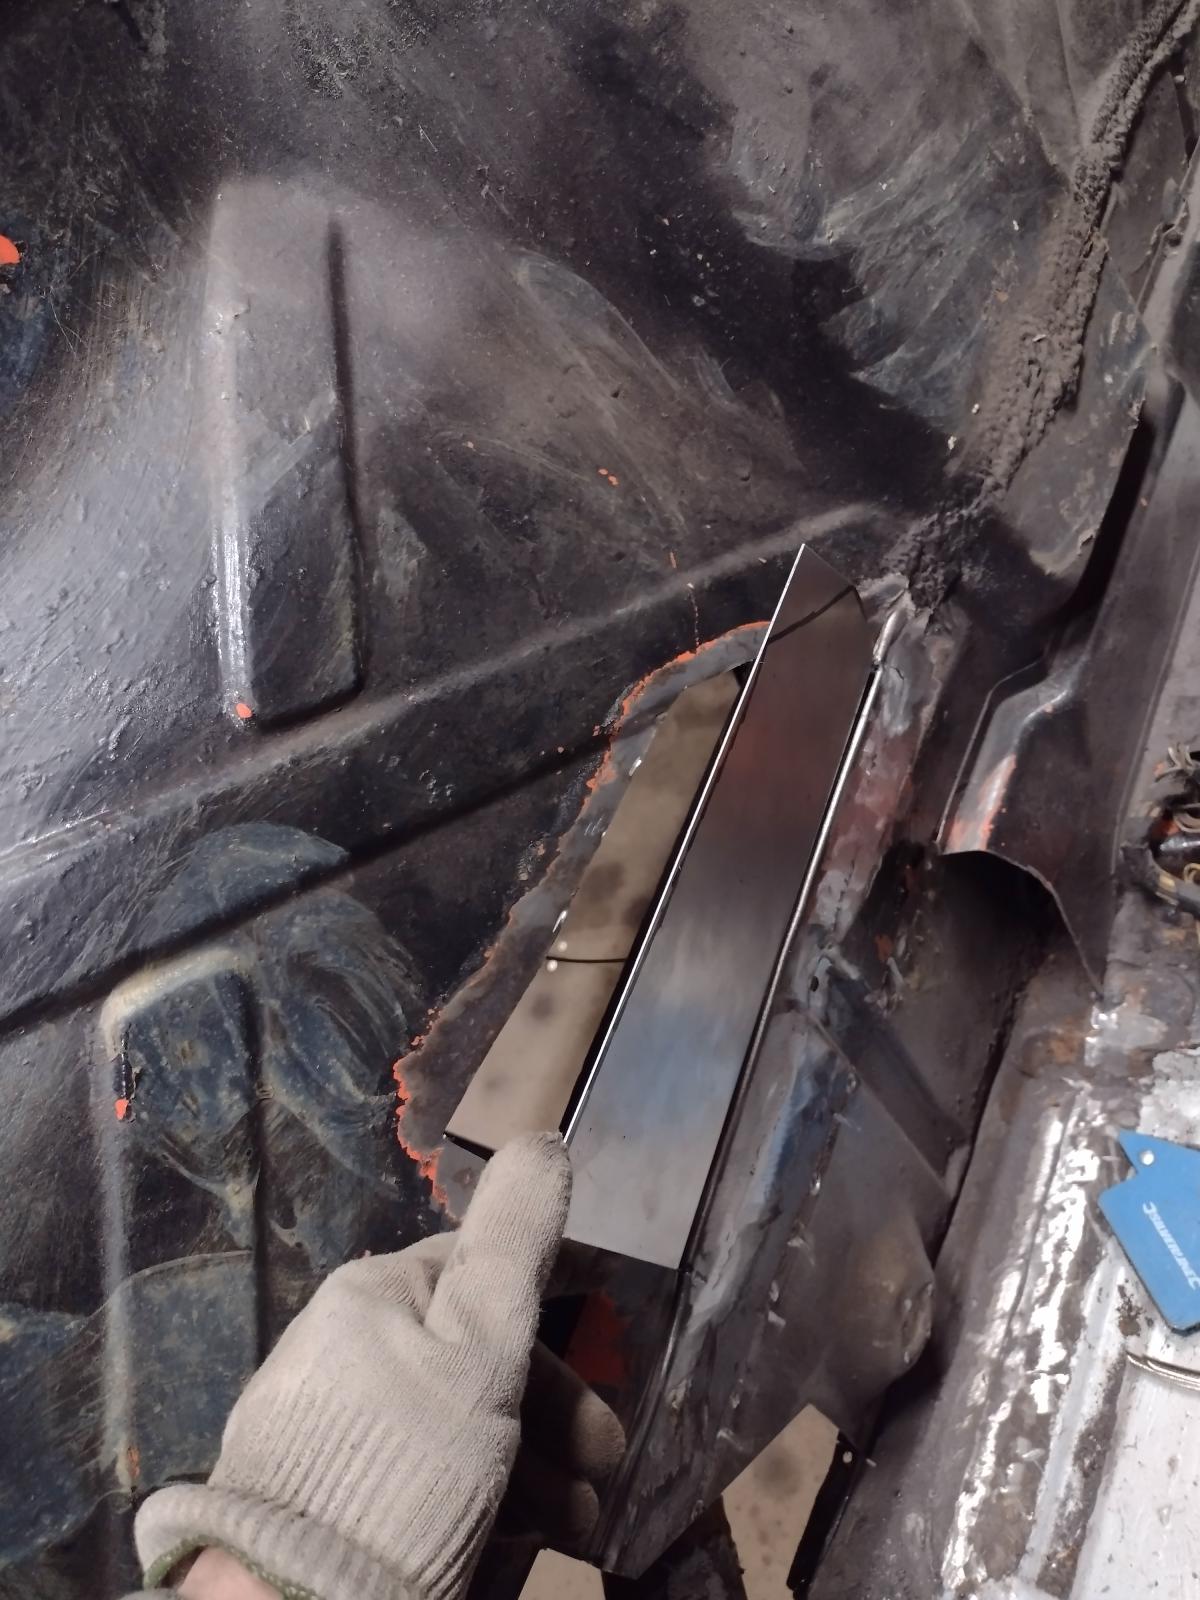
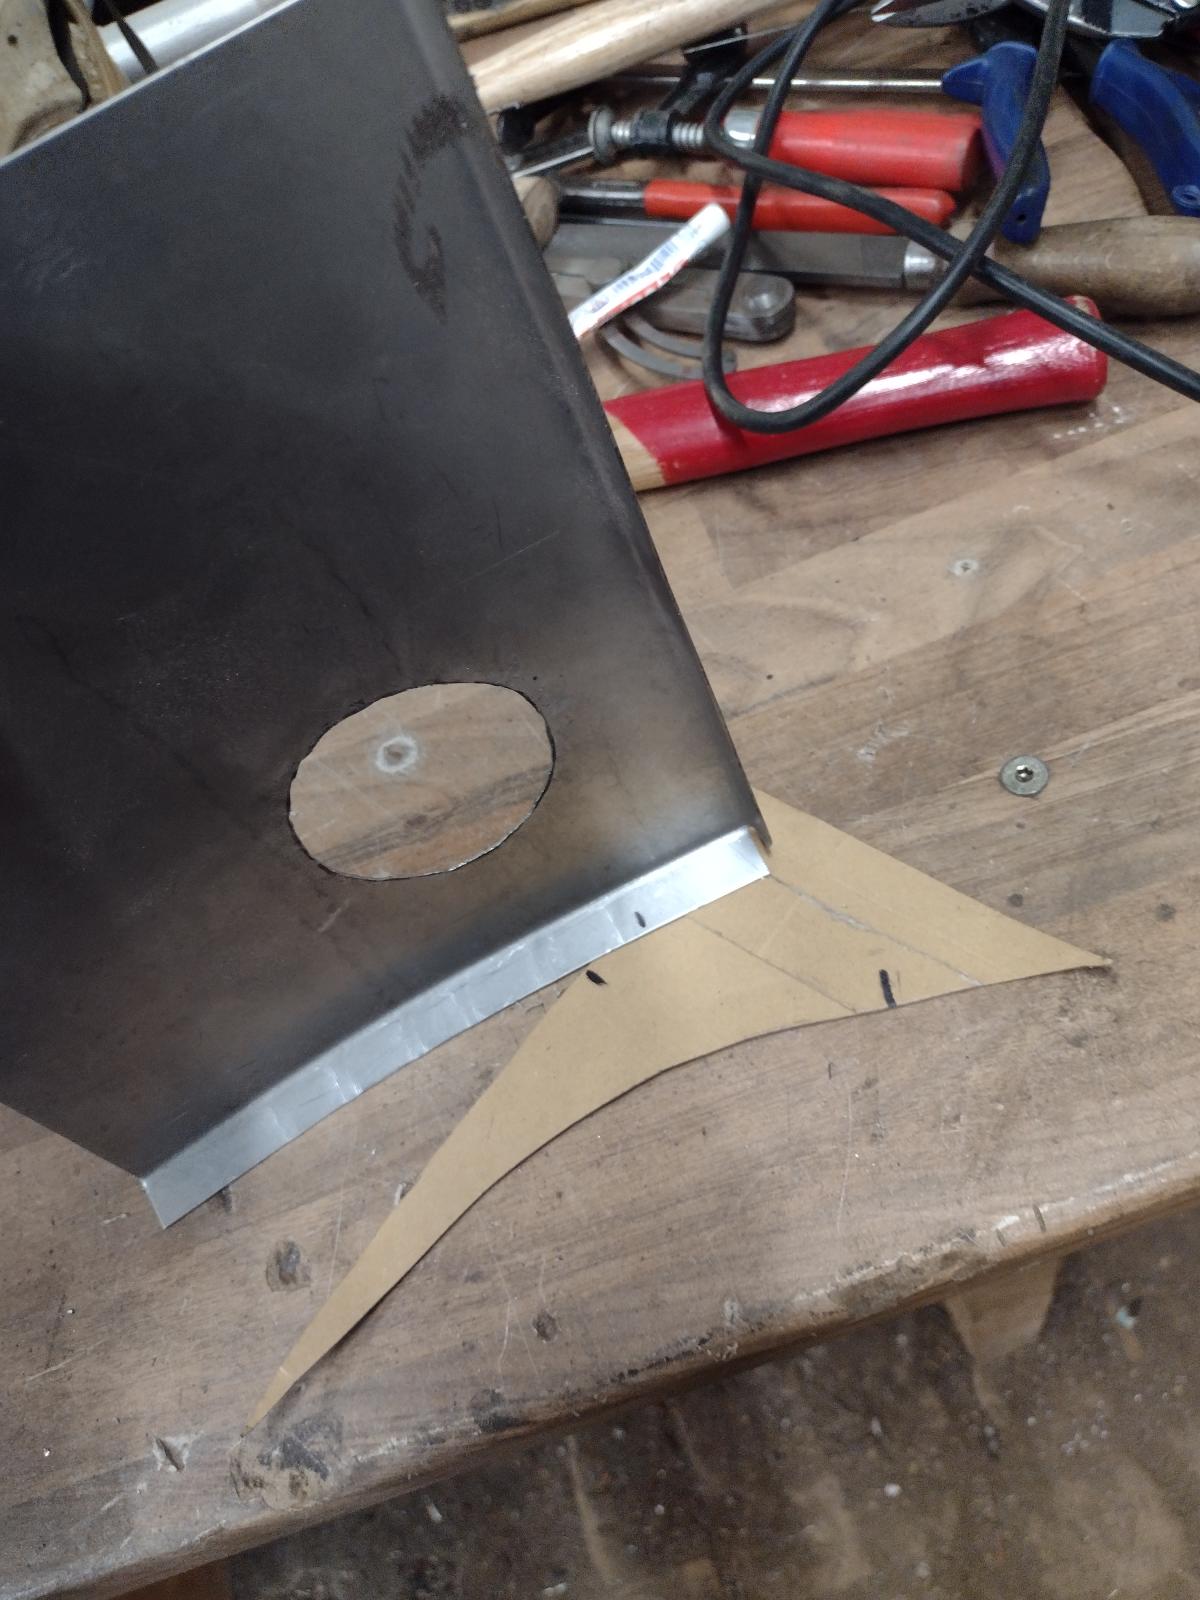
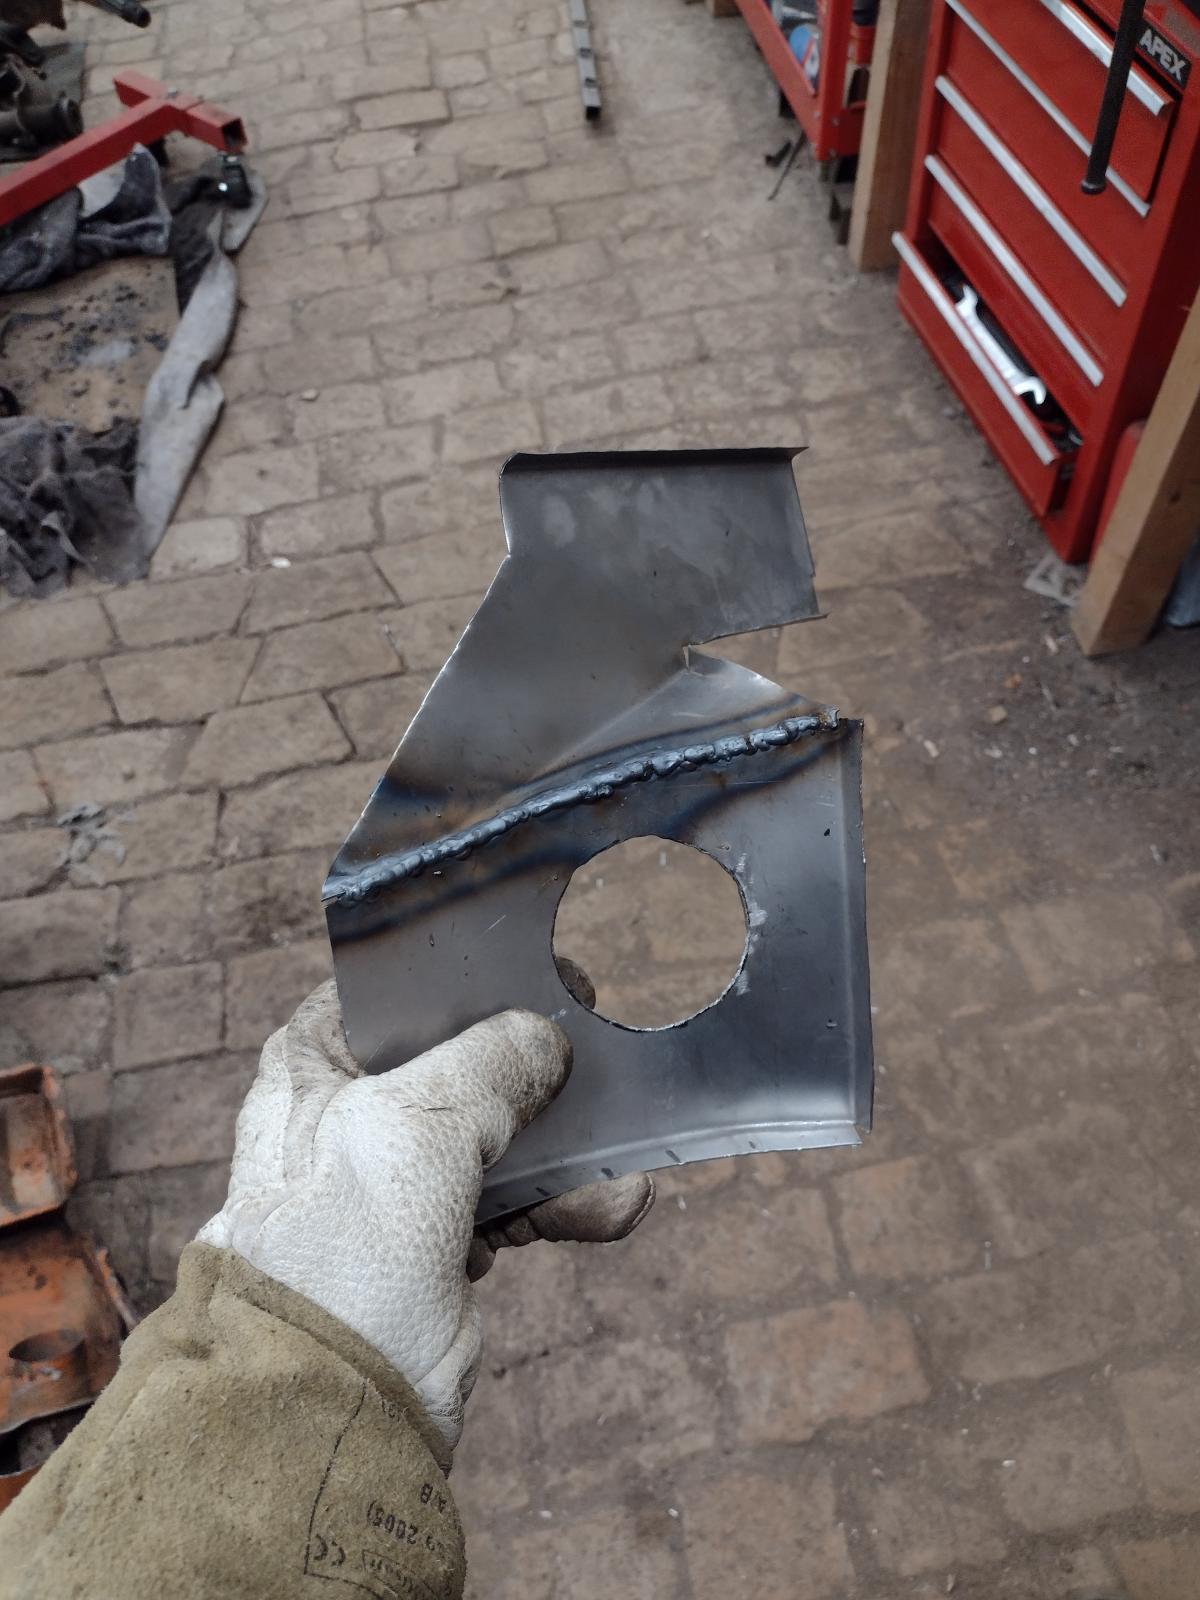
Still some work:
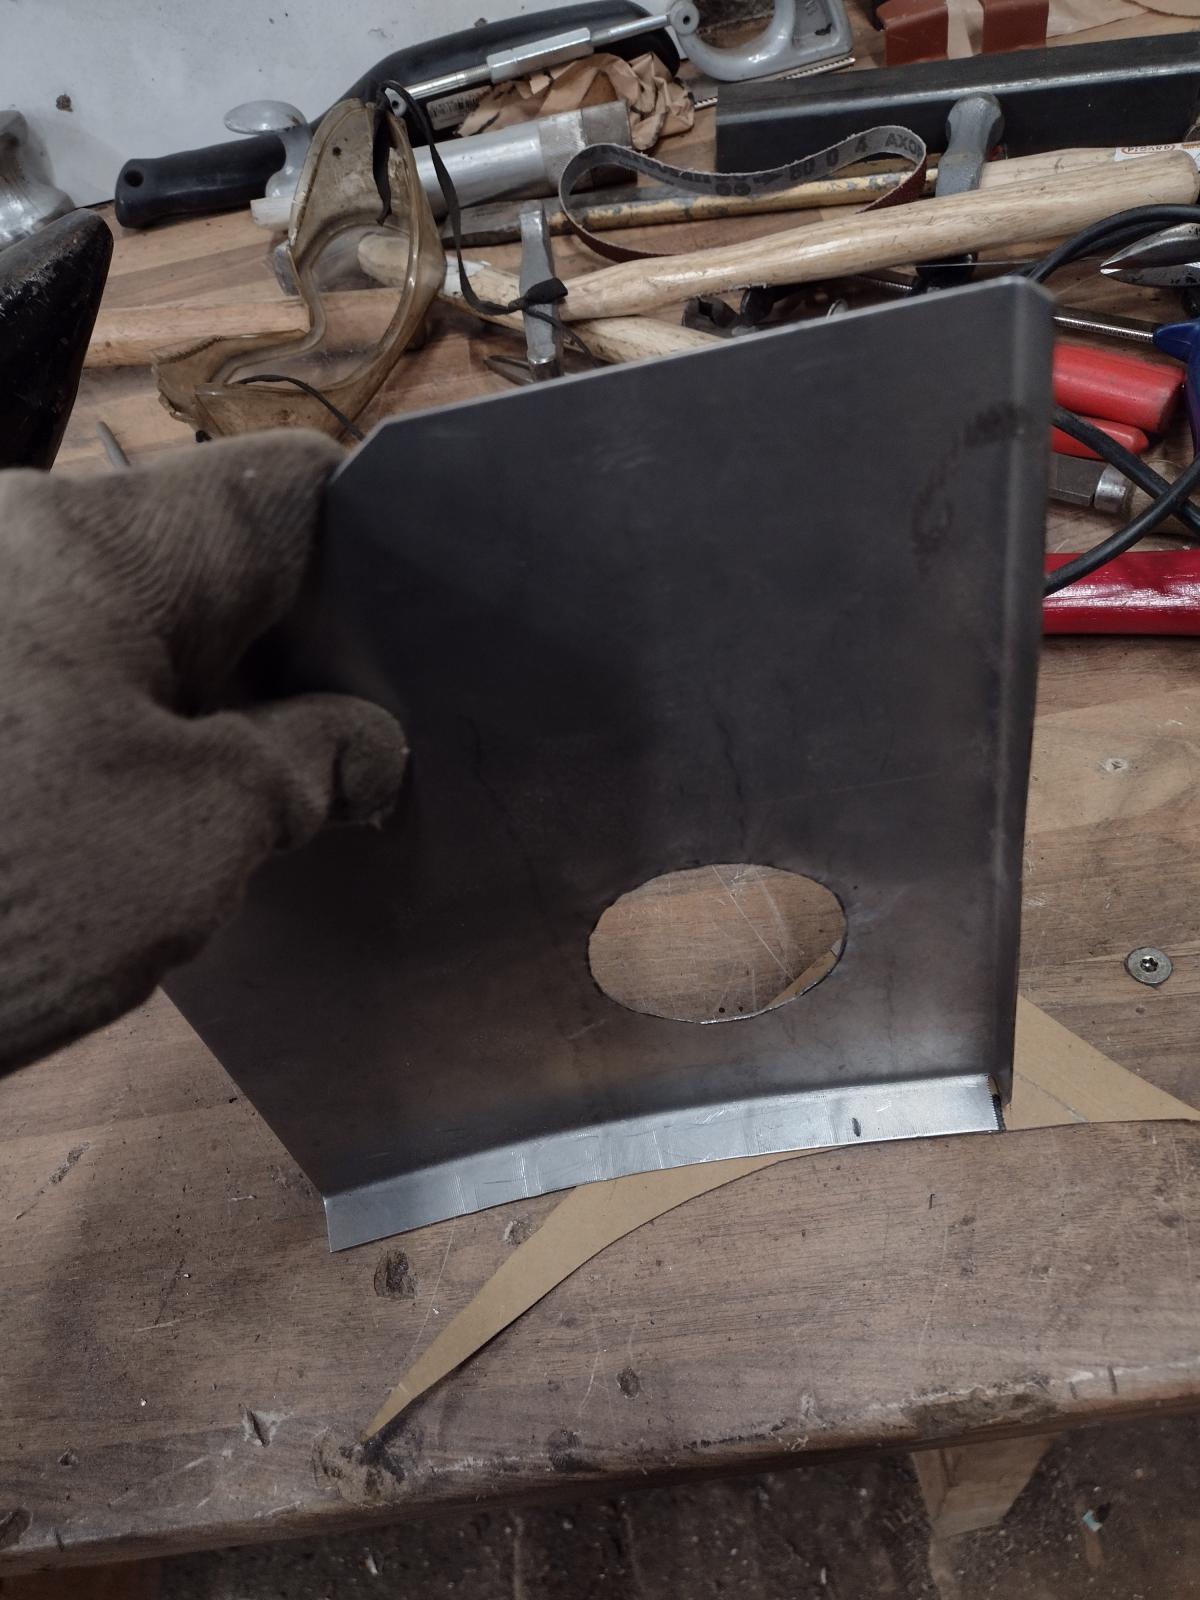
Getting there:
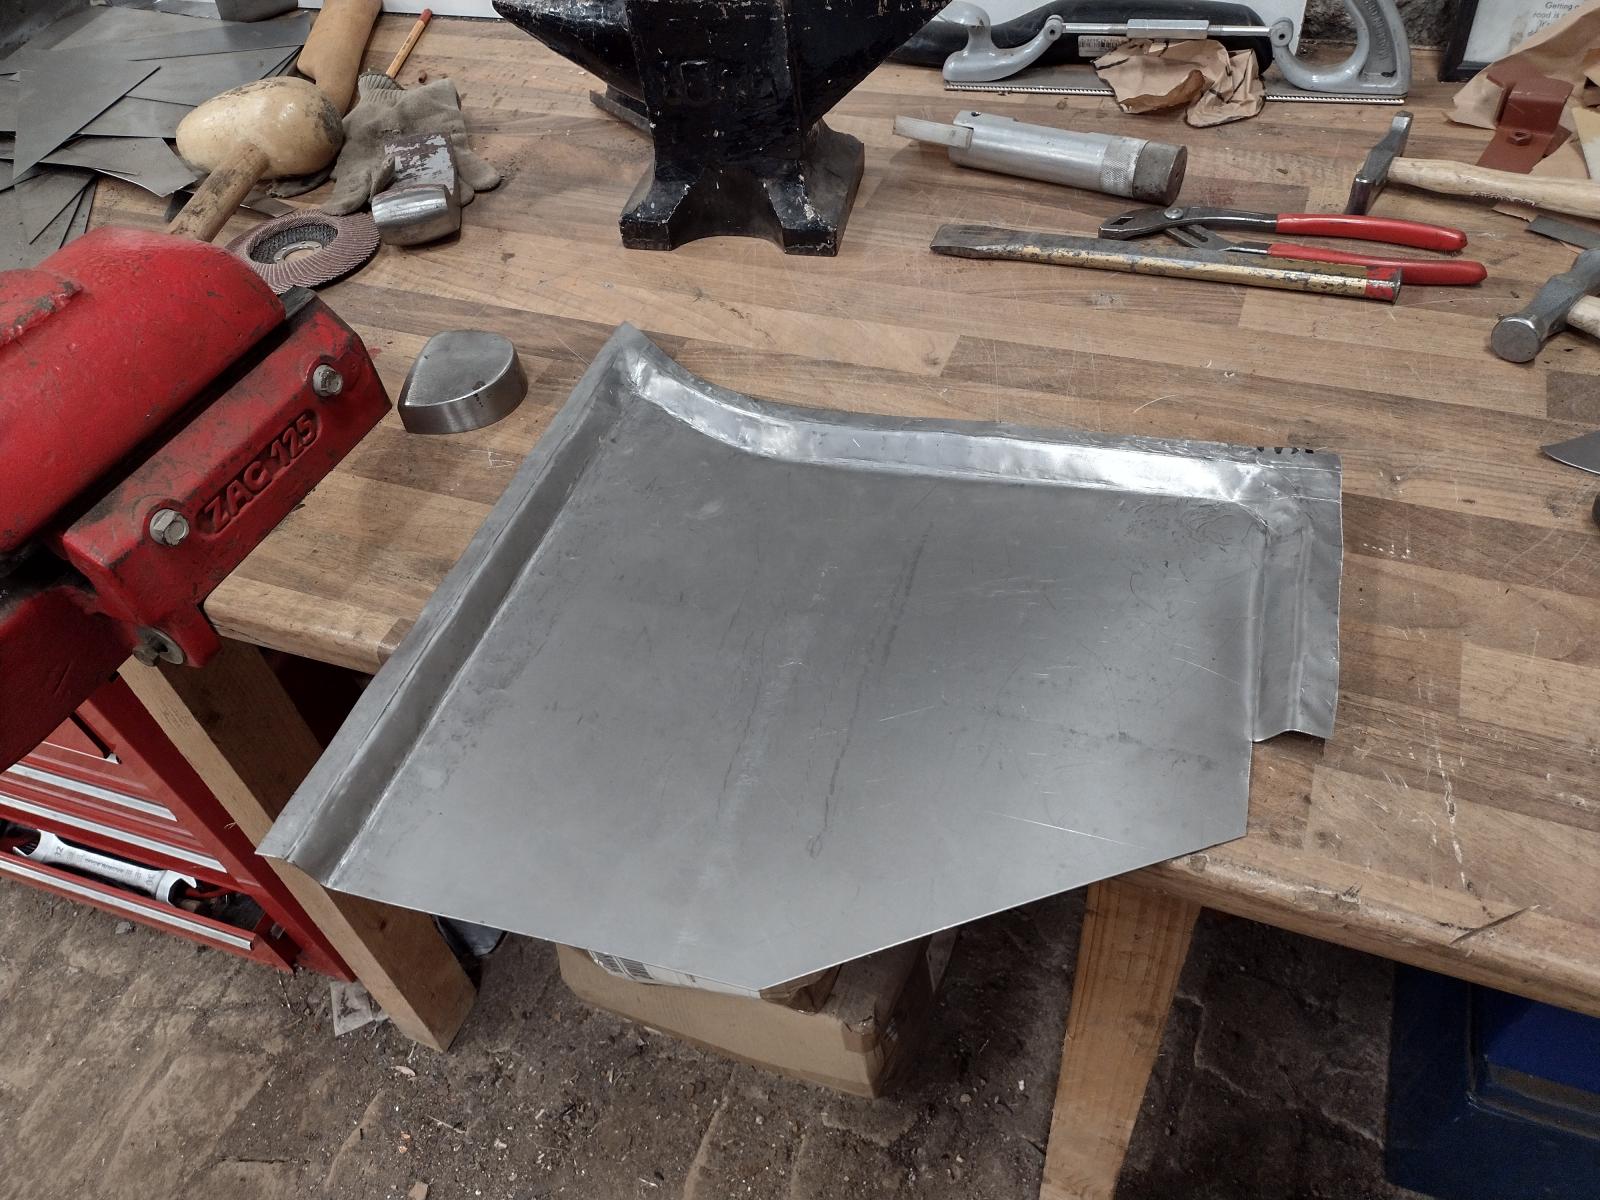
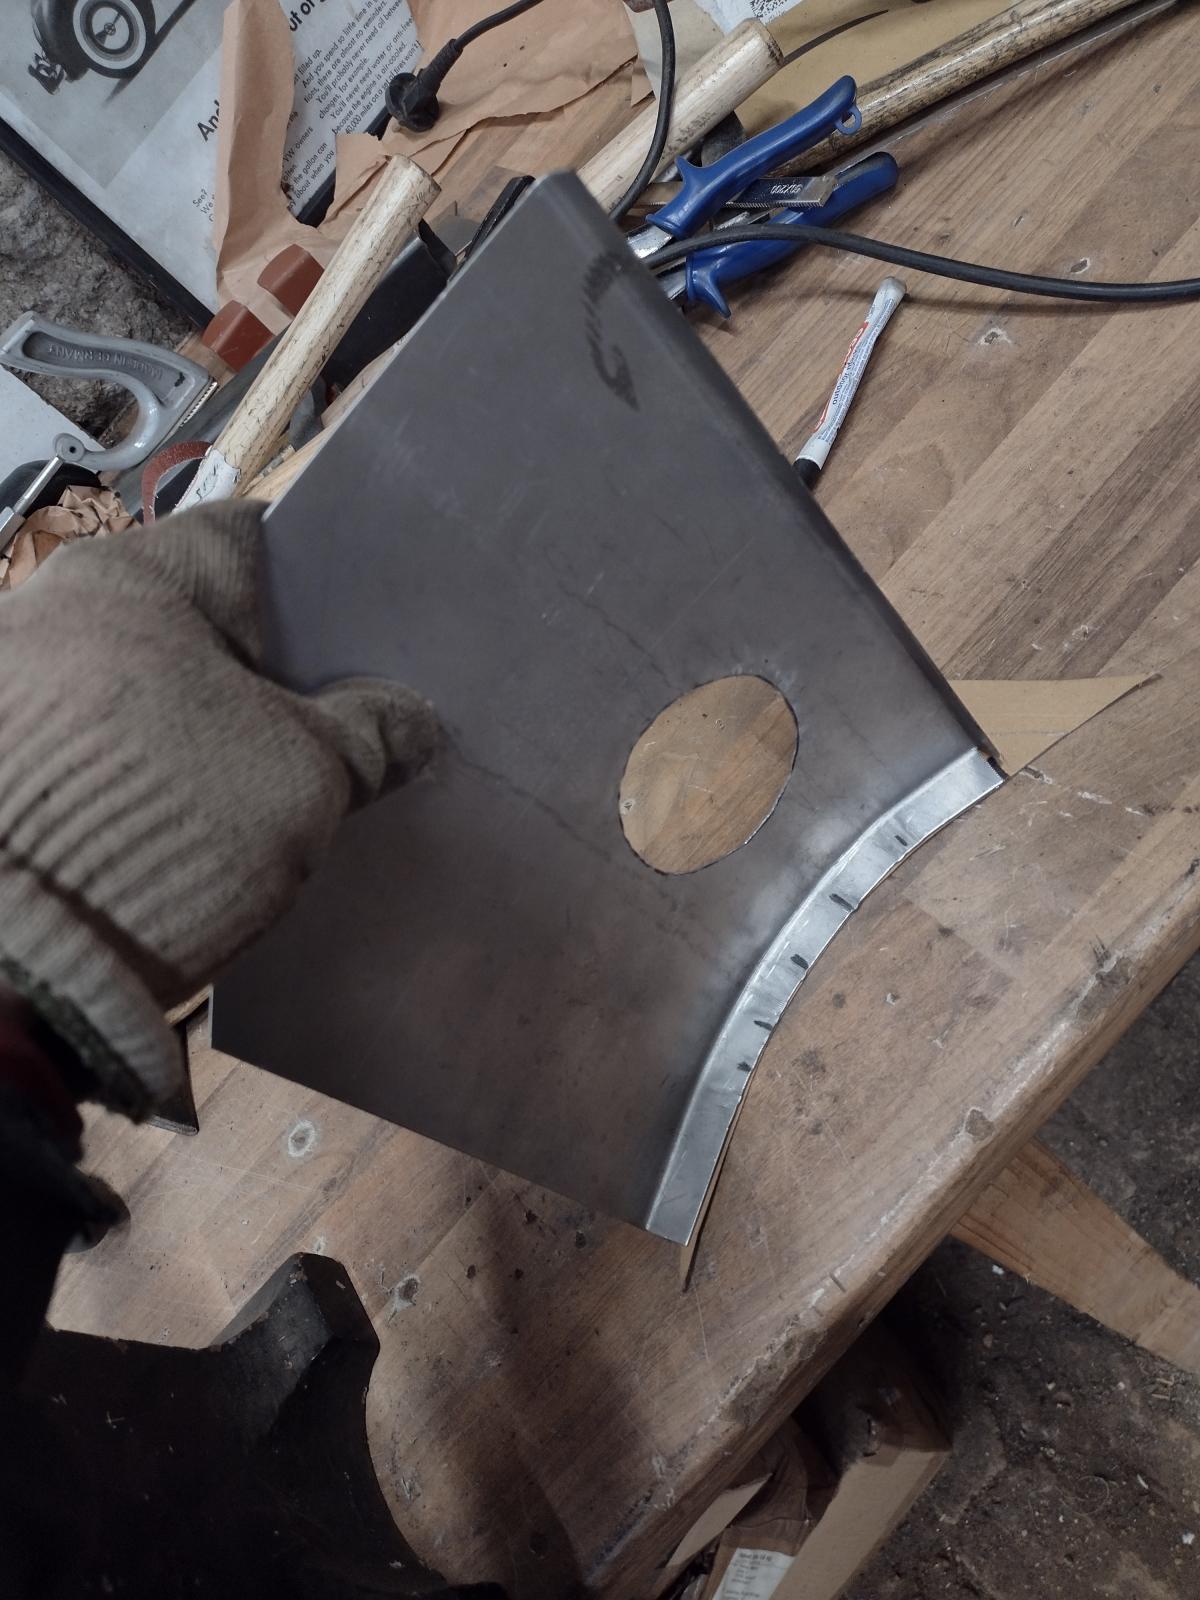
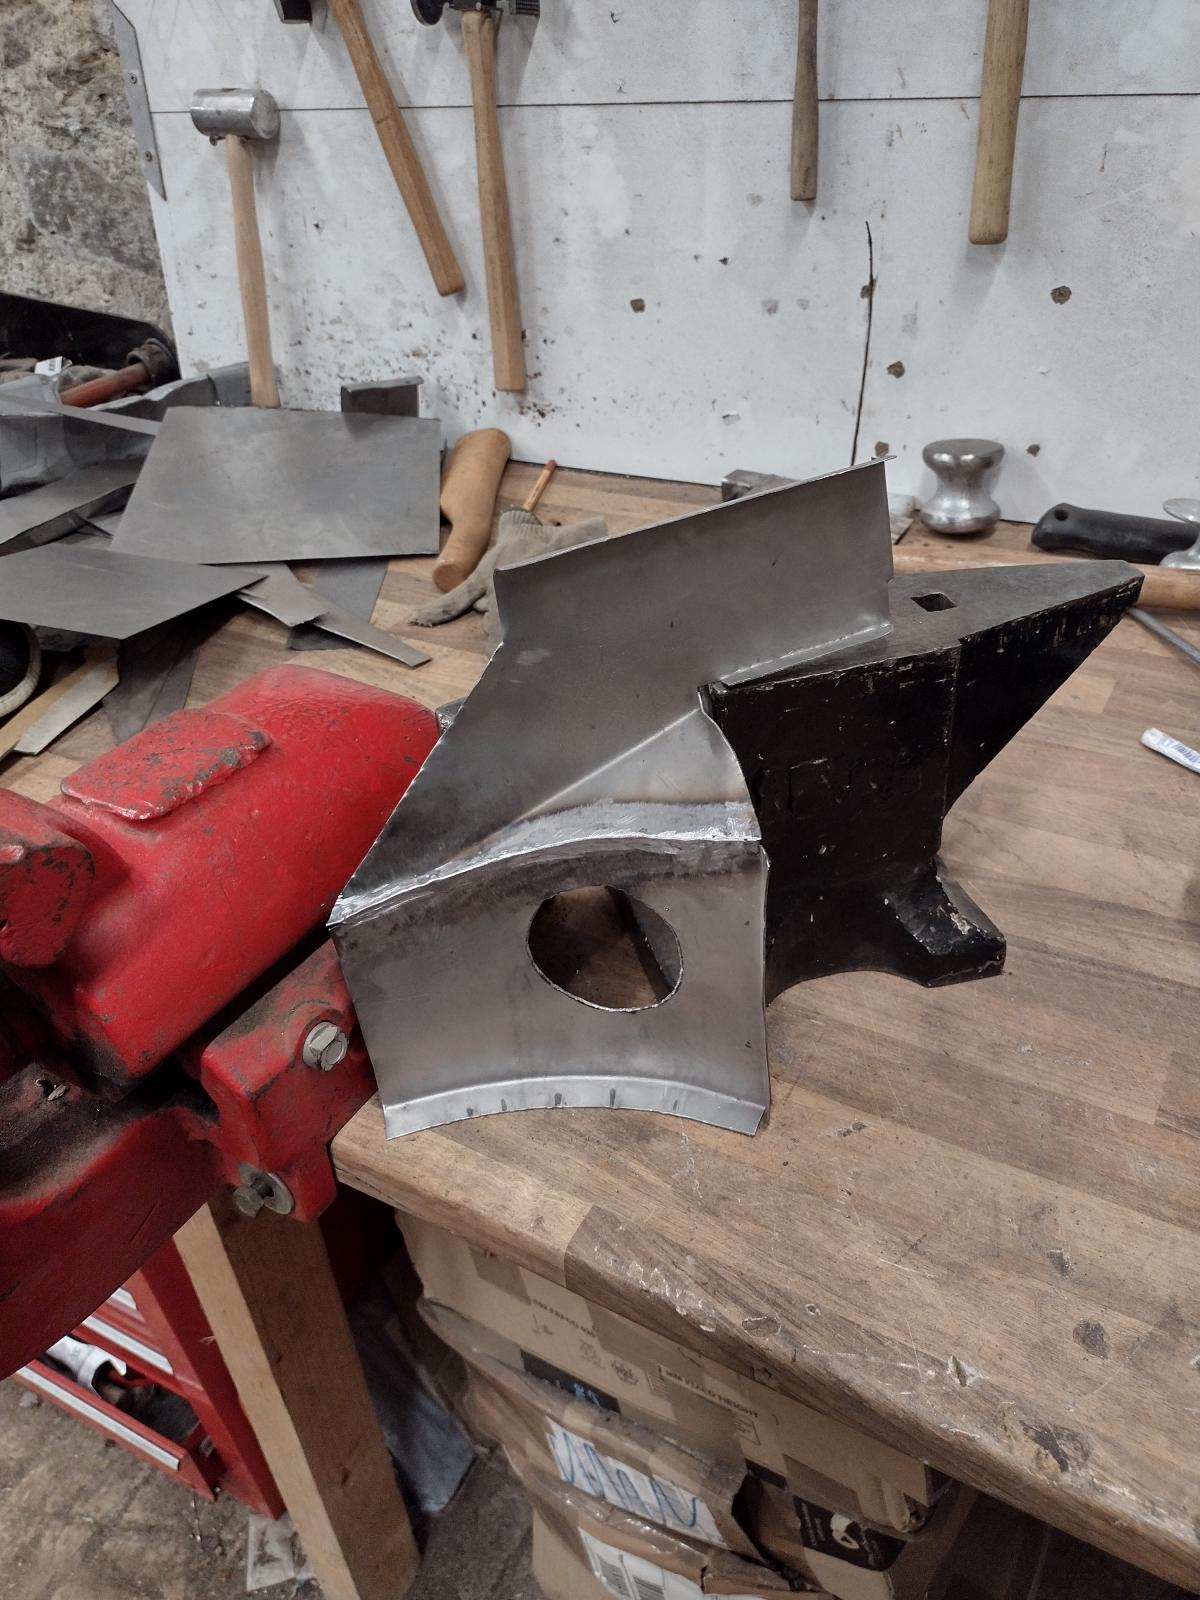
And the top part:
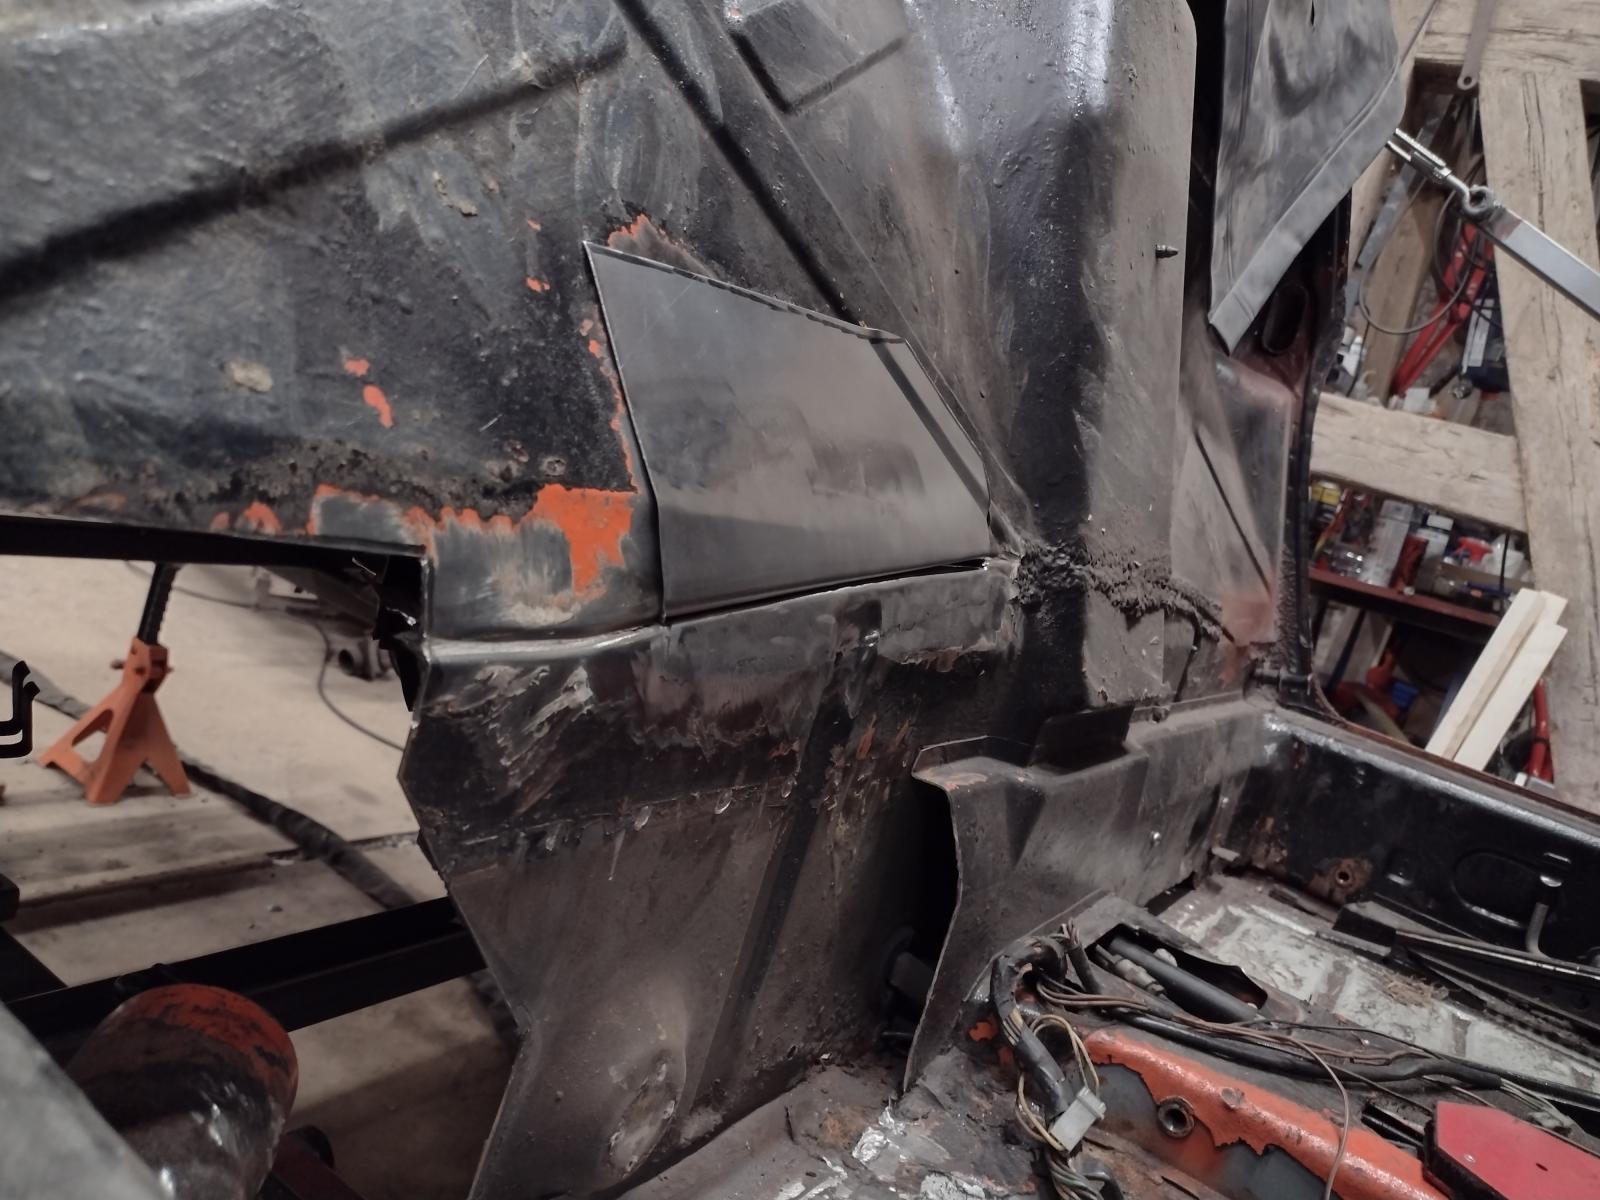
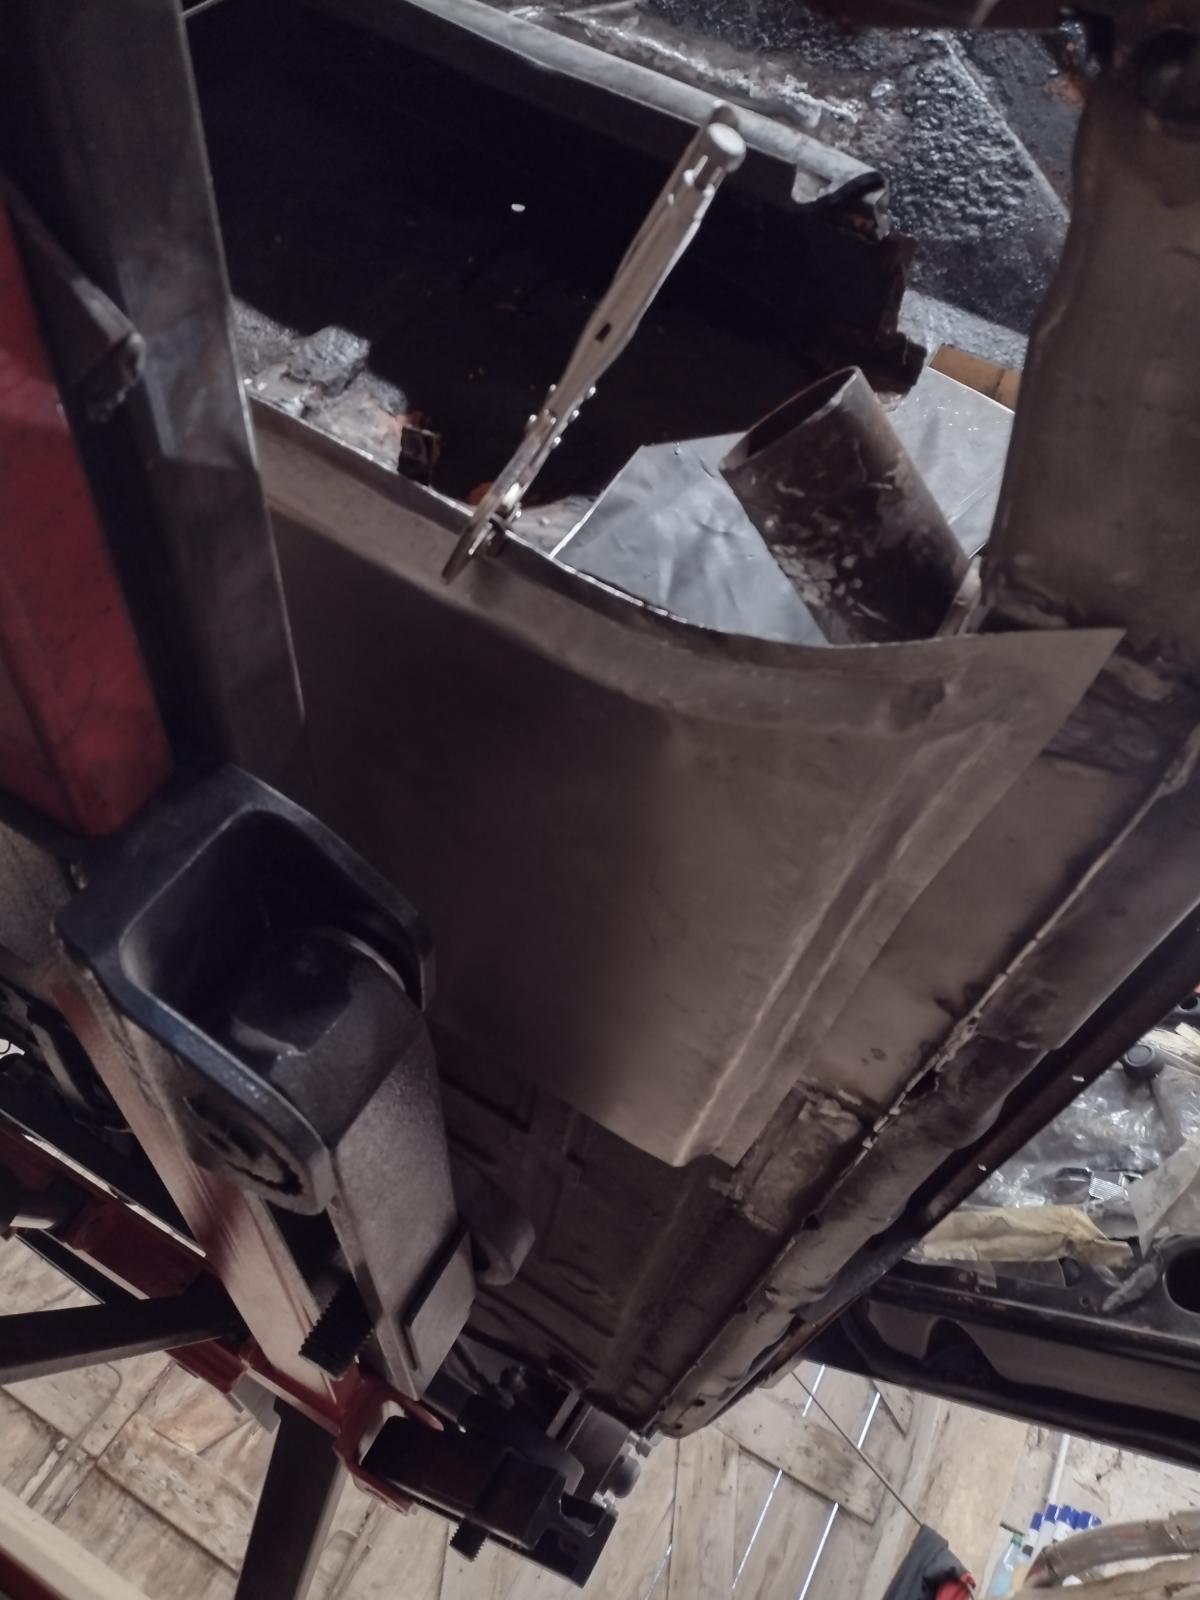
Welded together:
And welded to the car:
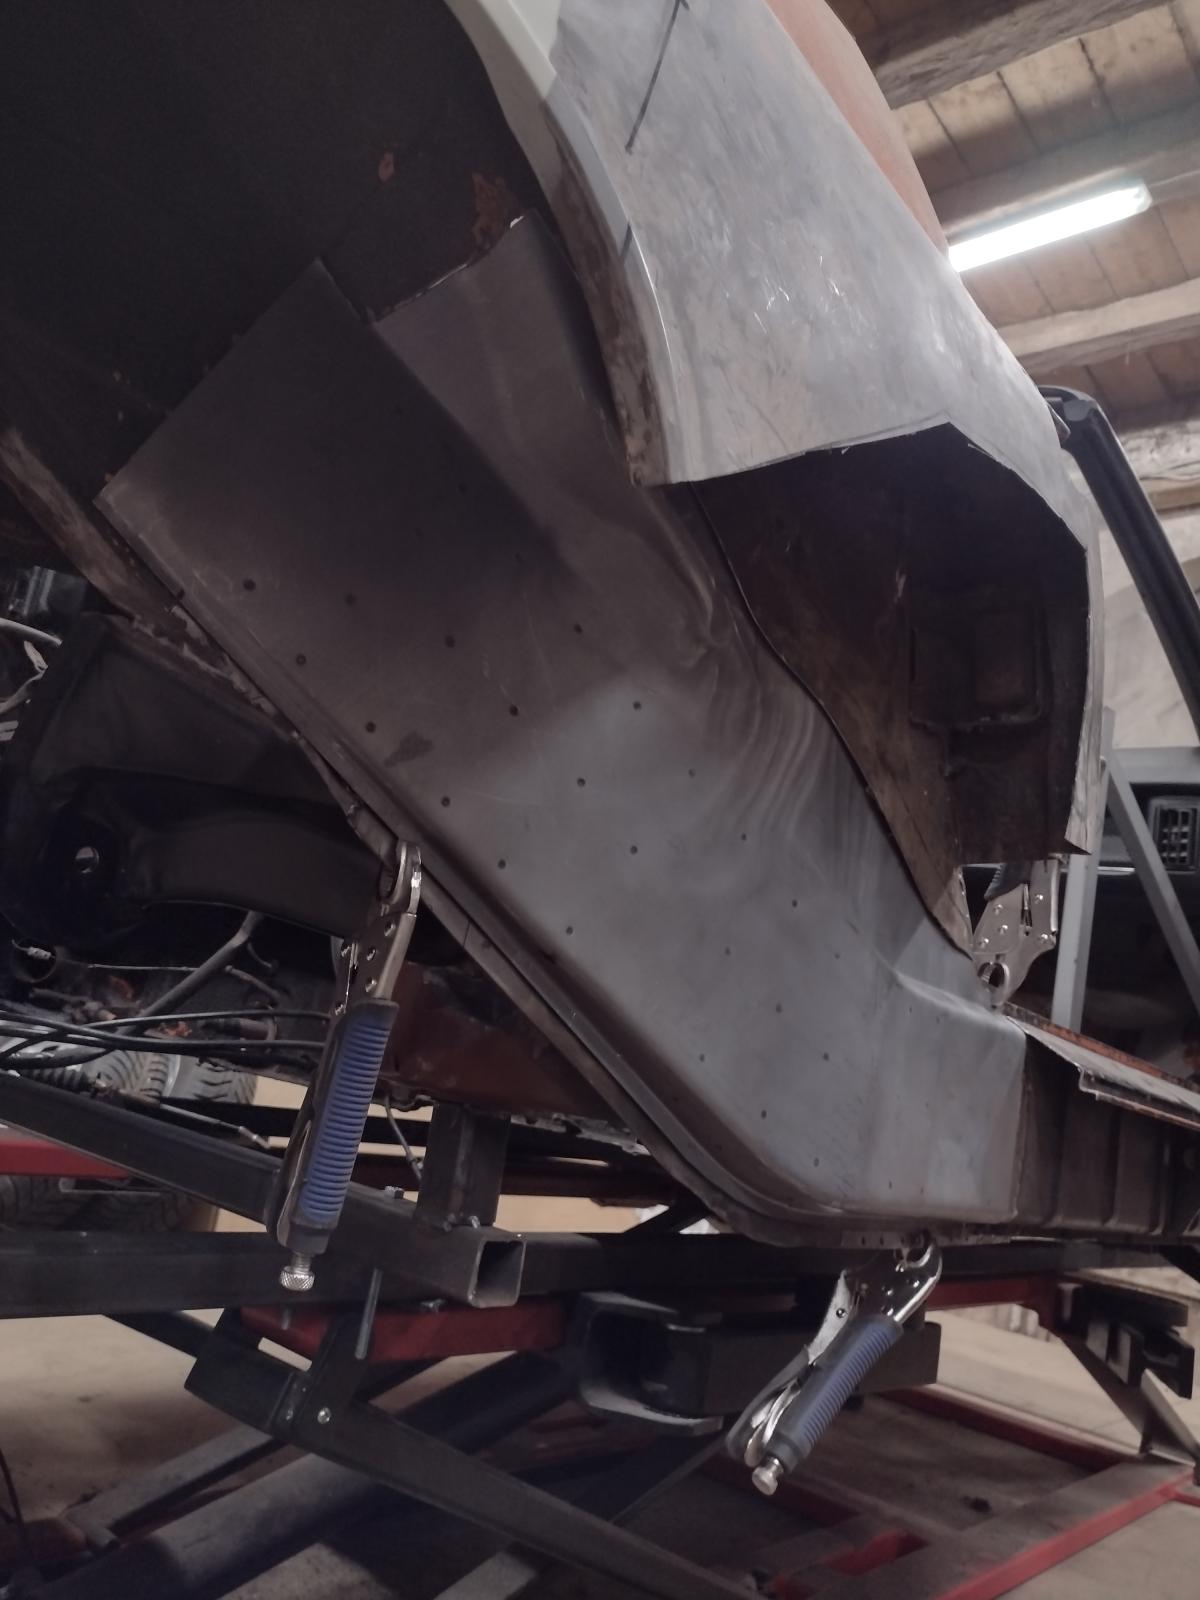
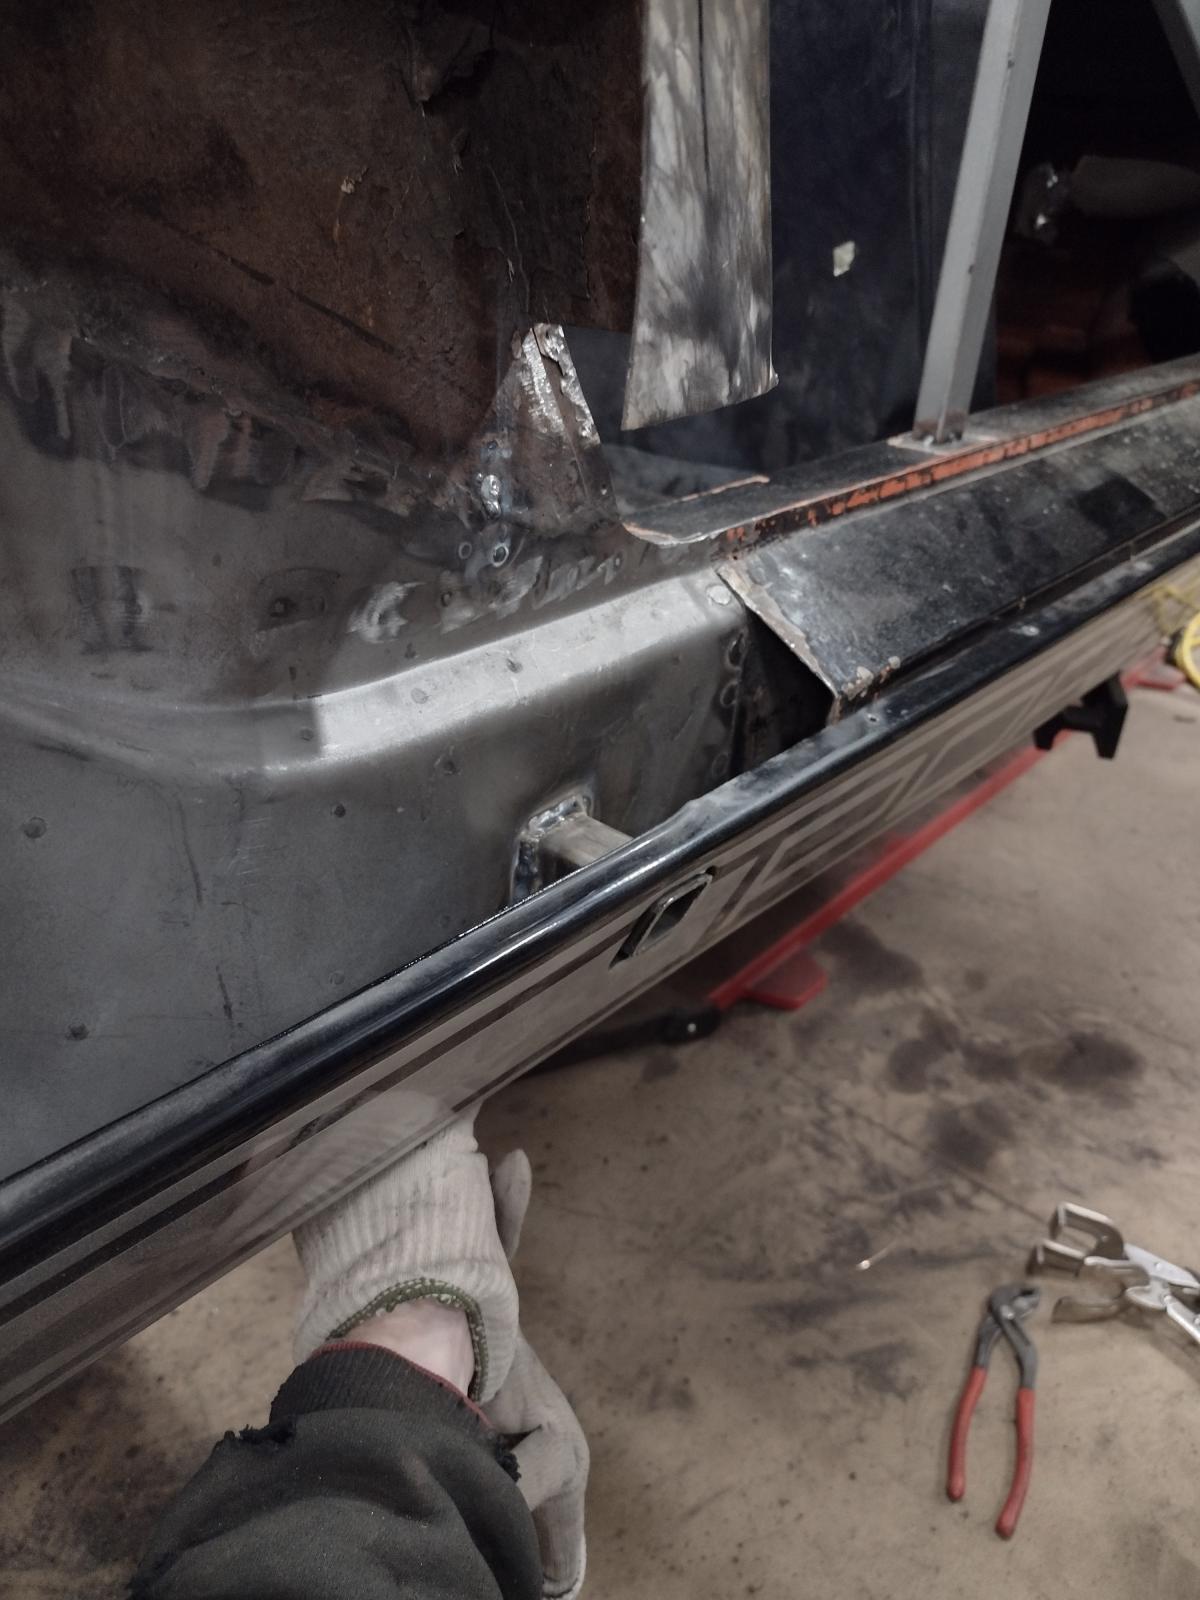
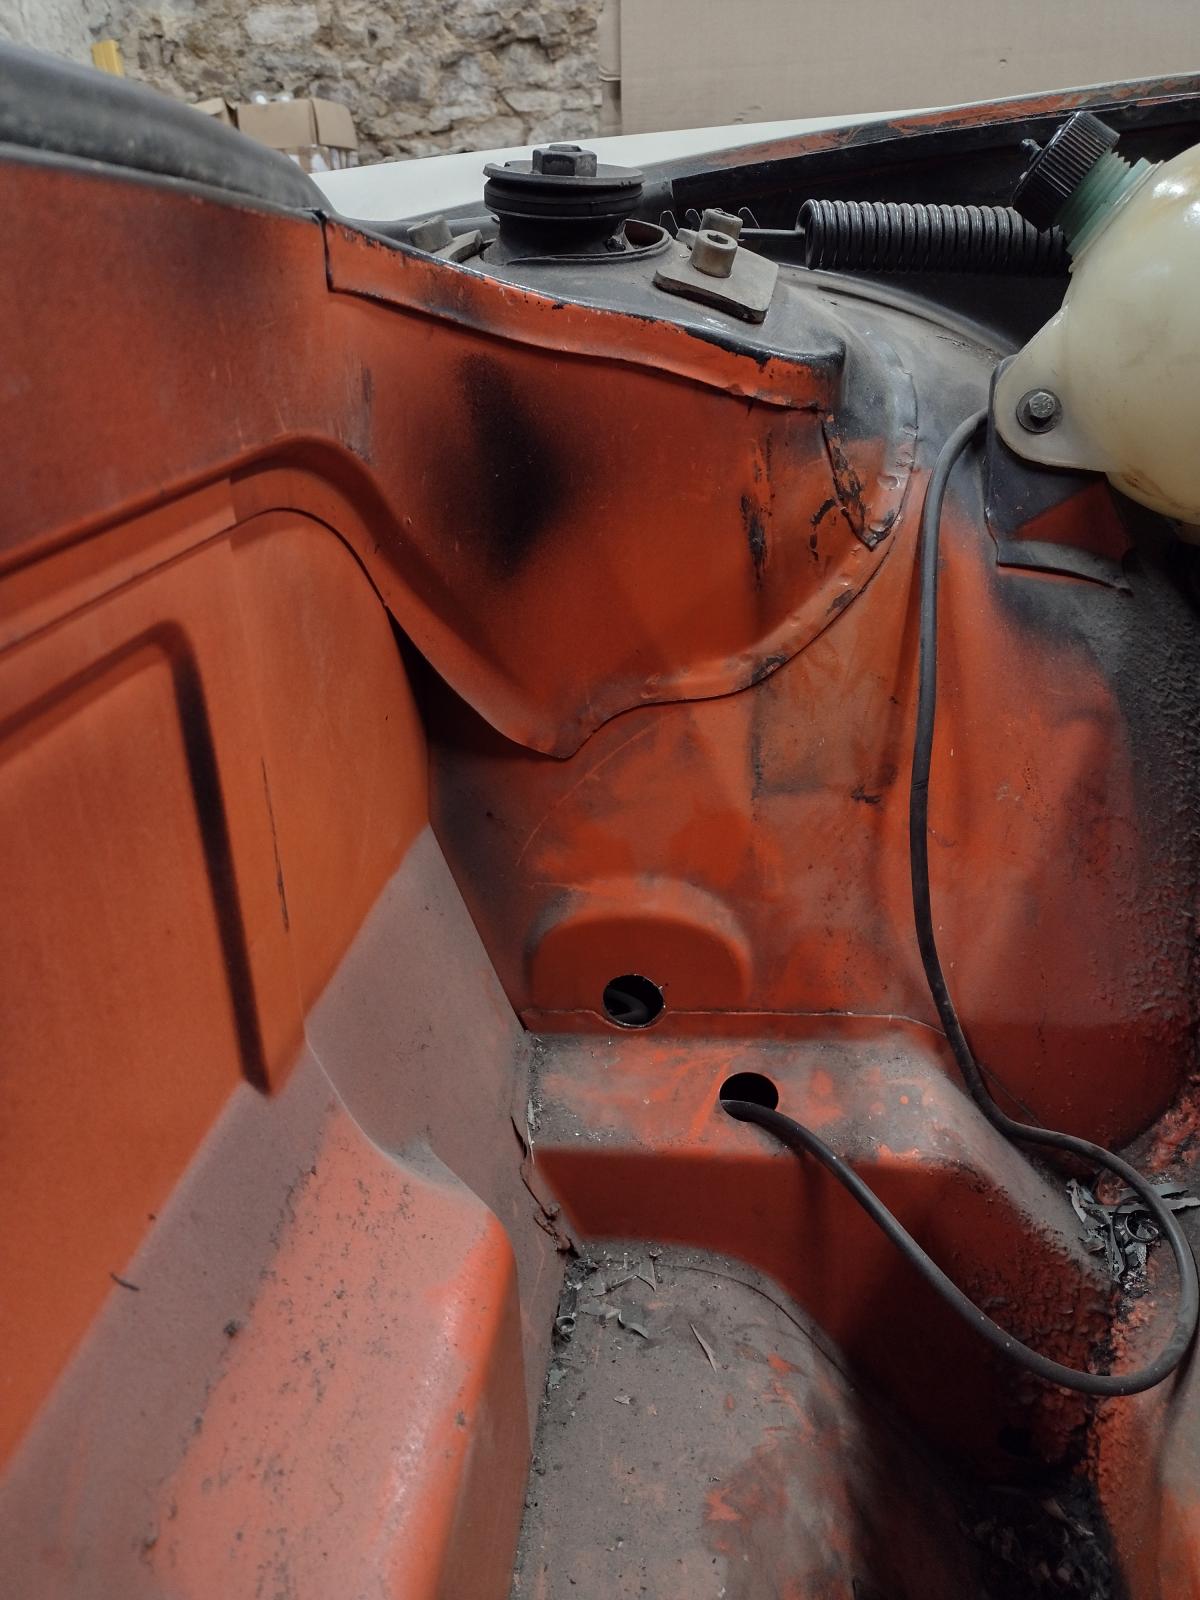
Then I made the small part left on top of it:
Welded:
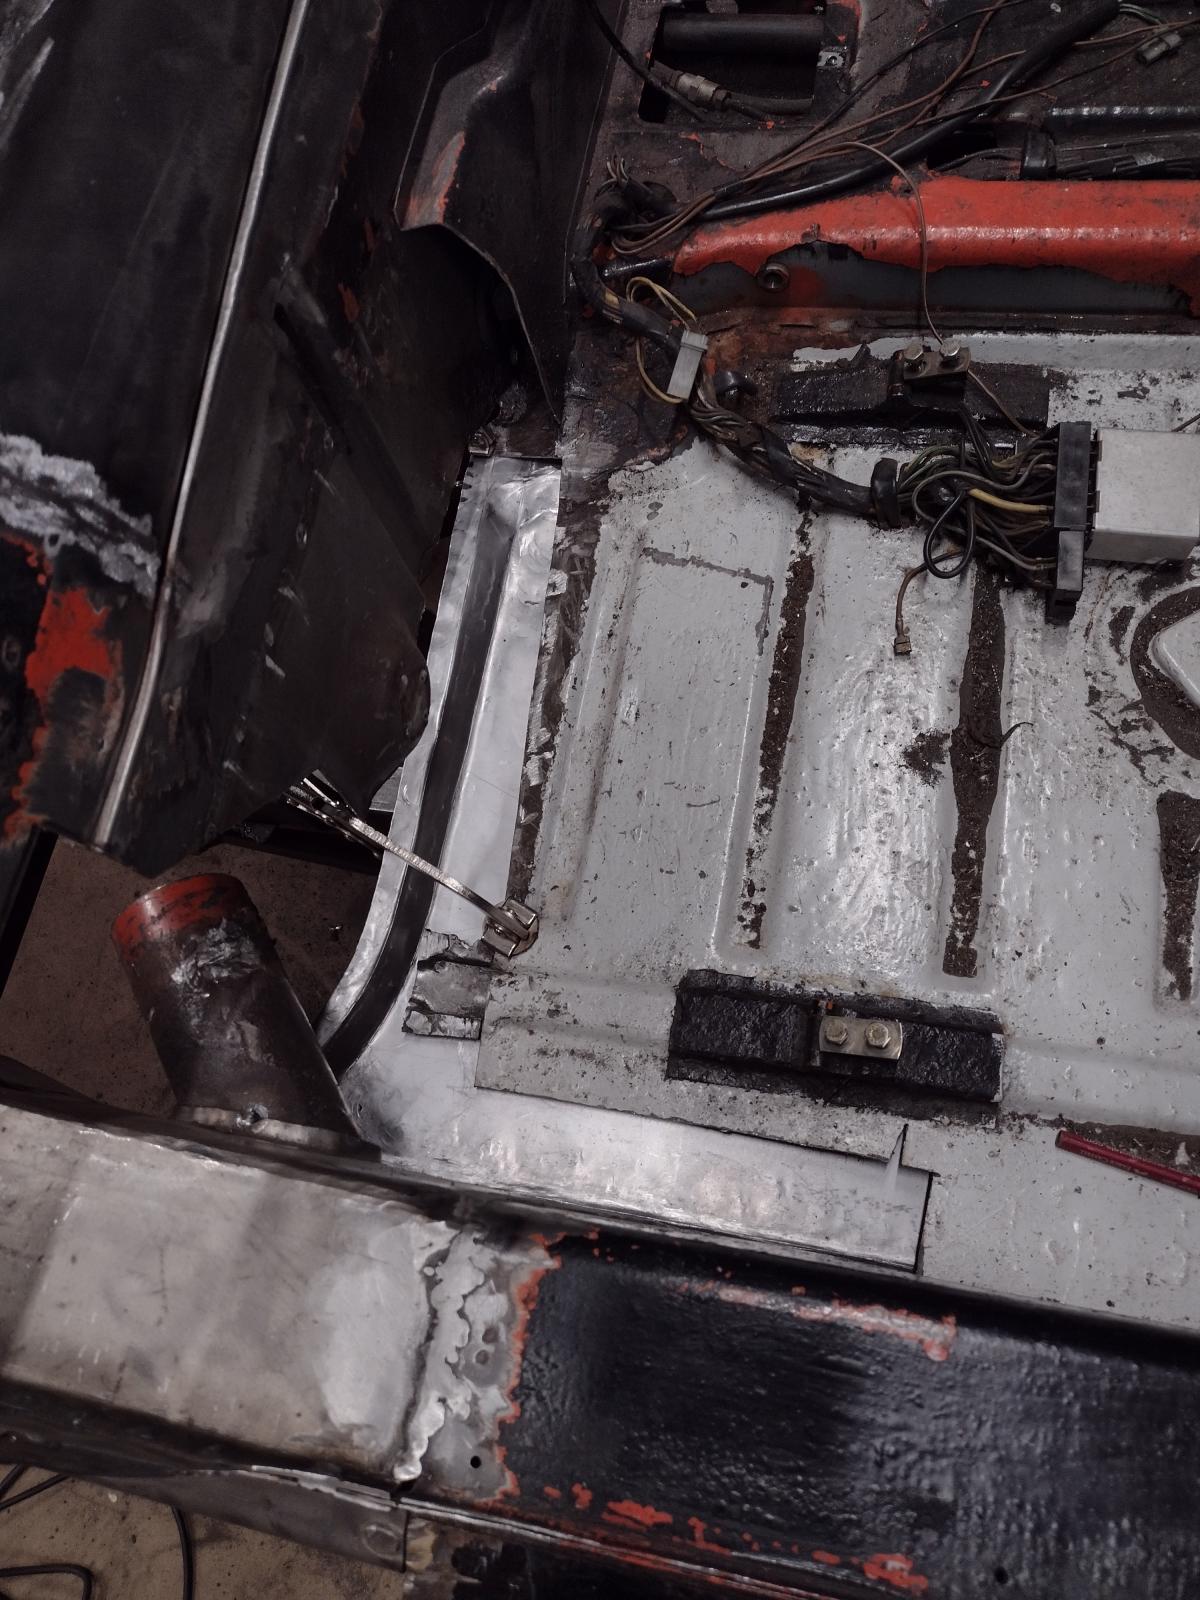
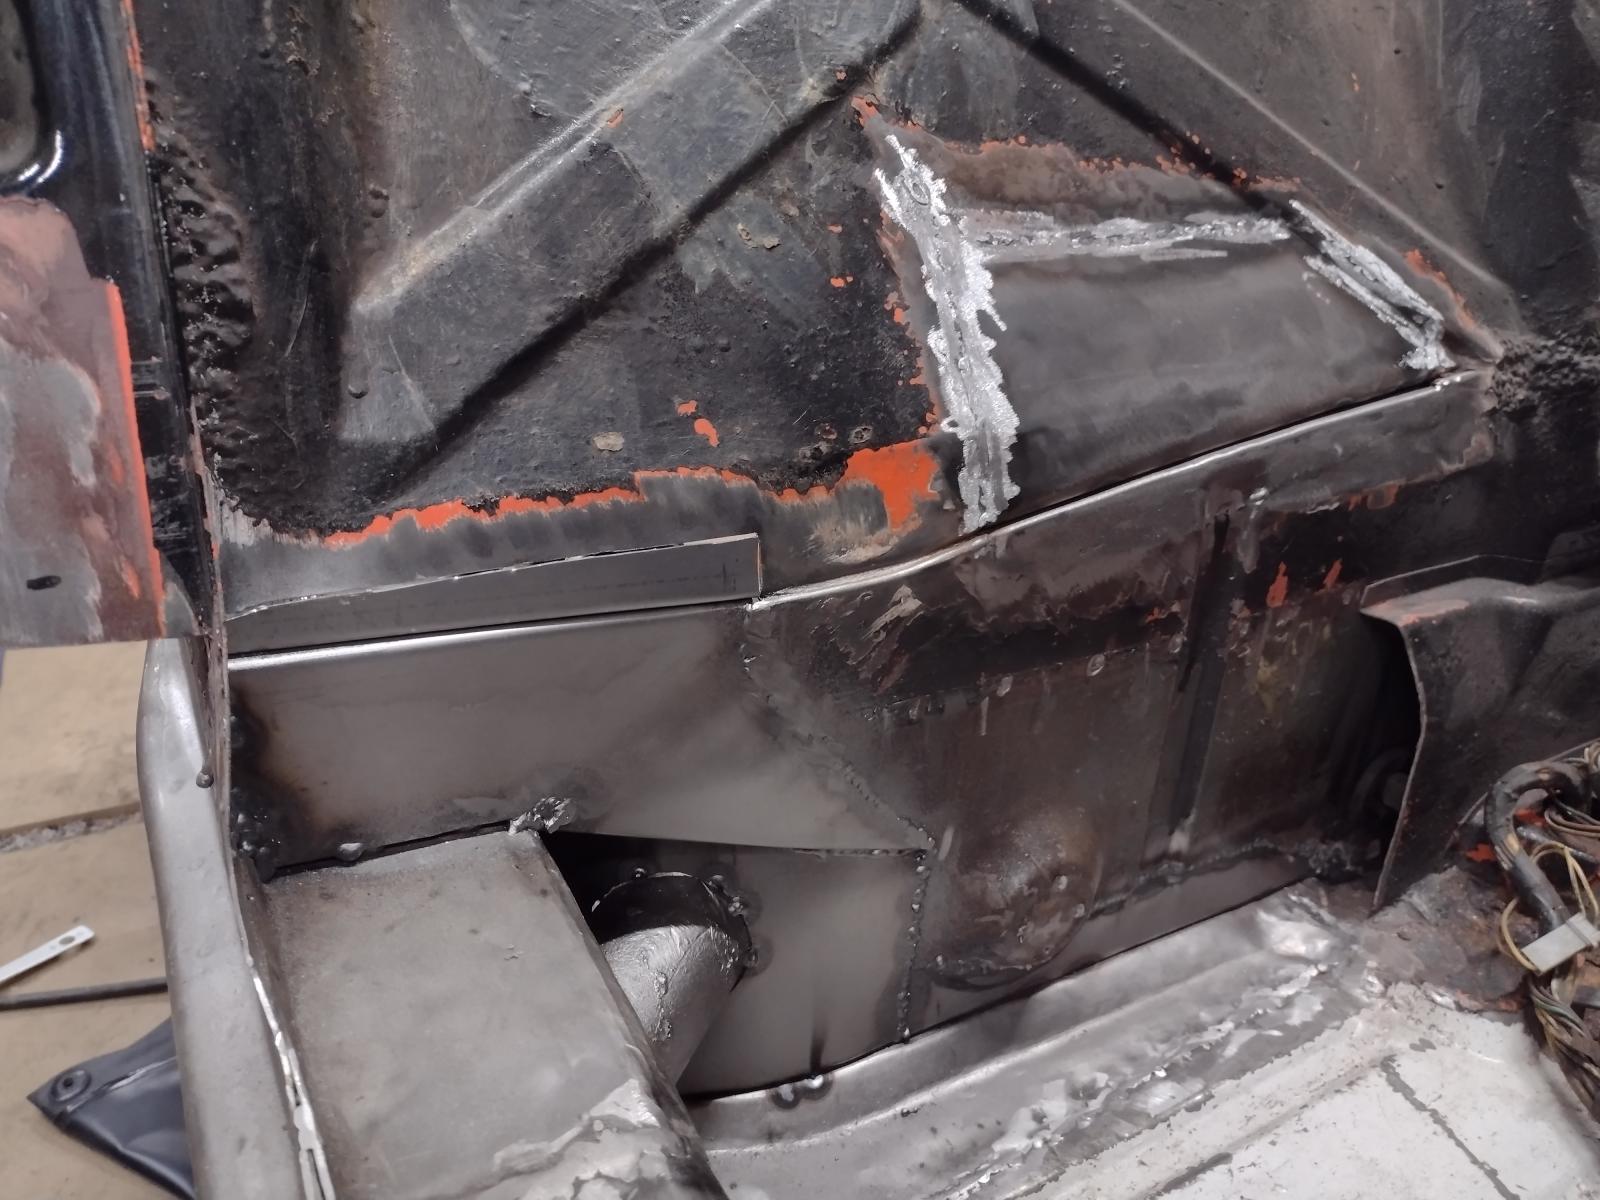
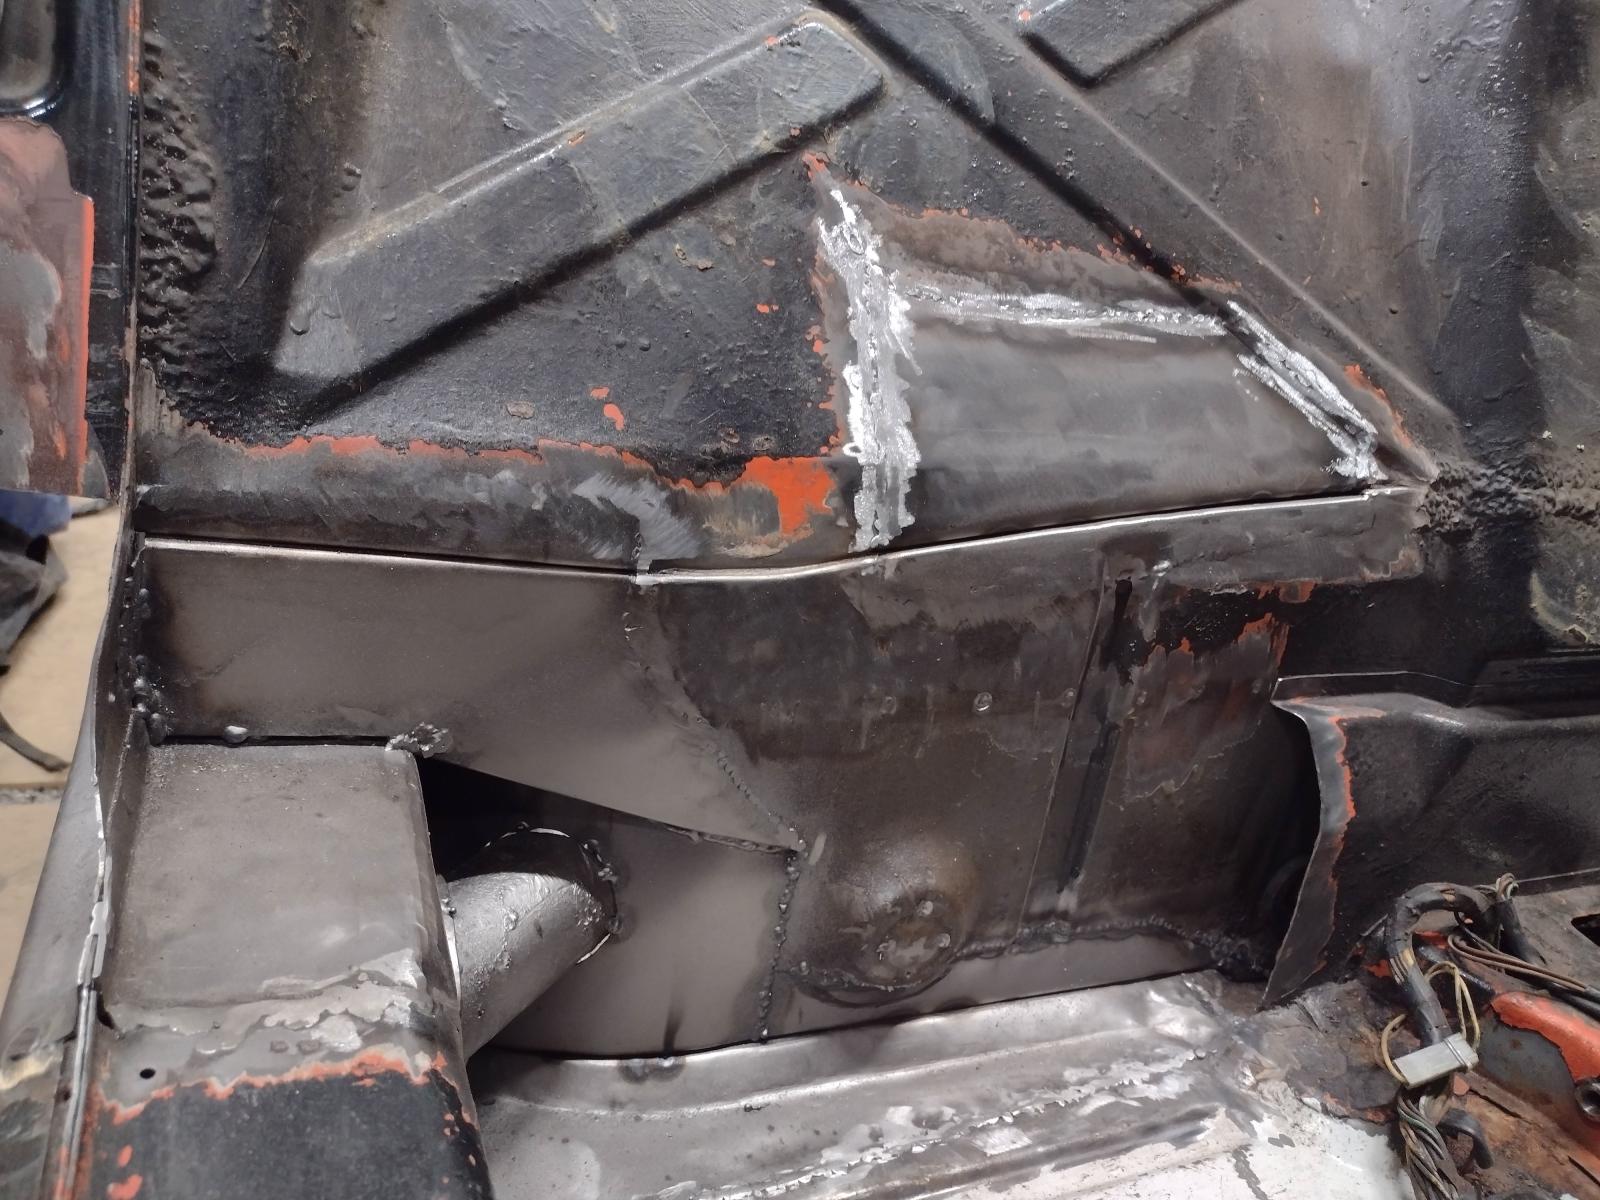
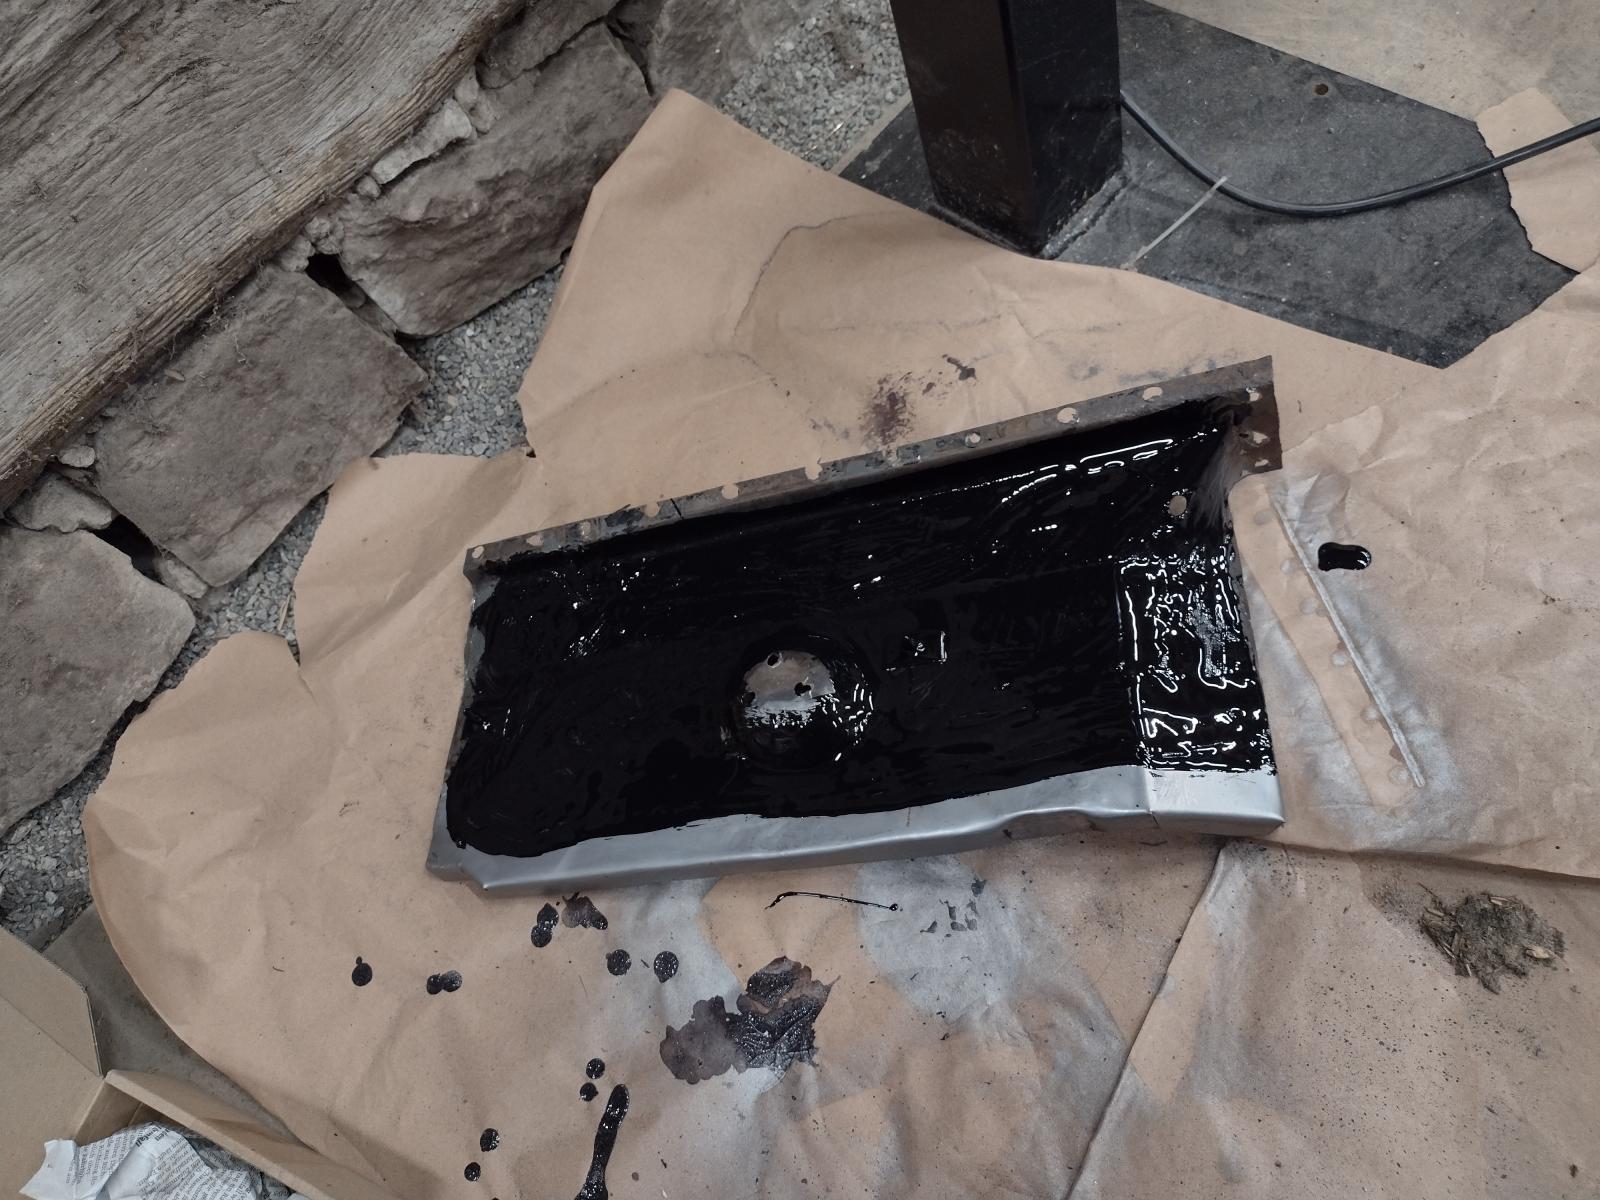
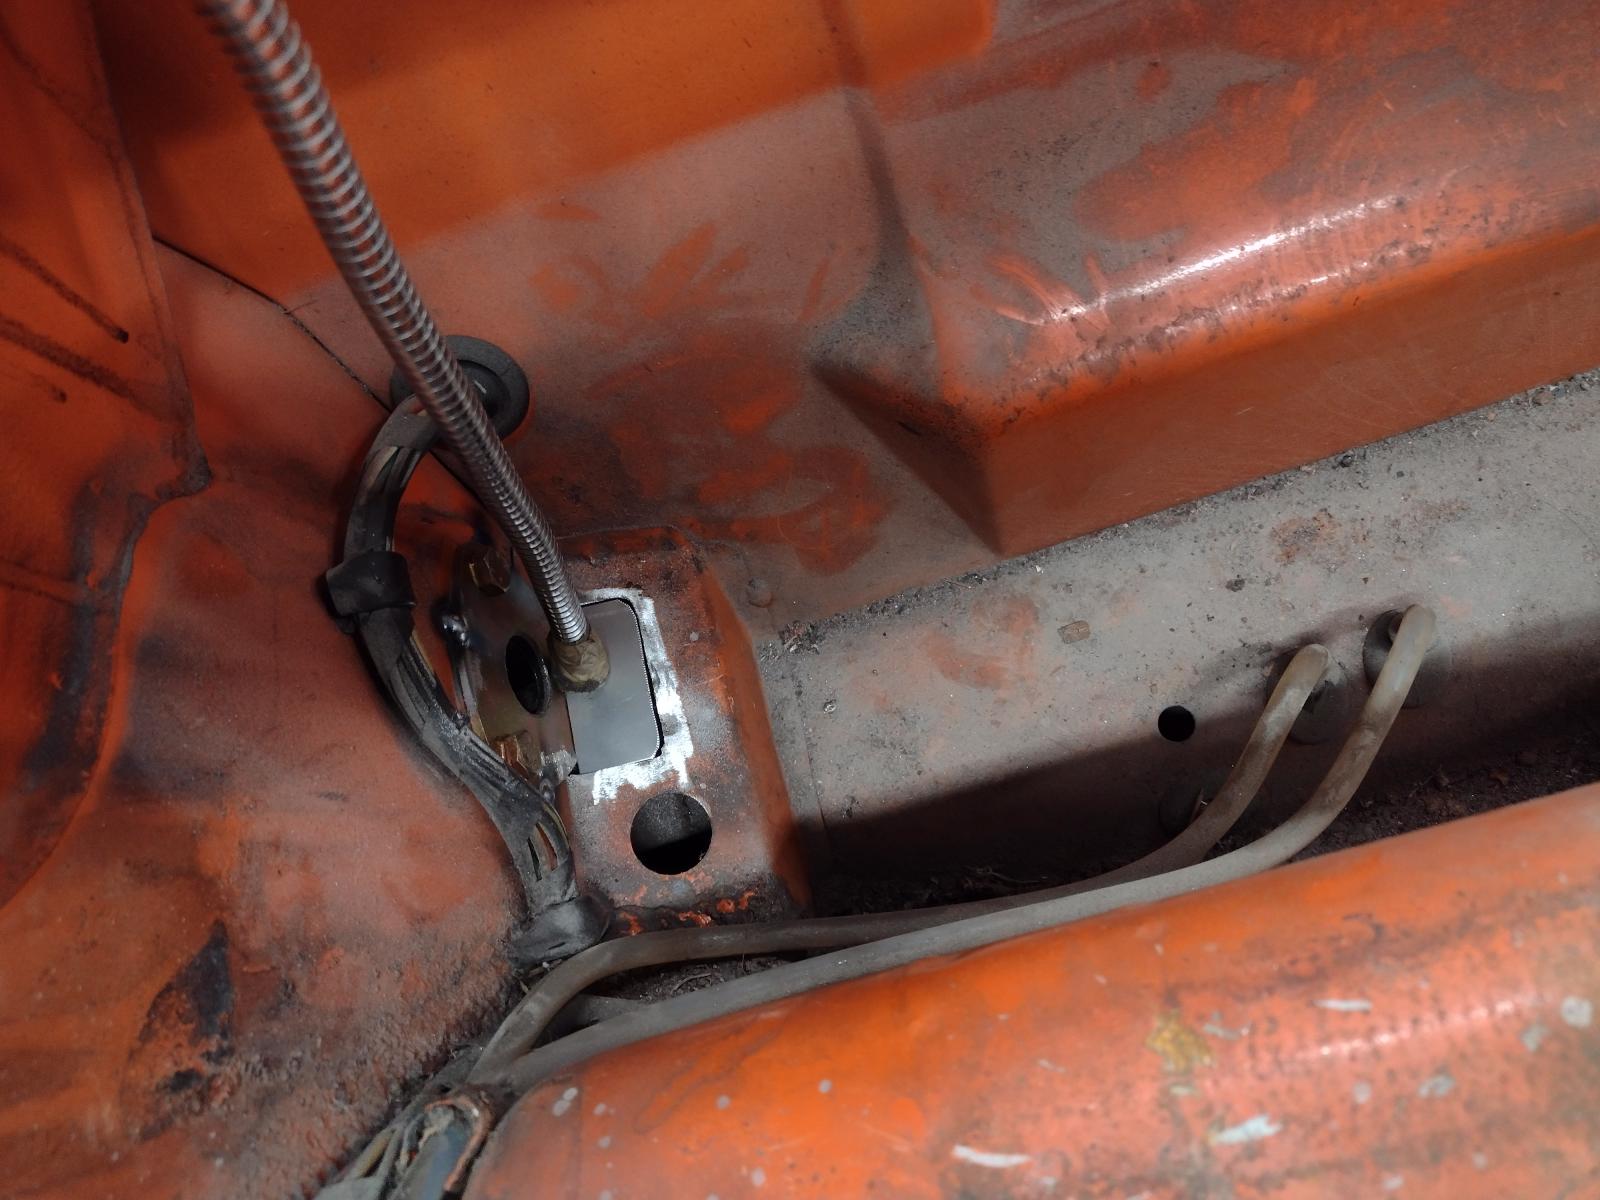
And some rust protection, paint,
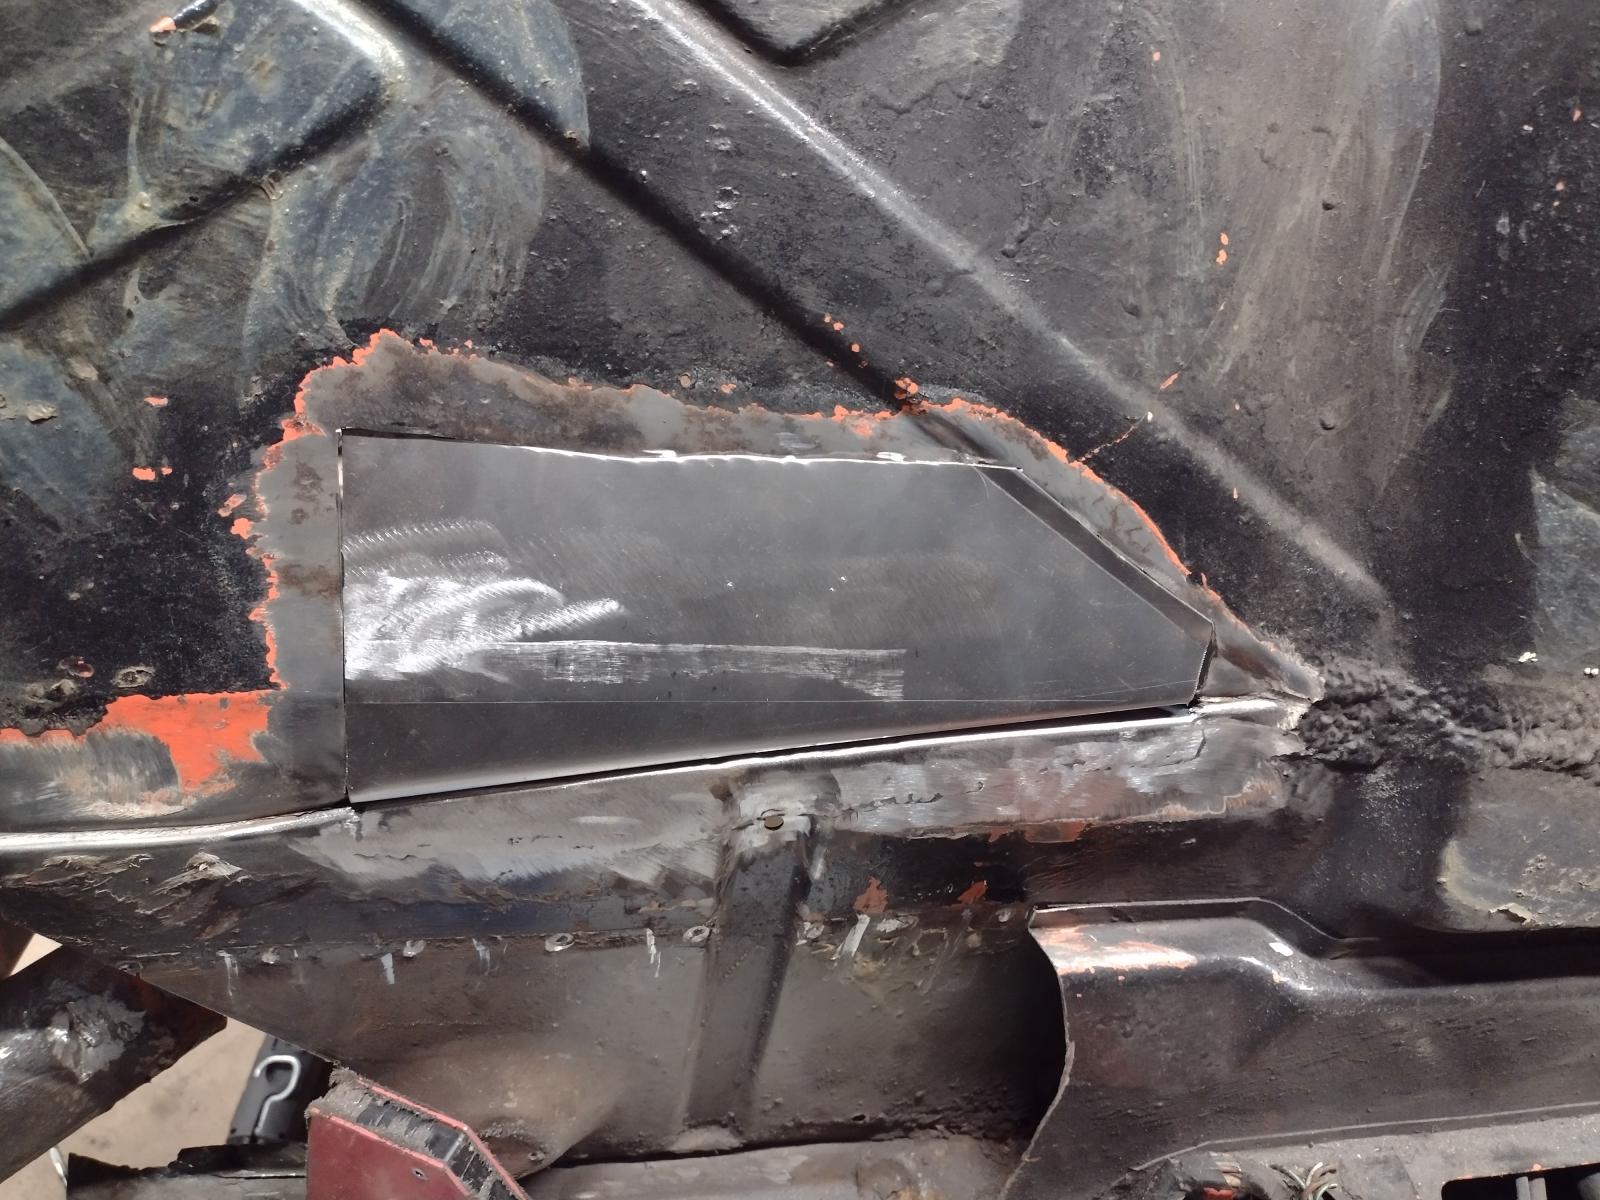
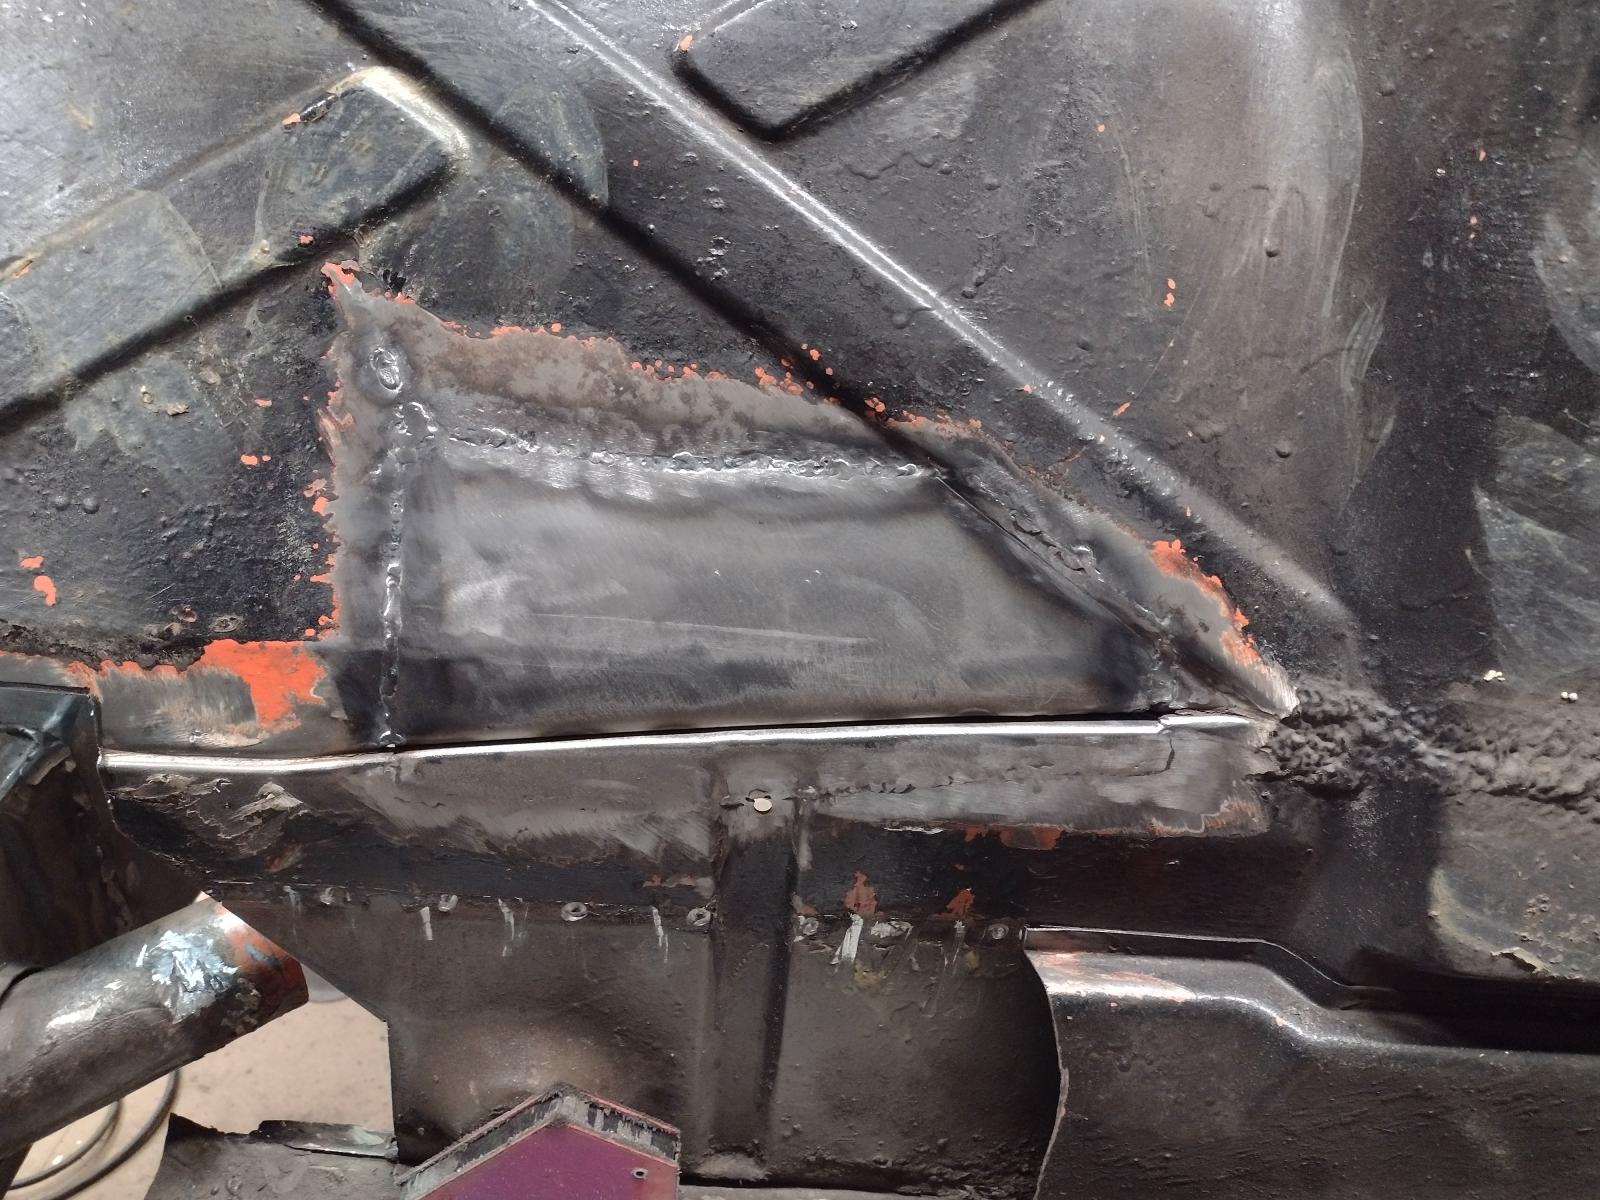
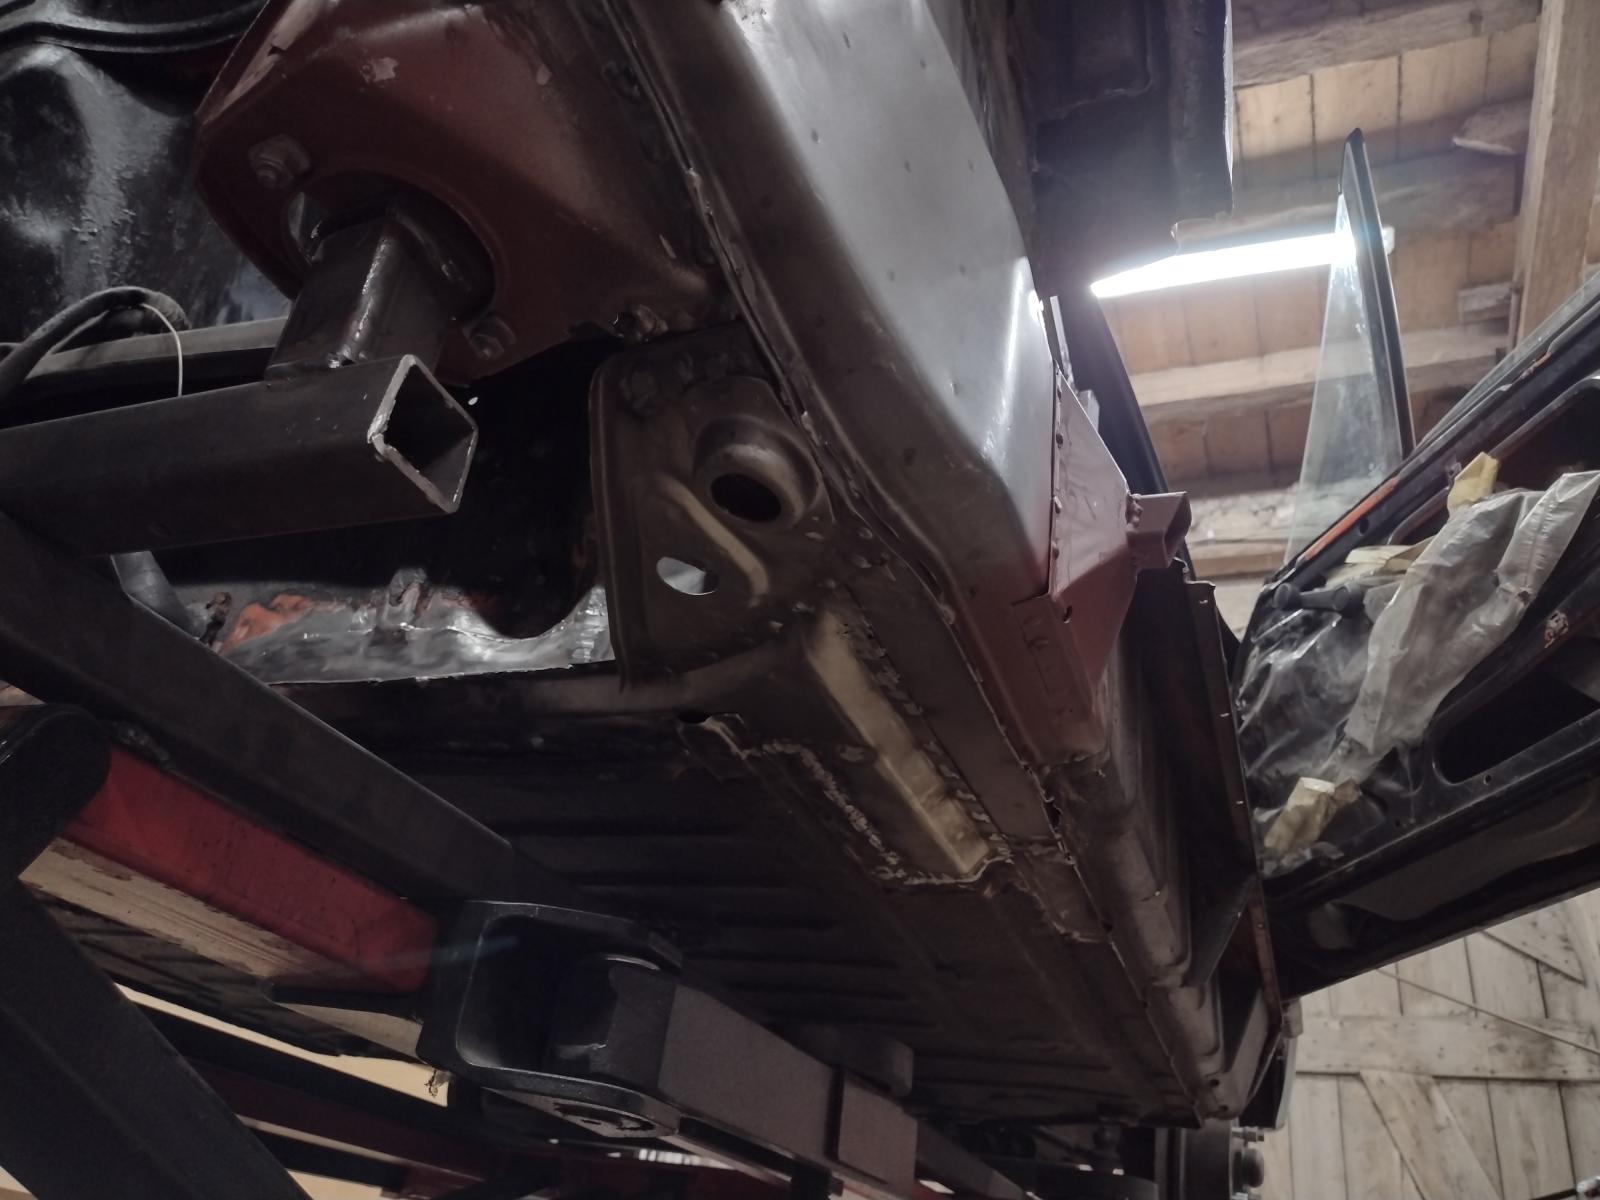
And the passenger side-firewall is done:
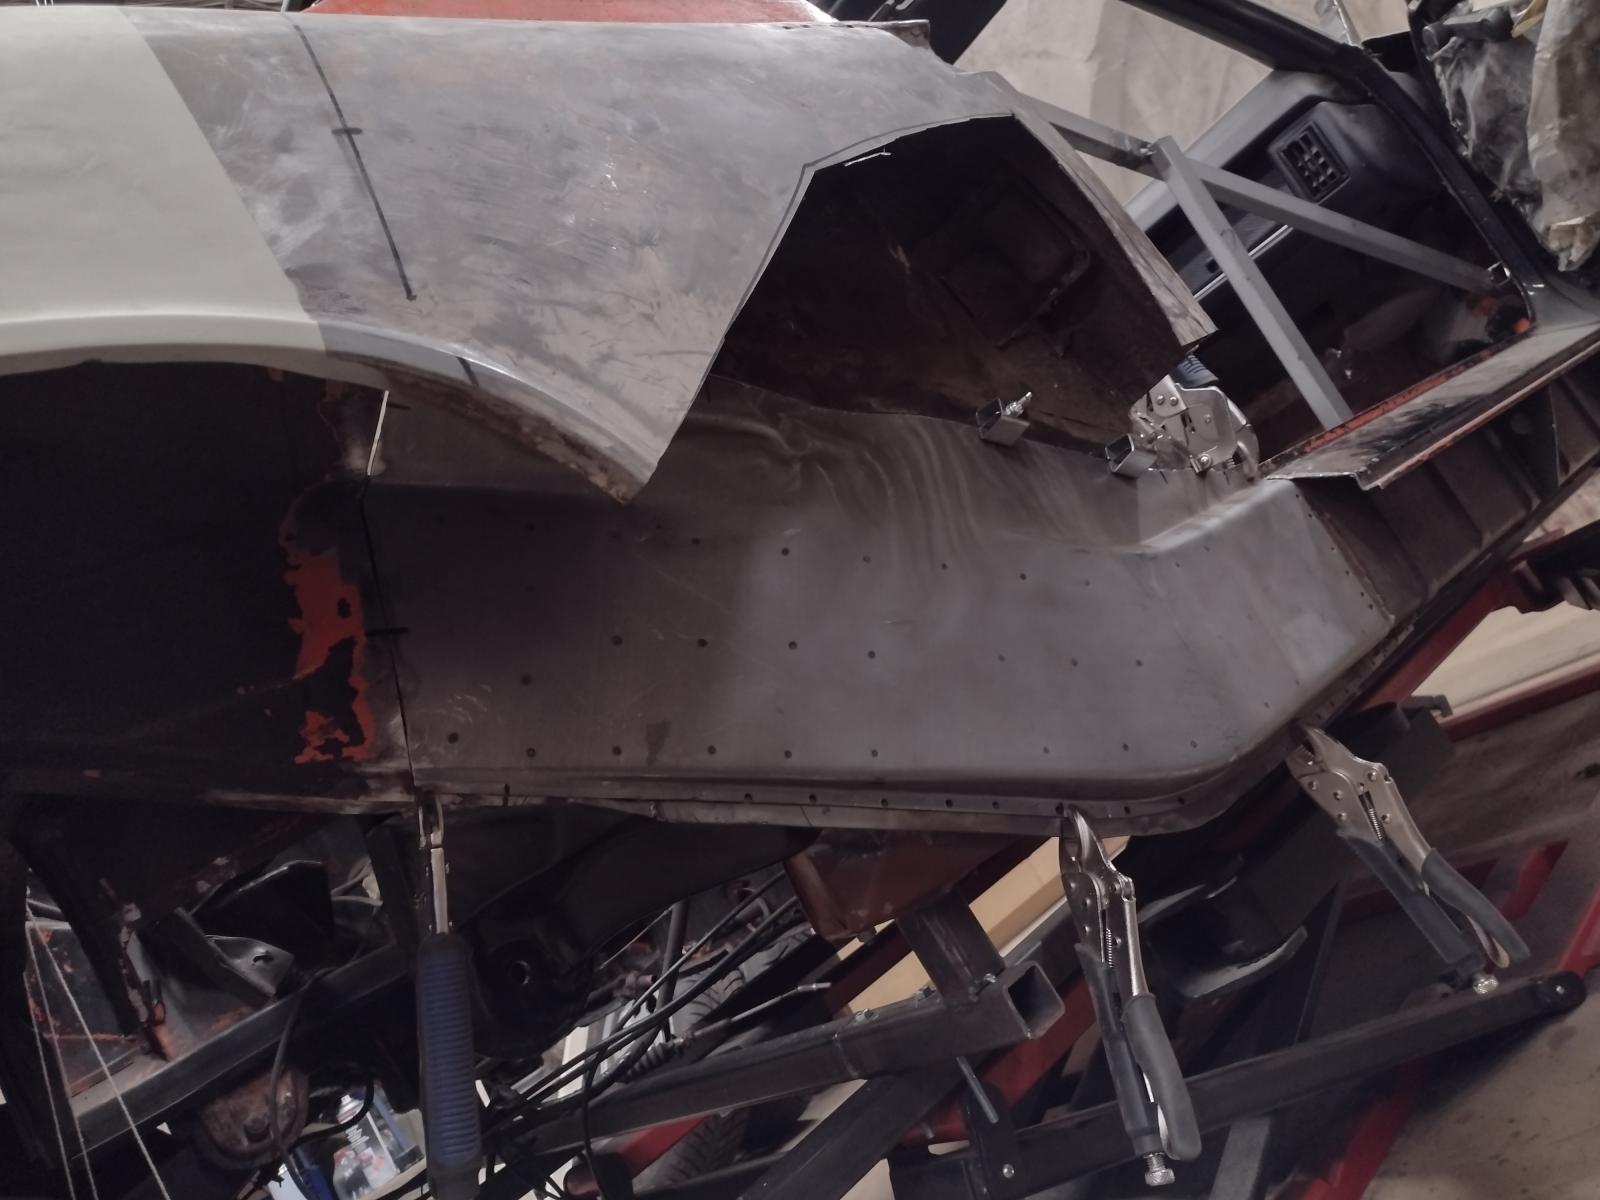
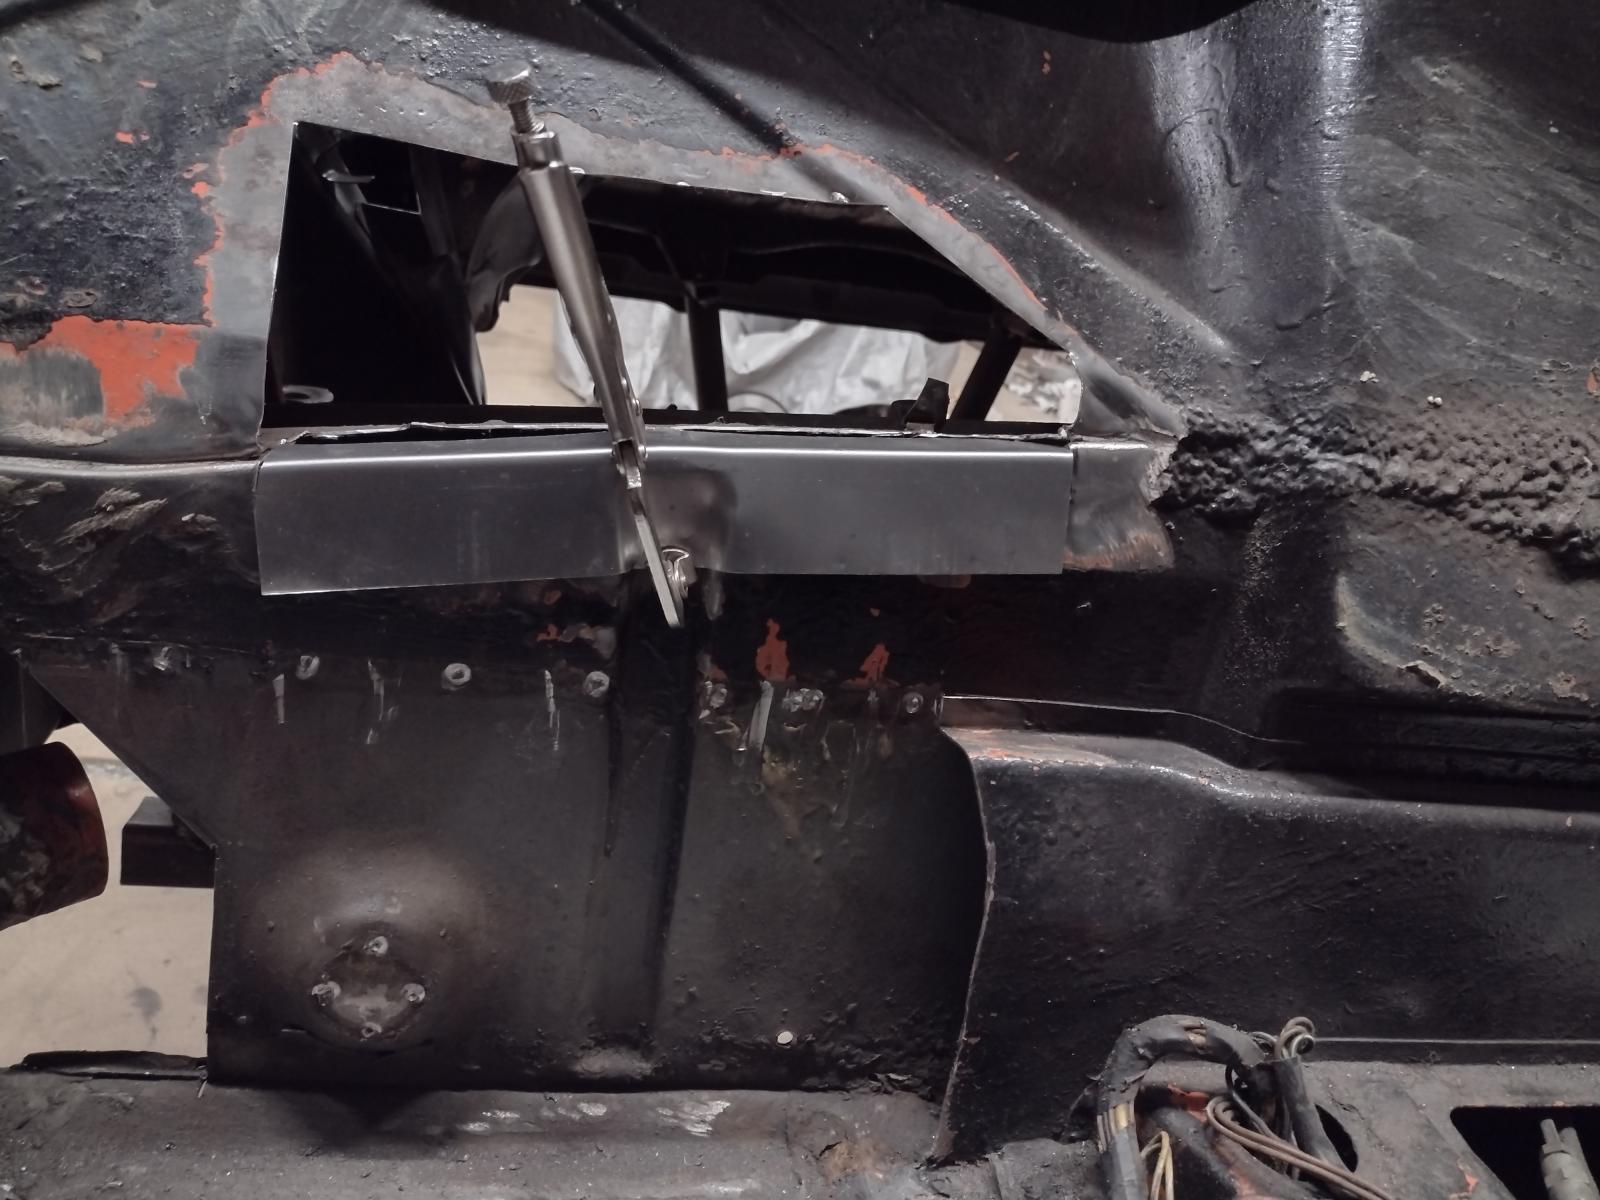
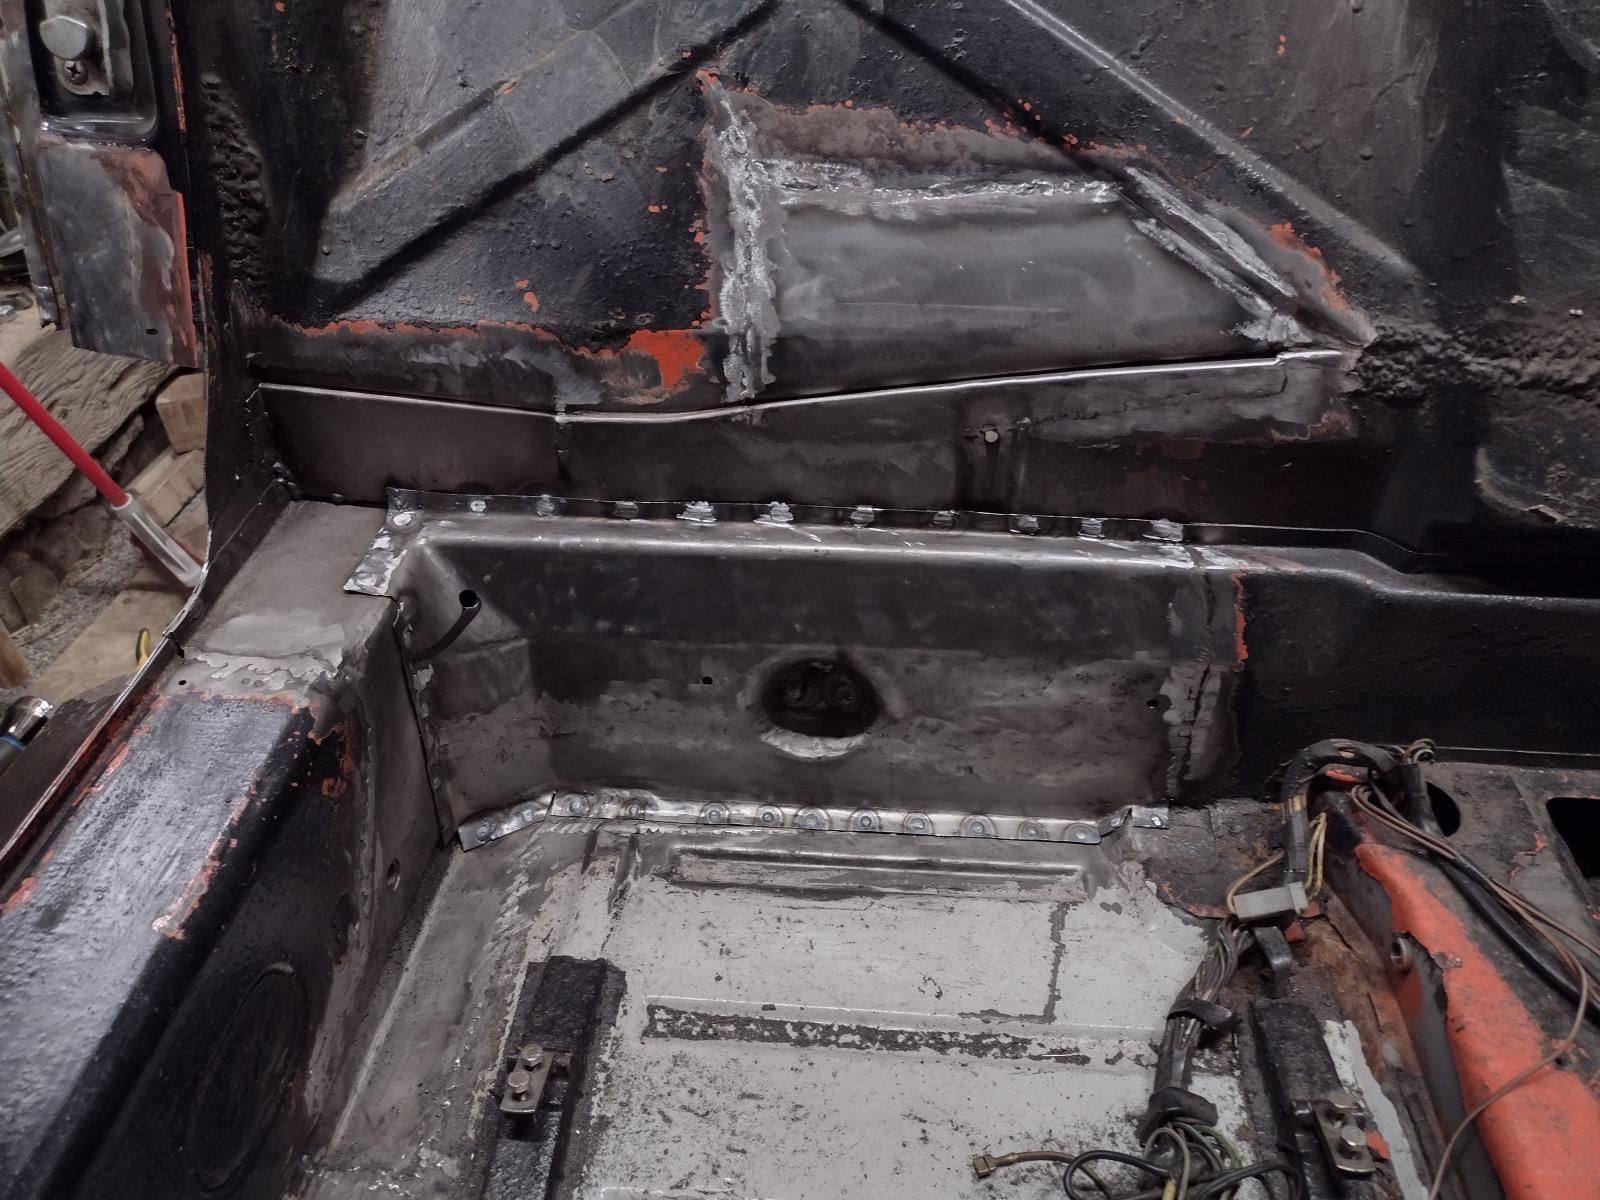
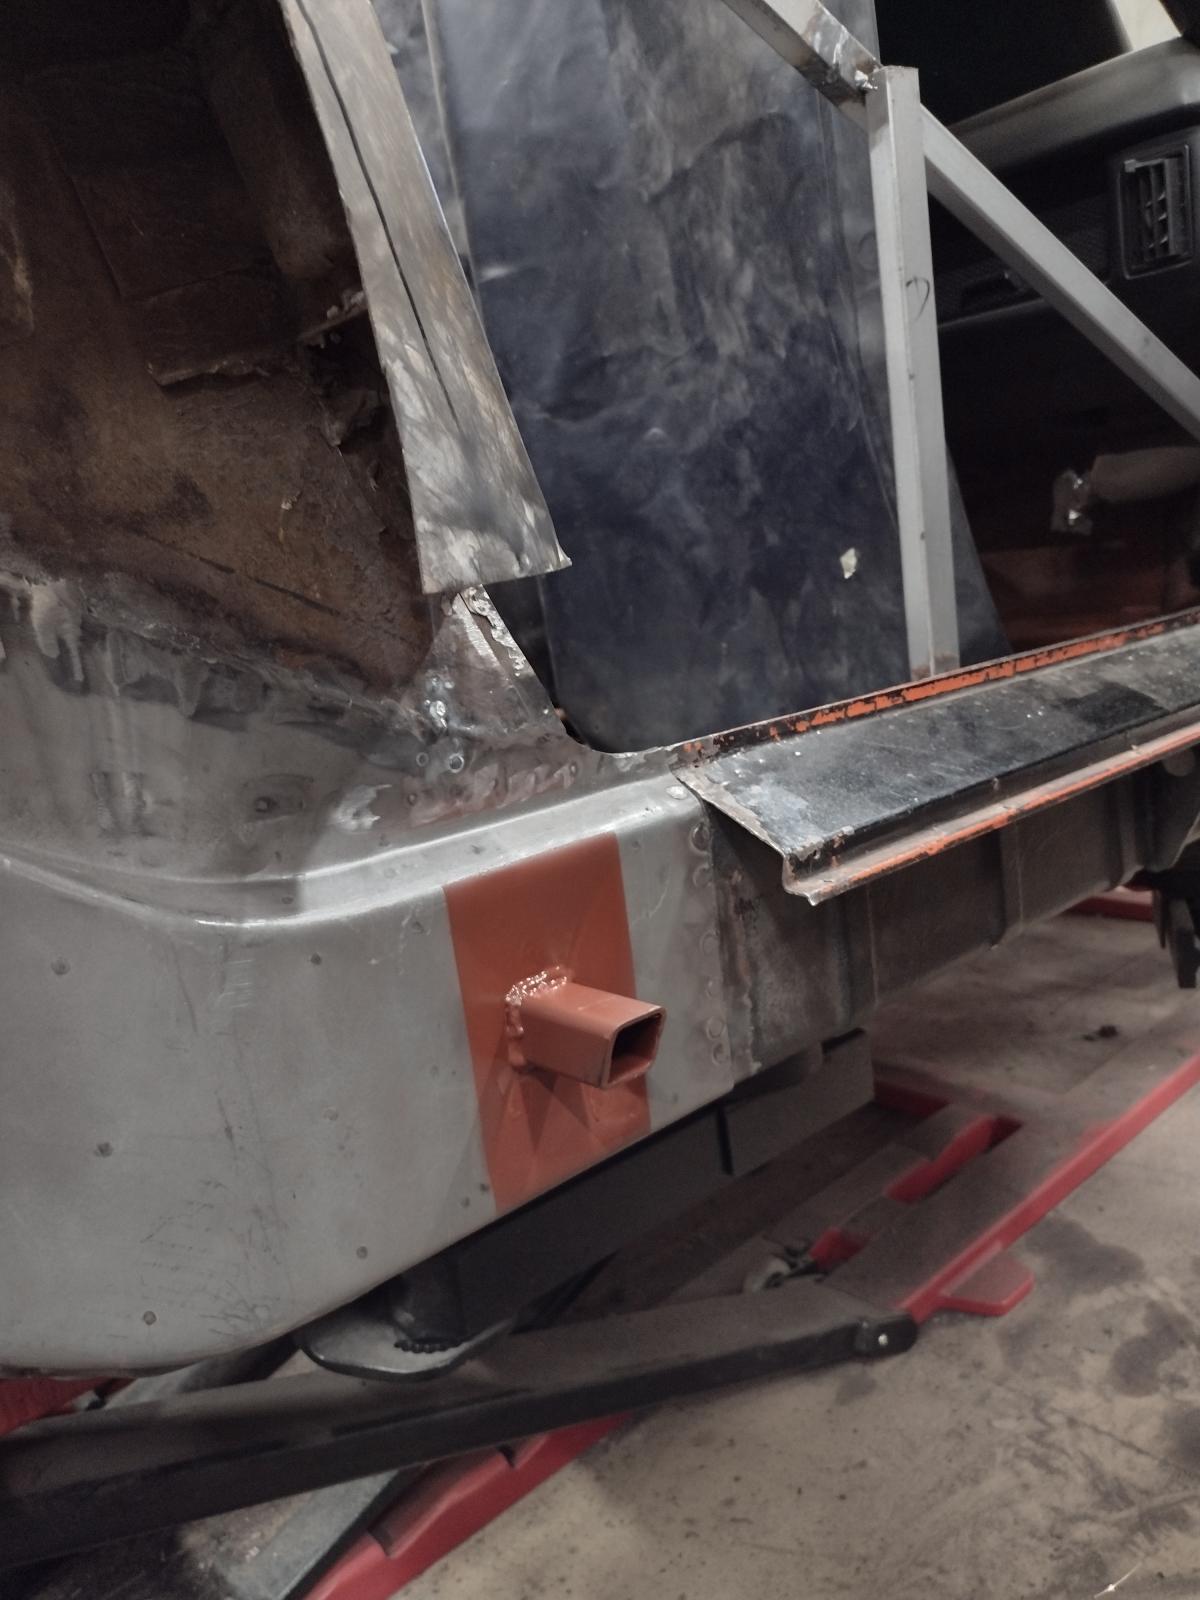
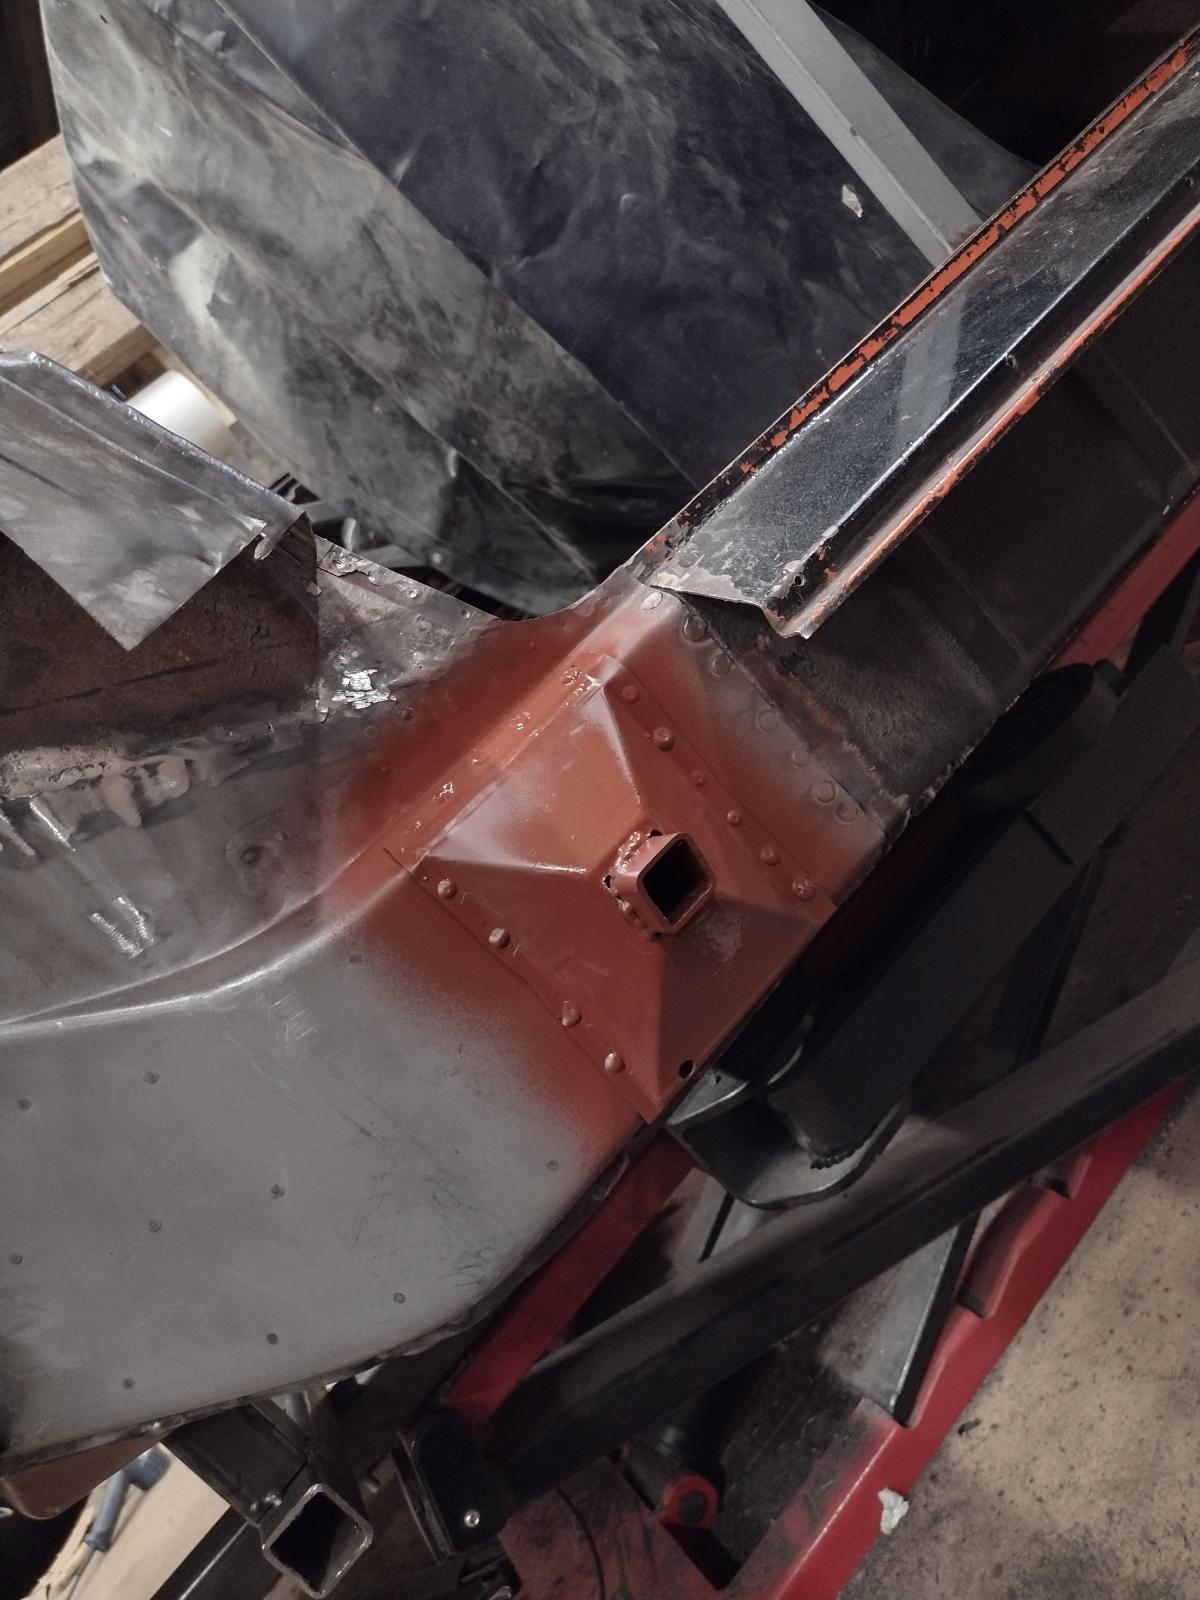
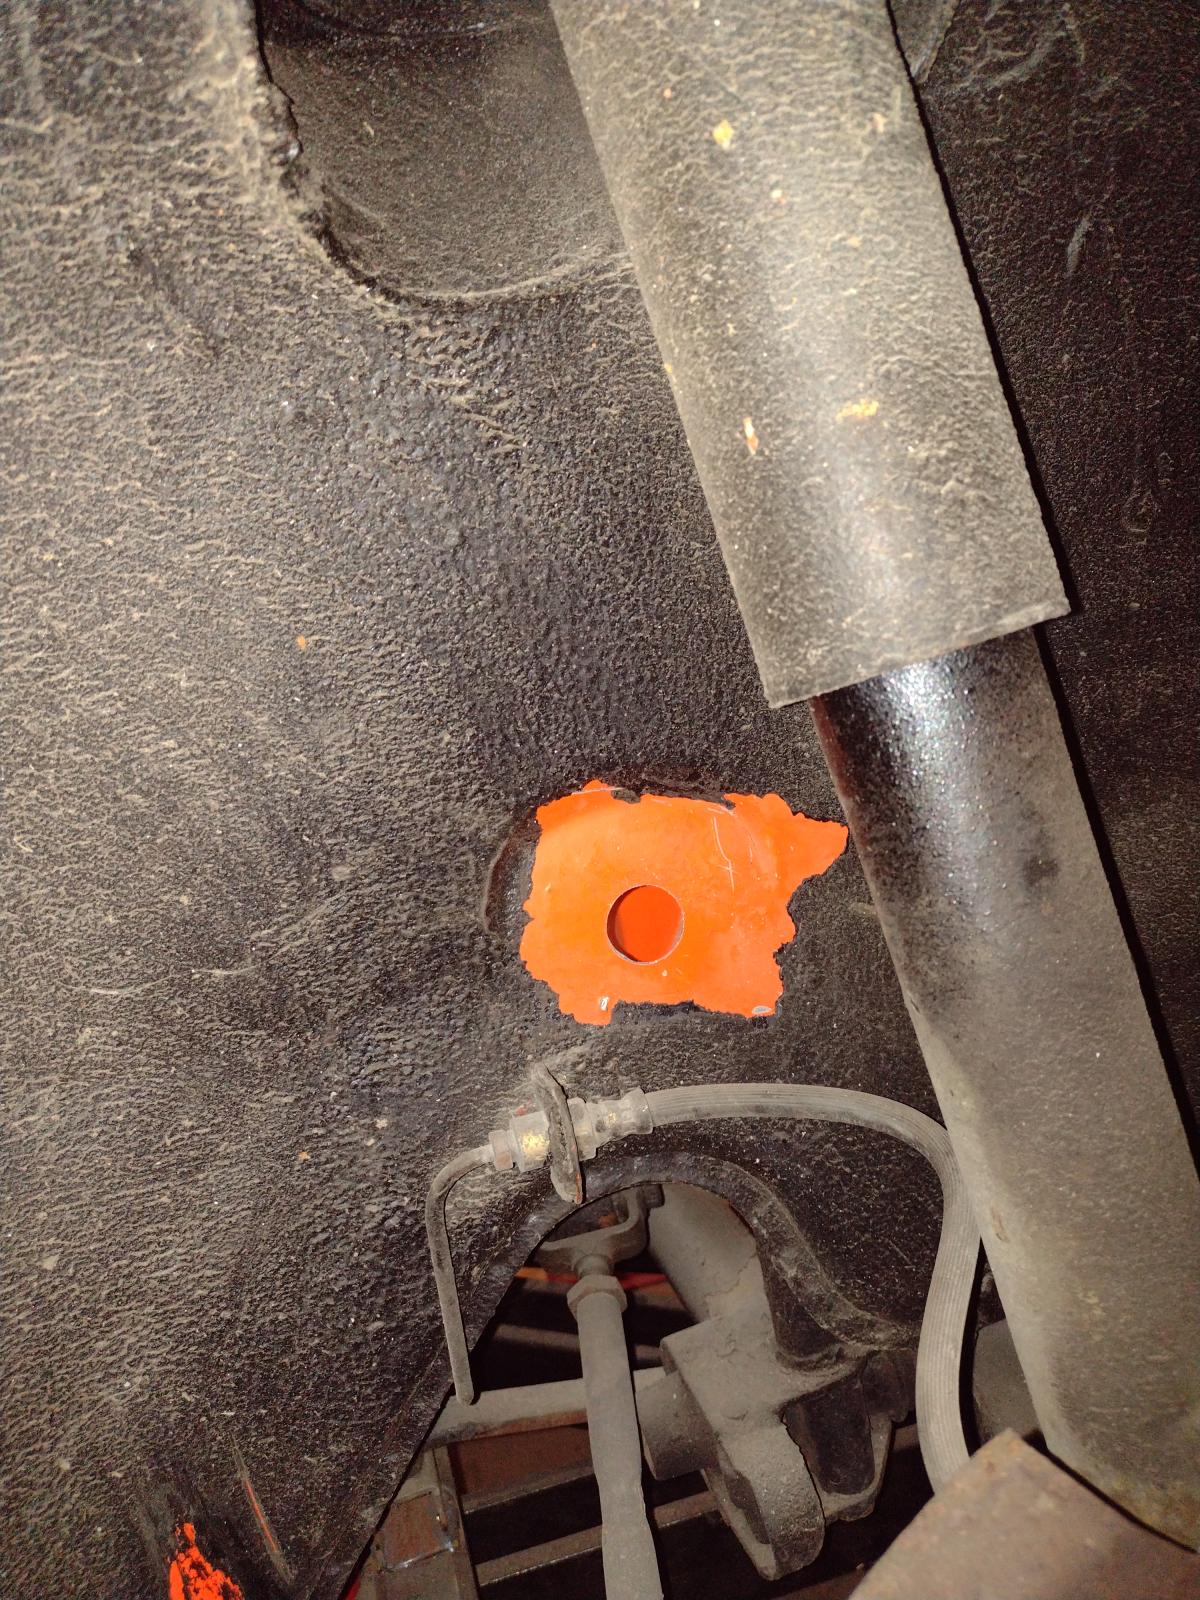
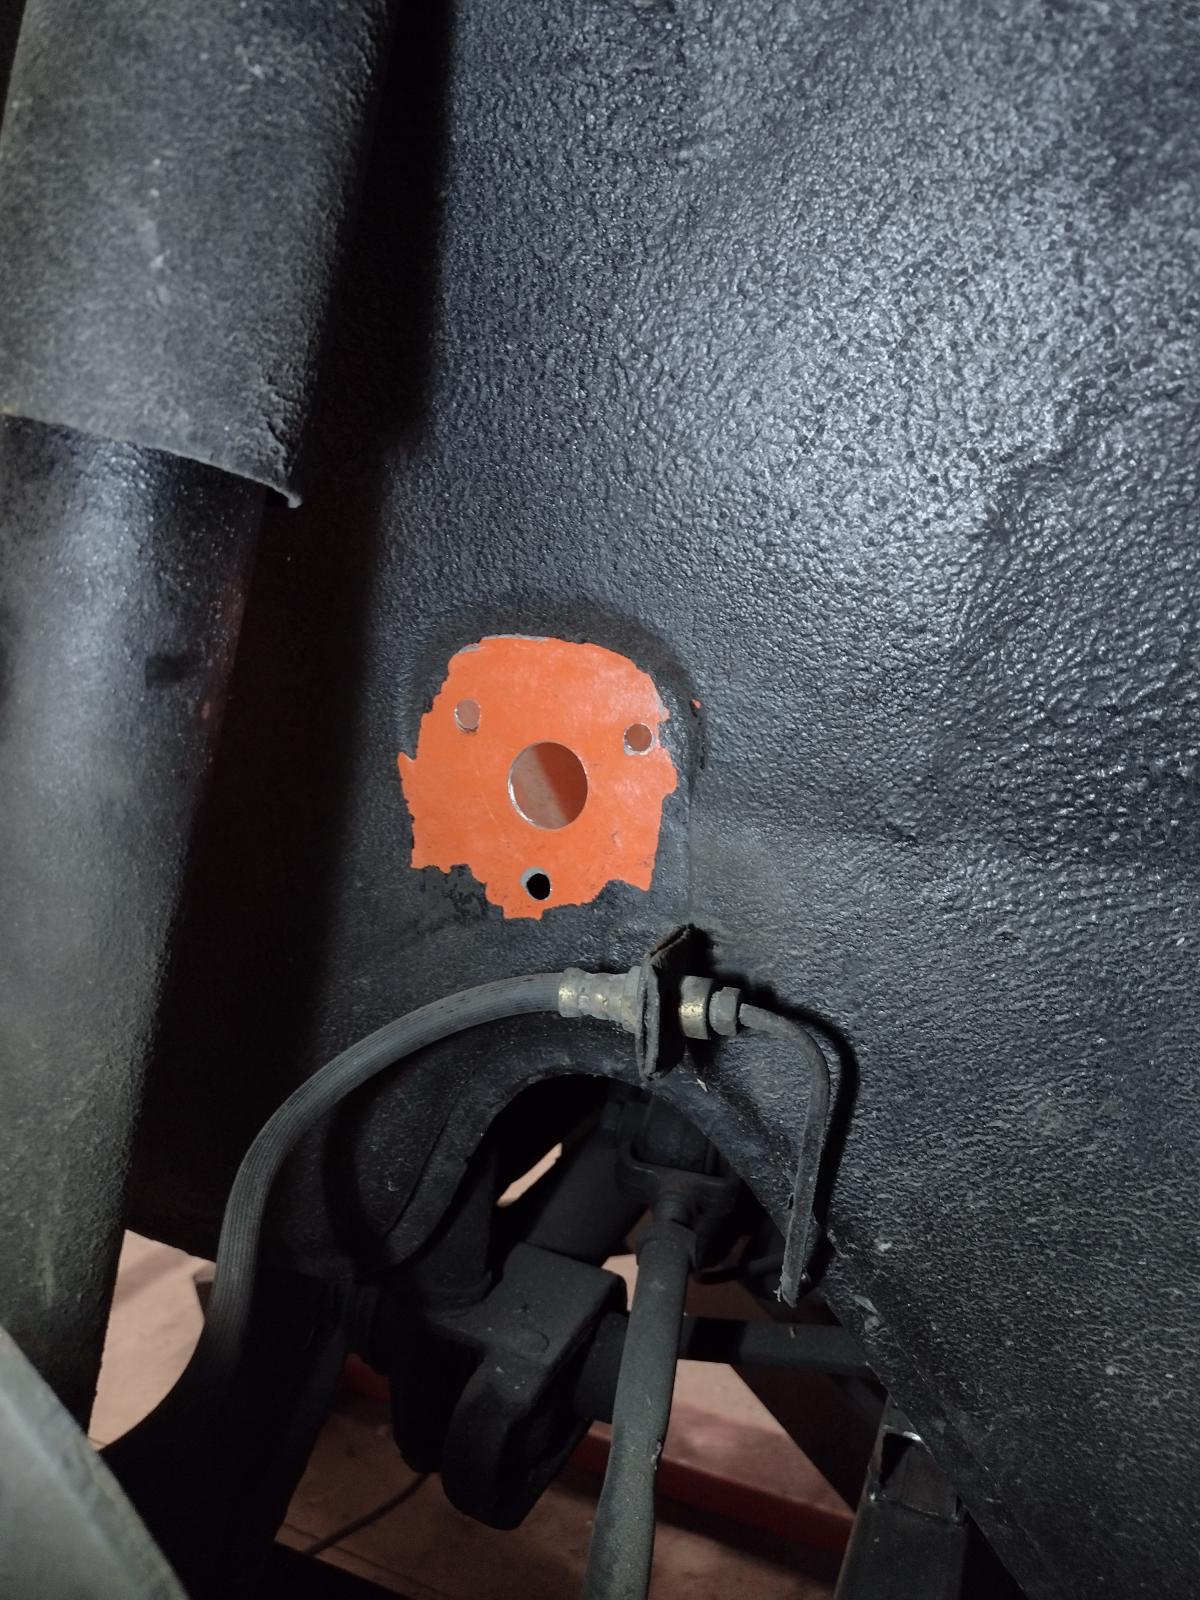
Then the jack point:
Here adjusting:
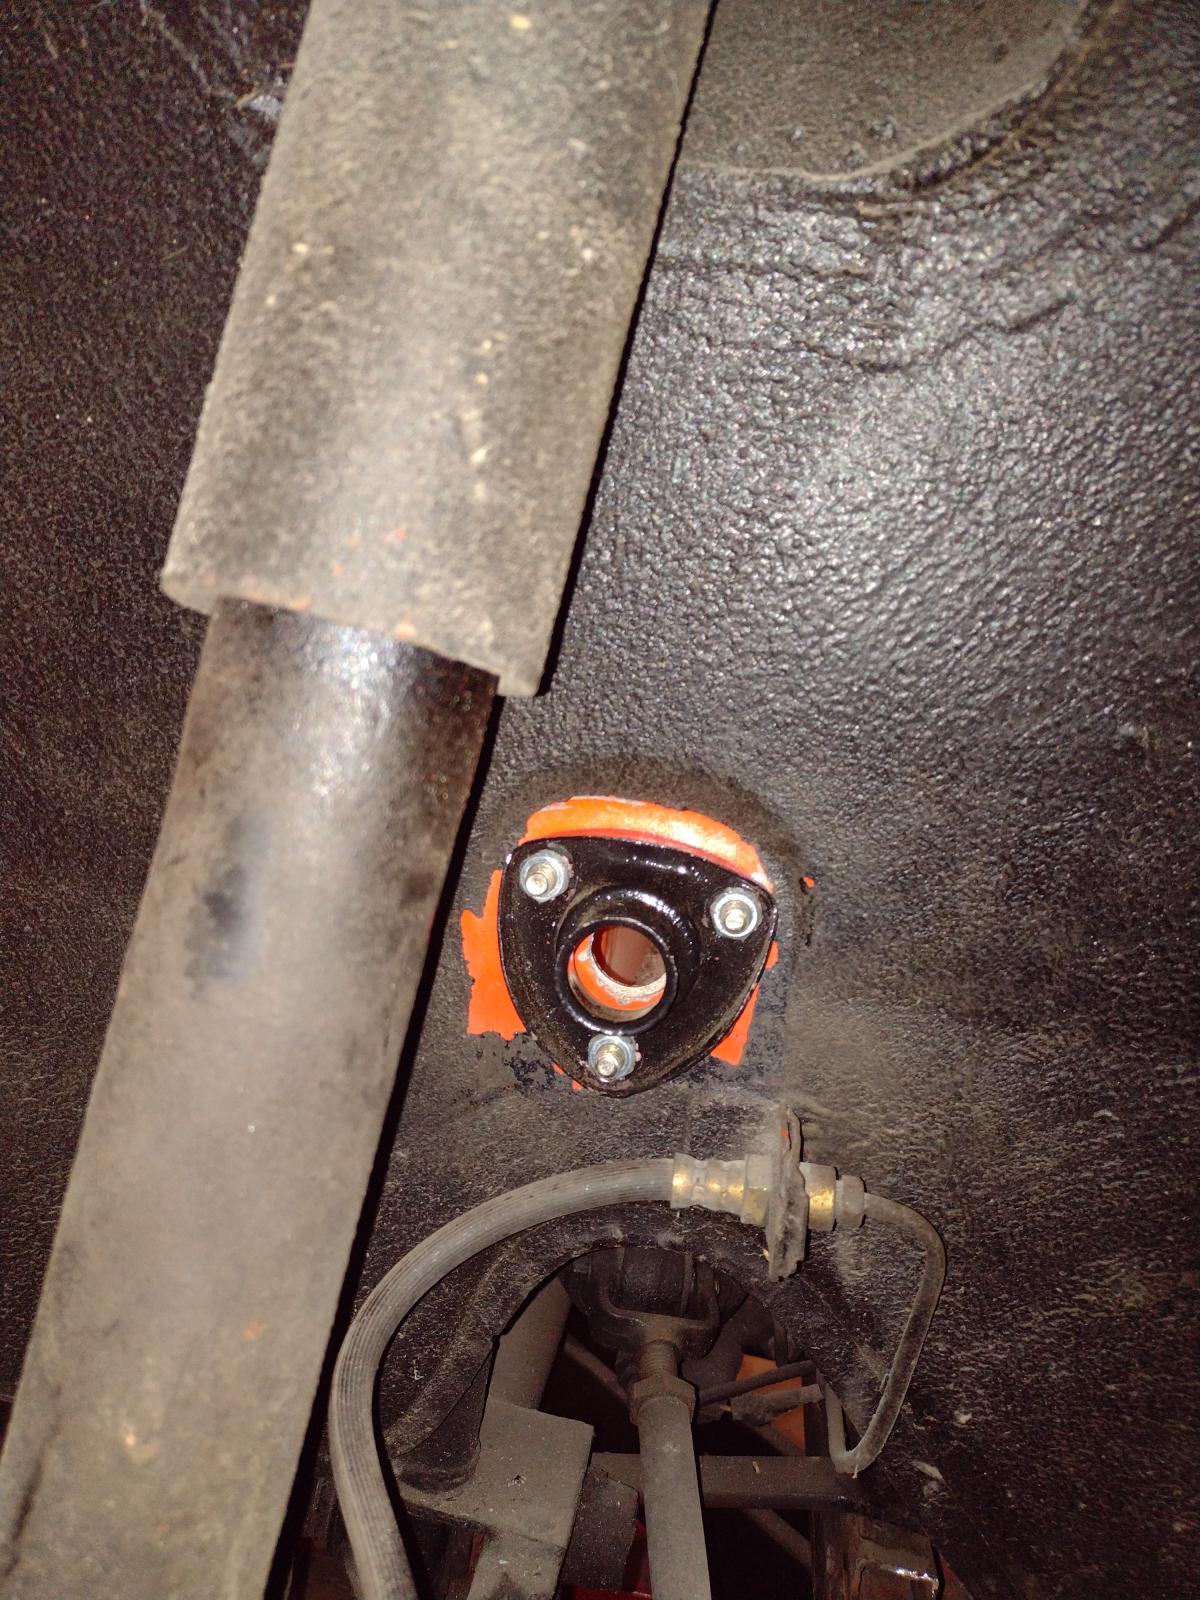
Rust protection:
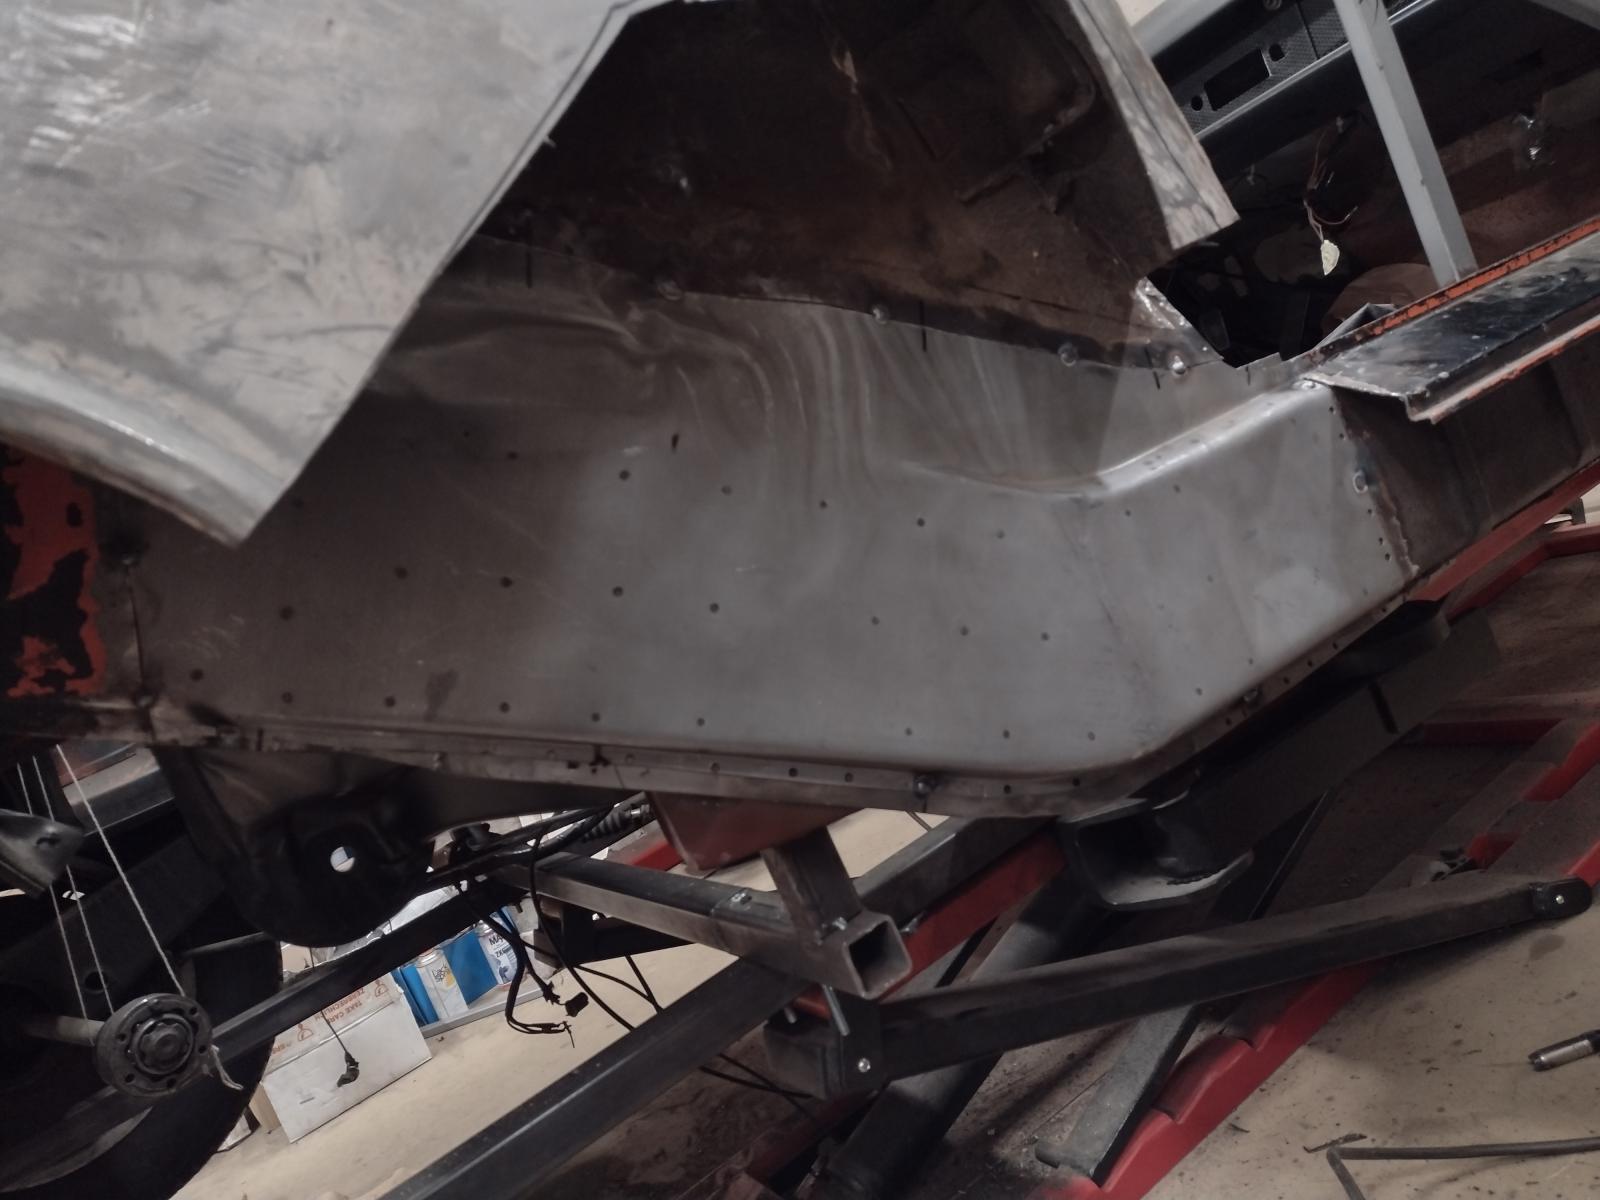
And complete:
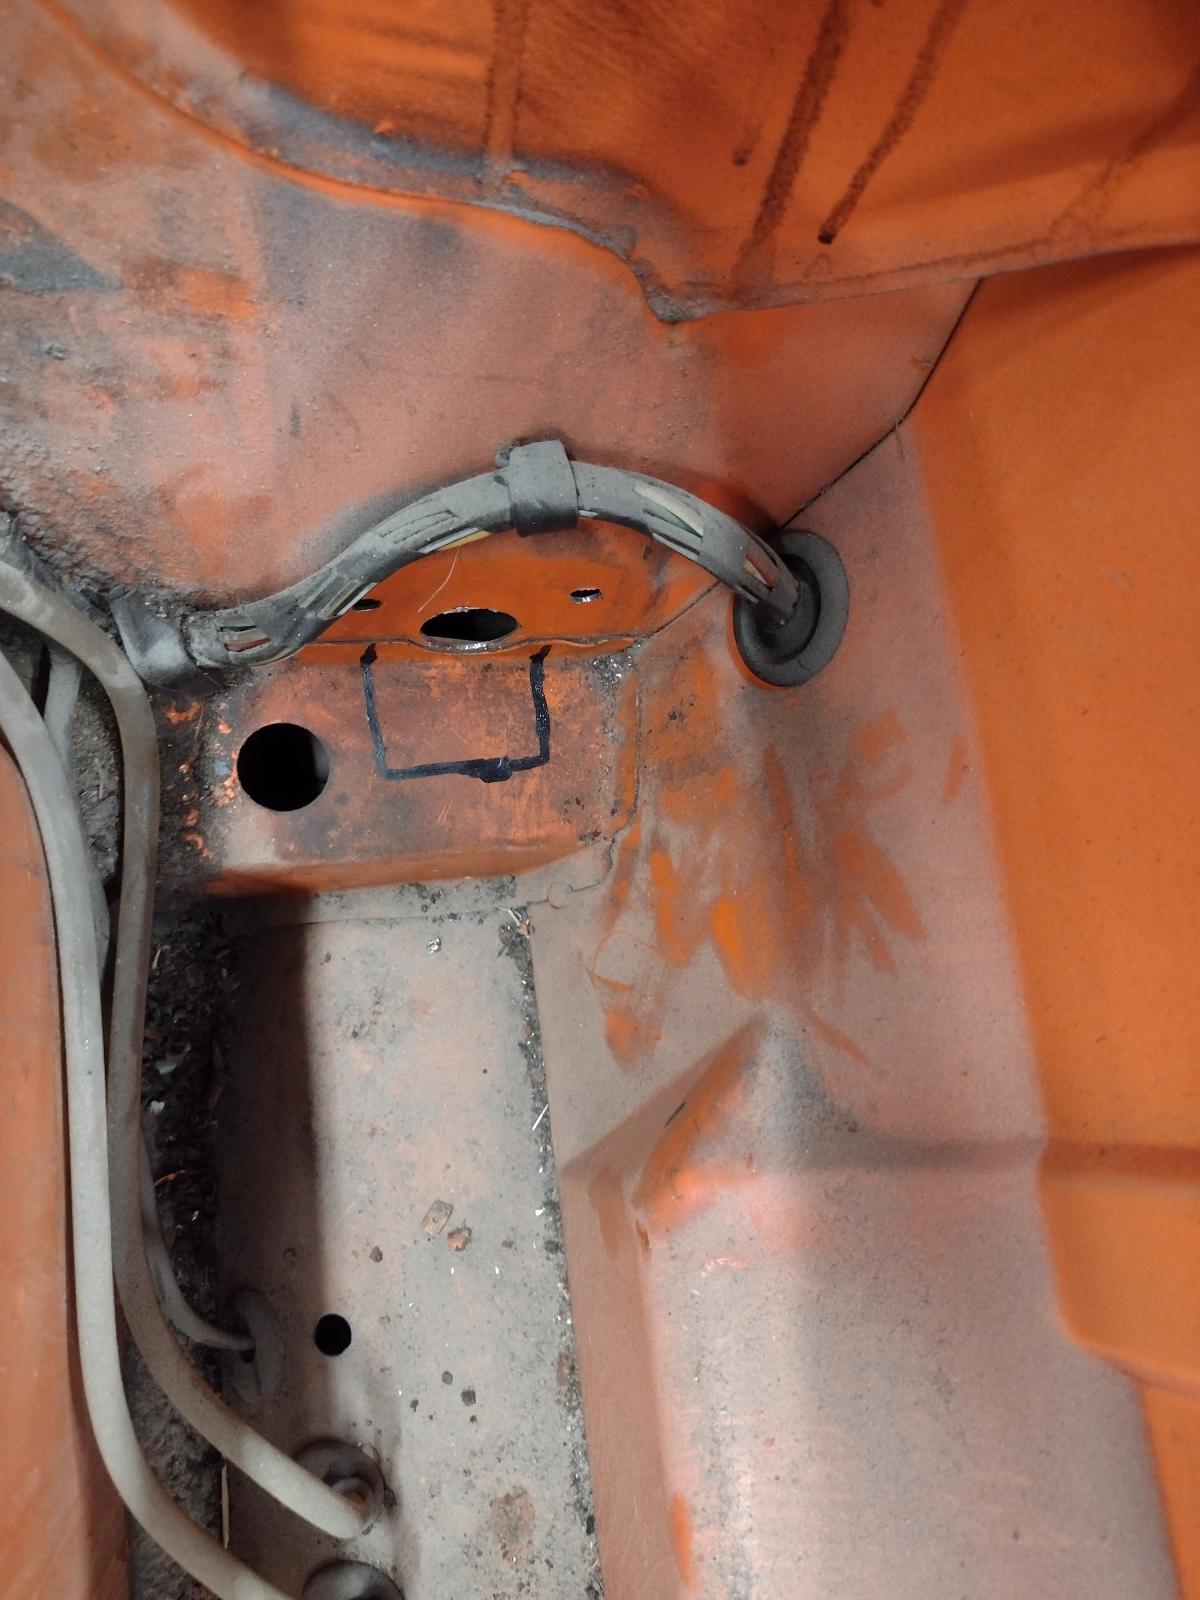
Under it the donut triangle is also back there:
Antoine
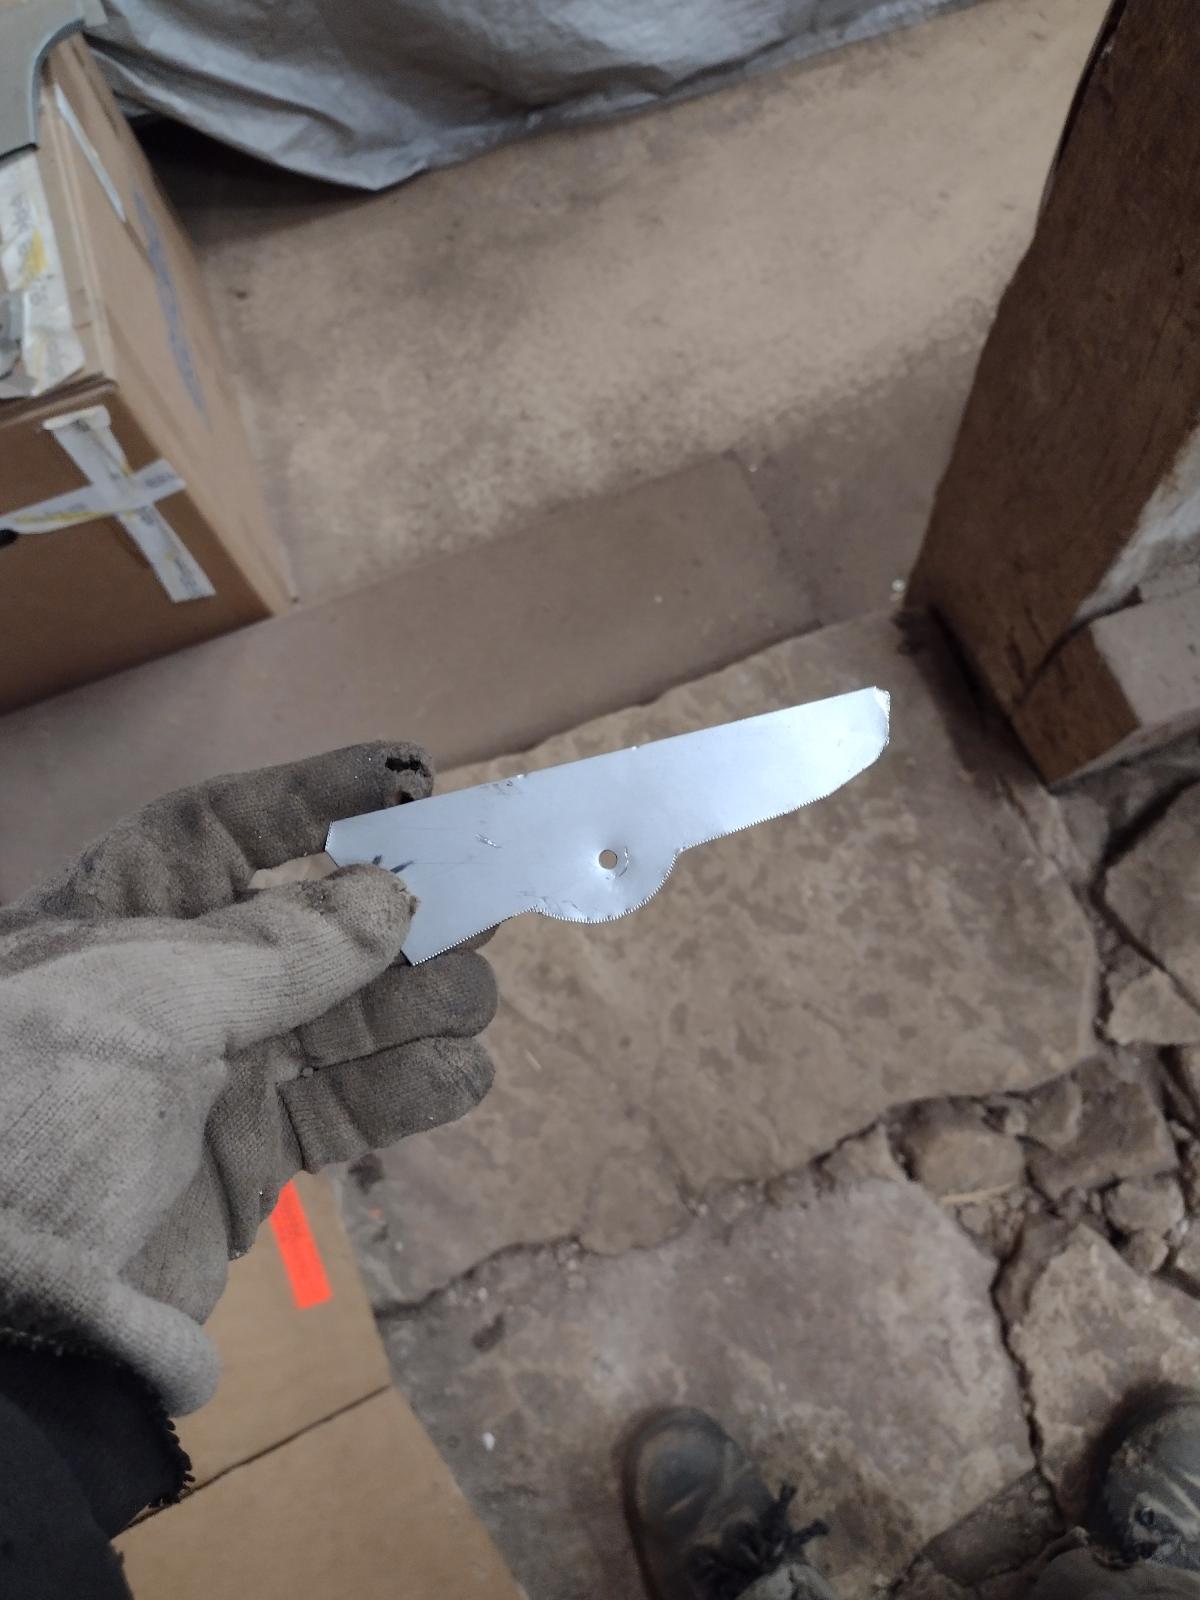
I created this small hammering form:
Guessing why?
Yes, to build myself the engine sealing surrounds:
And my first try is quite positive:
So I will build the long part!
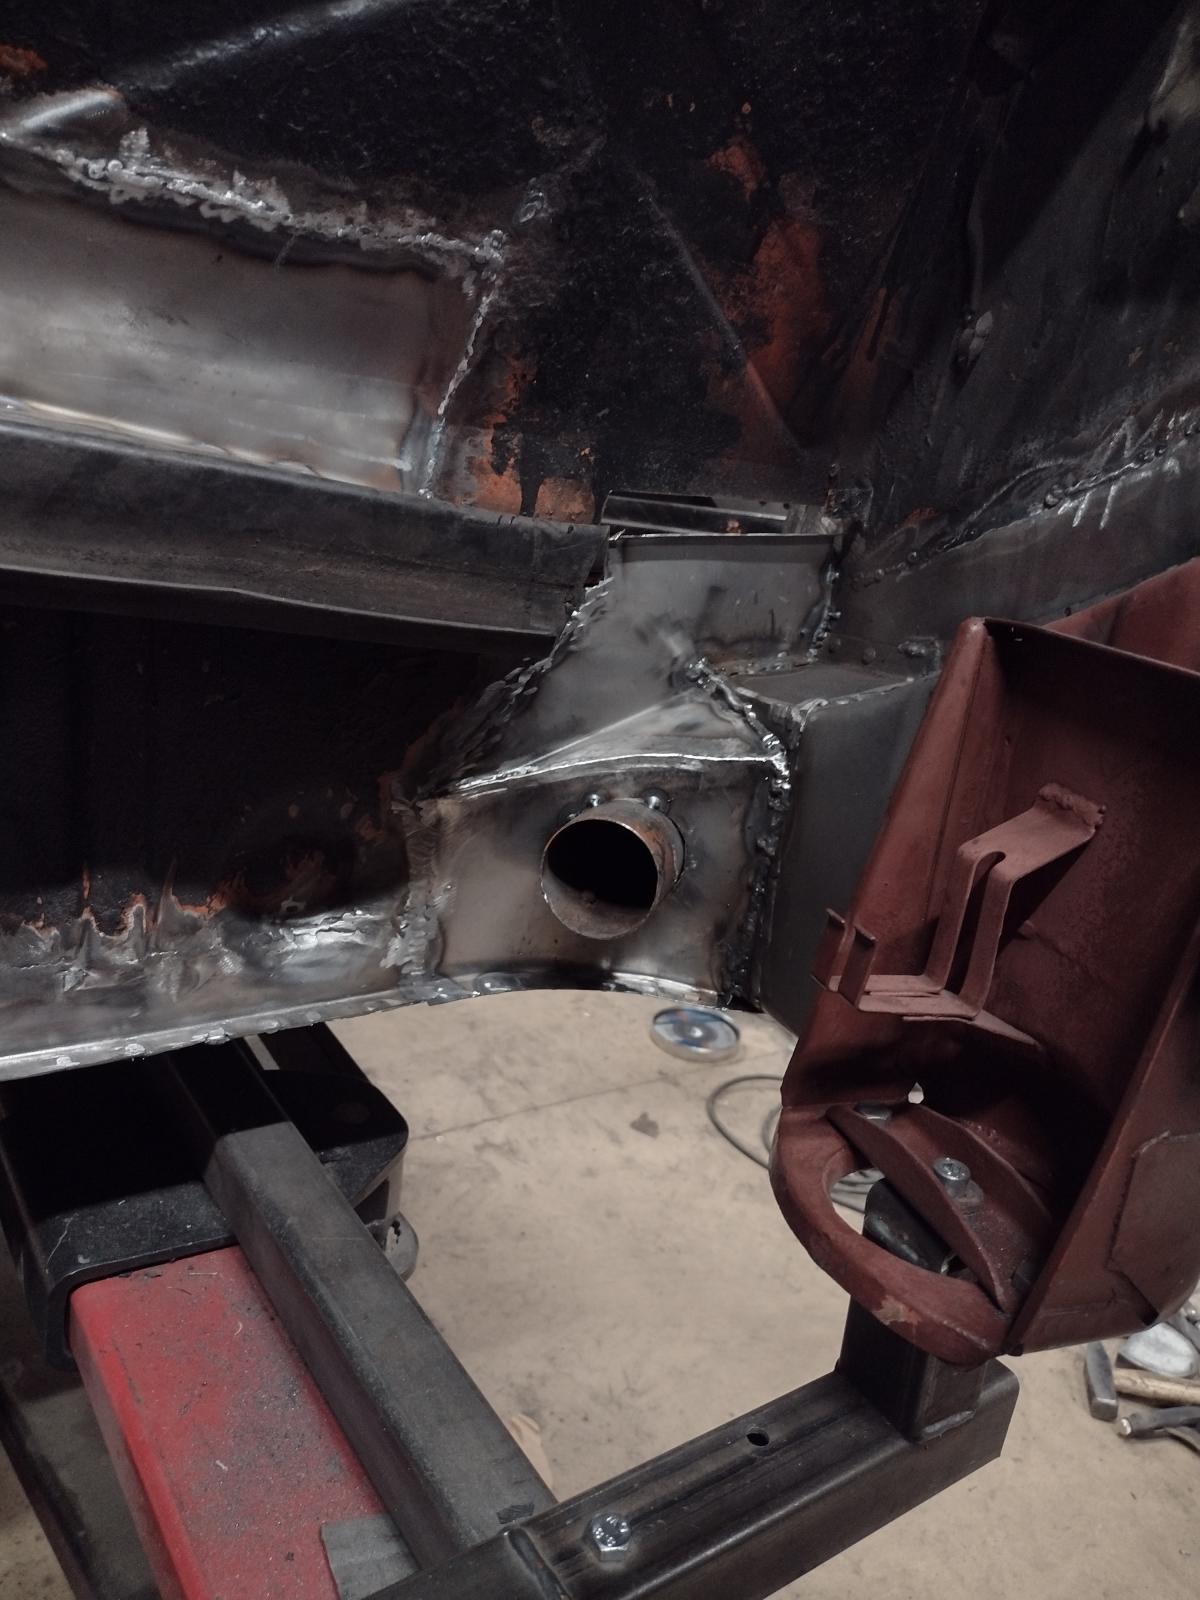
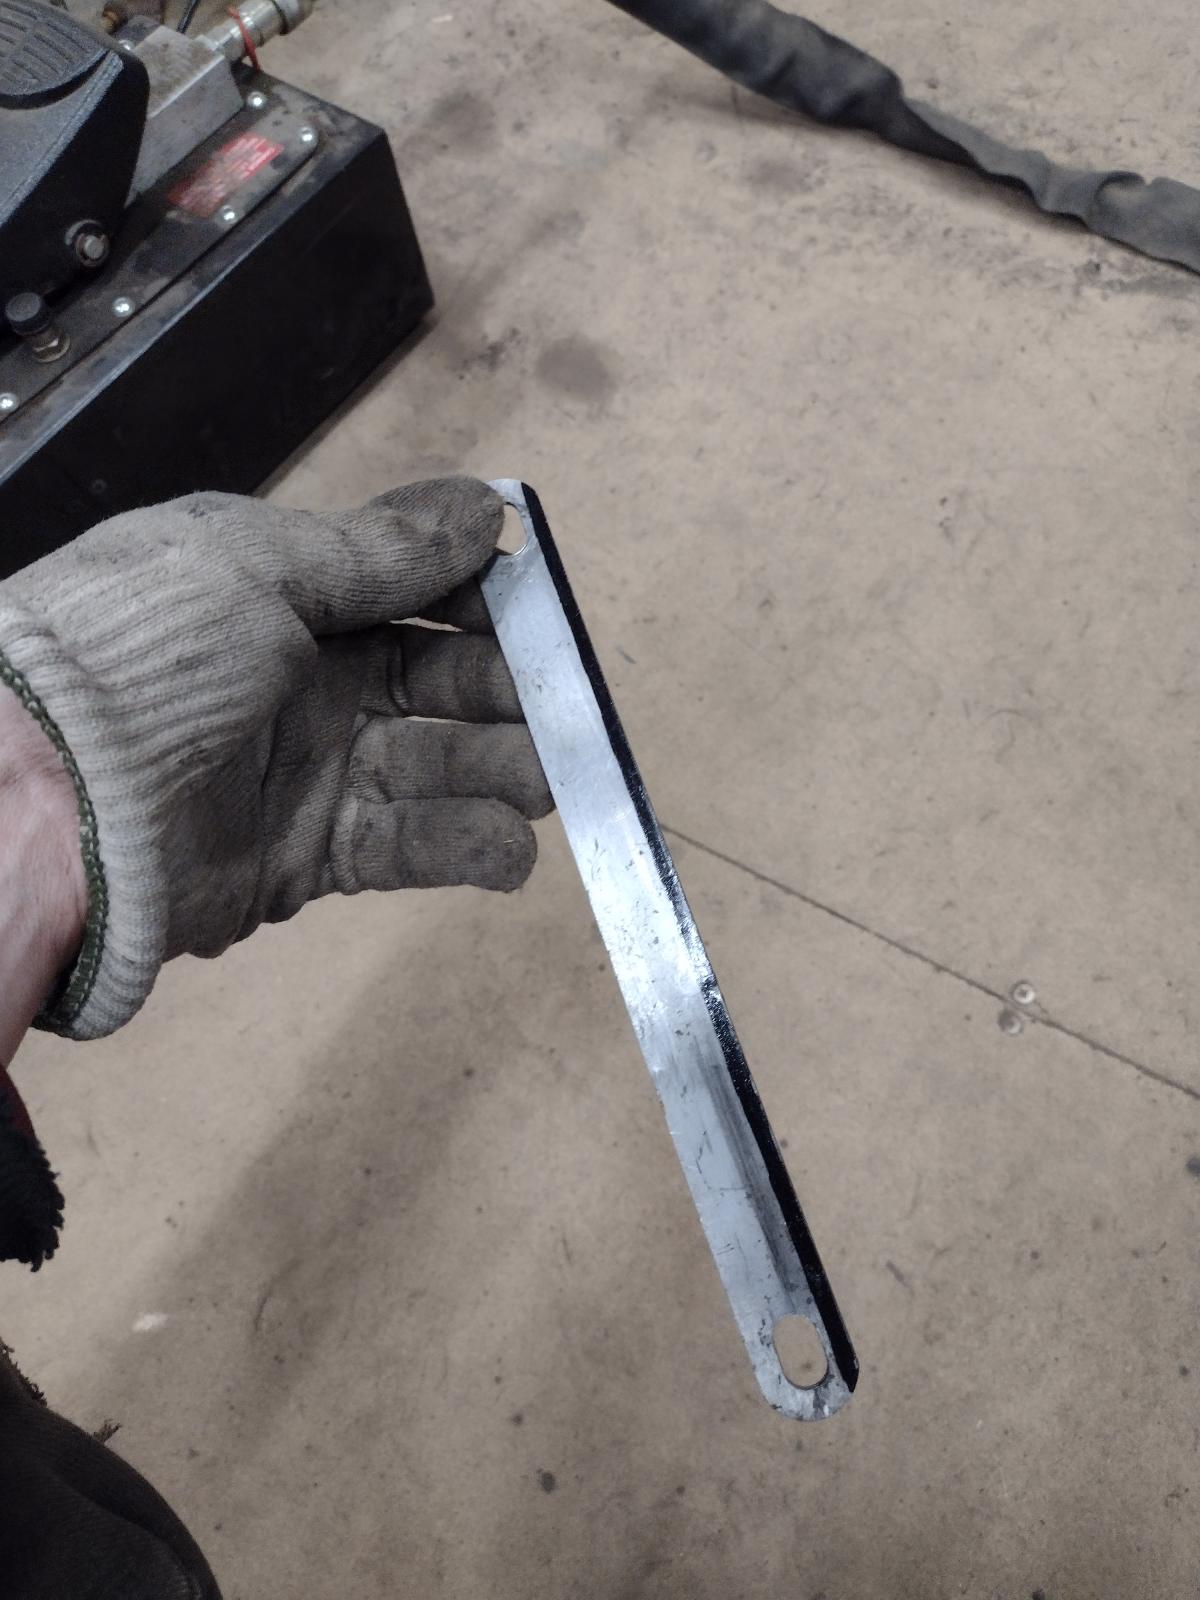
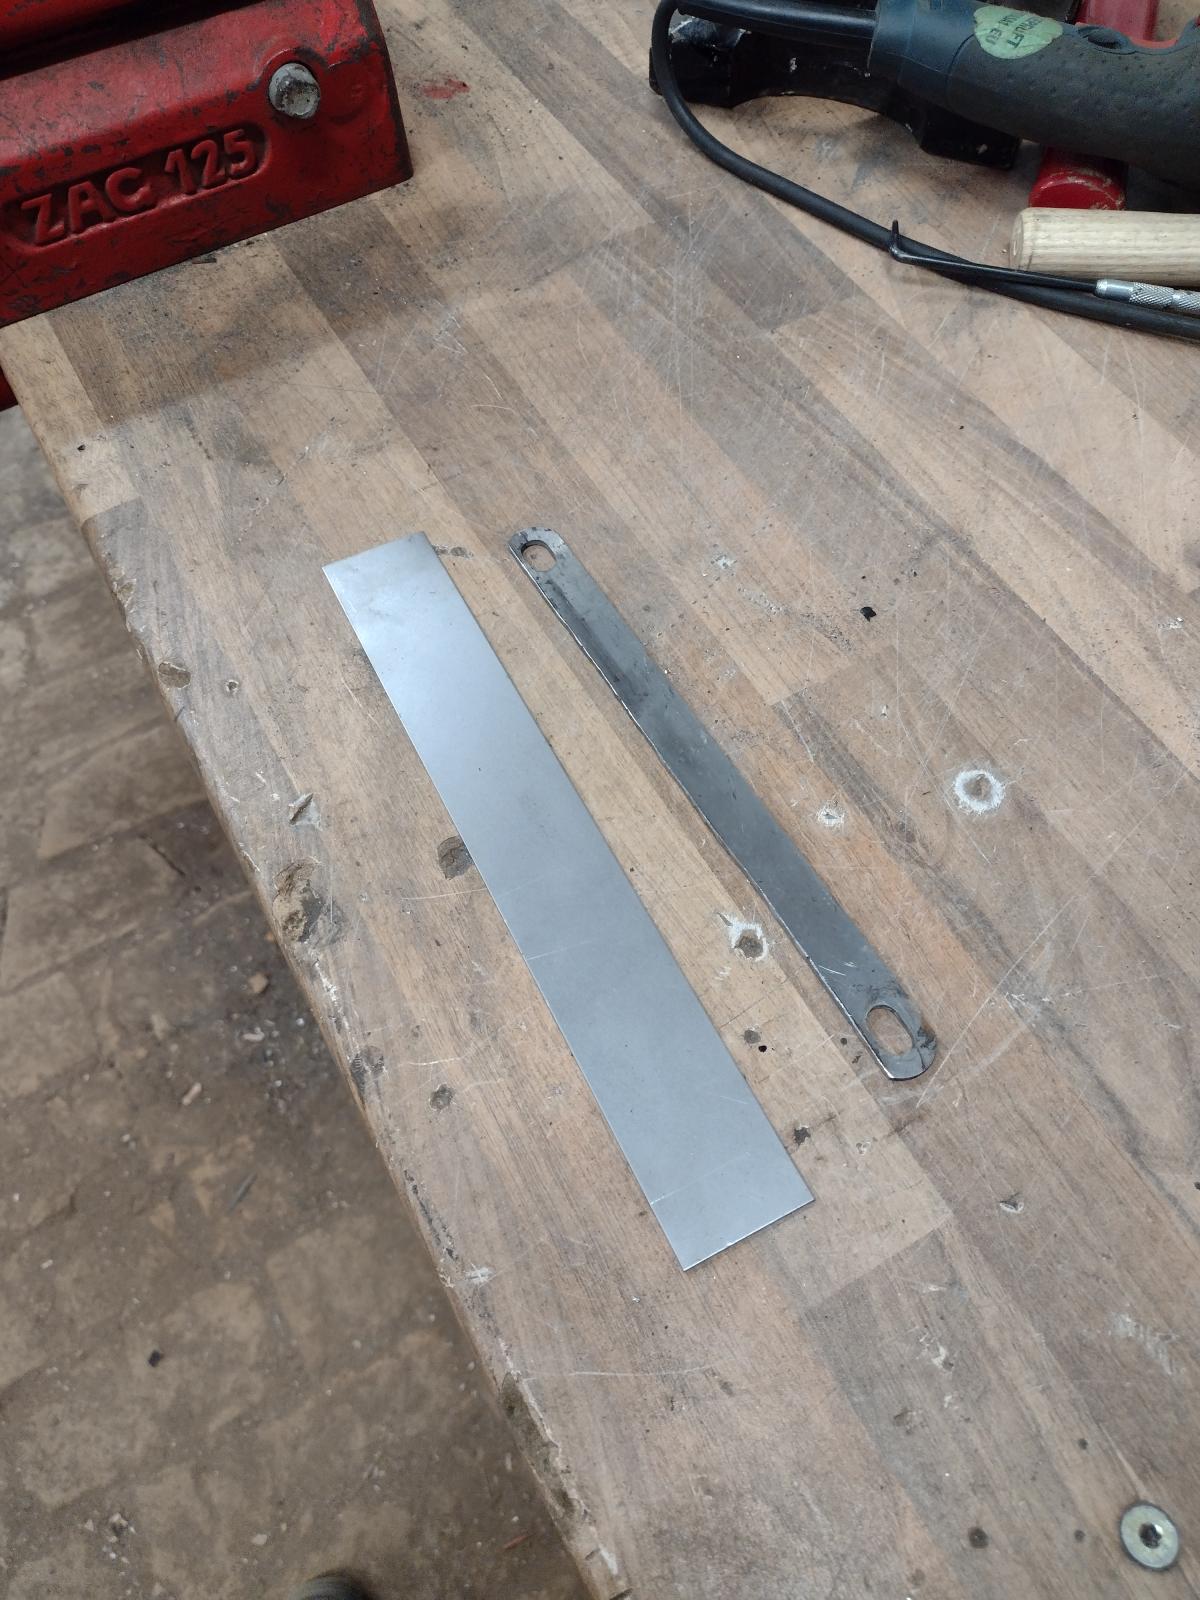
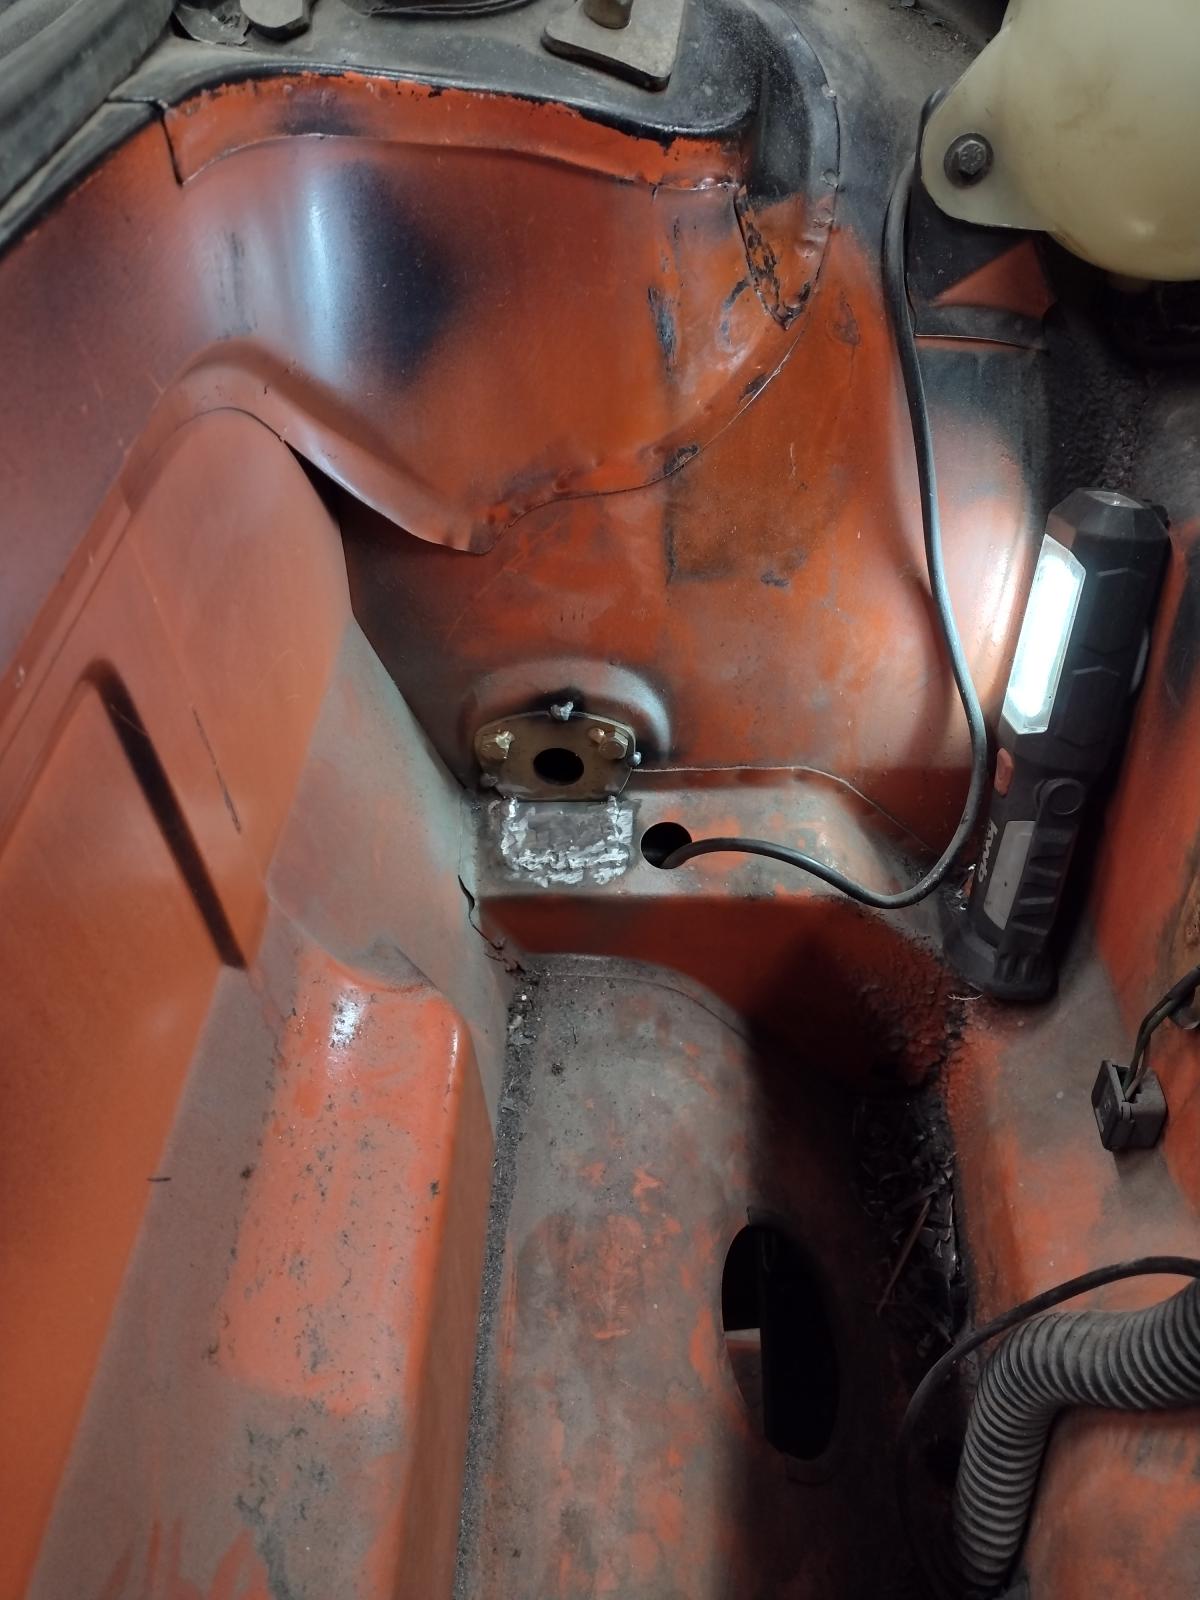
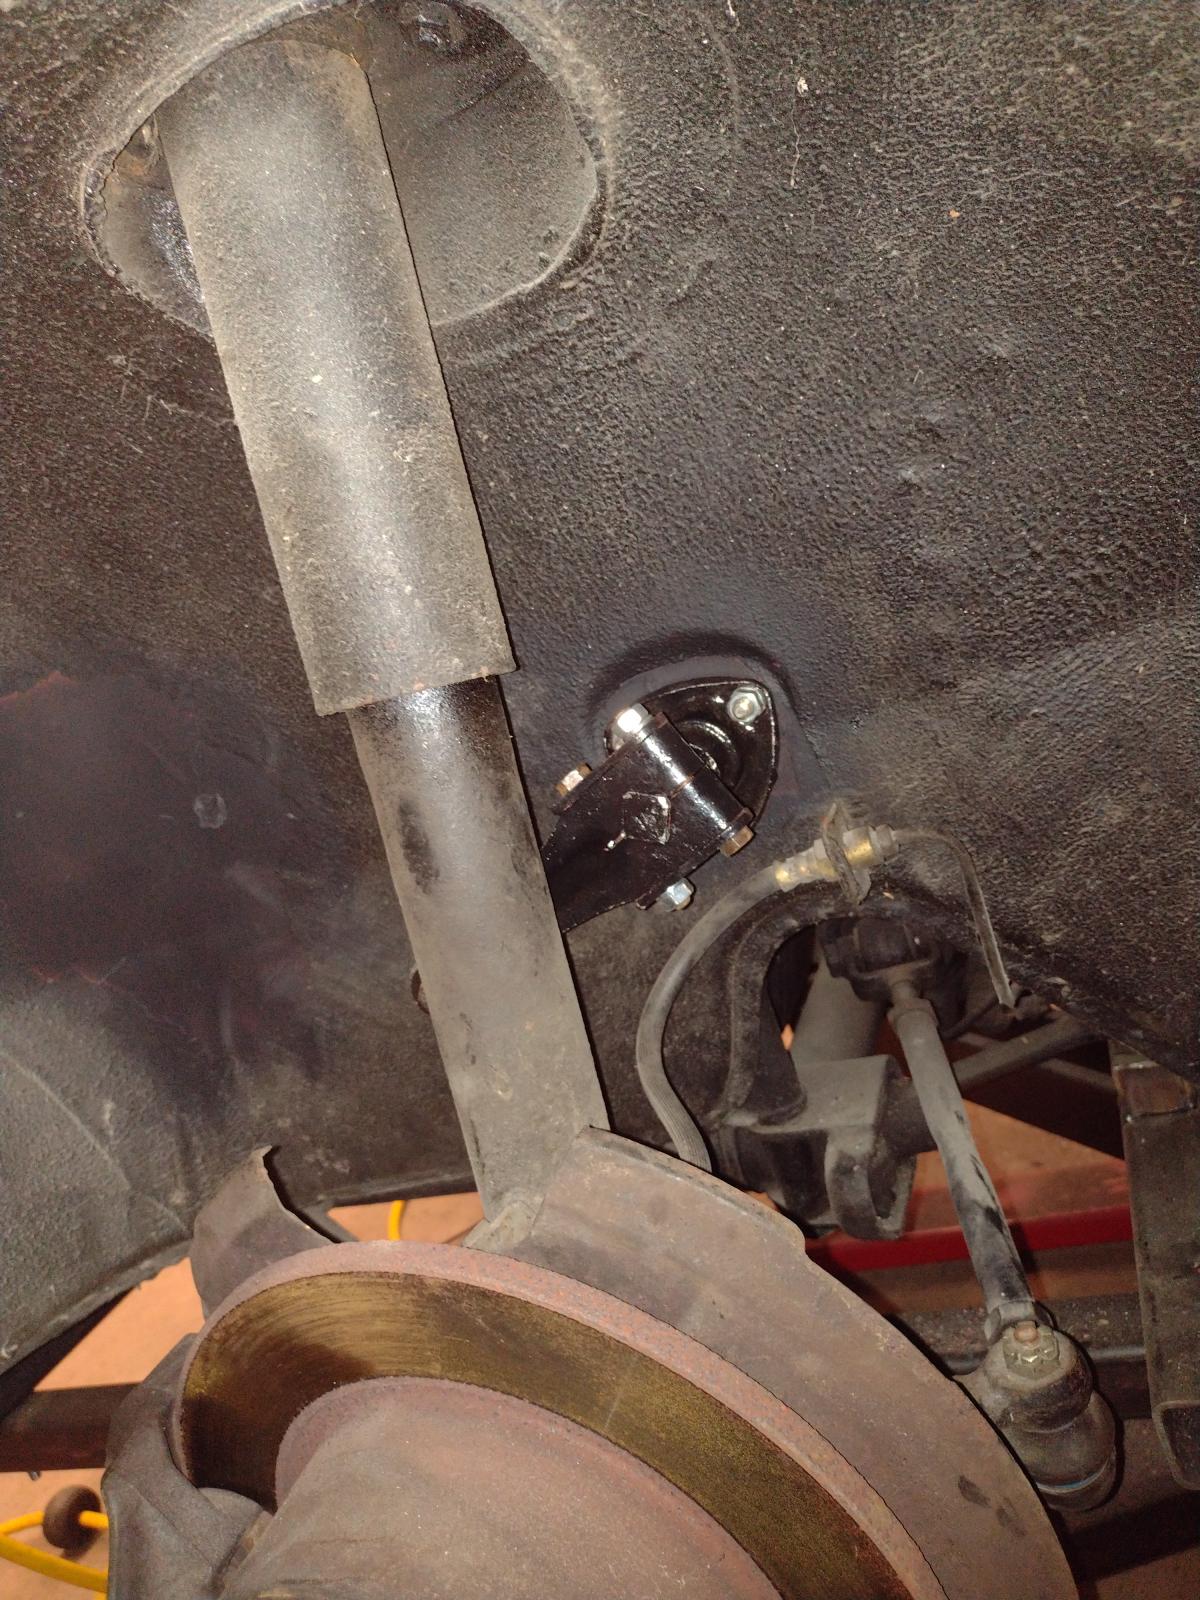
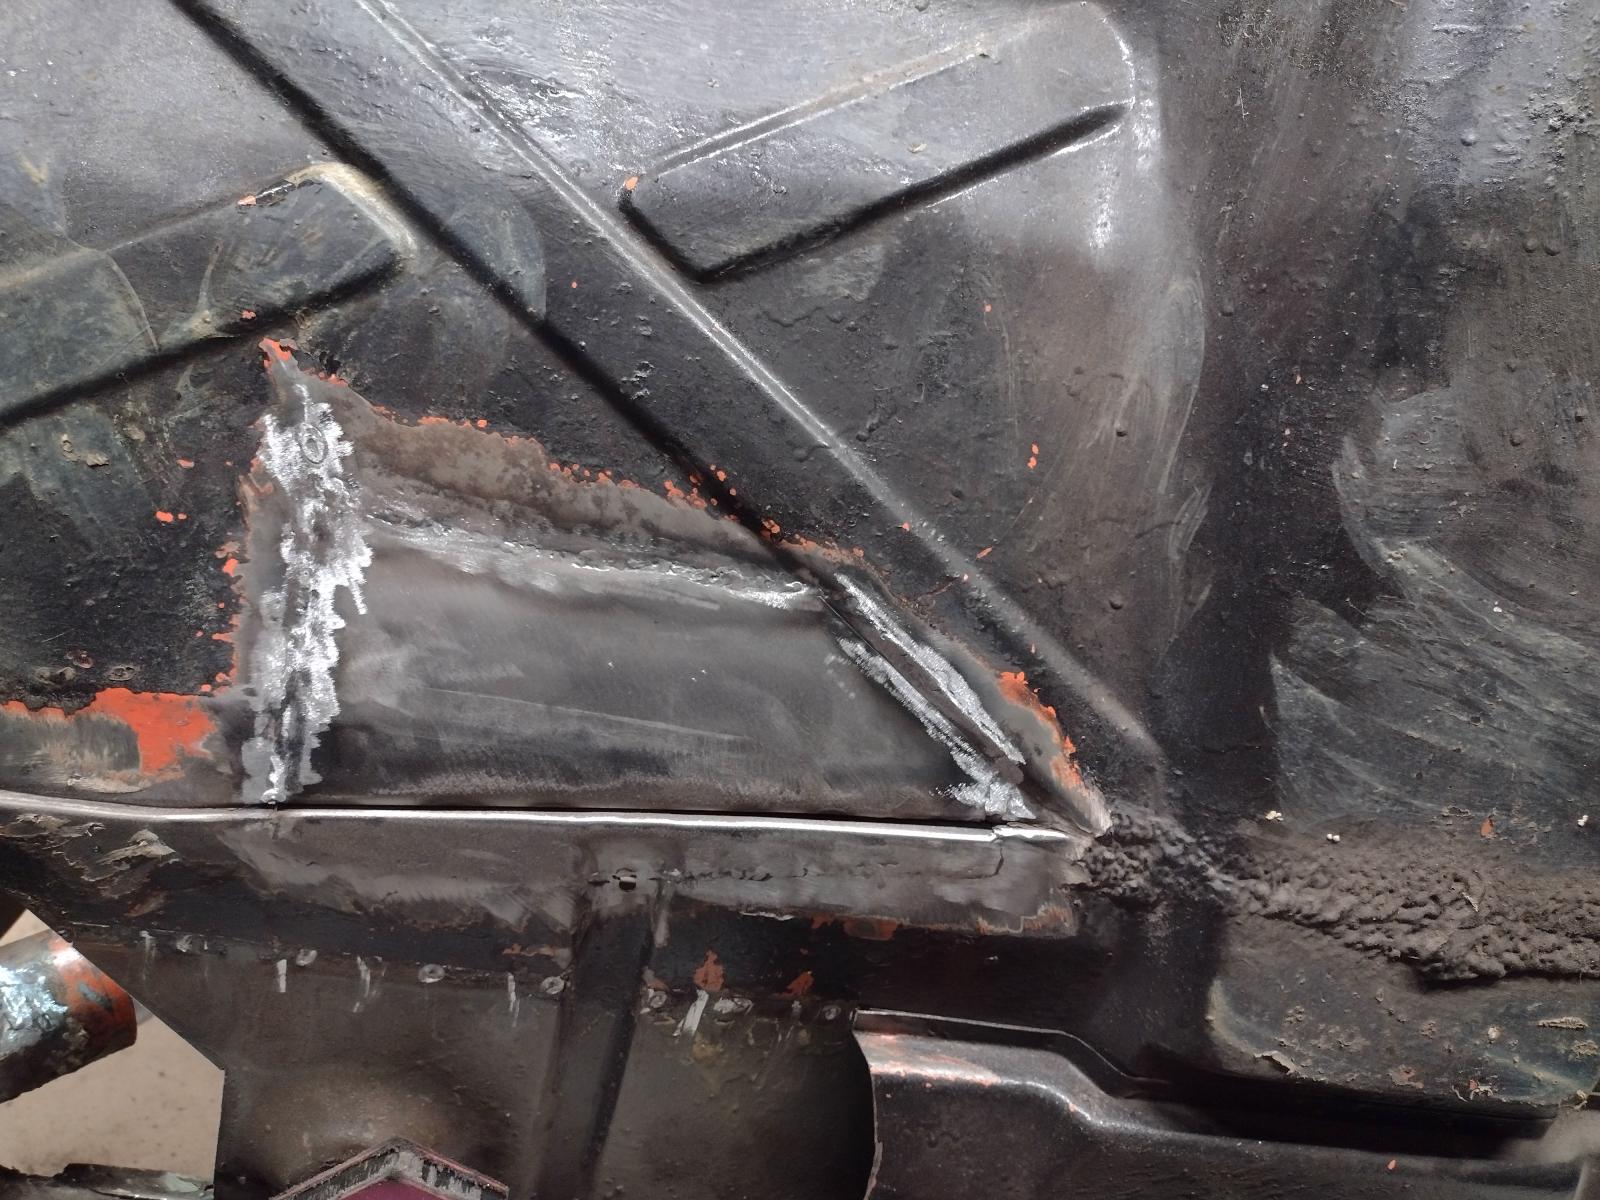
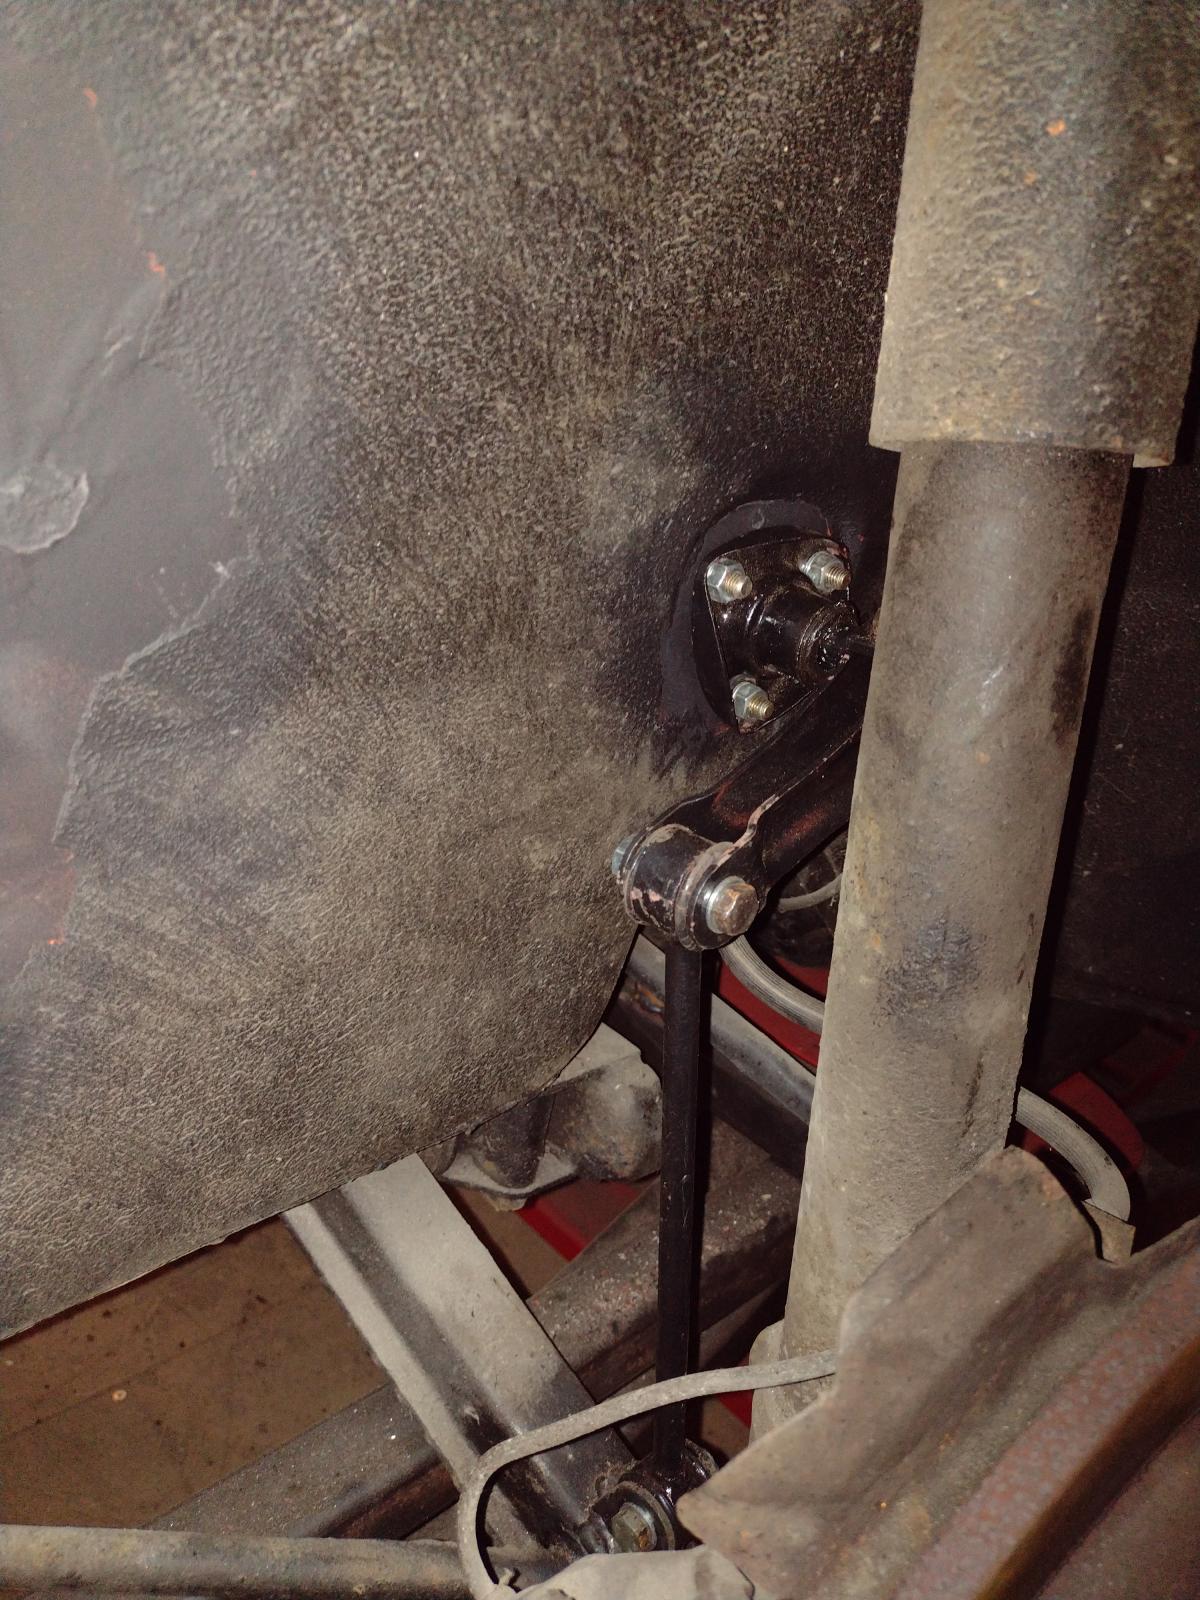
I also mounted my front sway bar, first making a tool to position precisely the hole:
Thema making the holes:
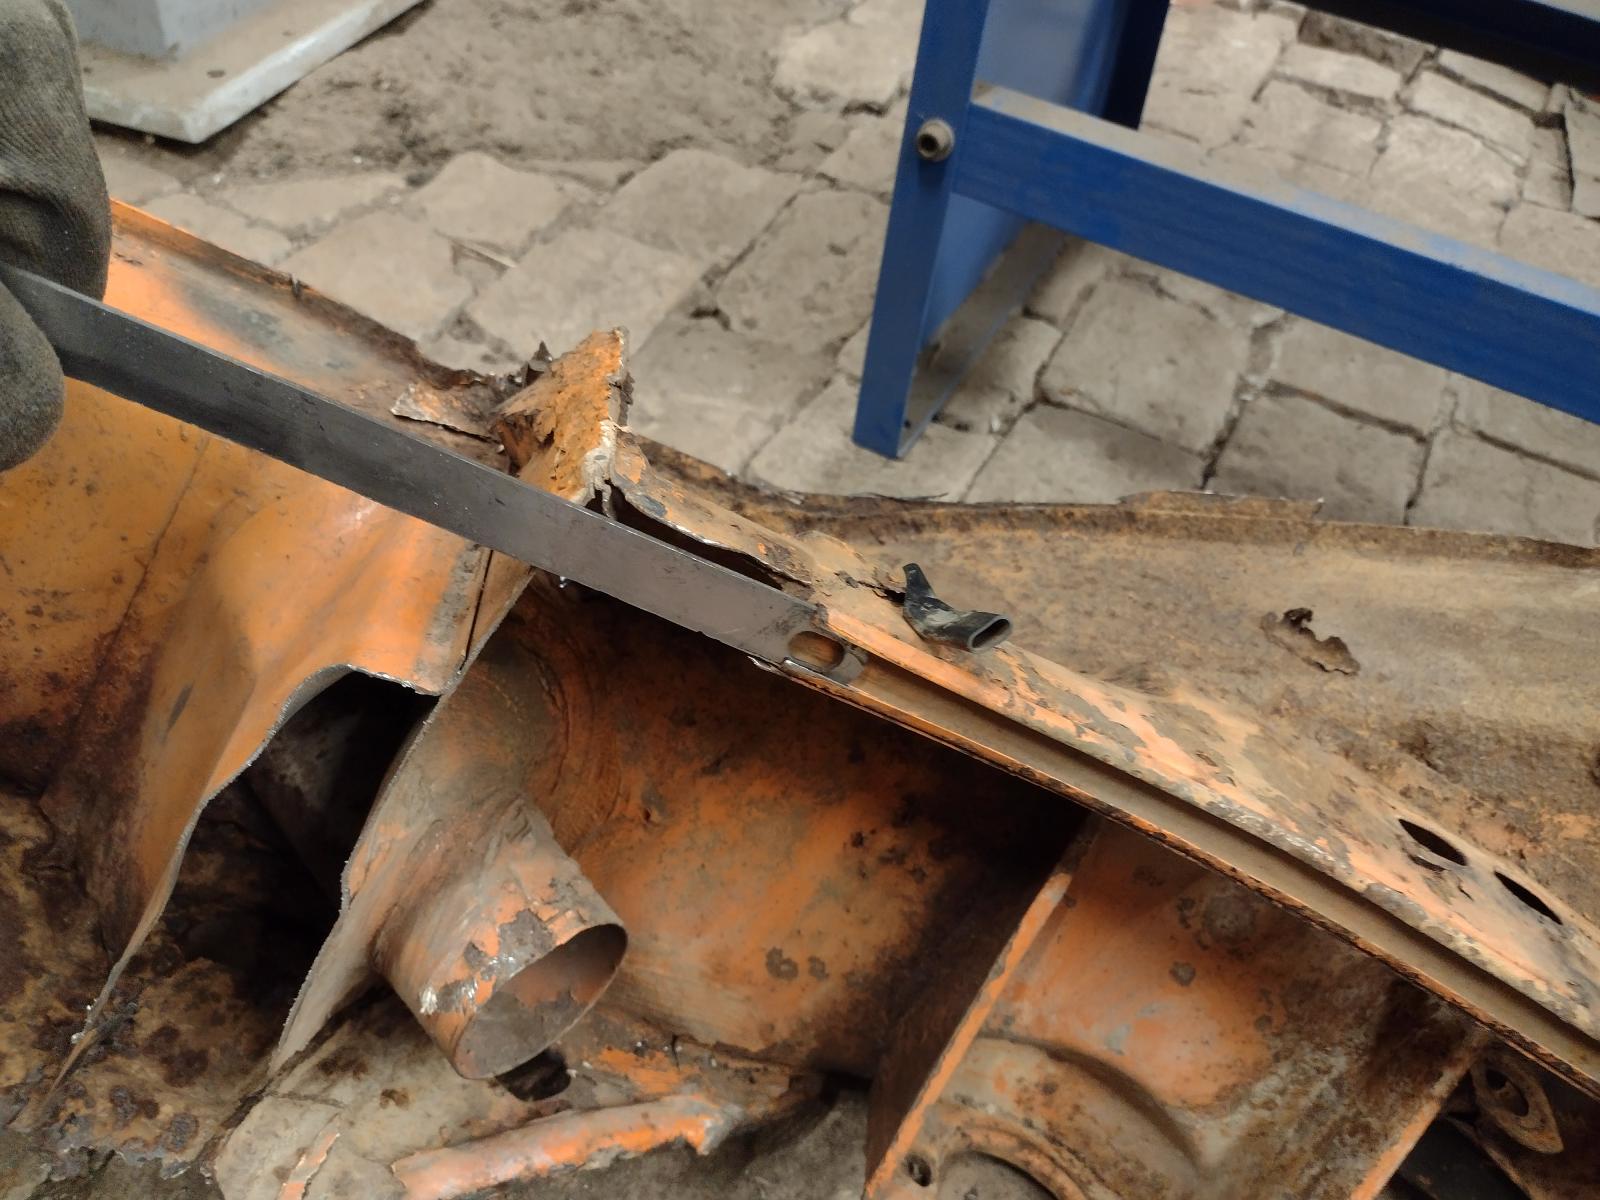
Modifying inside:
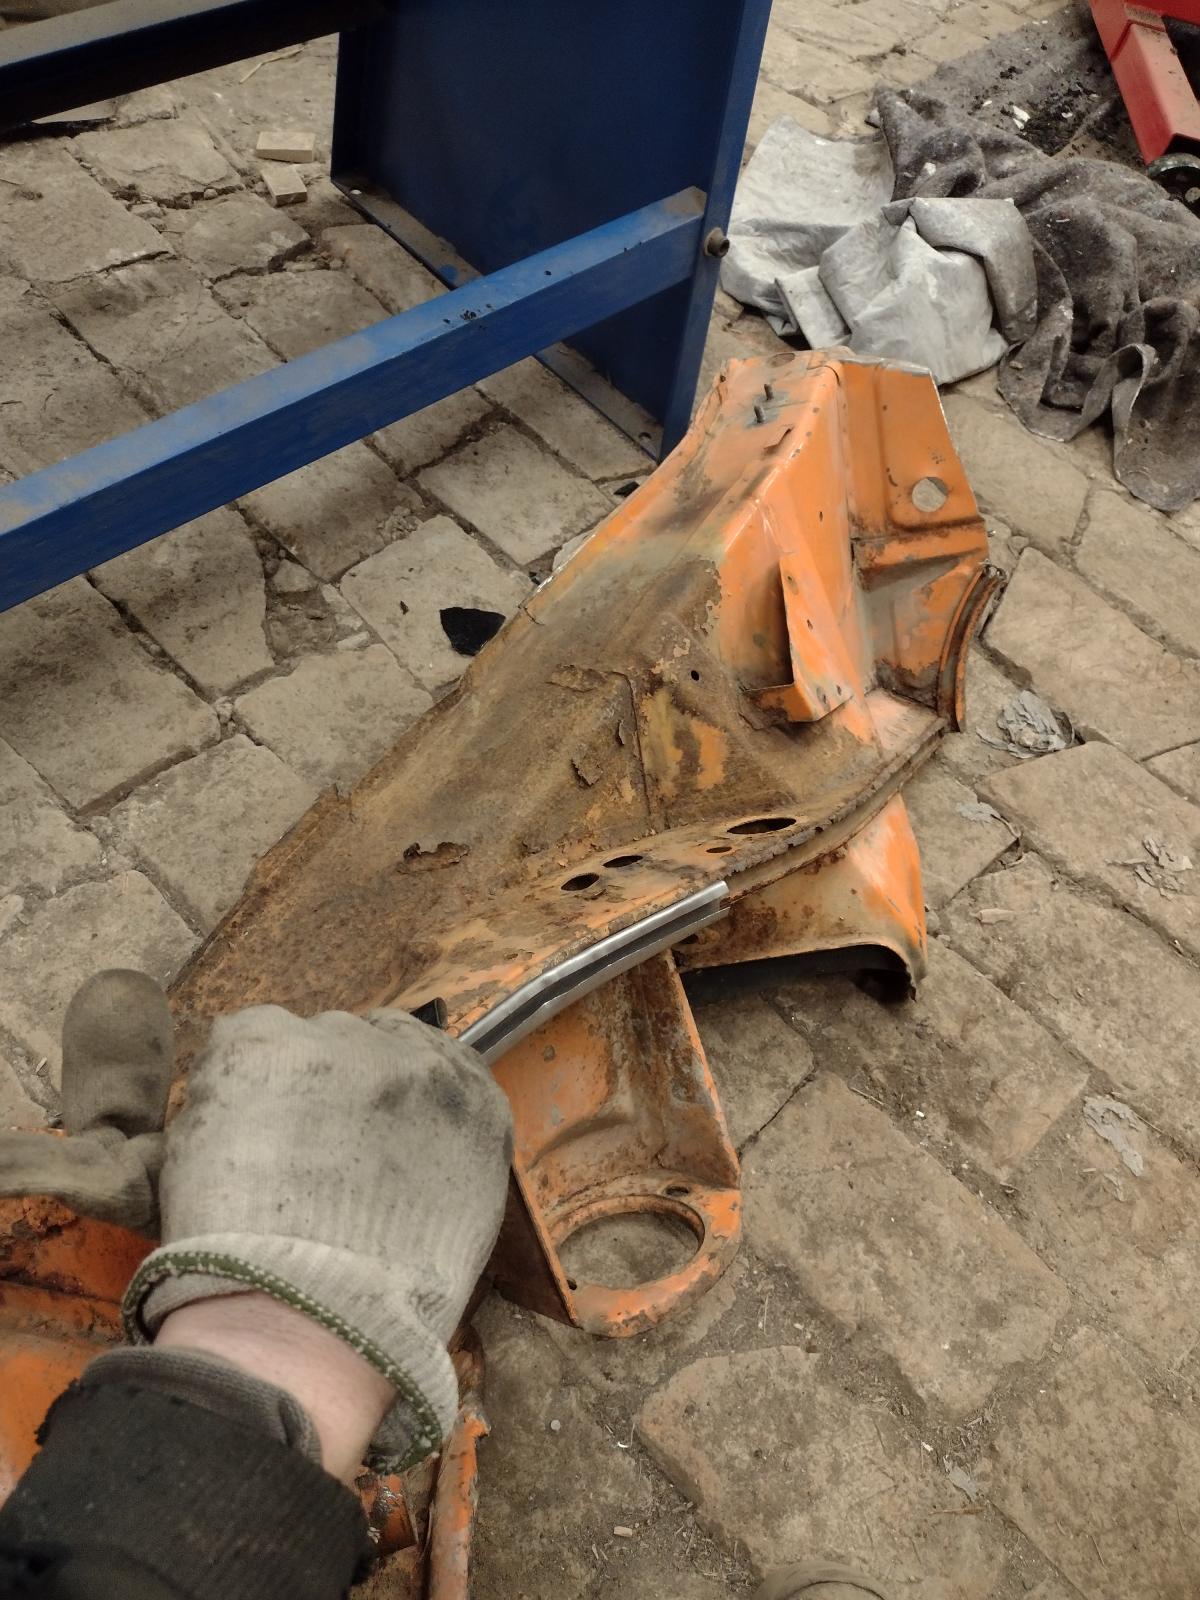
And mounting the sway bar mounts :
Welded back the inside frame:
And everything done:
 Posting Permissions

 Reply With Quote