Page 1 of 3 123 LastLast
Results 1 to 10 of 27

Thread: How to repair your clock

  1. #1

    How to repair your clock

    My clock like so many others had stopped working, so I set about trying to find out what was wrong with it.

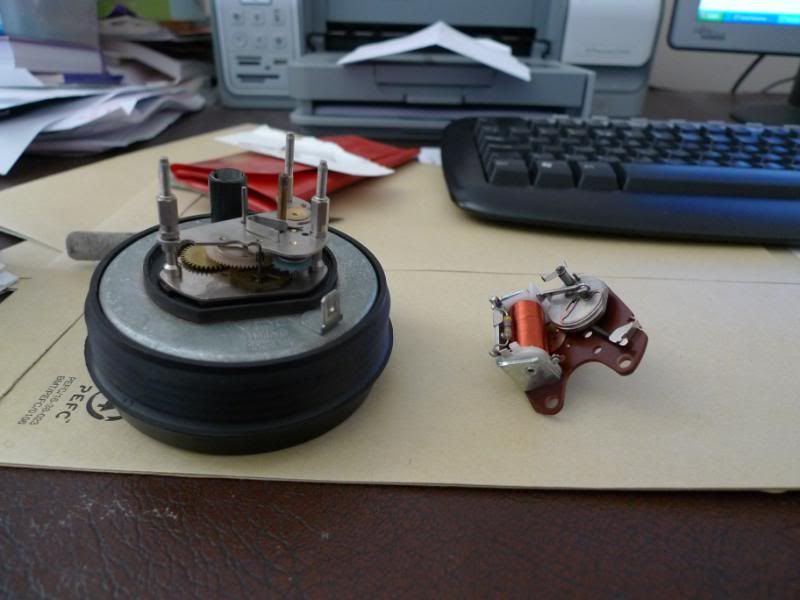
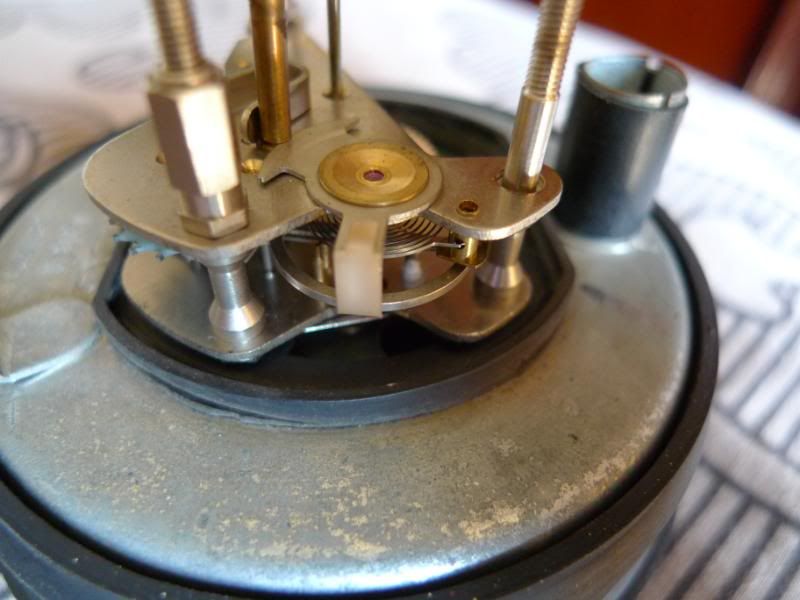
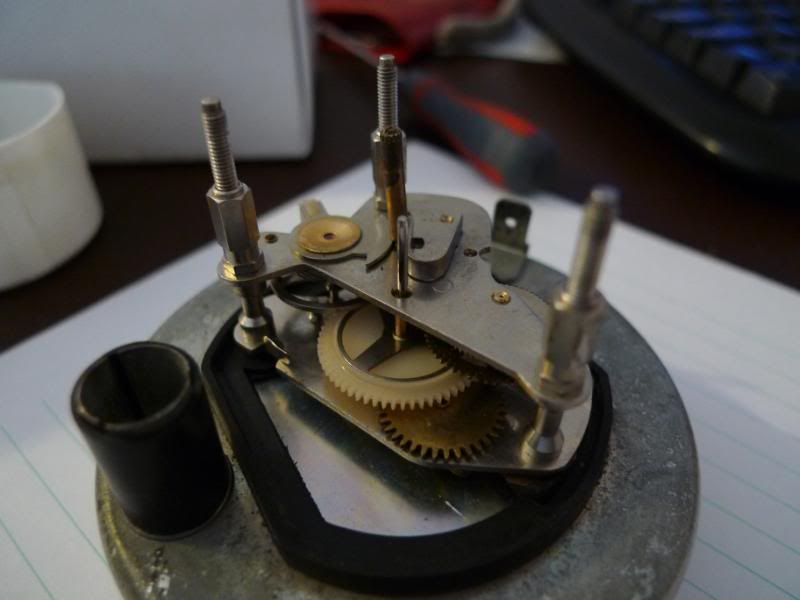
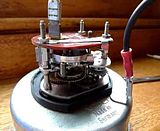
    To remove from the car you just pull the clock out from the dashboard. remove the 12volt black wire and the brown earth wire. Once out of the car you can remove the white plastic from the rear of the clock with a 5mm spanner. This exposes the workings. You need to remove the upper most electro magnetic winder board. This is simply done by removing the three 5mm nuts, when lifting this off be careful not to damage the ratchet on the winder.


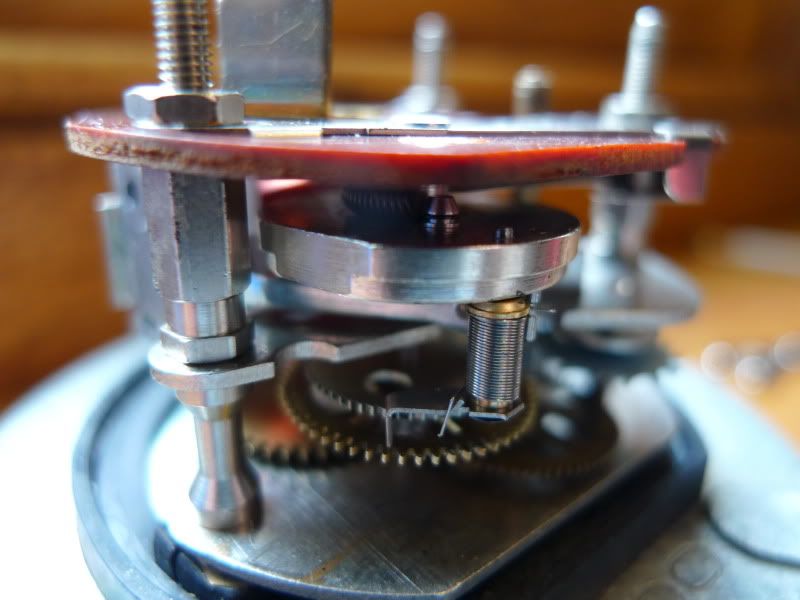
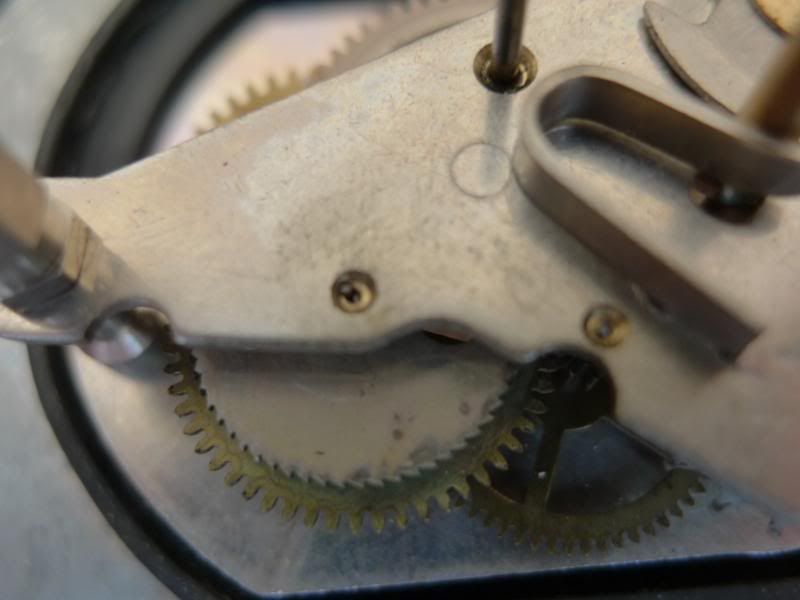
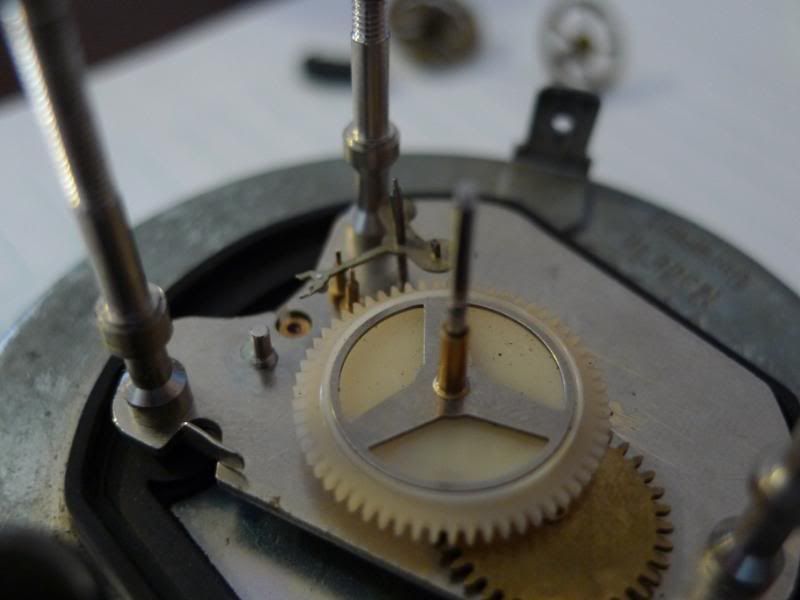
    Once this was removed I was able to see why the clock had stopped working, the bearing for the winding gear was worn out, it was elongated and about three time the size of the shaft.


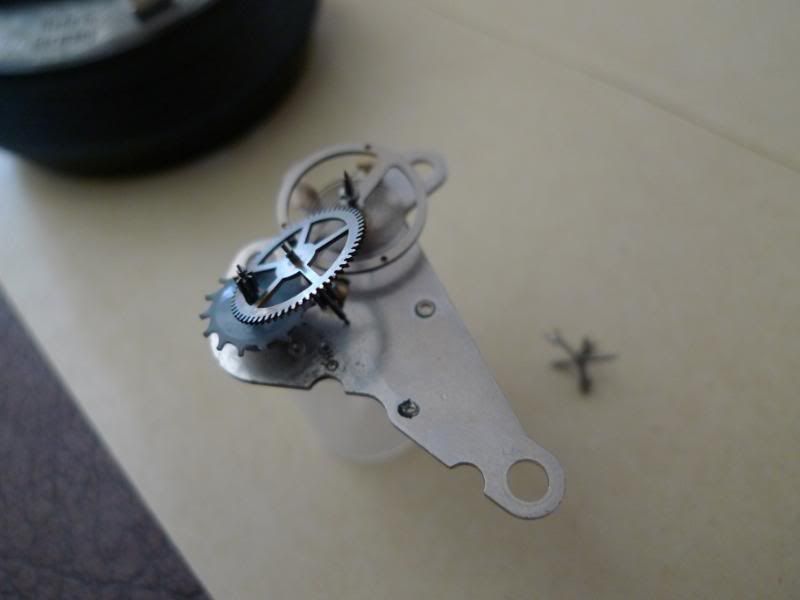
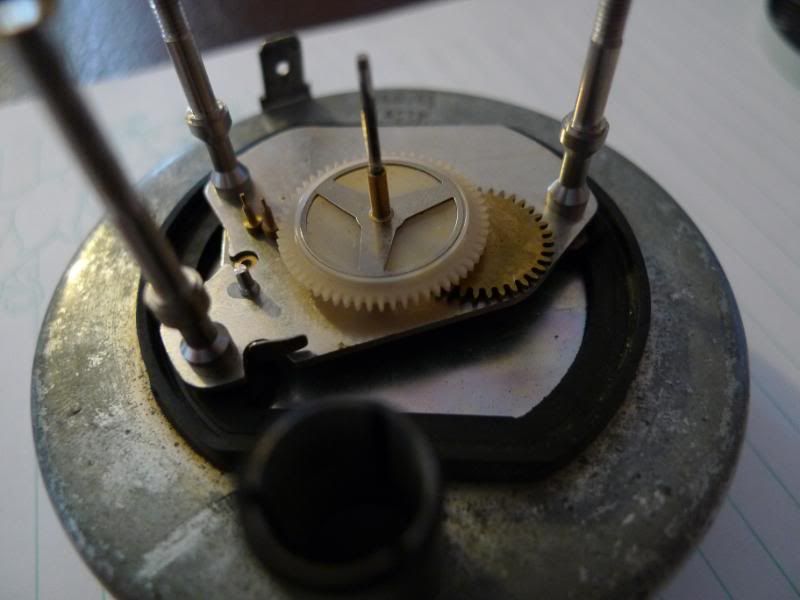
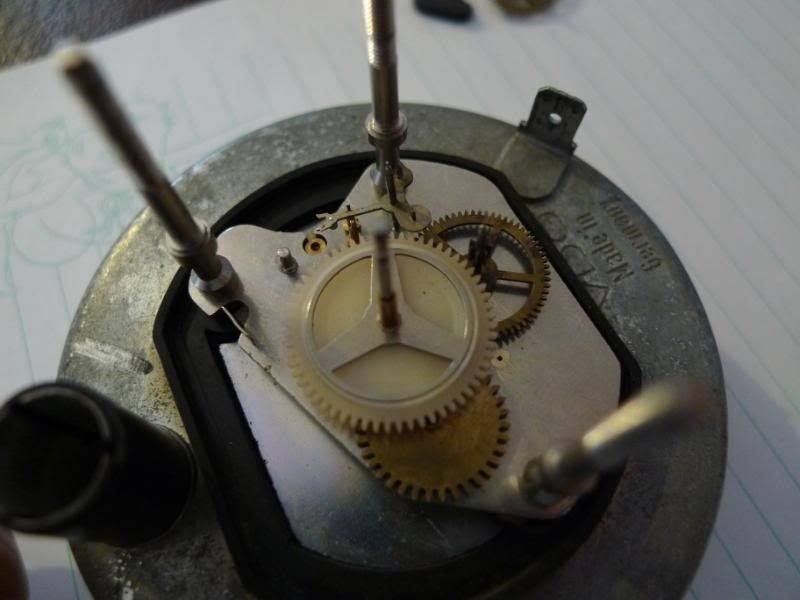
    You can remove the upper bearing plate by removing the three 4.5mm spacer nuts. Before you pull the top bearing plate off be aware that the balance wheel is attached to the plate by its wound spring, if you do not support this you will damage it.


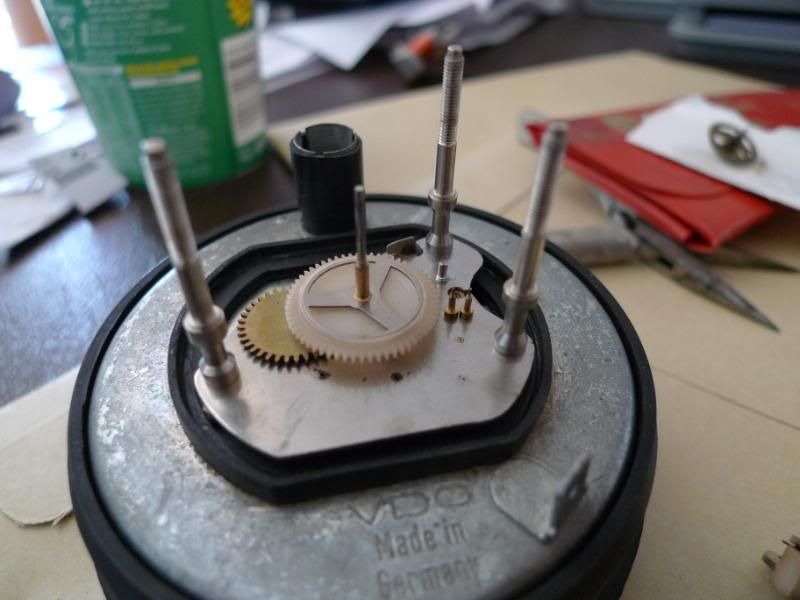
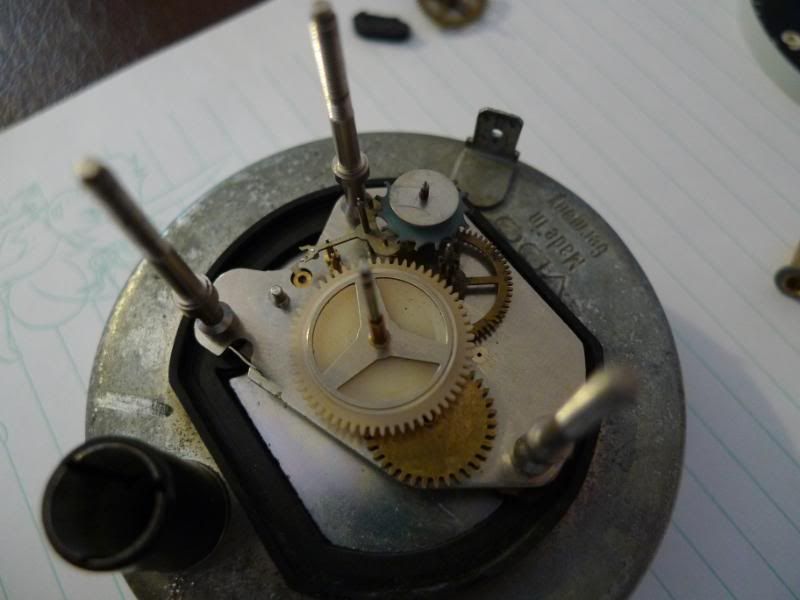
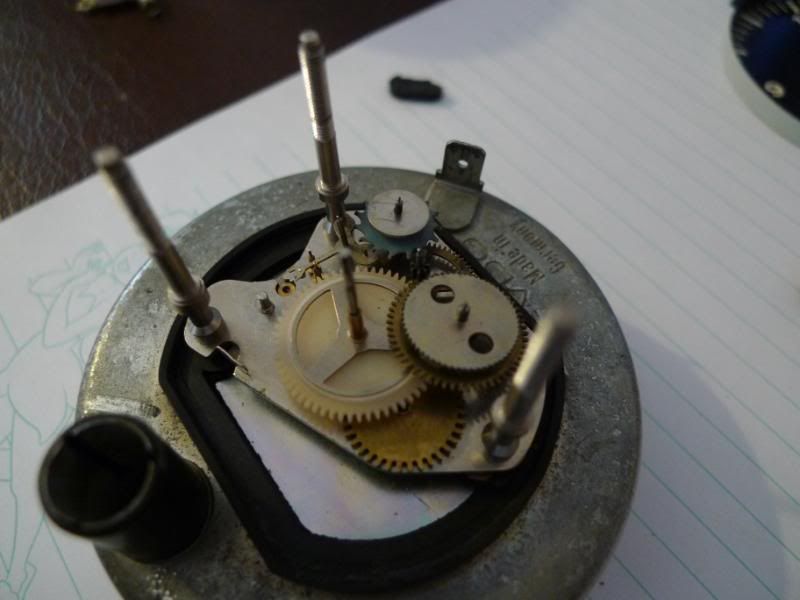
    Once the plate is removed you can remove all of the gear wheels.


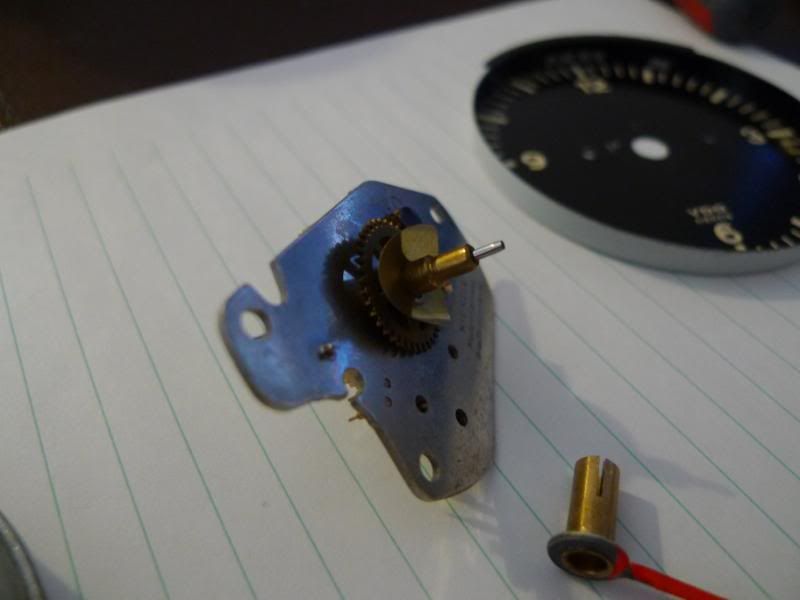
    Once all the gear wheels are removed you can inspect the bottom bearing plate on inspection the bottom bearing on the winding gear was again worn out, and elongated.


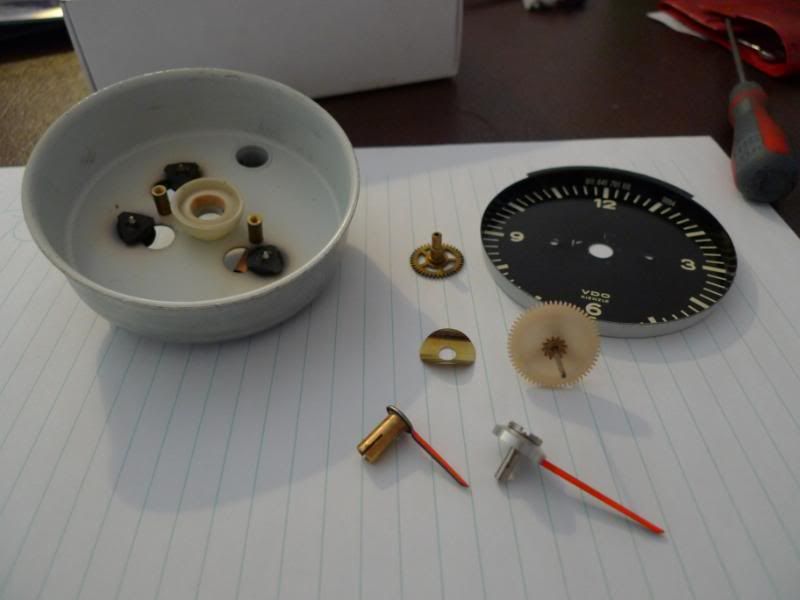
    To gain access to this you need to remove the front bezel, you have to use a small screw driver to bend the back up so you can remove the glass and bezel. You need to remove the hands of the clock, to do this I had to use a pointer puller with a modified point, I did this at work and did not have a camera but you need to pull the minuet hand off first then the hour hand. Once the hands are off you can remove the two black screws holding the face on. Hopefully you can work out what I mean by this photo.

    John #1022

    1970 911E 2.2

  2. #2
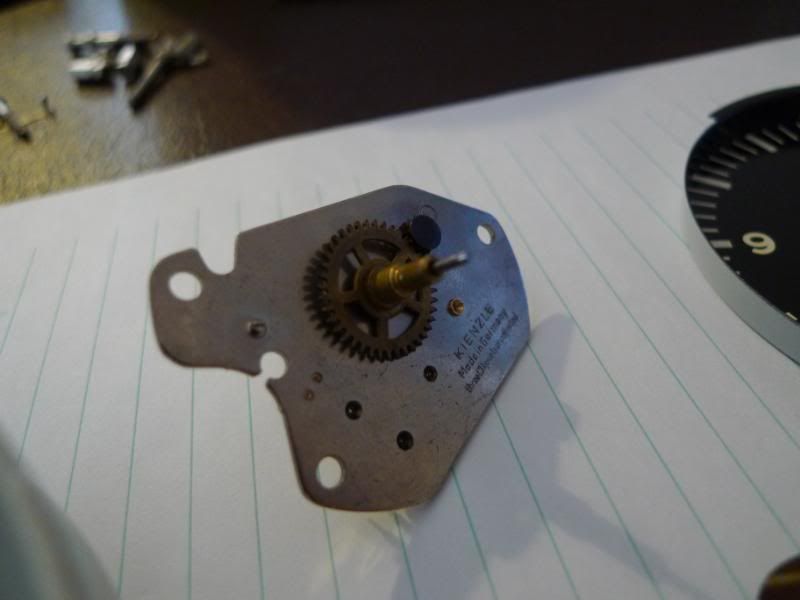
    You can now remove the bottom spacers from the rear of the clock, so you can remove the worn out bottom bearing plate.


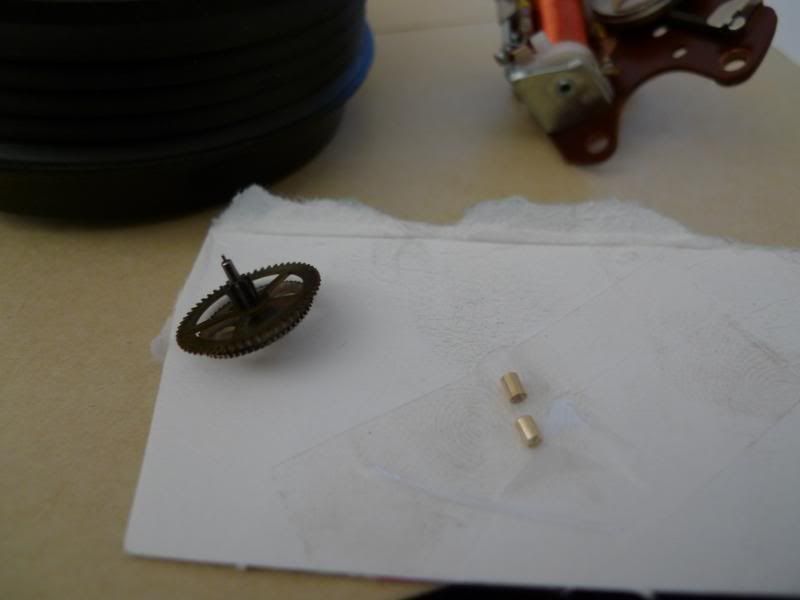
    Now that you have the two bearing plates out you can set about replacing the bearings. A friend of mine is a clock repair man, he gave me 2 bearings that were the correct size.


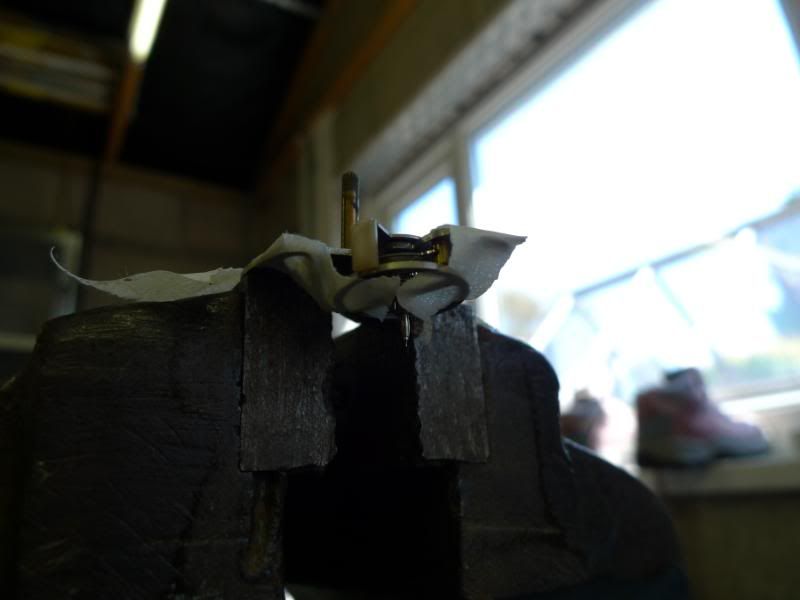
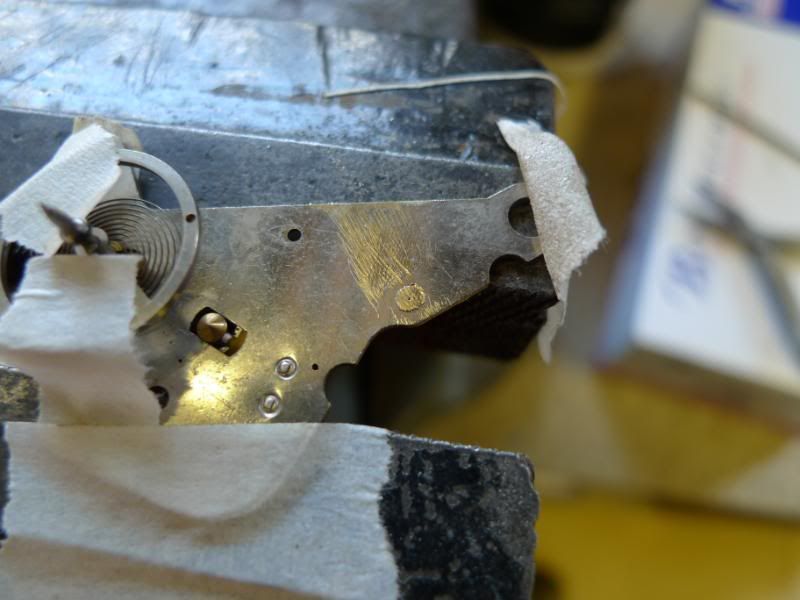
    When replacing the bearing in the top plate make sure you support the balance spring, I used a little tape.


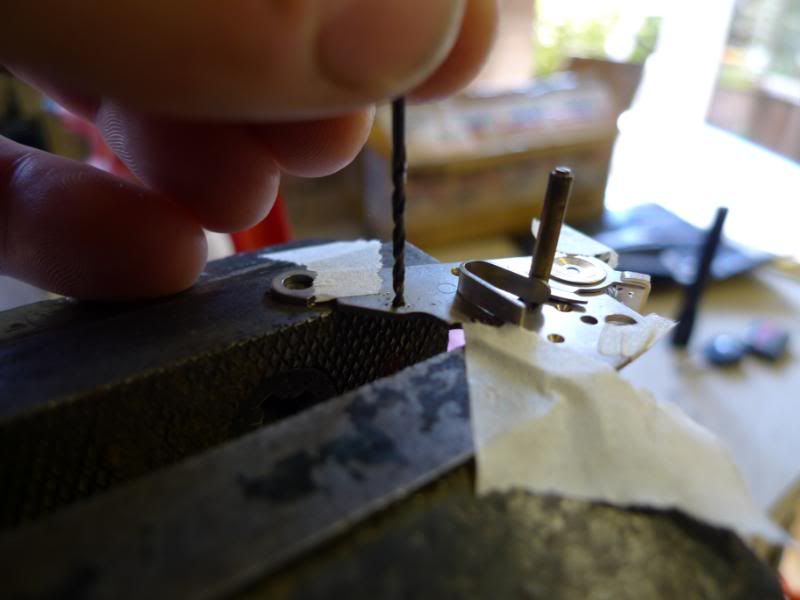
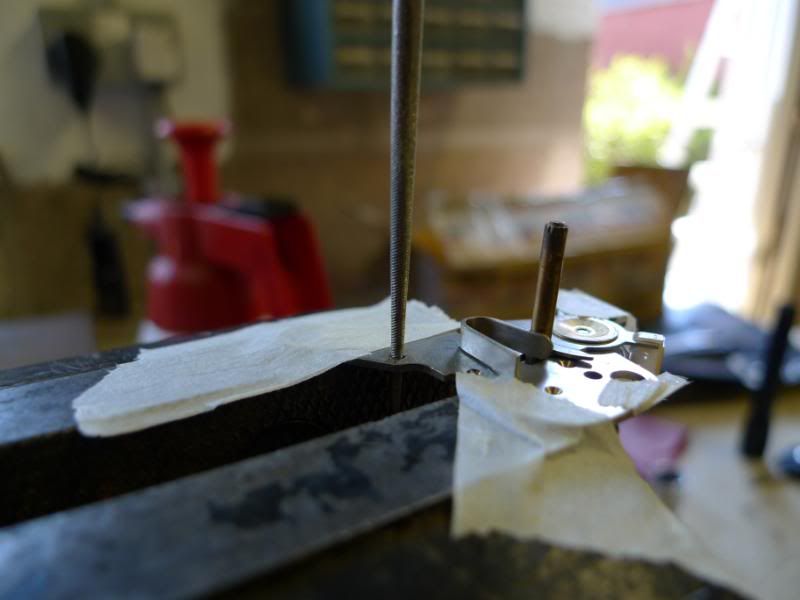
    Use a drill that is just a little smaller than the outside diameter of the new bearing.


    I used my fingers to spin the drill bit, as the old hole is elongated it is very important that the new hole is in the centre otherwise the gear will be in the wrong place. I then very carefully used a round file to open out the hole so I could press the new bearing into the plate. If you make the hole too big the bearing will be loose, you would have to use a small ball hammer to peen the metal.

    John #1022

    1970 911E 2.2

  3. #3
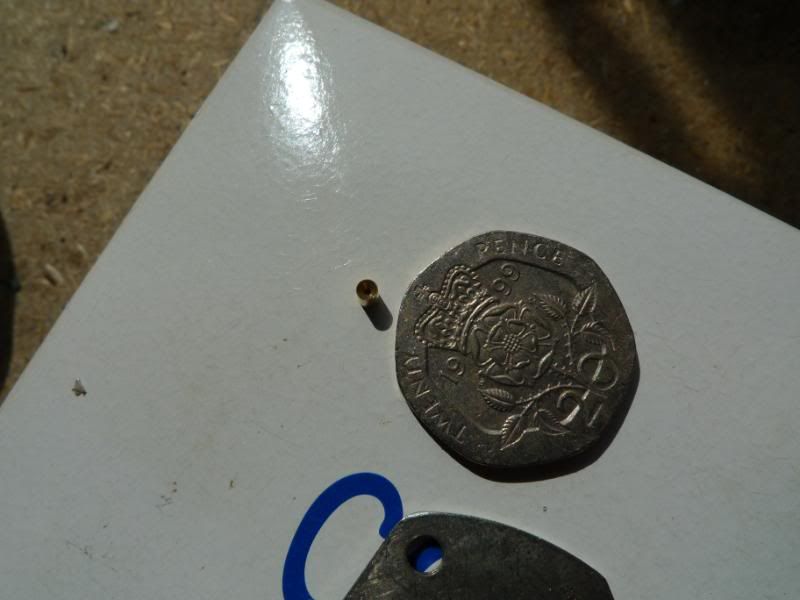
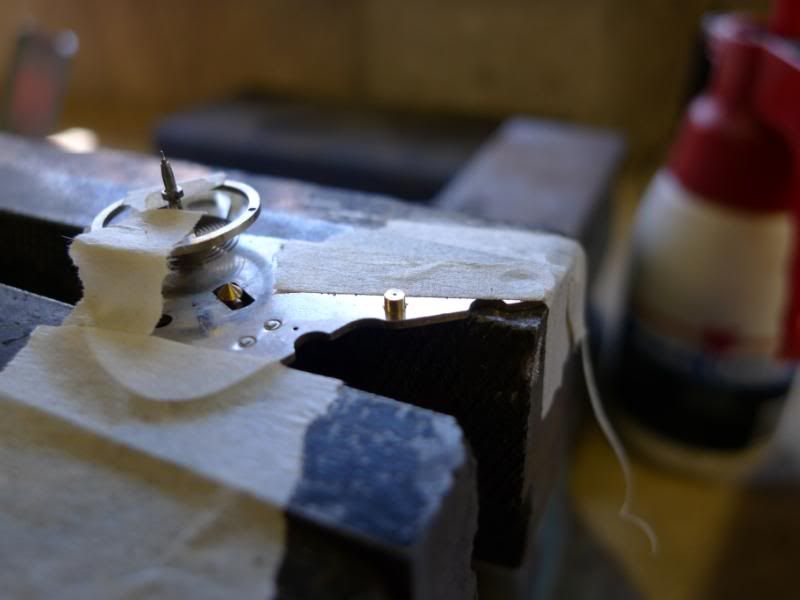
    You can now press in your bearing, the bearings have a little well for oil so make sure this goes the same side as the original ones.


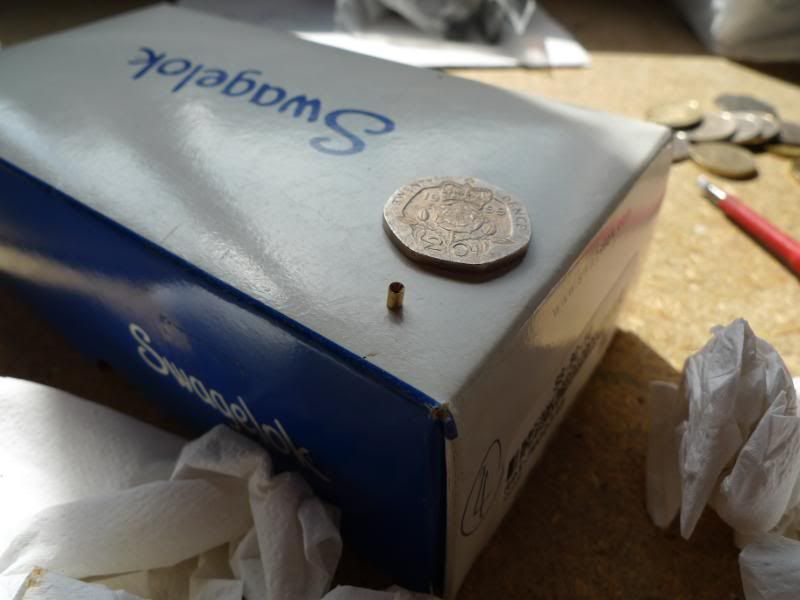
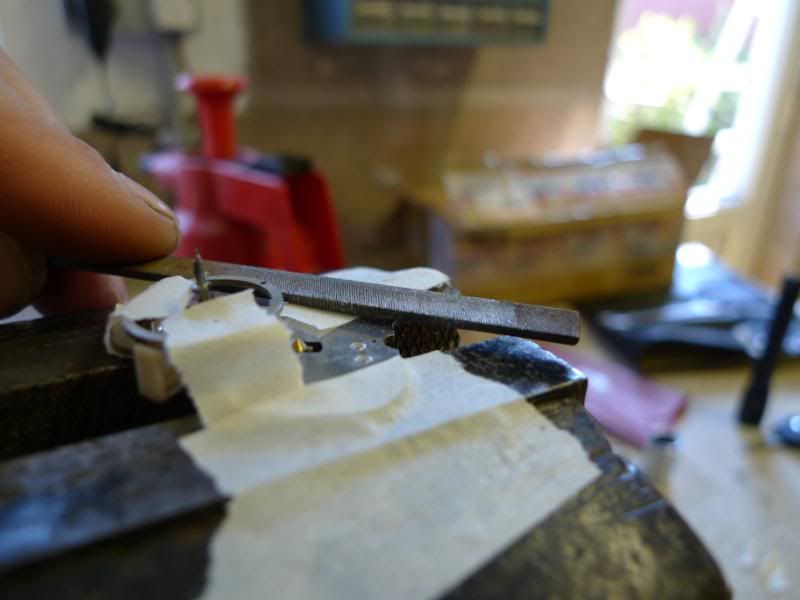
    You need to remove the excess as the bearing was too long, I used a needle file to do this.


    You will need to clean the bearing up and make sure no swarf is left in the hole.


    You replace the bottom bearing in the same manner.
    John #1022

    1970 911E 2.2

  4. #4
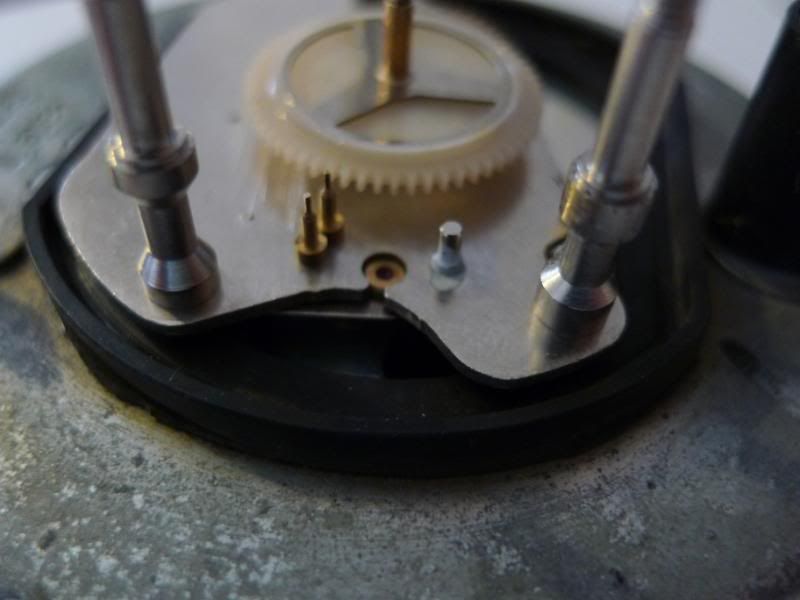
    You can build up the bottom plate.


    Then fit the plate back onto the clock.


    I put a drop of sewing machine oil on each of the bearings, its important not to put 3 in 1 oil on them as its too heavy. All the gears I cleaned with a soft brush. No oil on the gear teeth as this will stop it working.


    You can then put the top plate onto the clock, again be careful with the spring balance. I rested the plate on top of the wheels and moved the gears with a jewellers screw driver to locate them into the upper bearings, its a bit tricky this but if you take your time you will get there.
    John #1022

    1970 911E 2.2

  5. #5
    The actuating ratchet can now go on, be careful not to damage the little lever that acts on the ratchet. It will need spinning a turn so its spring makes it act on the ratchet.


    Now you can give it a go. 12 volts onto the terminals and!!!!

    Click the photo below and see it work.


    I have to put the hands back on and the glass and bezel but its been working for the last couple of hours or so. :lol:

    Kind Regards
    John #1022

    1970 911E 2.2

  6. #6
    Great write up!

    Richard

  7. #7
    Senior Member aporschaguy's Avatar
    Join Date
    Feb 2005
    Location
    Great White North
    Posts
    364
    Great detail... This is the kind of thing I see normally on a watch forum... It's great to see it here...
    "He has all the virtues I dislike and none of the vices I admire."

    1971 911e
    1978 911sc Targa (Sold)
    1973 911 RSR (Clone)

  8. #8
    Thread Killer dummkopf's Avatar
    Join Date
    Jun 2011
    Location
    Mound, Louisiana
    Posts
    659
    Doing some lurking here... What a find! Very impressive. No way would I try that! I end up with a bunch of parts!

  9. #9
    All you need to do is add the diode to help the fusable link.

  10. #10
    OMG!!!! I'm going to start with something easier first, like rebuilding my mfi pump.

    Nicely done.

    A.T.
    A.T.
    Early 911S Registry Member #500

Similar Threads

  1. Replies: 15
    Last Post: 02-10-2015, 12:14 PM
  2. WTB Clock for SWB 911
    By Bernie B in forum For Sale: 911 Parts
    Replies: 0
    Last Post: 05-08-2012, 07:54 AM
  3. FS: Clock
    By John Straub in forum For Sale: 911 Parts
    Replies: 4
    Last Post: 09-17-2009, 08:07 AM
  4. Wtb 73 clock
    By denson in forum For Sale: 911 Parts
    Replies: 1
    Last Post: 08-13-2009, 12:38 AM
  5. FS: Clock
    By John Straub in forum For Sale: 911 Parts
    Replies: 0
    Last Post: 05-22-2008, 03:15 PM

Posting Permissions

  • You may not post new threads
  • You may not post replies
  • You may not post attachments
  • You may not edit your posts
  •  

Message Board Disclaimer and Terms of Use
This is a public forum. Messages posted here can be viewed by the public. The Early 911S Registry is not responsible for messages posted in its online forums, and any message will express the views of the author and not the Early 911S Registry. Use of online forums shall constitute the agreement of the user not to post anything of religious or political content, false and defamatory, inaccurate, abusive, vulgar, hateful, harassing, obscene, profane, sexually oriented, threatening, invasive of a person's privacy, or otherwise to violate the law and the further agreement of the user to be solely responsible for and hold the Early 911S Registry harmless in the event of any claim based on their message. Any viewer who finds a message objectionable should contact us immediately by email. The Early 911S Registry has the ability to remove objectionable messages and we will make every effort to do so, within a reasonable time frame, if we determine that removal is necessary.