Hi Gang,
Andy Seward (Nordschleife here) sent us his vintage 911S calipers for restoration. I thought the process might be of interest to those here.
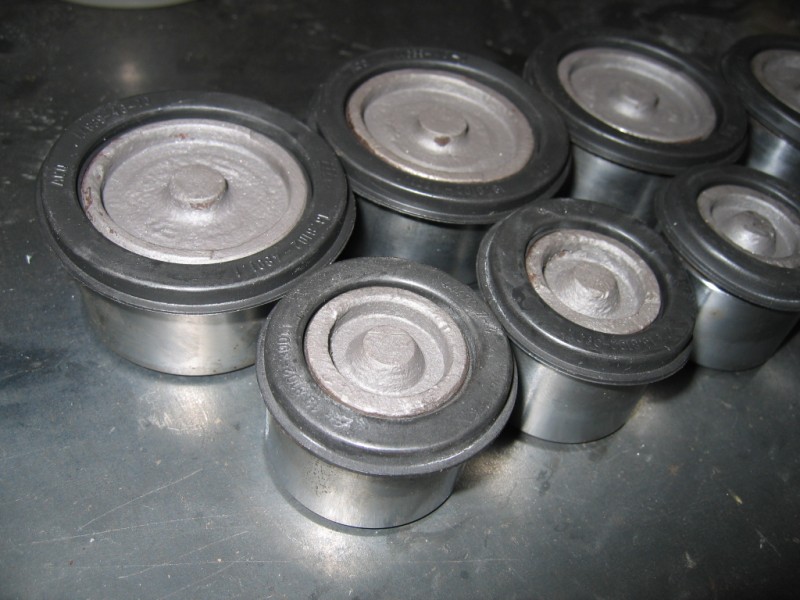
These are fairly rare calipers as they represent the first time ATE used the spacers on these calipers for vented rotors on a road going Porsche. The fronts are your basic 911 M-Caliper but there are some different indentations in these early castings that make them noticeable and unique. These calipers used 8M fasteners with R8 Ribe heads. To allow vented rotors these M-Calipers received 7mm spacers. The piston is the standard 48mm steel variety that we saw on all 911 front calipers through the Carrera caliper (A-Caliper with larger 17mm spacers).
The rears are a new version of the first L-Caliper called the Wide L-Caliper. These are differentiated by 7mm hardware (vs. 6 on the first series) with R6 Ribe heads and, 10mm spacers to allow for the vented rotors. Each 1/2 of an L-Caliper is a closed circuit similar to our beloved S-Caliper hence there are crossover lines feeding the other 1/2 of the caliper. There are no seals in the caliper 1/2's or the spacers. These first 911 rear calipers used a 35mm piston. When the rear M-Caliper debuted on the scene the 911 saw the 38mm rear piston that would stay through 1983. We recently finished a set of L-Calipers for Jamie Torres but neglected to get photos. They had the 6M hardware and no spacers.
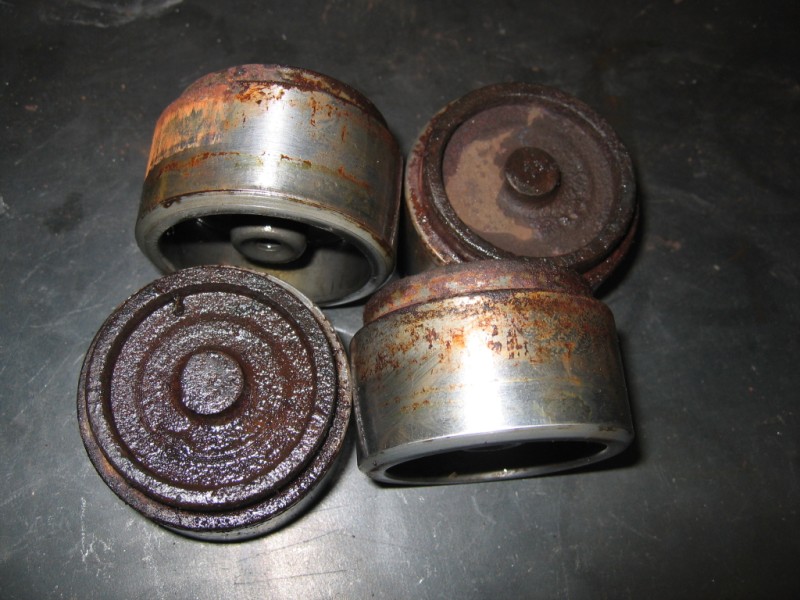
A lot of these early steel calipers are locked up solid. After sitting for years in a field, junkyard, barn or garage they are all but immovable. The old "blow some air in them to pop the pistons out" method can be tossed out the window but, if you're like me, you don't necessarily want to toss vintage 911S calipers out the window. 99.9% of these calipers can be restored. I mention restored because I cringe every time I see some of these cool calipers being rebuilt and the owner sprays some zinc. plating "look-alike" paint on them and then proceeds to bolt them on his or hers $30,000 car...
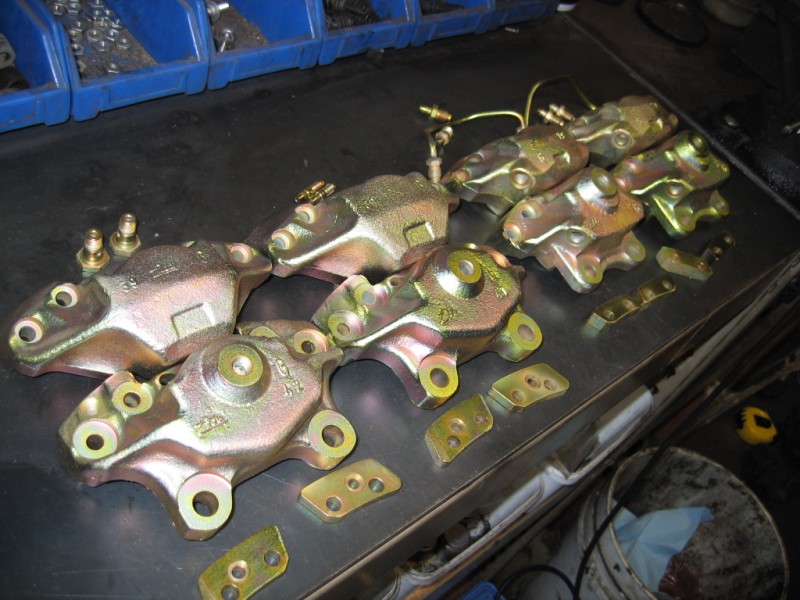
The idea here is to show the process of properly restoring these calipers to like or better than new condition so you can emulate it yourself and do the job right. On with the show:
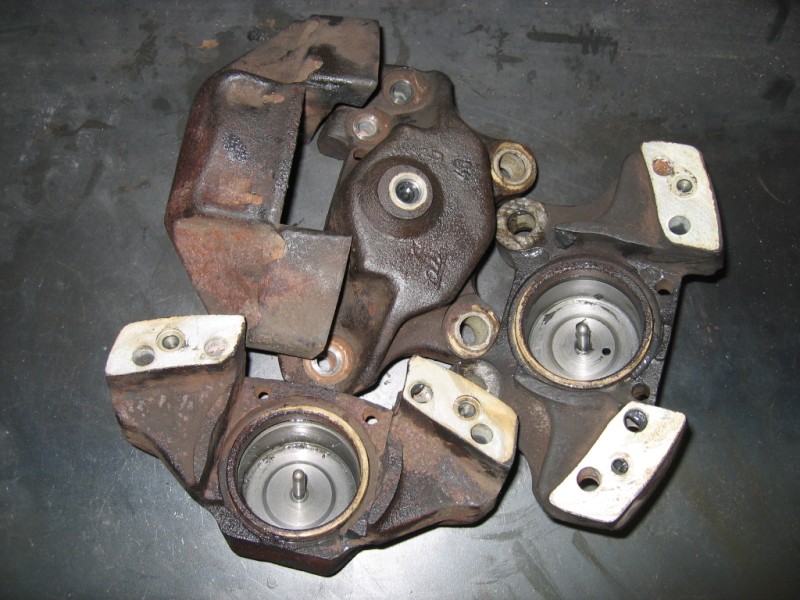
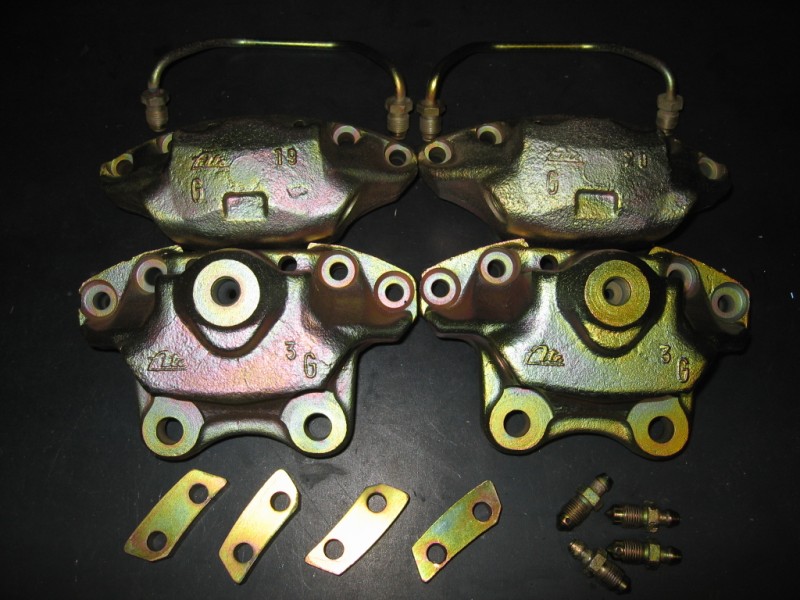
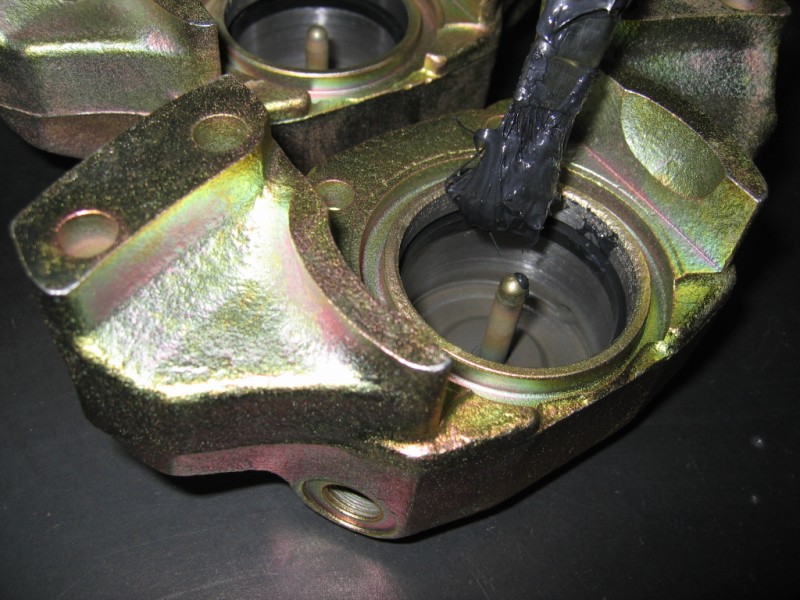
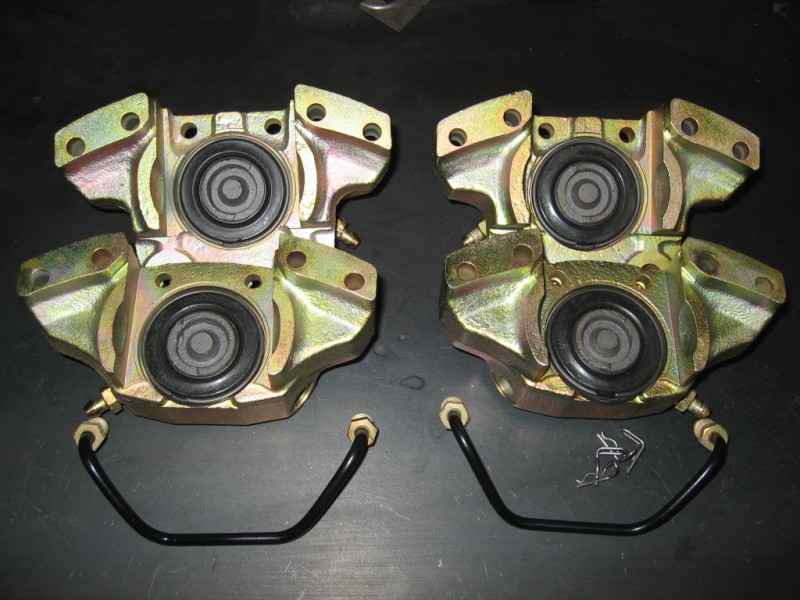
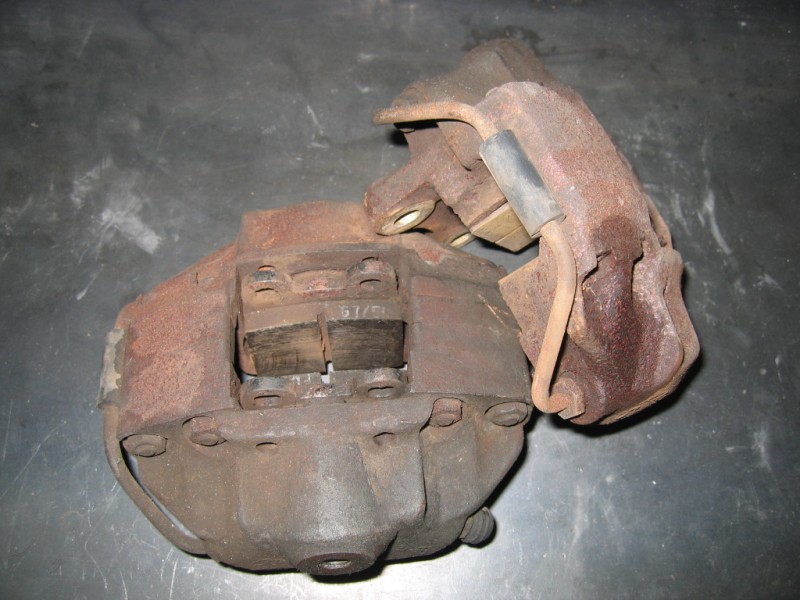
Here are some pictures of the tear down of these calipers. First the M-Calipers:
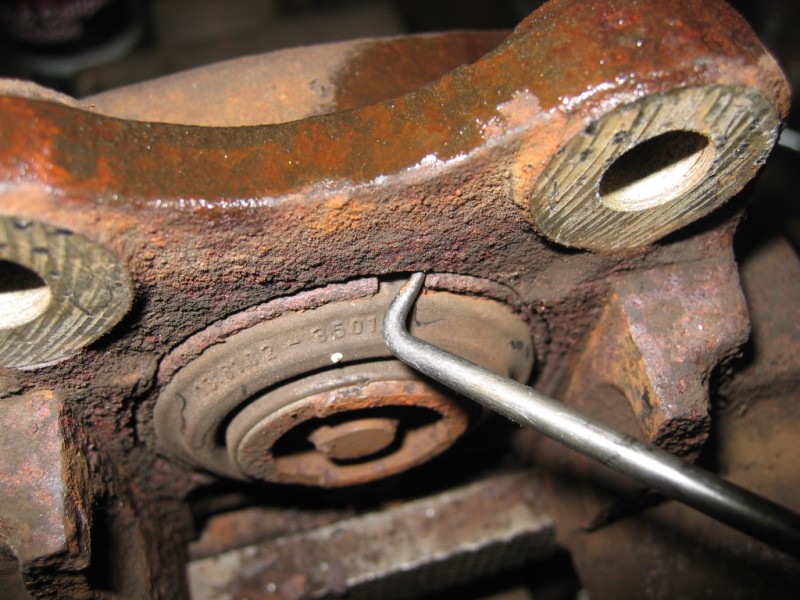
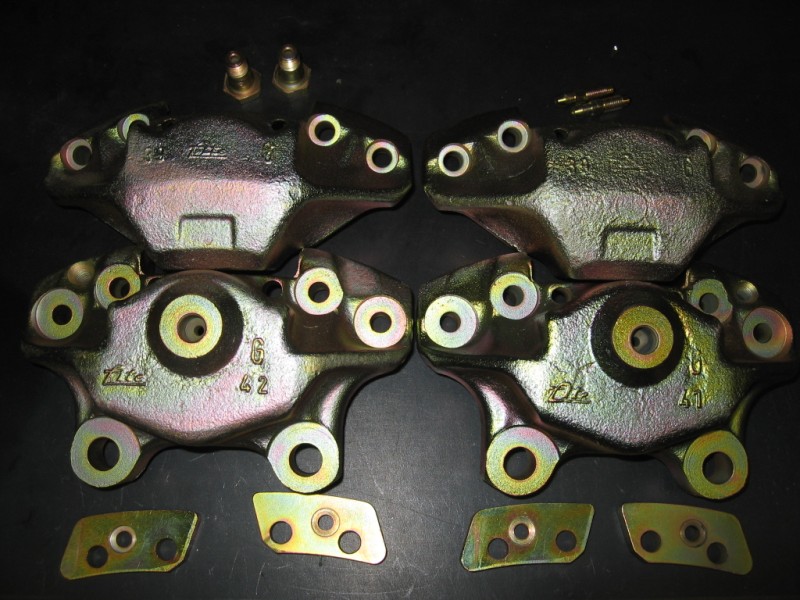
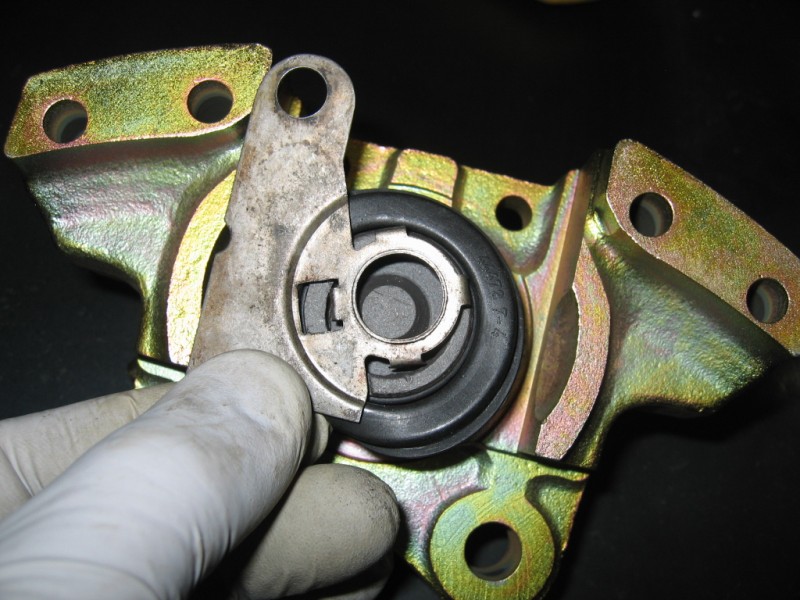
...and the Wide L-Calipers with the 10mm spacers and crossover lines:
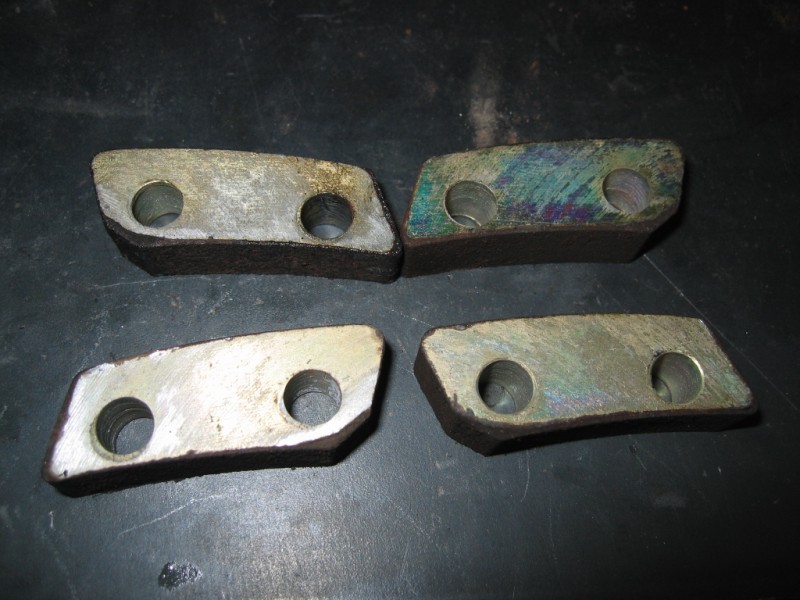
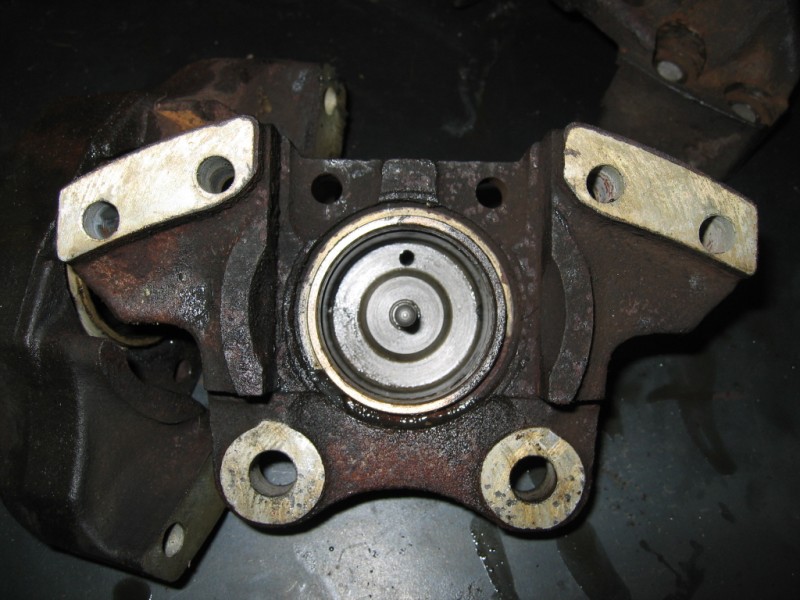
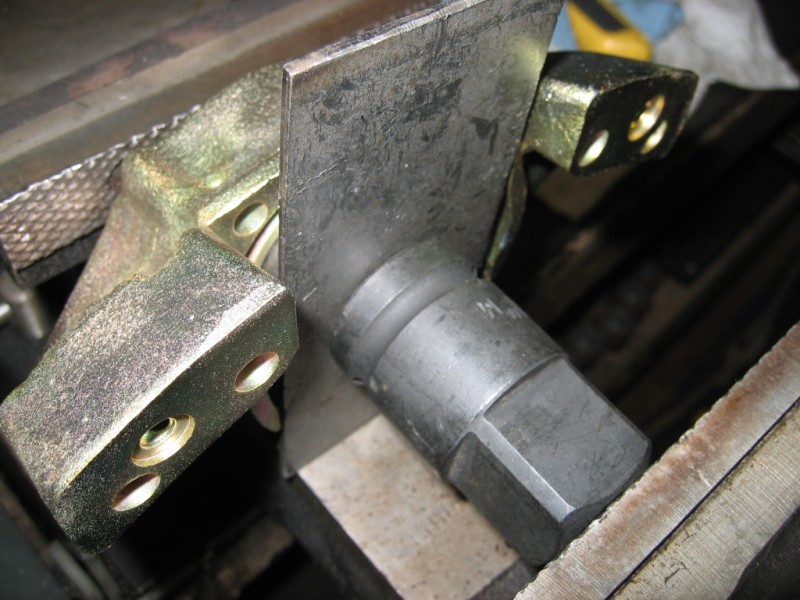
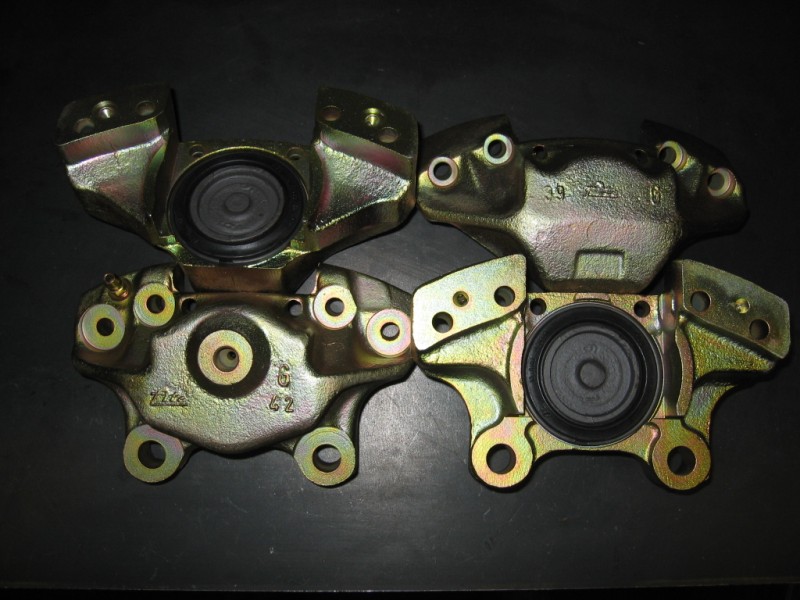
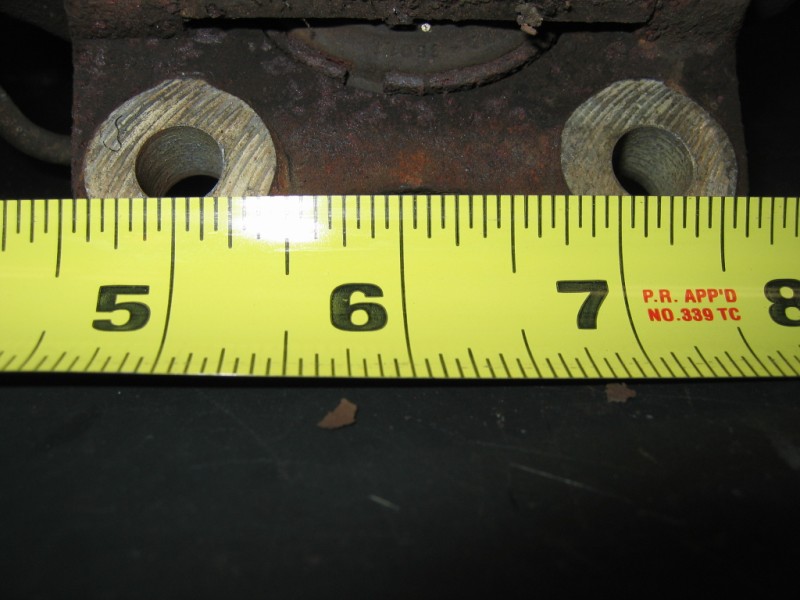
Here's the interesting part, these SWB cars had 2.25" spacing out back:
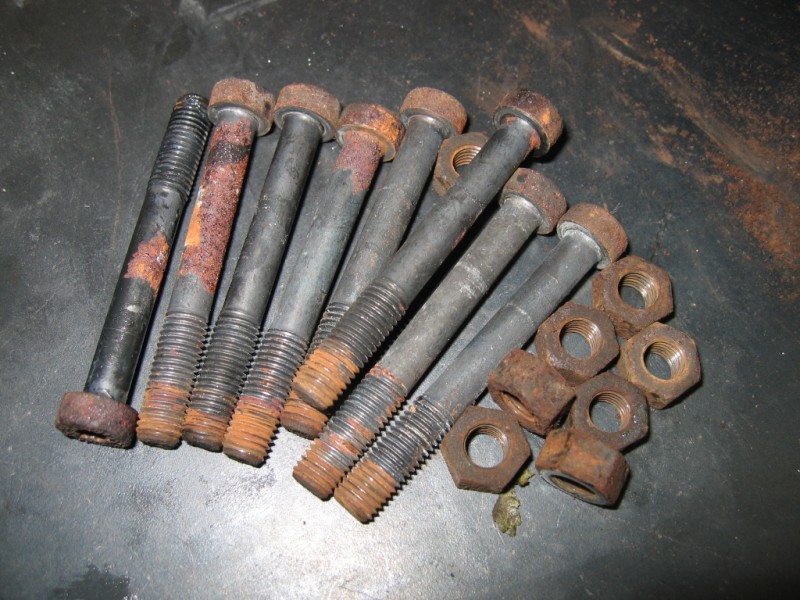
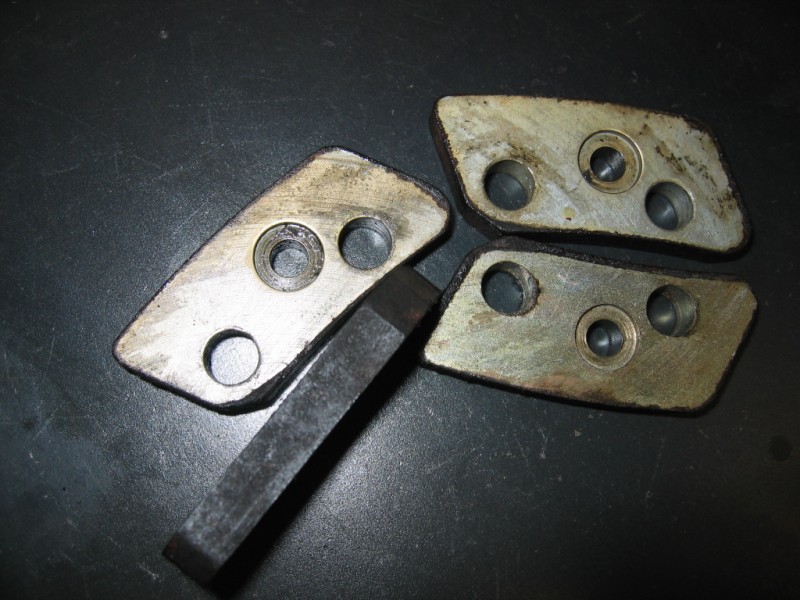
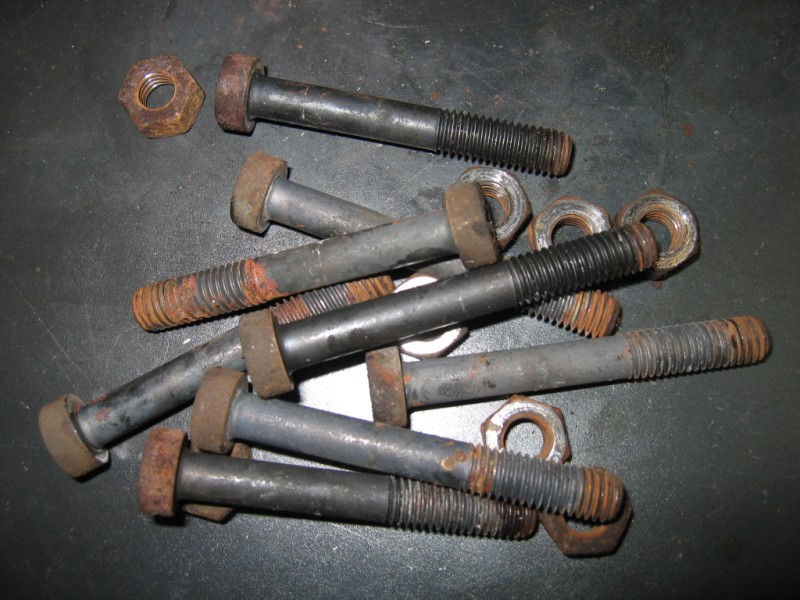
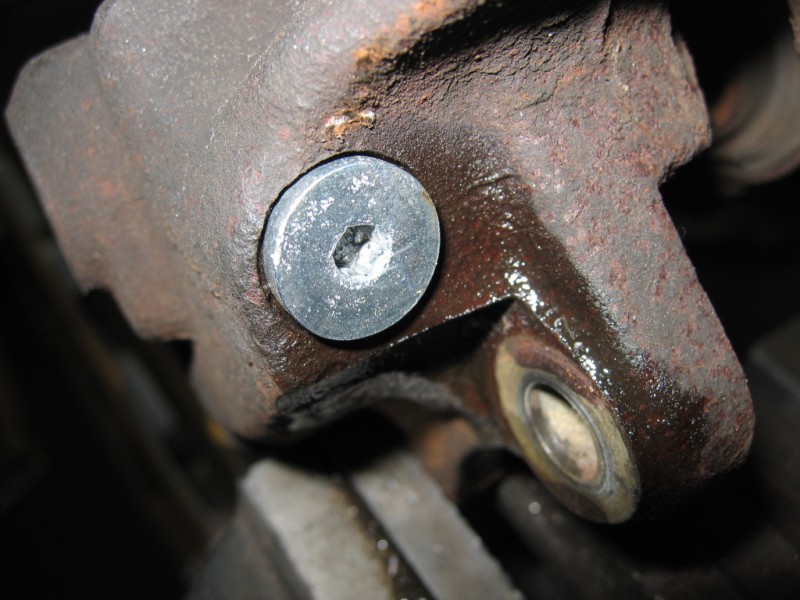
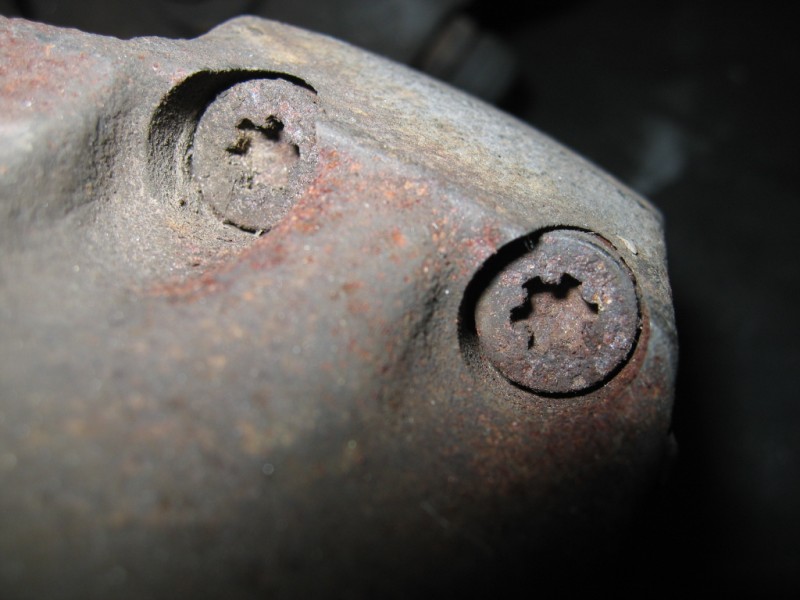
Here's a close up of the Ribe R6 head on the L-Caliper. A Ribe bit set is required if you are going to tear down virtually "any" Porsche ATE caliper. Torx are "similar" but, the demands of some of these rusty fasteners will quickly demonstrate the differences and you will have a worthless priceless 7mm fastener (every try to source any 7mm hardware letalone Ribe?)
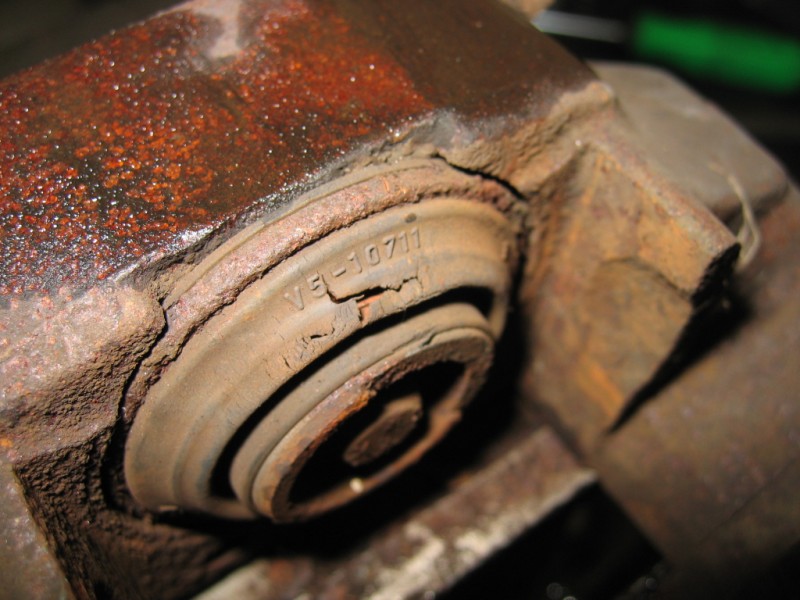
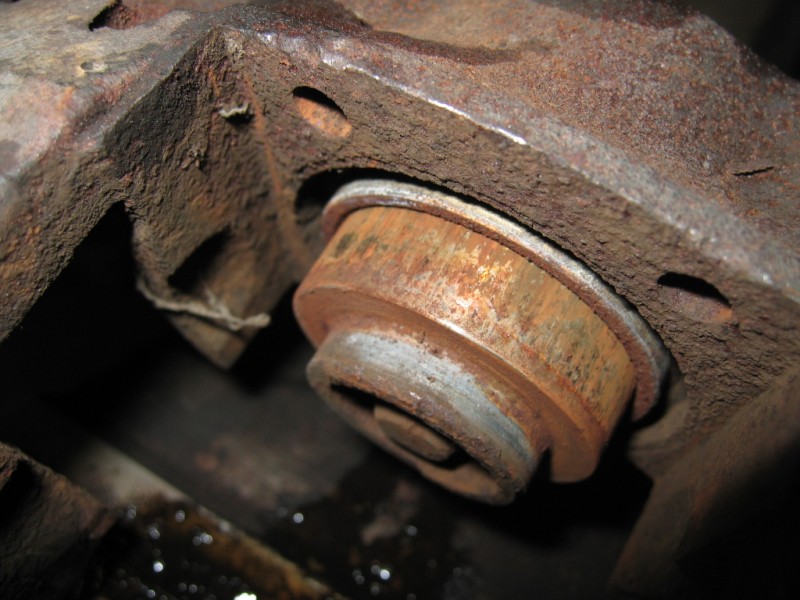
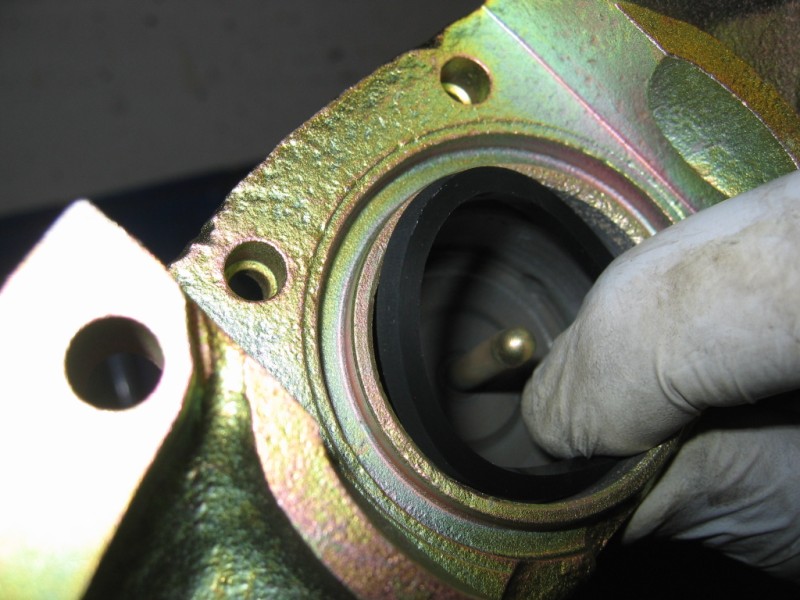
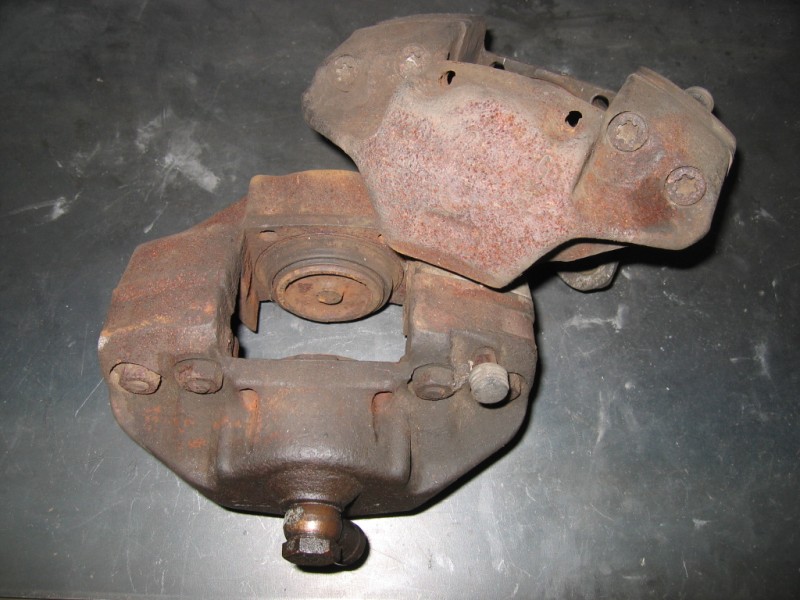
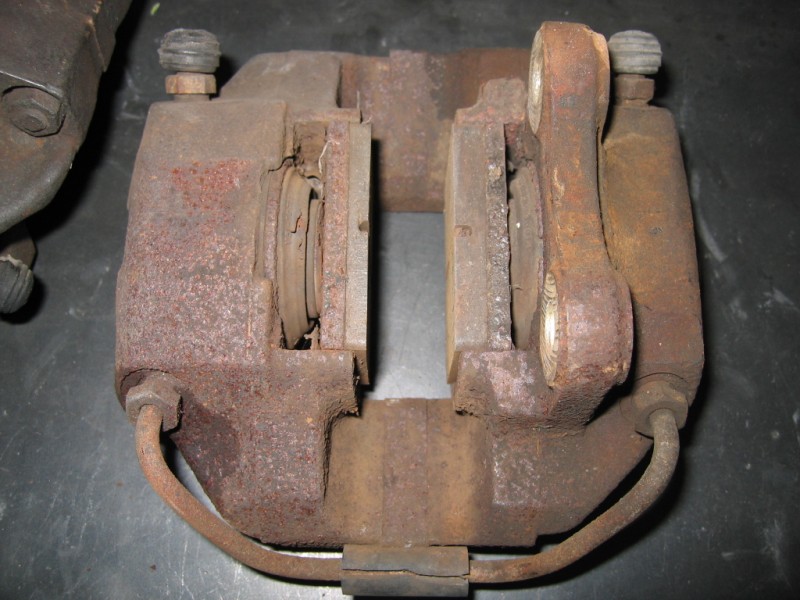
A look at the underside of the rare Wide L-Caliper. The inside piston has been stuck for a while:
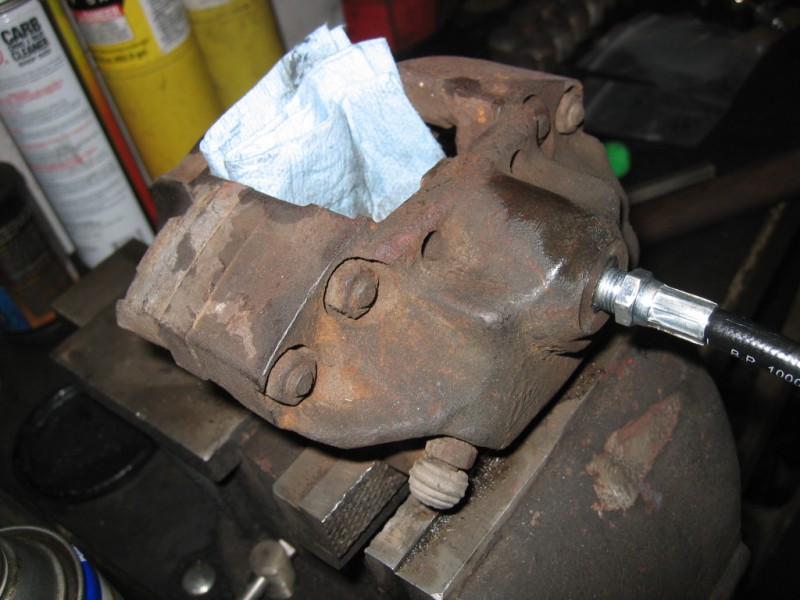
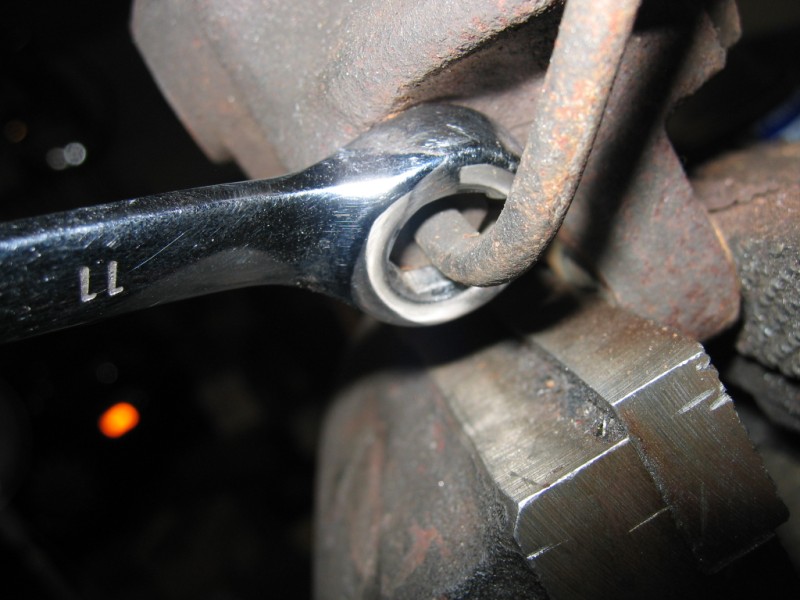
Let's get dirty. We first start by taking off the crossover lines. Be "extremely" careful with these. We use the proper 11mm line wrench and go slowly. If you feel or see any twisting of the line STOP. Use PB Blaster and a torch to get it into the joint and start over. If you've torched it, wait for it to cool or you'll simply twist the lines.
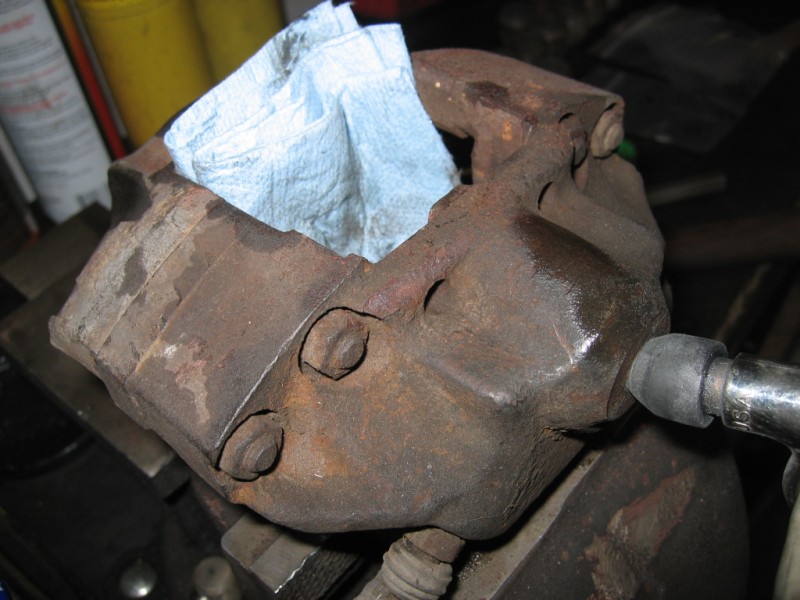
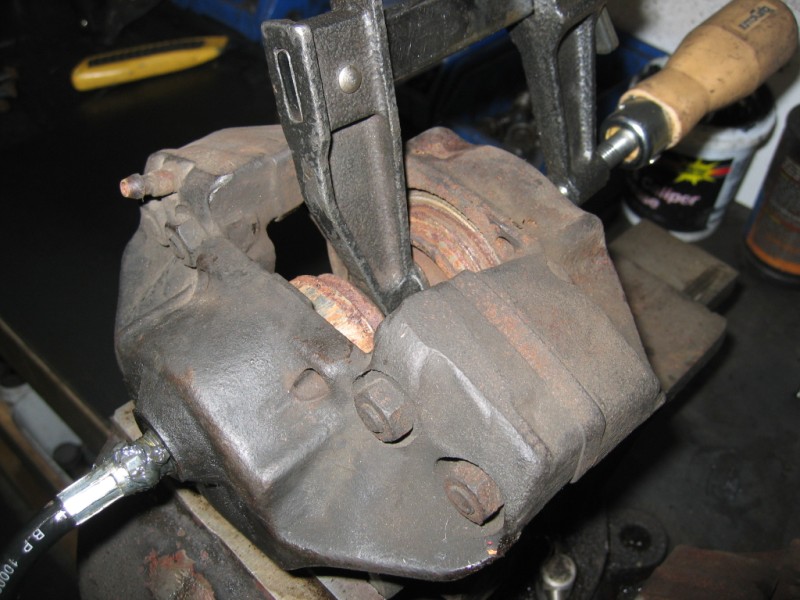
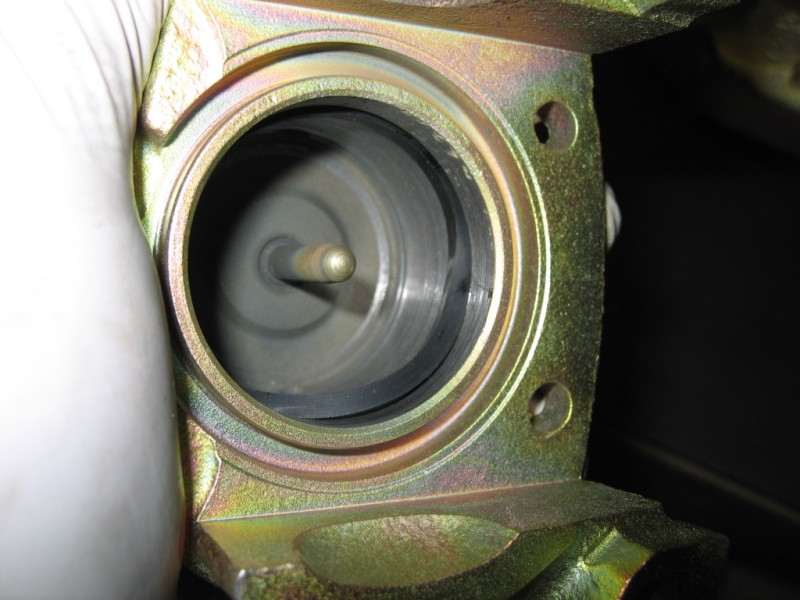
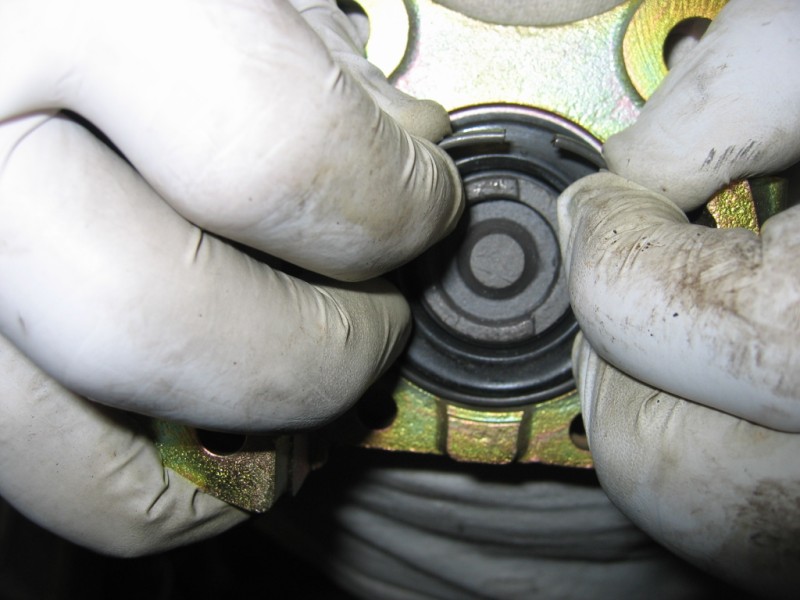
After the lines are off we plug the inner 1/2 hole with a plug and get ready to literally pump the piston out:

 Reply With Quote